Are you ready to add some zing to your dinner? Today, I’ll show you how to make Tangy Orange Chicken. It’s simple, tasty, and perfect for any night. With just a few ingredients and easy steps, you’ll have a meal that wows your family and friends. Let’s dive into the recipe and unleash bold flavors in your kitchen!
Why I Love This Recipe
- Bold Flavor: The combination of fresh orange juice and honey creates a wonderfully tangy and sweet sauce that elevates the chicken to new heights.
- Quick and Easy: This recipe comes together in just 25 minutes, making it perfect for busy weeknight dinners without sacrificing flavor.
- Healthy Ingredients: With boneless, skinless chicken thighs and a blend of wholesome ingredients, this dish is both nutritious and satisfying.
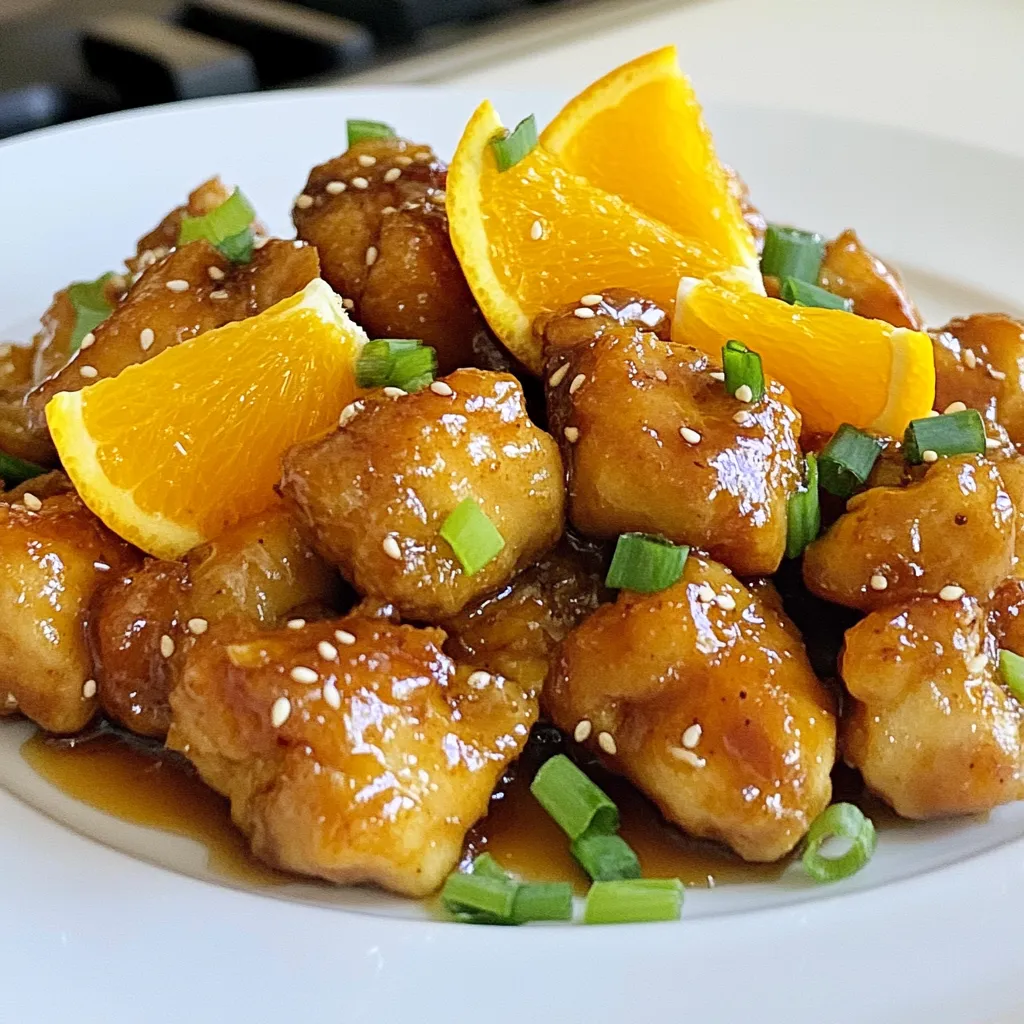
- Beautiful Presentation: The colorful garnishes of orange segments and green onions make this dish as visually appealing as it is delicious.
Ingredients
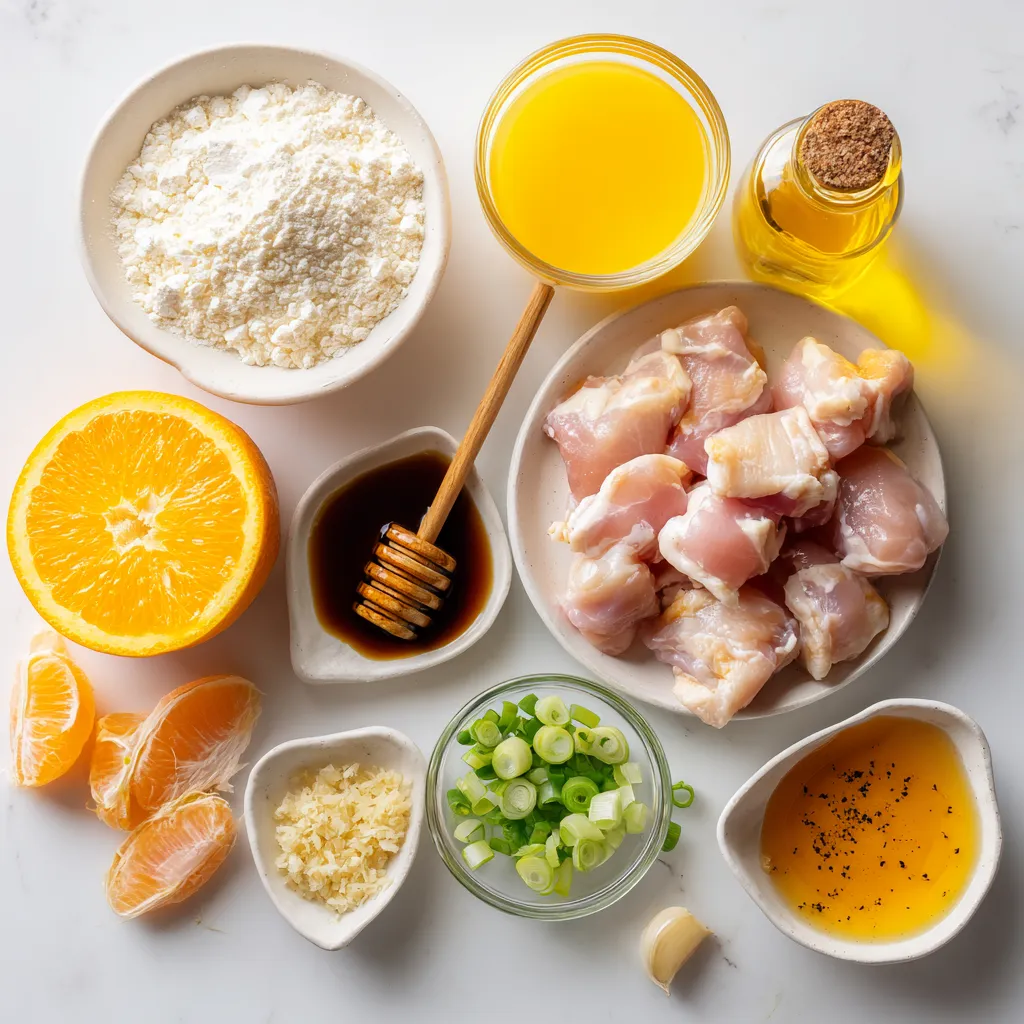
List of Ingredients
– 1 pound boneless, skinless chicken thighs, cut into bite-sized pieces
– 1 tablespoon cornstarch
– 1 tablespoon olive oil
– 1/2 cup freshly squeezed orange juice
– 2 tablespoons low-sodium soy sauce
– 2 tablespoons honey
– 1 tablespoon rice vinegar
– 1 teaspoon fresh ginger, grated
– 2 cloves garlic, minced
– 1 tablespoon sesame oil
– 1 orange, zested and segmented for garnish
– 2 green onions, sliced thinly for garnish
– Sesame seeds for garnishing
Quantity Specifications
You need 1 pound of chicken thighs for a great texture. The orange juice must be fresh for the best taste. Use 2 tablespoons of honey to balance the tanginess. Adjust the soy sauce to your taste; 2 tablespoons give it a nice umami kick.
Ingredient Alternatives
If you don’t have chicken thighs, you can use chicken breasts. For a gluten-free option, use tamari instead of soy sauce. Maple syrup can replace honey if needed. If you want less tang, use less orange juice. You can also skip sesame oil and use any cooking oil instead.
Step-by-Step Instructions
Preparation of Chicken
Start by cutting 1 pound of boneless, skinless chicken thighs into bite-sized pieces. Place the chicken in a mixing bowl and add 1 tablespoon of cornstarch. Toss the chicken well to coat it evenly. This will help the chicken become crispy when cooked.
Cooking the Chicken
Next, heat 1 tablespoon of olive oil in a large skillet over medium-high heat. Once the oil is hot, add the chicken pieces in a single layer. Cook them for about 5-7 minutes. You want the chicken to be browned and fully cooked. Once done, remove the chicken from the skillet and set it aside on a plate.
Making the Tangy Sauce
In the same skillet, reduce the heat to medium. Pour in 1/2 cup of freshly squeezed orange juice, 2 tablespoons of low-sodium soy sauce, 2 tablespoons of honey, and 1 tablespoon of rice vinegar. Then, add 1 teaspoon of grated fresh ginger and 2 cloves of minced garlic. Stir well to mix all the ingredients. Make sure to scrape up any tasty bits stuck to the pan.
Simmering and Finishing the Dish
Let the sauce simmer for 3-5 minutes. This helps it thicken and meld the flavors together perfectly. After that, return the cooked chicken to the skillet. Toss the chicken in the sauce until it is well-coated. Cook for an additional 2-3 minutes so the chicken can soak up the tangy flavors.
Plating and Garnishing
Remove the skillet from heat. Serve the tangy orange chicken on a platter. For a beautiful finish, garnish with orange segments, sliced green onions, and a sprinkle of sesame seeds. This adds a lovely touch to the dish. Enjoy your meal!
Tips & Tricks
Achieving Crispy Chicken
To get crispy chicken, coat each piece with cornstarch well. This layer traps moisture and creates a crunchy crust. Heat your skillet until it is hot before adding the chicken. Do not crowd the pan. Cook the chicken in batches if needed. This ensures even cooking and a good sear.
Adjusting Flavor Profiles
You can tweak the flavor to fit your taste. If you like it sweeter, add more honey or orange juice. For a tangy kick, add extra rice vinegar. Want some heat? Toss in red pepper flakes or a splash of sriracha. Taste the sauce as you go, and adjust it until it sings.
Presentation Suggestions
The way you plate the dish matters. Serve the chicken on a bed of fluffy rice or quinoa. This makes the colors pop. Garnish with orange segments, sliced green onions, and sesame seeds on top. It looks great and adds fresh flavors. A vibrant plate makes your meal more inviting.
Pro Tips
- Use Fresh Ingredients: Always opt for freshly squeezed orange juice and freshly grated ginger for the best flavor in your sauce.
- Perfectly Cooked Chicken: Ensure your chicken is cooked in a single layer in the skillet to achieve a nice, even browning.
- Adjust Sweetness: Feel free to adjust the amount of honey based on your preference for sweetness in the sauce.
- Garnish for Flair: Don’t skip the garnishing step; it adds vibrant color and enhances the presentation of your dish.
Variations
Substituting Proteins
You can swap chicken for other proteins. Try shrimp, tofu, or turkey. Each option adds a new taste. Shrimp cooks fast, while turkey gives a leaner choice. Tofu works great for a vegetarian meal. Just make sure to press it to remove extra water.
Vegetarian/Vegan Adaptations
To make this dish vegan, use tofu or tempeh. Cut them into bite-sized pieces like chicken. Marinate them in the sauce for extra flavor. You can also add more veggies, like bell peppers or broccoli. This adds color and nutrition.
Flavor Twist Ideas
Want to mix things up? Add spices like chili flakes for heat. You can also use different citrus fruits. Lemon or lime juice gives a fresh twist. Experiment with herbs like basil or cilantro for a different taste. A splash of pineapple juice can add a sweet touch.
Storage Info
Refrigeration Guidelines
You can store leftover tangy orange chicken in the fridge. Place the chicken in an airtight container. It stays fresh for up to three days. Make sure it cools down to room temperature before sealing. This keeps it from getting soggy and helps maintain its flavor.
Freezing Instructions
To freeze tangy orange chicken, first, let it cool fully. Then, transfer it to a freezer-safe bag or container. Squeeze out as much air as you can. This will help prevent freezer burn. It can last for up to three months in the freezer. When ready to eat, thaw it in the fridge overnight.
Reheating Tips
For the best results, reheat tangy orange chicken on the stove. Place it in a skillet over medium heat. Add a splash of water or extra orange juice to keep it moist. Heat until it’s warmed through, usually about 5-7 minutes. You can also use a microwave; just cover it with a paper towel to avoid splatters. Heat in short bursts, stirring in between, until hot. Enjoy your delicious meal again!
FAQs
What can I serve with Tangy Orange Chicken?
You can serve Tangy Orange Chicken with rice or quinoa. Both absorb the sauce well. Steamed broccoli or snap peas add color and crunch. A fresh salad with citrus dressing pairs nicely, too.
Can I make this recipe ahead of time?
Yes, you can prepare the chicken and sauce ahead of time. Store them separately in the fridge for up to two days. When ready, just heat the sauce and chicken together on the stove.
How can I increase the spiciness of this dish?
Add red pepper flakes or sliced fresh chili peppers to the sauce. Start with a small amount, then taste as you go. You can also use spicy soy sauce for an extra kick.
Is it possible to make this recipe in advance?
Yes, you can make this recipe in advance. Cook the chicken and sauce, then let them cool. Store them in airtight containers in the fridge. Reheat when you’re ready to enjoy.
How do I know when the chicken is fully cooked?
The chicken is fully cooked when it reaches an internal temperature of 165°F. Cut into a piece; it should be white and juices should run clear. If it’s pink, keep cooking.
This blog shared the key steps to make Tangy Orange Chicken. We covered the vital ingredients, how to prepare and cook the chicken, and tips for perfecting the dish. You learned about variations, storage info, and common questions. Remember, cooking is a fun way to explore flavors! Enjoy trying different ingredients or adjusting the recipe. Keep sharing your creations and happy cookin


