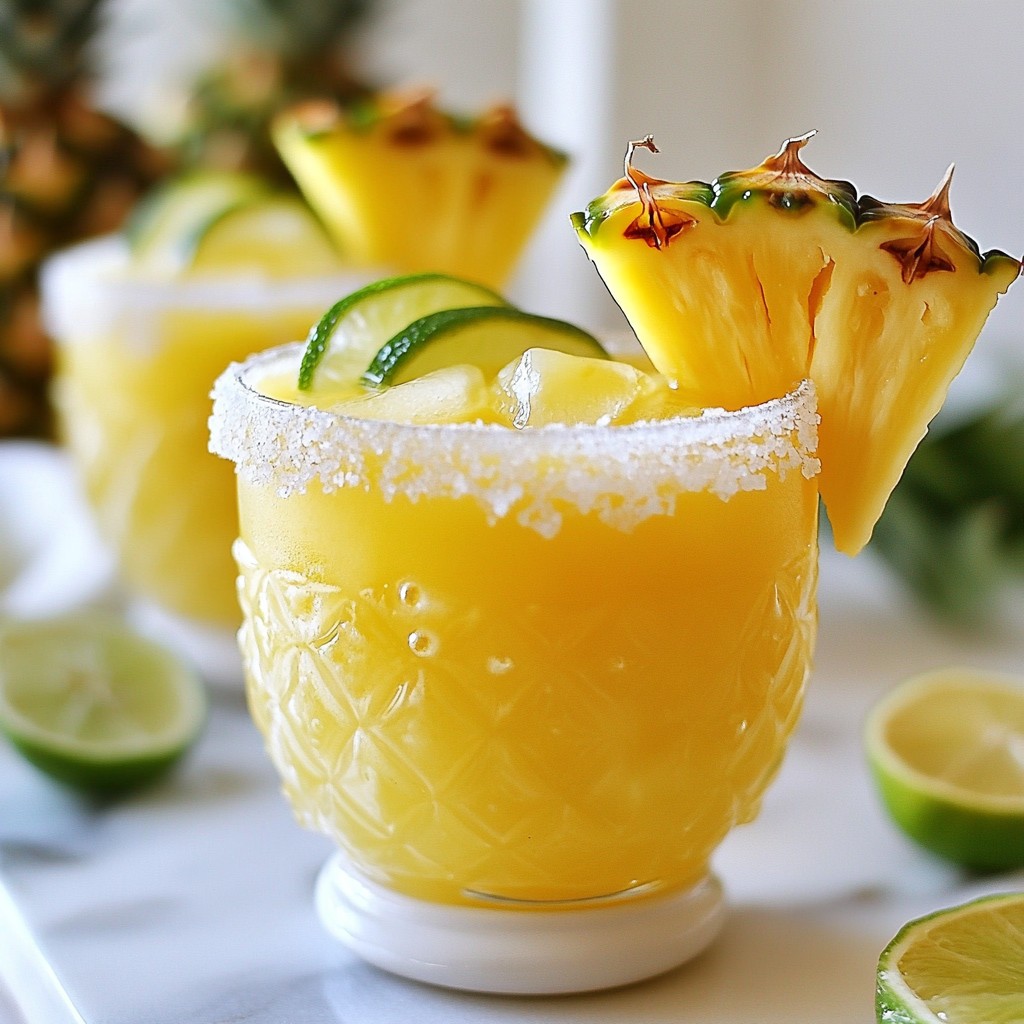
Limoncello Pineapple Margarita Refreshing Summer Drink
Looking for a cool drink that screams summer? Try my Limoncello Pineapple Margarita! This drink comb...
Delicious recipes
Beverages and drink recipes
Looking for a cool drink that screams summer? Try my Limoncello Pineapple Margarita! This drink comb...
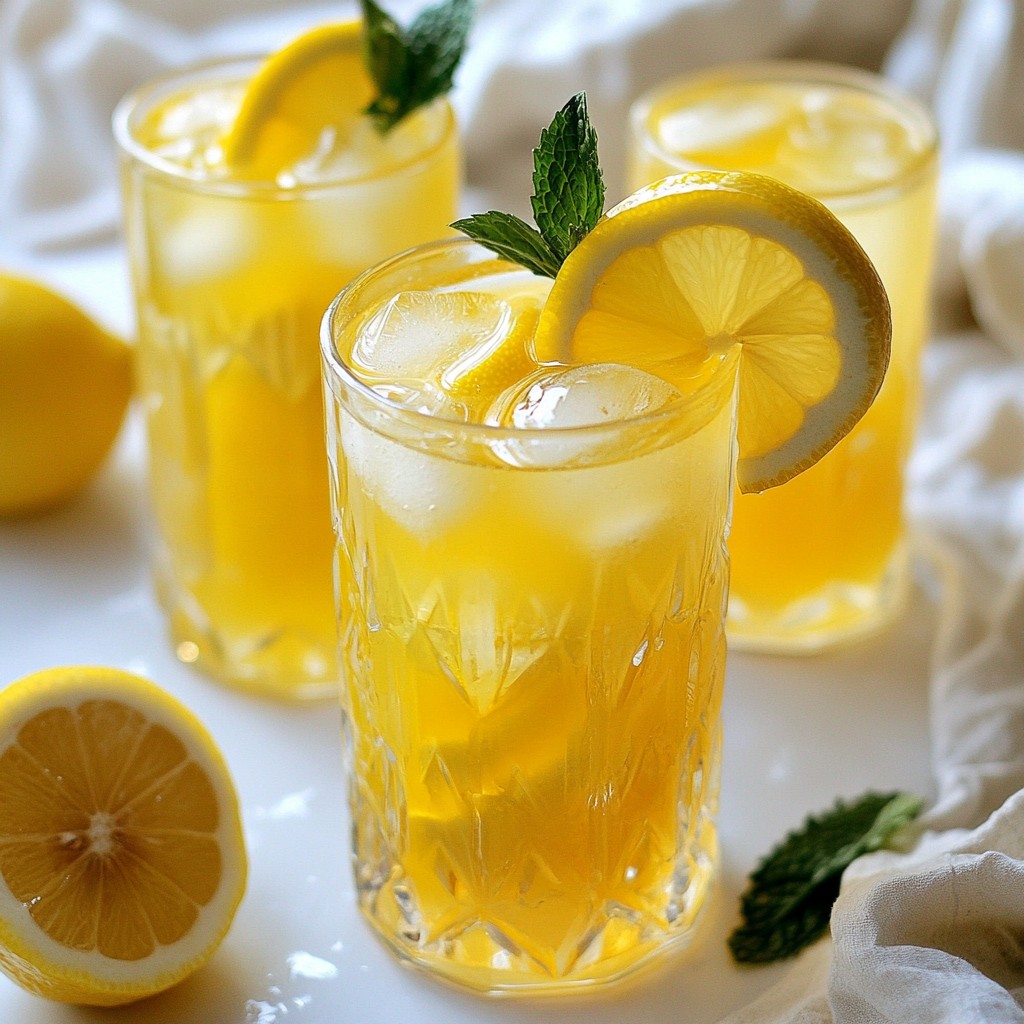
A refreshing cocktail made with lemon juice, honey syrup, mint, and sparkling water.
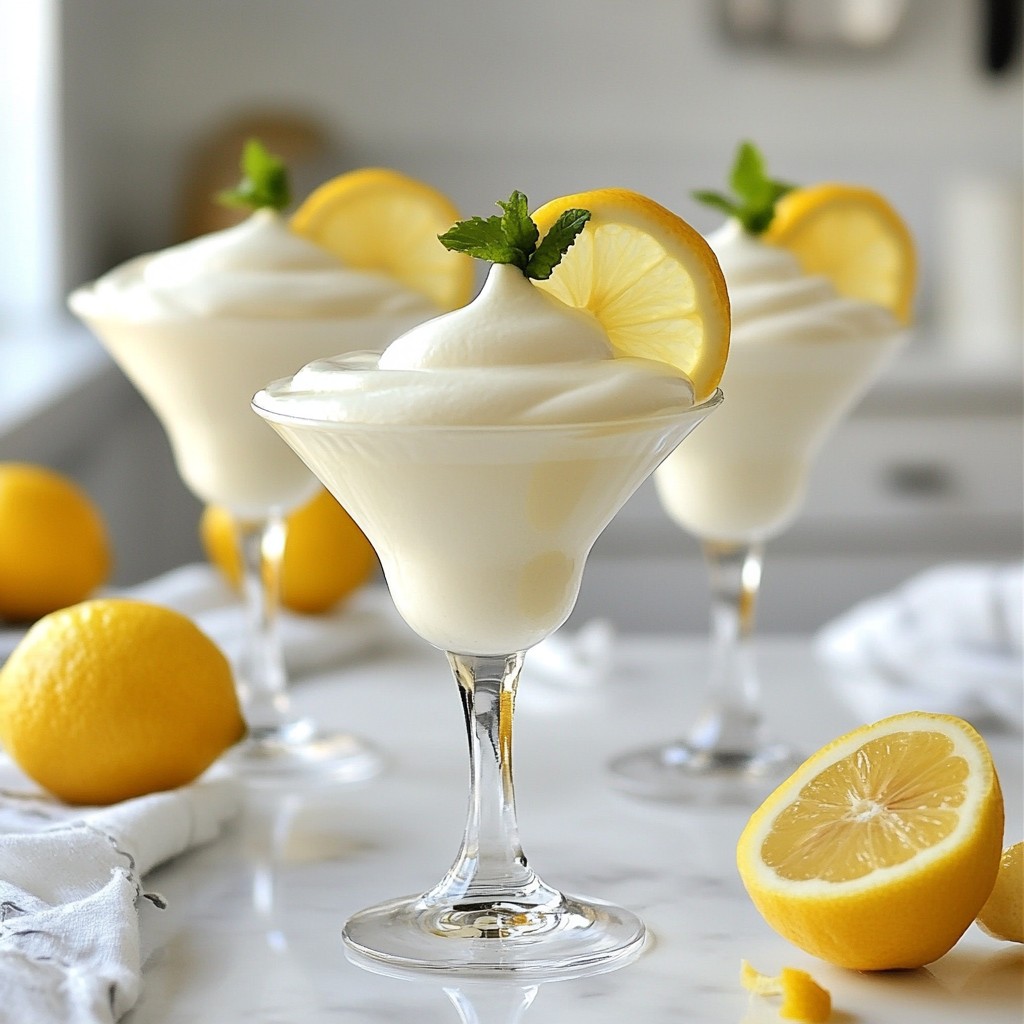
A refreshing and creamy cocktail with a zesty lemon flavor.
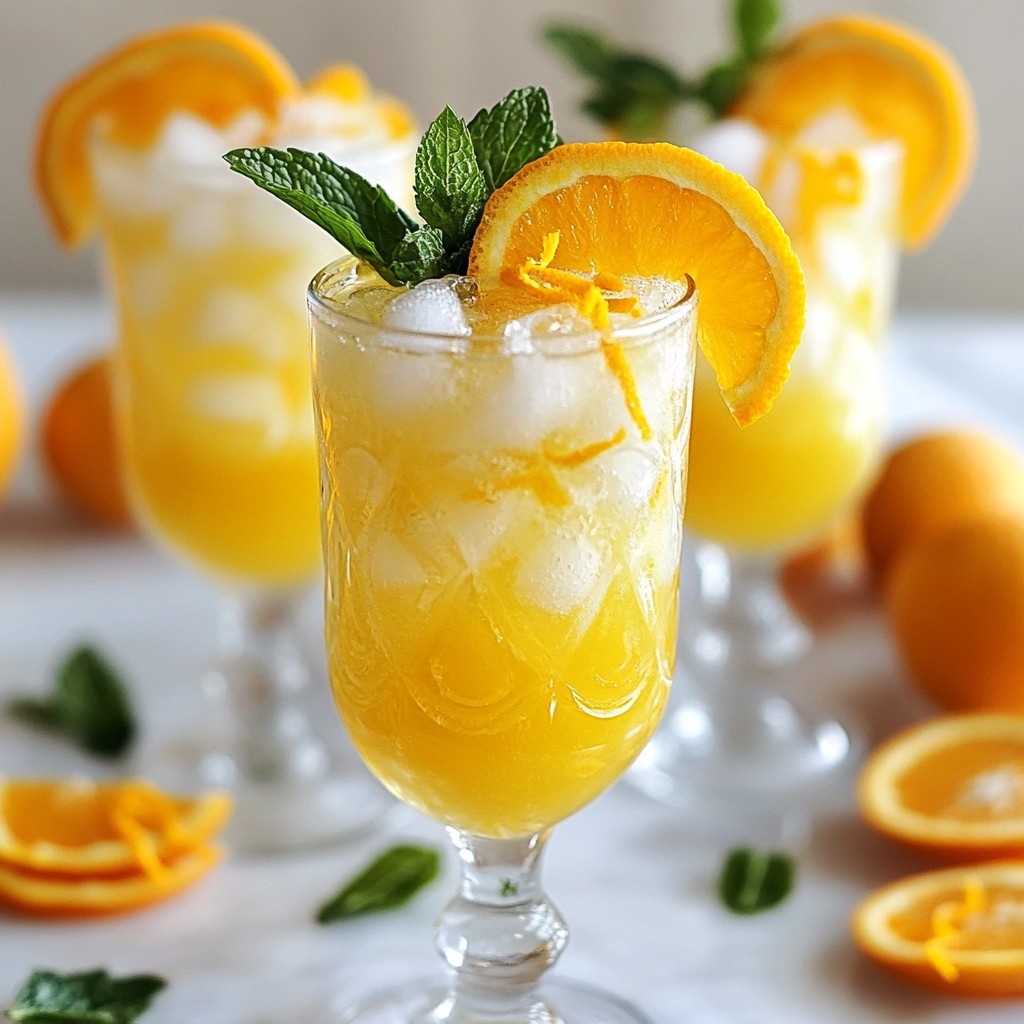
A refreshing and effervescent drink made with freshly squeezed orange juice and sparkling water.
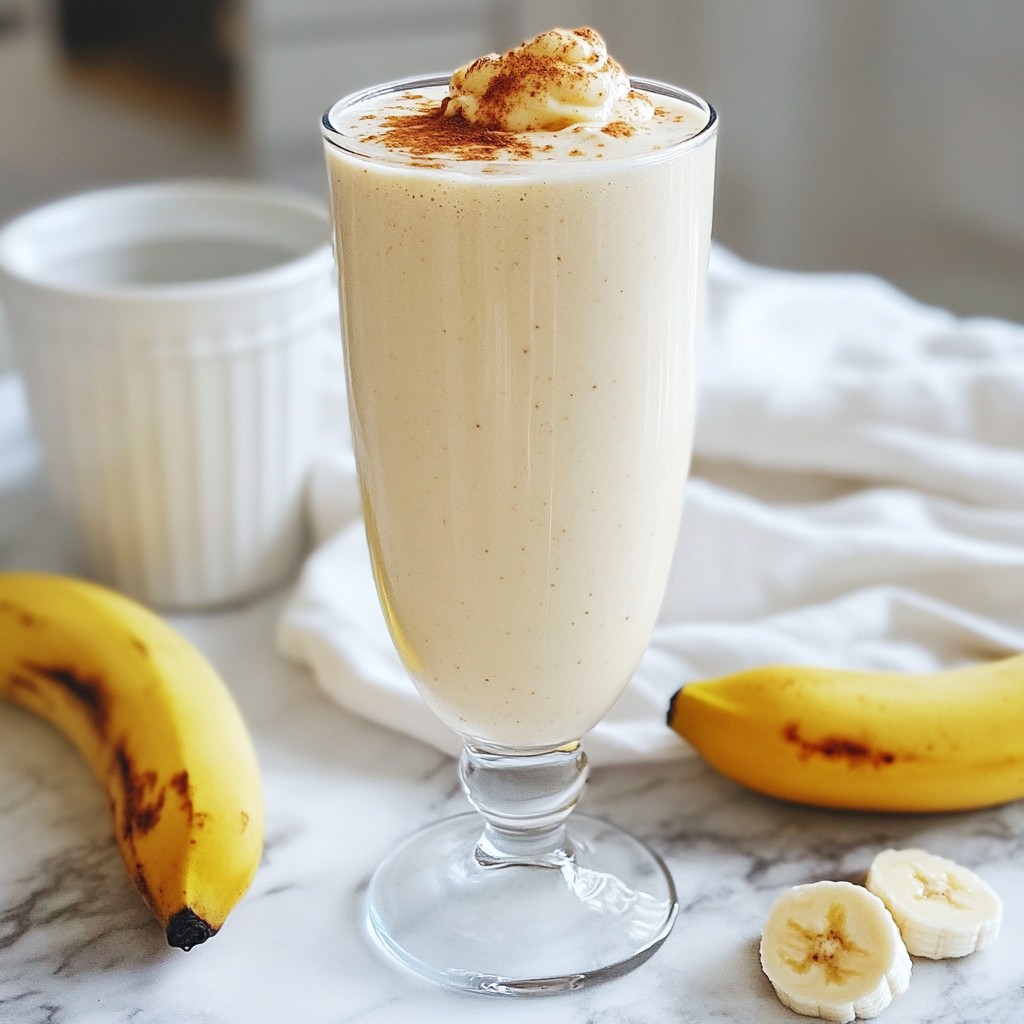
A delicious and nutritious protein shake that tastes like a cinnamon roll.
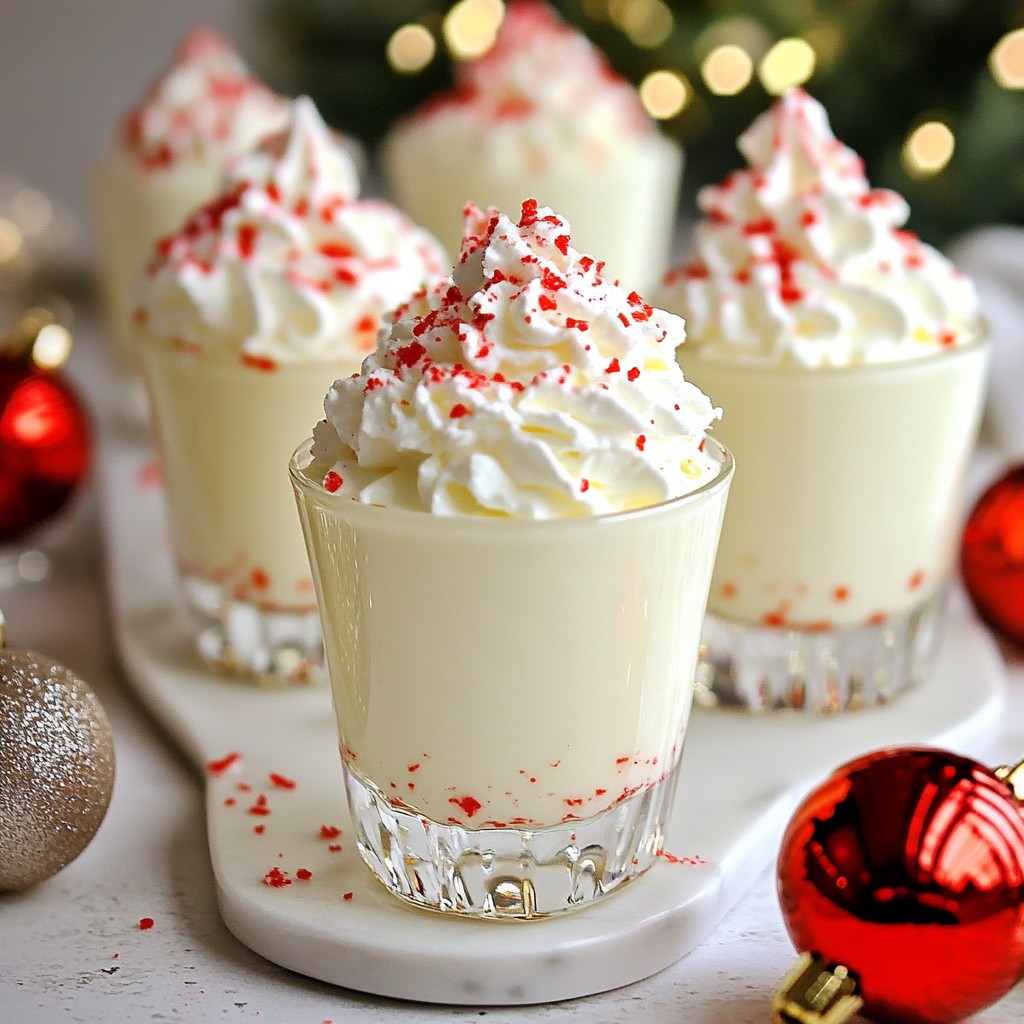
A delightful and festive drink perfect for holiday celebrations, featuring a creamy peppermint flavo...
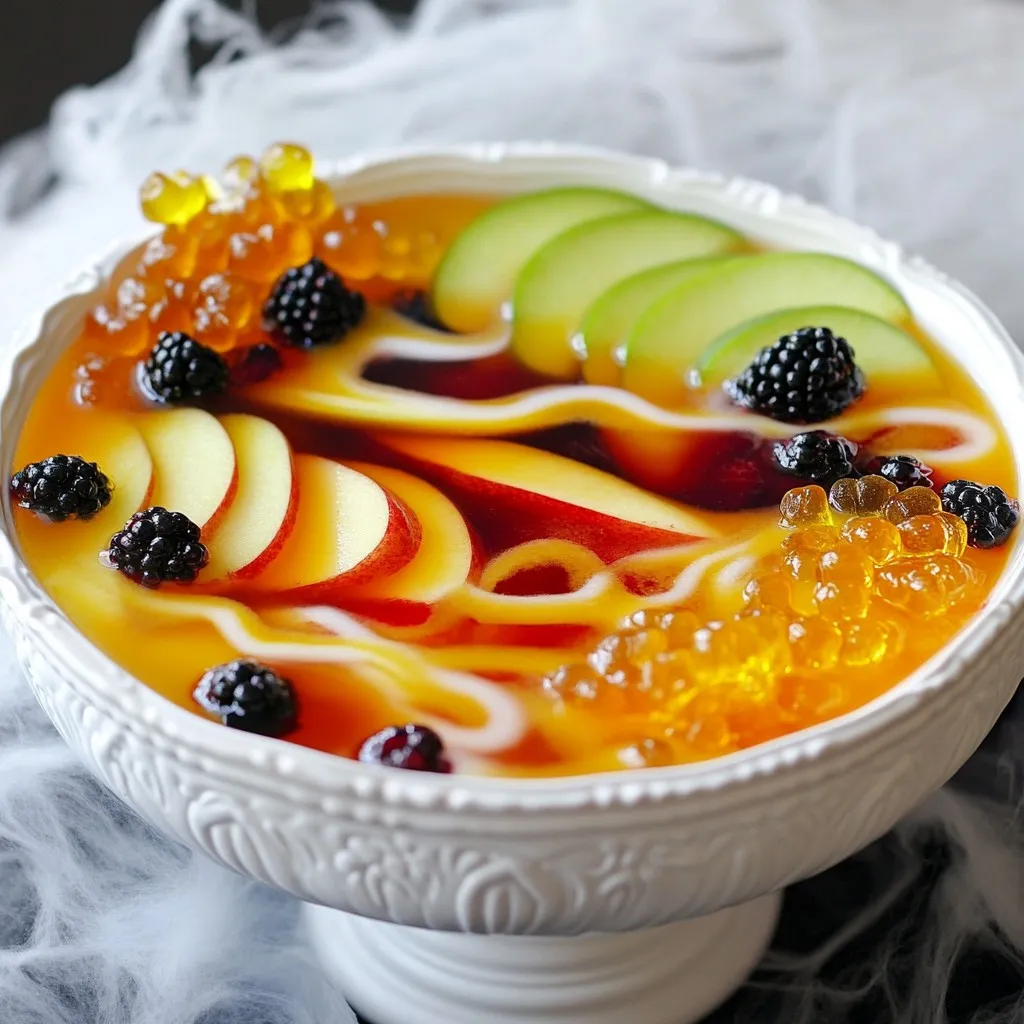
A spooky and refreshing Halloween punch with fruity flavors and a magical fizz.
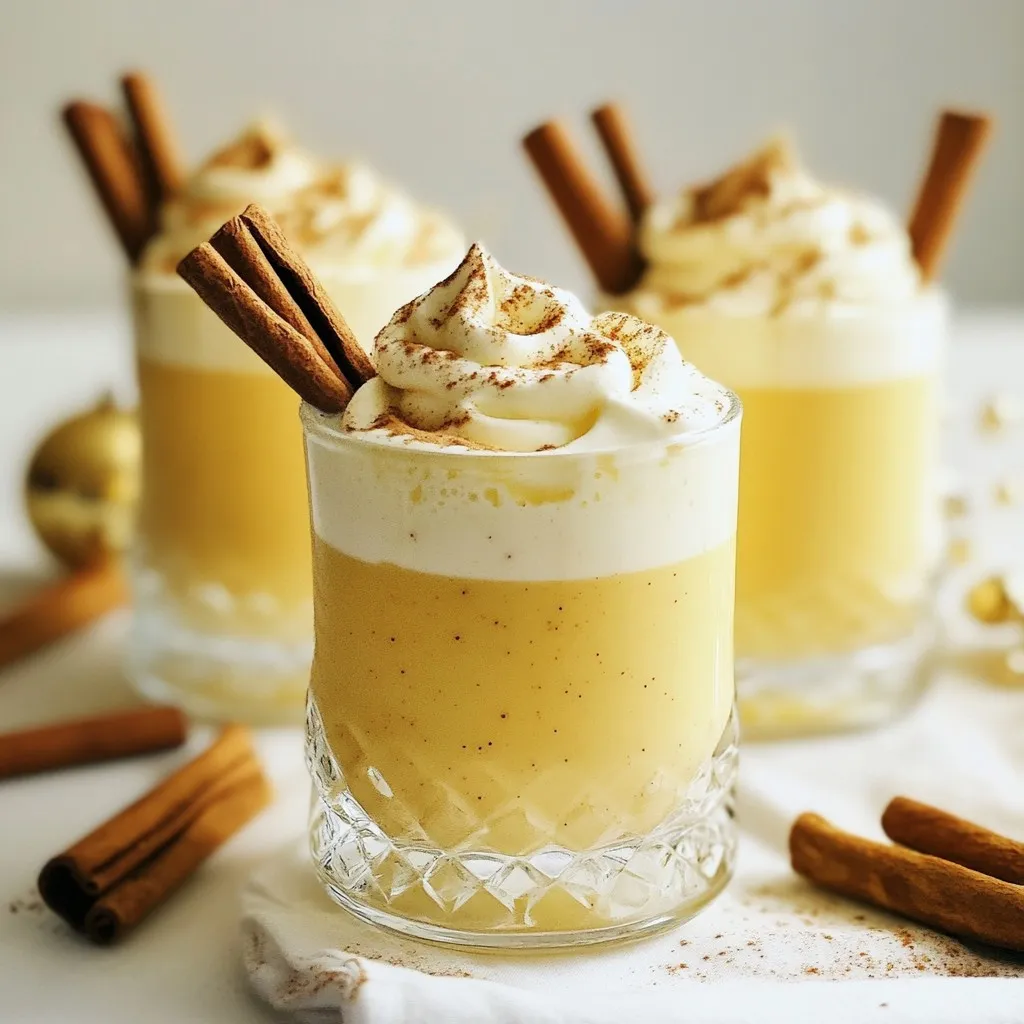
A rich and creamy eggnog infused with cinnamon and nutmeg, perfect for holiday celebrations.
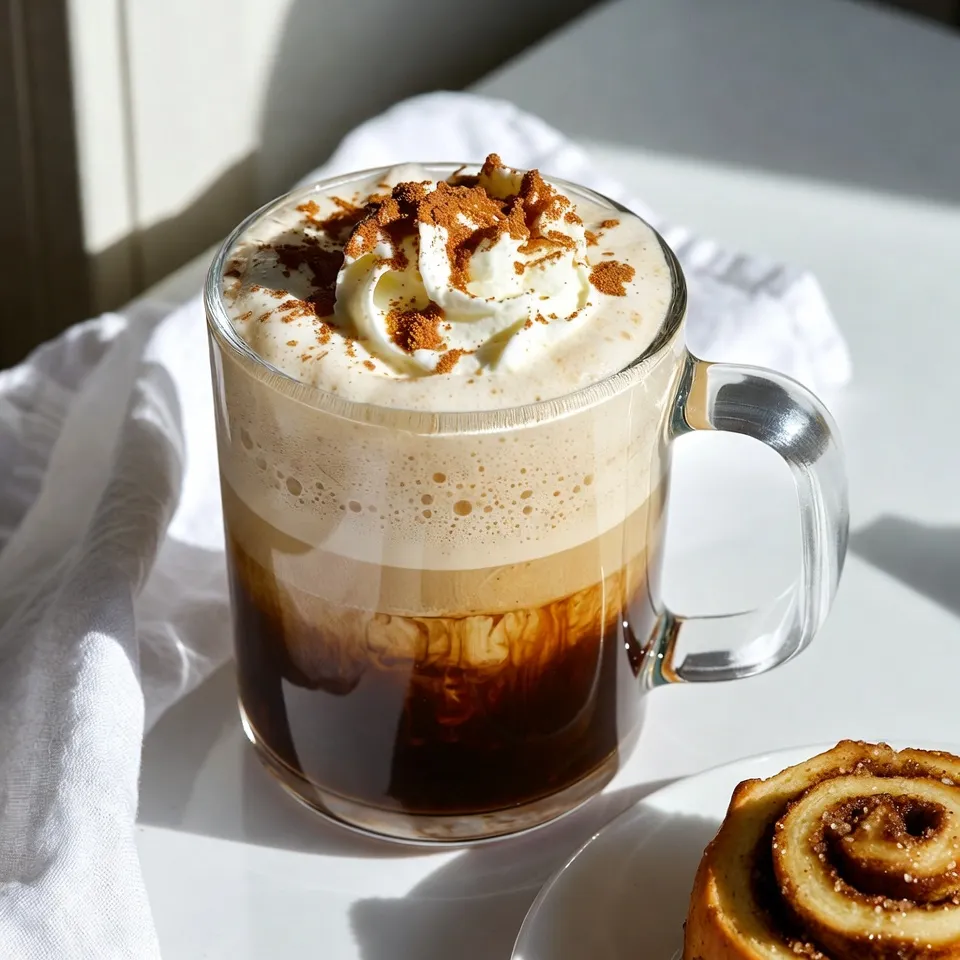
A delightful coffee beverage that combines the flavors of cinnamon rolls with a creamy latte.
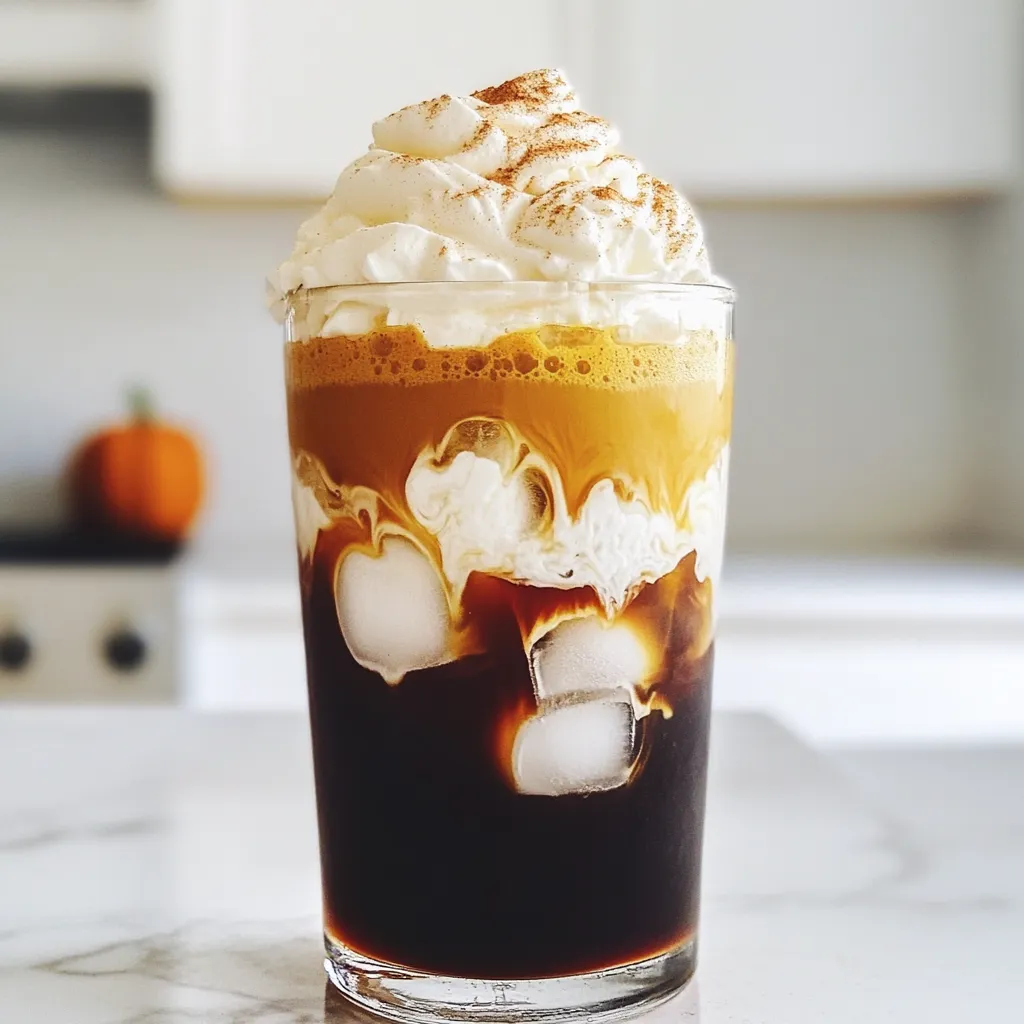
A delicious and creamy pumpkin-flavored cold brew coffee drink perfect for fall.

A comforting and creamy milk tea infused with vanilla and cinnamon, perfect for a cozy drink.

A delicious syrup infused with pumpkin and warm spices, perfect for enhancing your favorite fall bev...