
Strawberry Cheesecake Crunch Bites Delightful Treat
Delicious bite-sized treats featuring a creamy strawberry cheesecake filling on a graham cracker cru...
Delicious recipes
Sweet treats and desserts
Delicious bite-sized treats featuring a creamy strawberry cheesecake filling on a graham cracker cru...
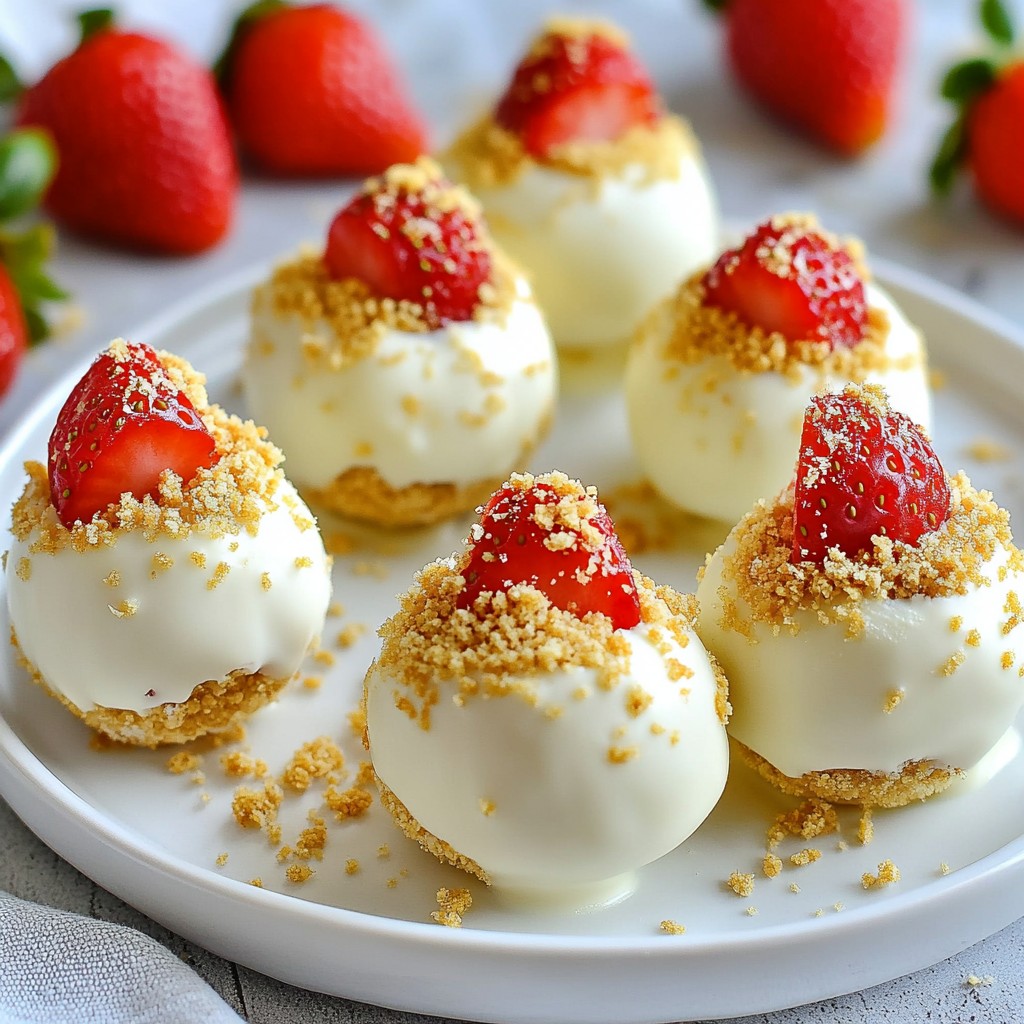
Delicious truffle balls made with fresh strawberries and cream cheese, coated in white chocolate and...
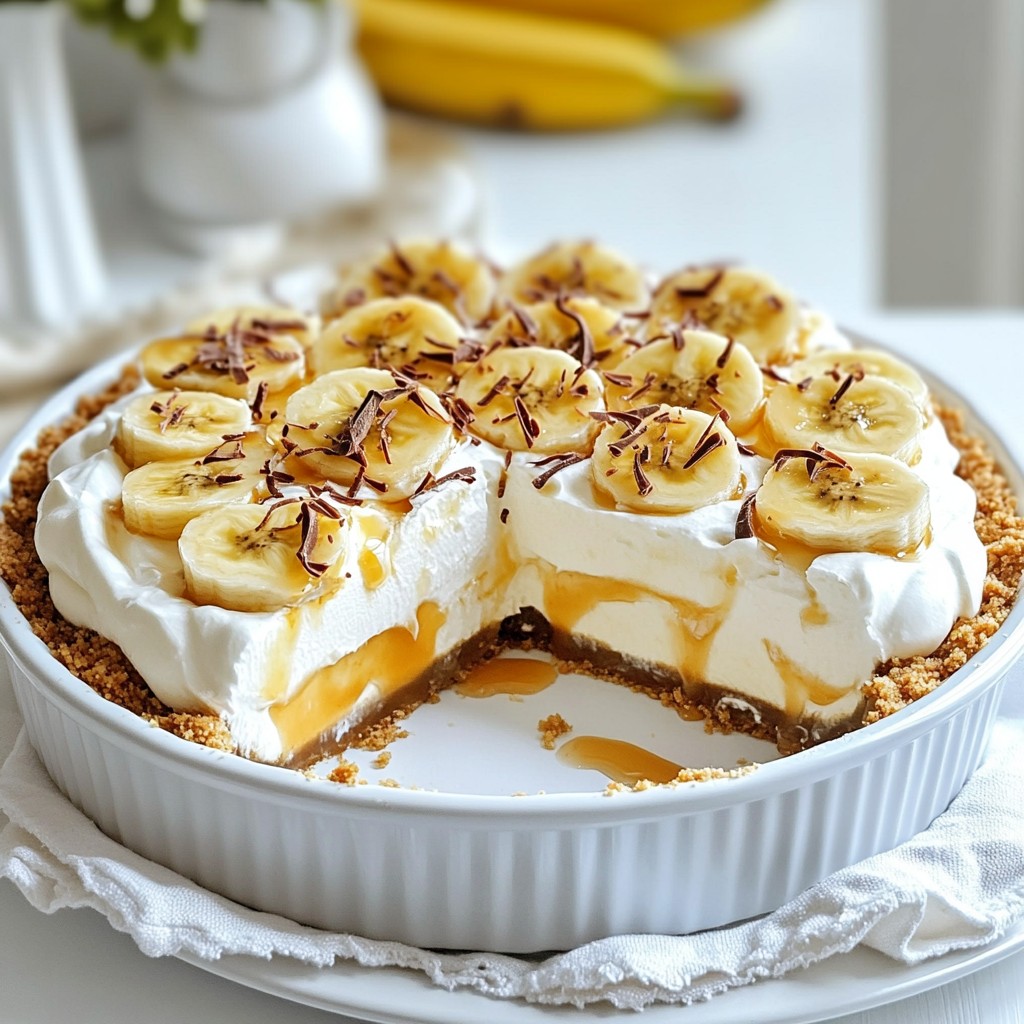
A delicious and easy no-bake dessert featuring layers of bananas, cream cheese, and caramel.
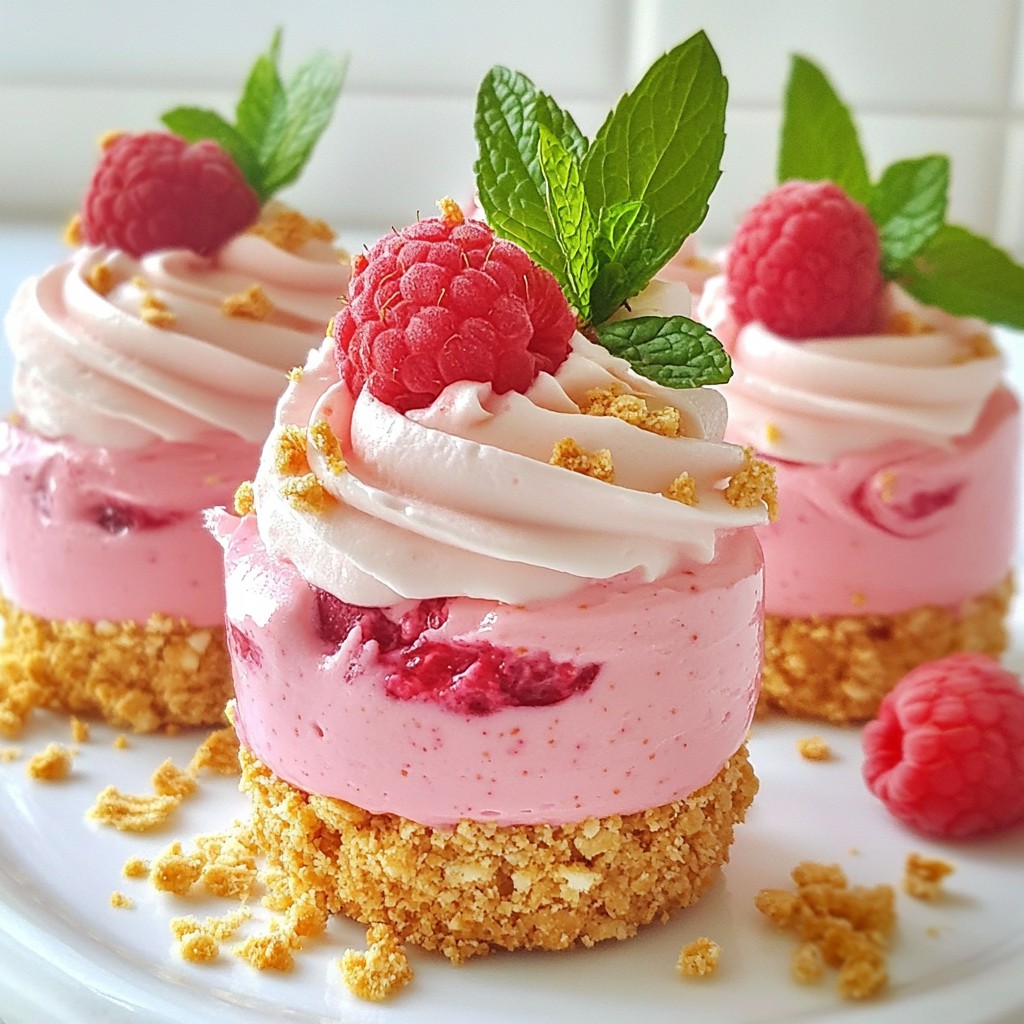
Delicious and fluffy raspberry mousse served in individual cups, perfect for a light dessert.
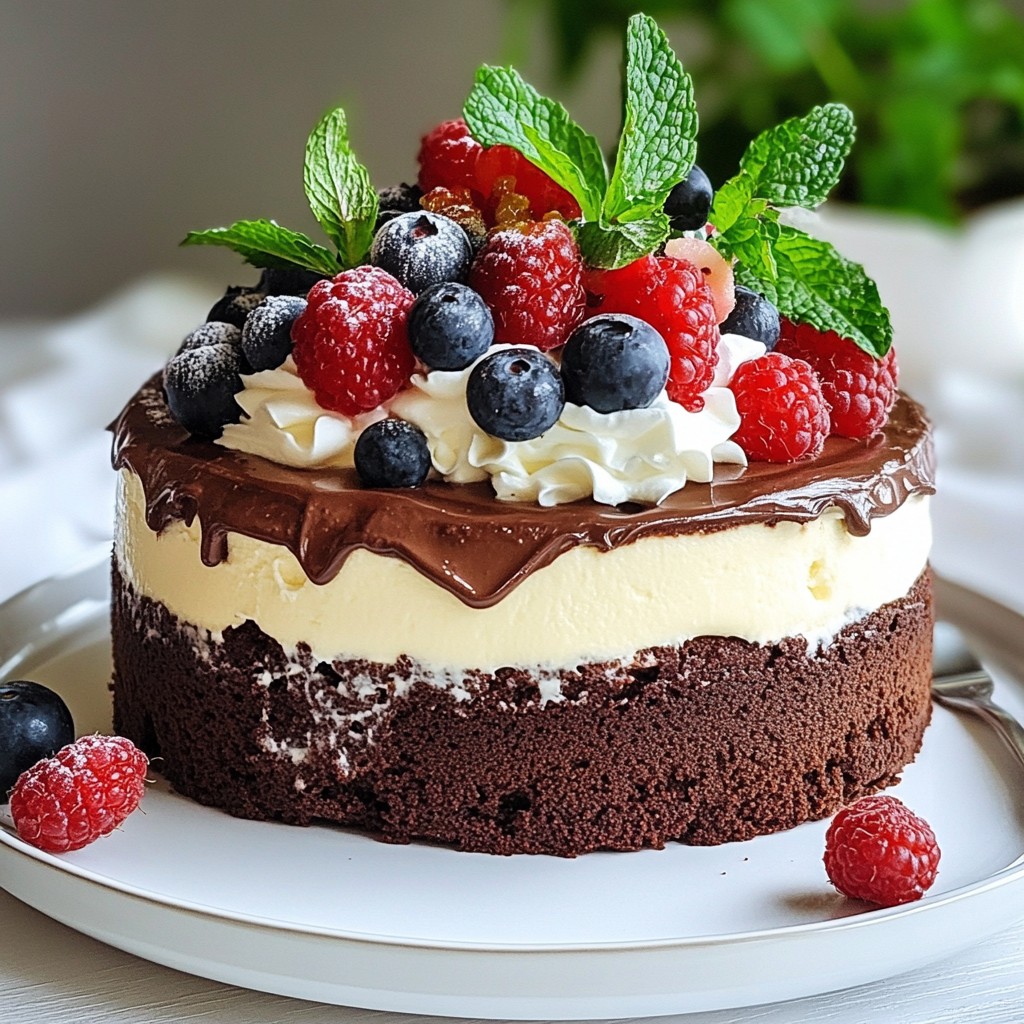
A rich and indulgent dessert combining a brownie base with a light chocolate mousse layer, perfect f...
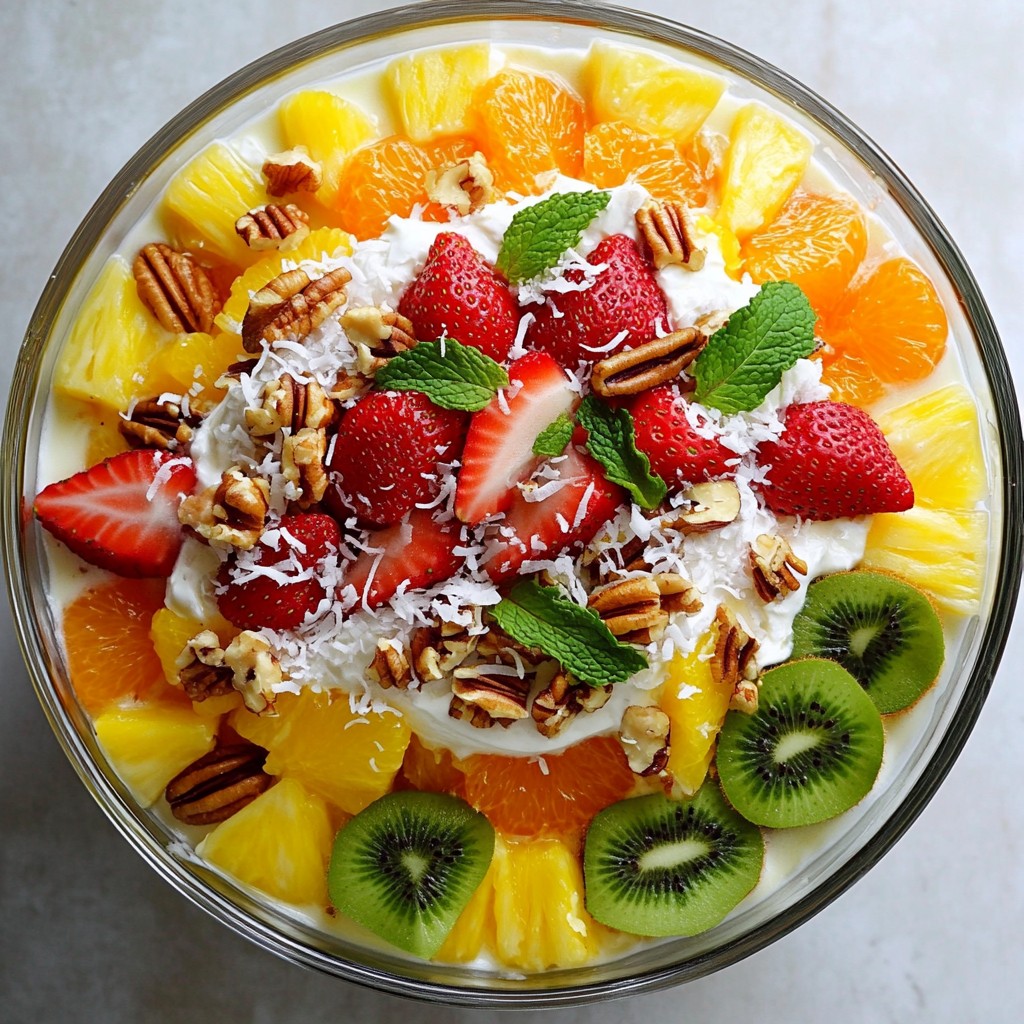
A refreshing fruit salad with a creamy cheesecake base, perfect for summer gatherings.

Deliciously soft and chewy cookies with fresh raspberries, perfect for any occasion.
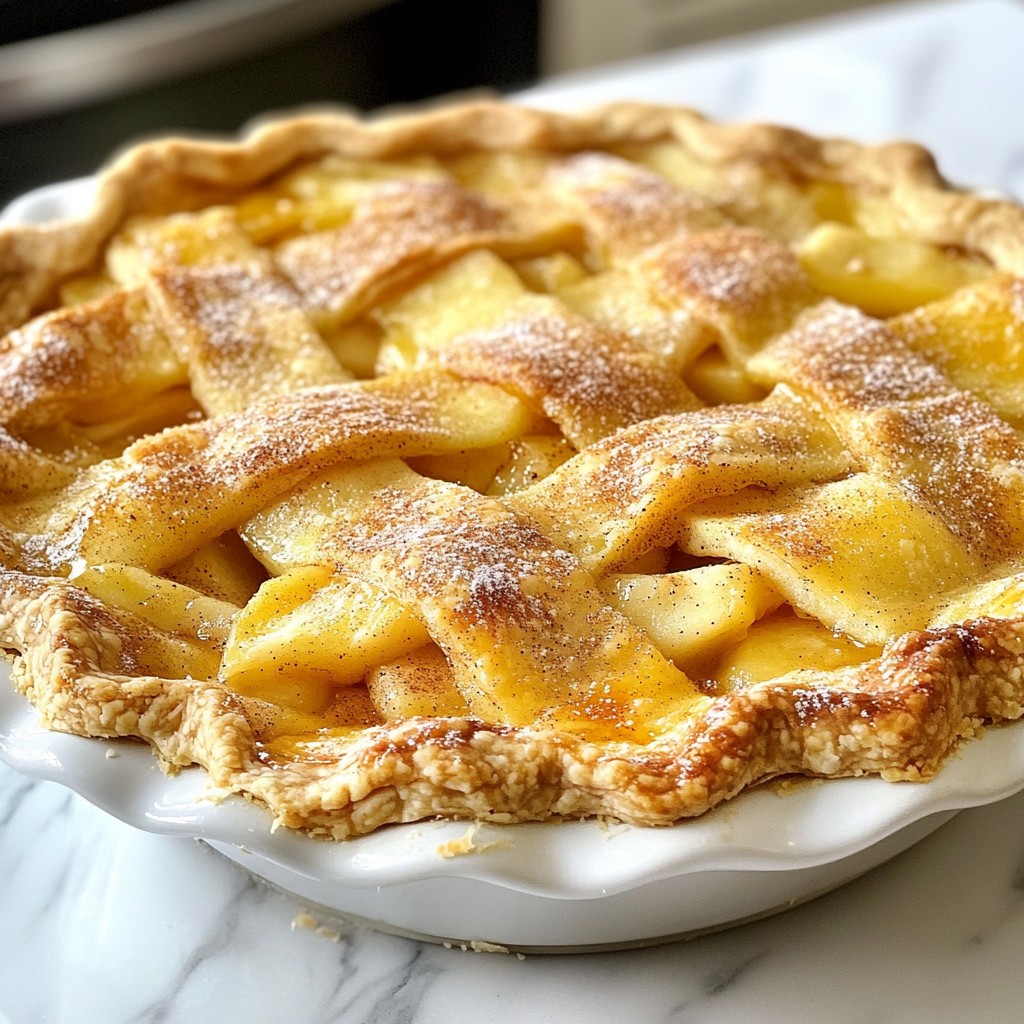
A delicious pie combining tart Granny Smith apples and sharp cheddar cheese for a unique flavor expe...
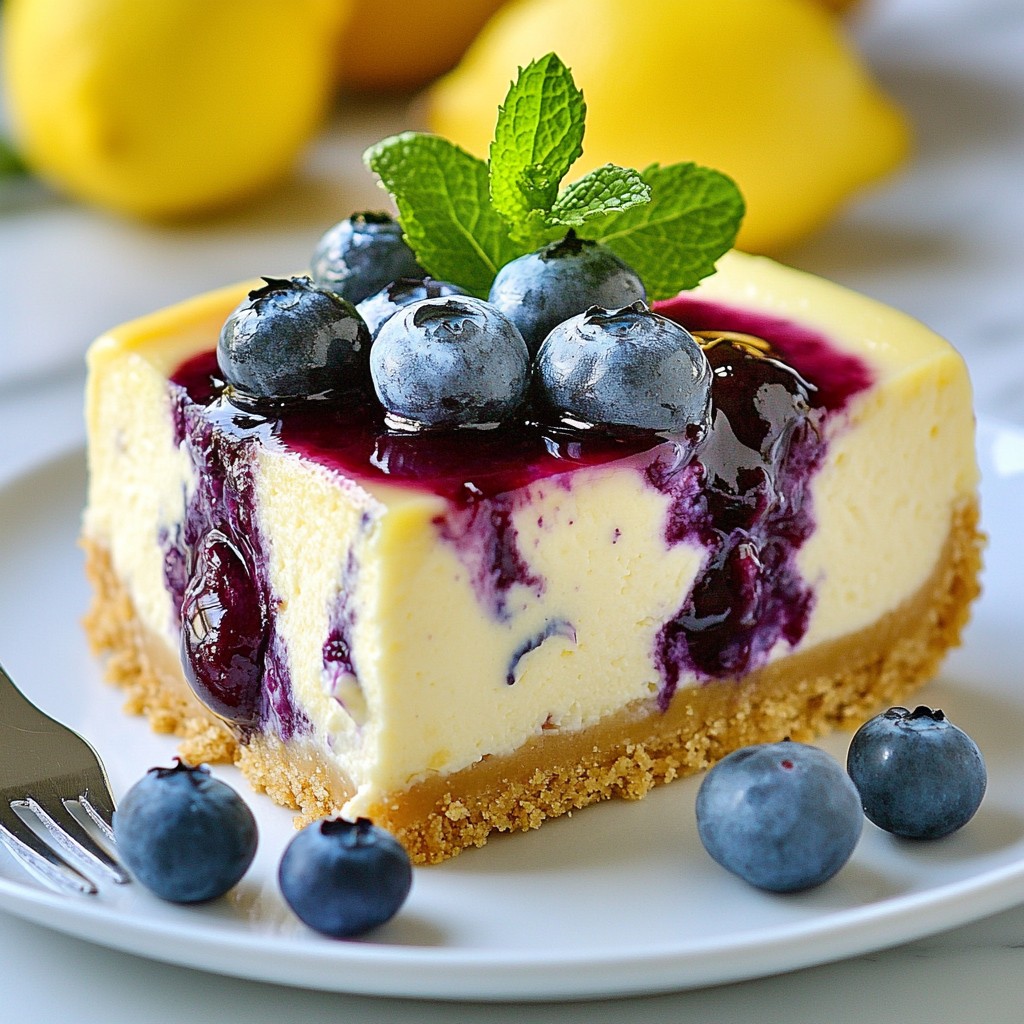
A delicious cheesecake with a tangy lemon flavor and a swirl of fresh blueberry sauce.
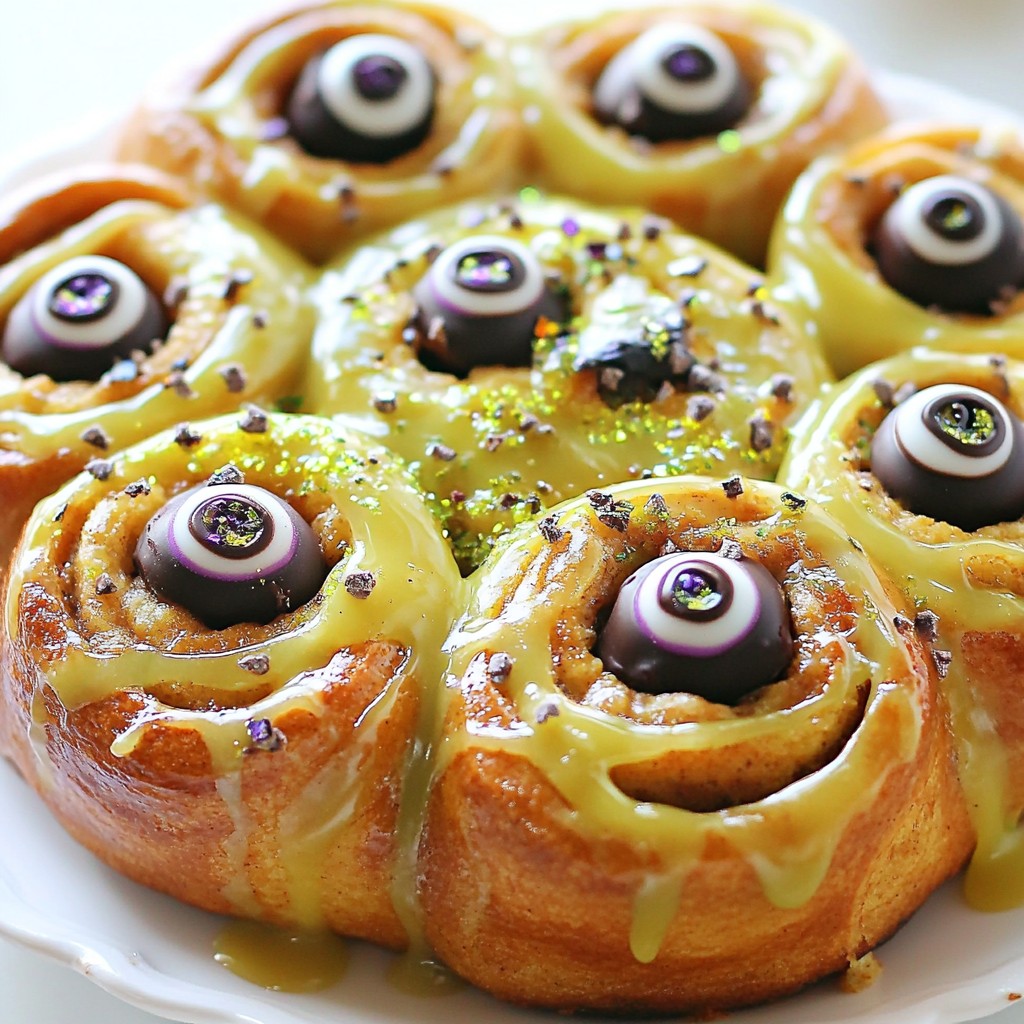
Delicious cinnamon rolls perfect for Halloween, featuring spooky eyes and a festive glaze.
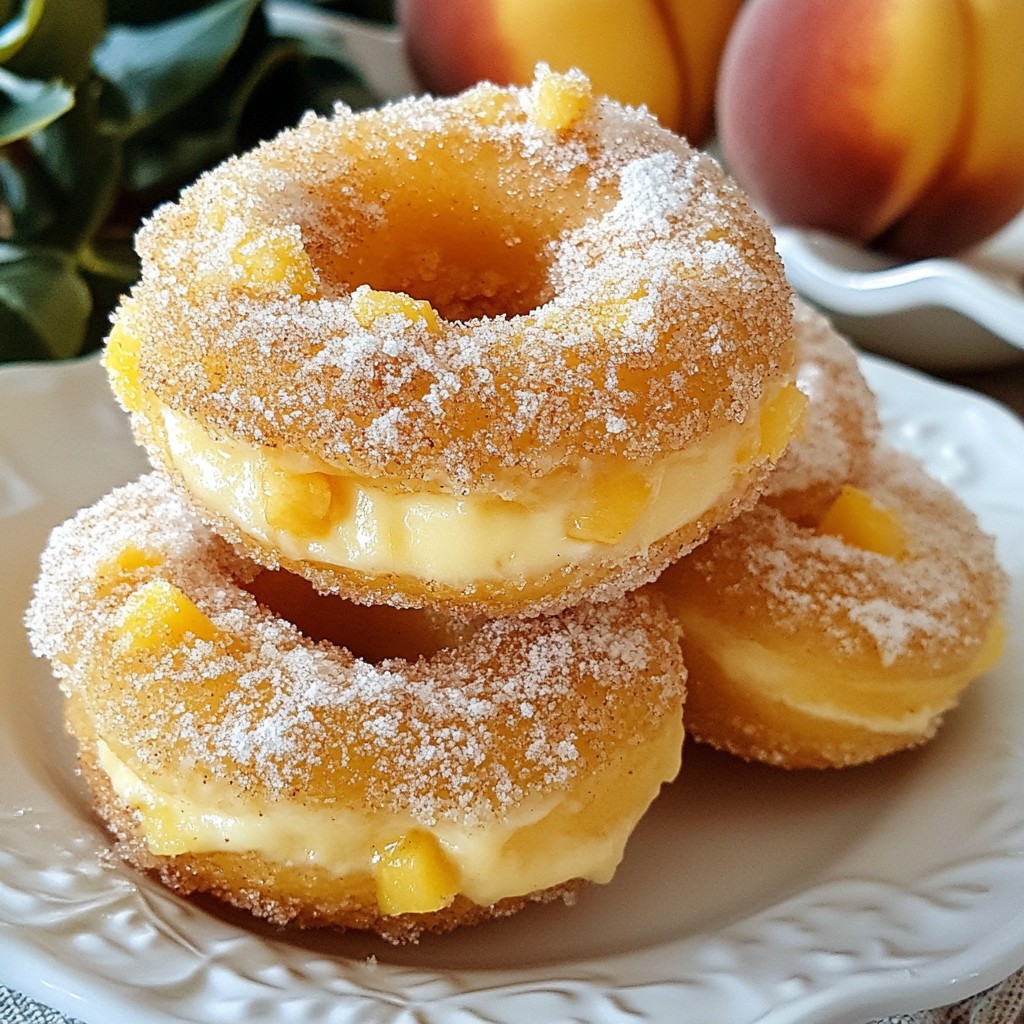
Delicious donuts filled with creamy cheesecake and fresh peaches, topped with a sweet cinnamon sugar...
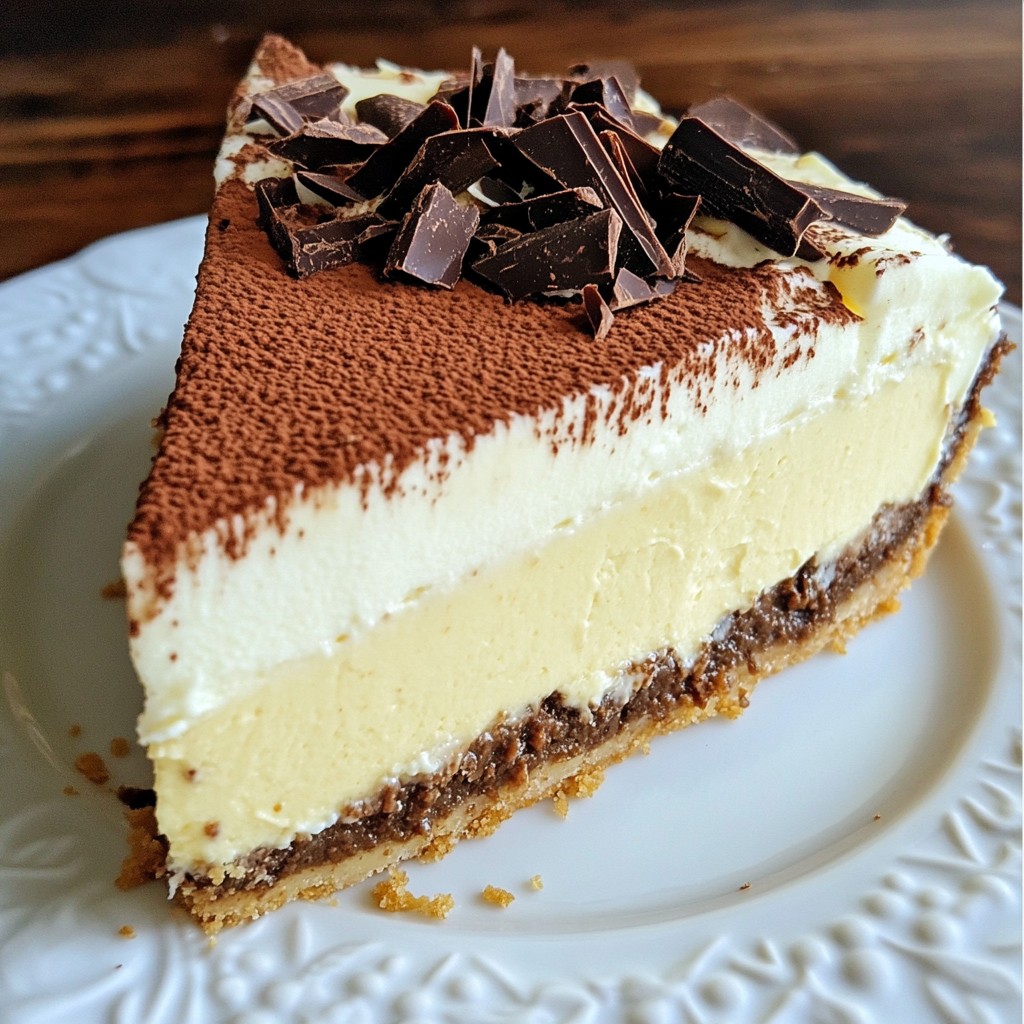
A delicious fusion of classic tiramisu and creamy cheesecake, perfect for coffee lovers.