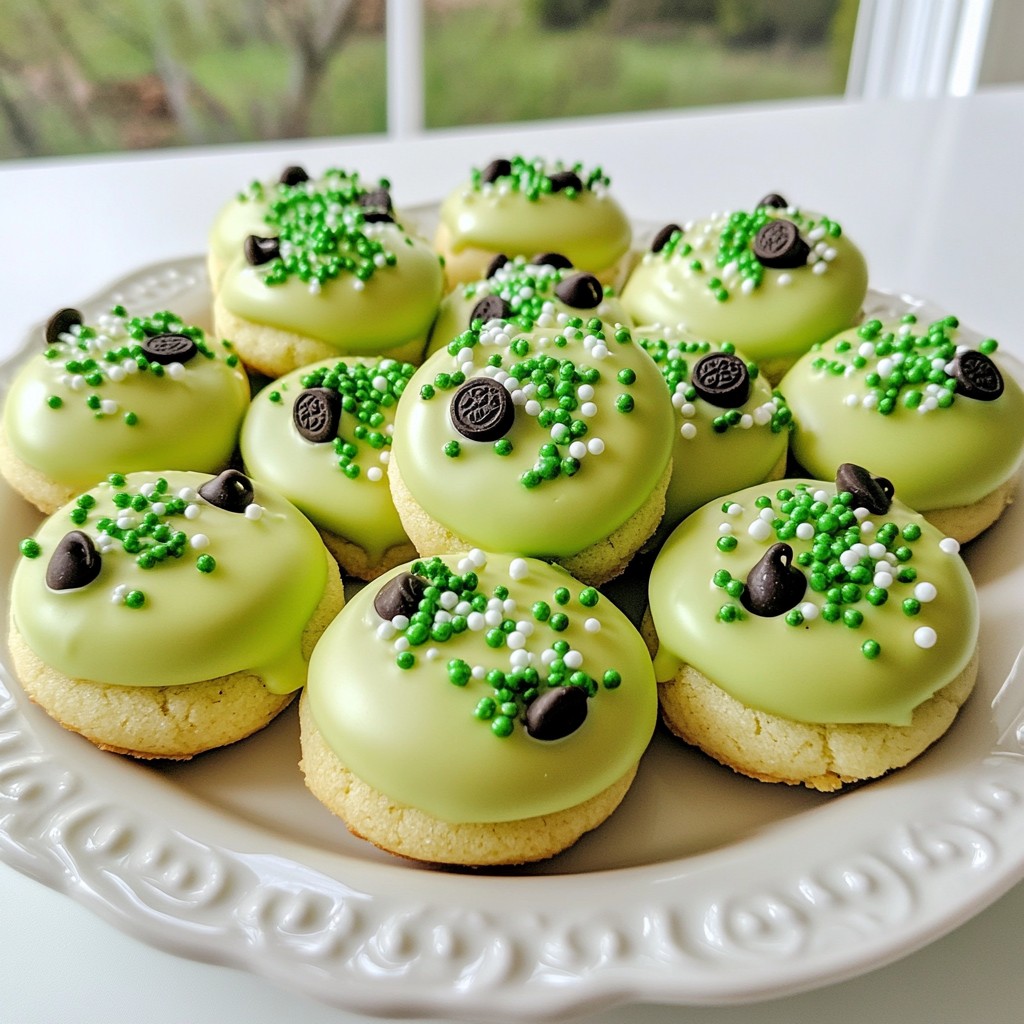
Get ready to celebrate St. Patrick's Day with a sweet twist! My Soft Oreo Shamrock Cookies blend classic cookie flavors with festive green charm. Packed with crushed Oreos, rich chocolate melts, and a hint of fun sprinkles, these cookies are sure to make your holiday bright. Follow my simple recipe to whip up a batch that everyone will love. Let's dive into deliciousness and bring a little magic to your baking!
Why I Love This Recipe
- Festive Flavor: These cookies capture the spirit of St. Patrick's Day with their rich chocolate and vibrant green colors, making them perfect for celebrations.
- Soft and Chewy: Thanks to the unique combination of ingredients, these cookies have a delightful soft and chewy texture that everyone loves.
- Simple Preparation: The recipe is easy to follow, making it a great baking project for both beginners and experienced bakers alike.
- Customizable Fun: You can easily personalize these cookies by adding your favorite mix-ins or adjusting the level of sweetness to suit your taste.
Ingredients
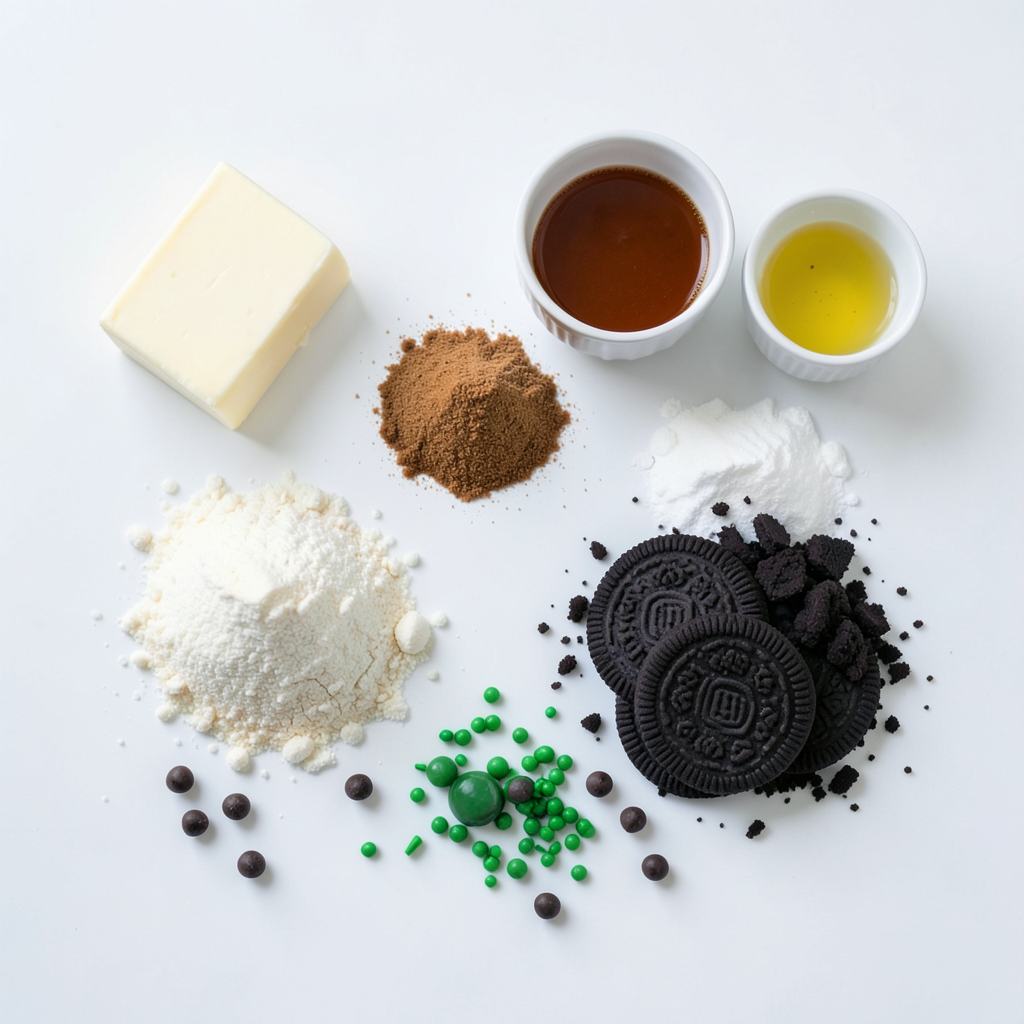
To make Soft Oreo Shamrock Cookies, you need these key ingredients:
- 1 cup unsalted butter, softened to room temperature
- 1 cup granulated sugar
- 1 cup packed brown sugar
- 2 large eggs, at room temperature
- 2 teaspoons pure vanilla extract
- 3 cups all-purpose flour, sifted
- 1 teaspoon baking soda
- 1/2 teaspoon fine salt
- 1 cup crushed Oreo cookies (approximately 8 cookies)
- 1 cup green chocolate melts
- 1/4 cup mini chocolate chips
- 1 tablespoon green sprinkles (optional for garnish)
Each ingredient plays a vital role in creating soft, delicious cookies. The butter gives the cookies a rich taste and soft texture. The sugars add sweetness and help with that lovely chewy feel. Eggs bind everything together, while vanilla adds a warm flavor.
The flour provides structure and stability to the cookies. Baking soda helps them rise, and salt enhances all the flavors. The crushed Oreos add a fun crunch and chocolatey taste. Green chocolate melts give these cookies their festive look, and mini chocolate chips add even more chocolate goodness.
Feel free to add the green sprinkles for a fun touch. They bring a pop of color and a little crunch on top. Enjoy gathering these ingredients and let’s get baking!
Step-by-Step Instructions
Preheat and Prepare
- Preheat your oven to 350°F (175°C).
- Line baking sheets with parchment paper.
Mix Wet Ingredients
- In a bowl, cream together butter, granulated sugar, and brown sugar.
- Add in eggs and vanilla extract. Mix until smooth.
Combine Dry Ingredients and Fold in Mix-ins
- In another bowl, whisk together flour, baking soda, and salt.
- Gradually add this to the wet mixture. Mix on low speed.
- Fold in crushed Oreos, green chocolate melts, and mini chocolate chips.
Shape the Cookies
- Use a spoon to drop rounded tablespoons of dough onto the baking sheets.
- Space cookies about 2 inches apart for even baking.
Bake the Cookies
- Bake for 10-12 minutes. Edges should be set, and centers soft.
- Cool on baking sheets for 5 minutes, then move to wire racks.
Tips & Tricks
Achieving the Perfect Texture
To get soft and chewy cookies, you need to mix the dough just right. Overmixing can make your cookies tough. Always mix until the flour is just combined. This keeps them soft.
It's also key to soften the butter. Use butter at room temperature. This makes it easy to cream with the sugars. Softened butter adds air to the dough, helping your cookies rise.
Customizing Flavor
You can have fun with flavors! Try different Oreo varieties. Mint, peanut butter, or birthday cake Oreos can change the taste. Each will add its own twist to your cookies.
Feel free to add other mix-ins too. Try nuts, dried fruits, or even different chocolates. These add texture and flavor.
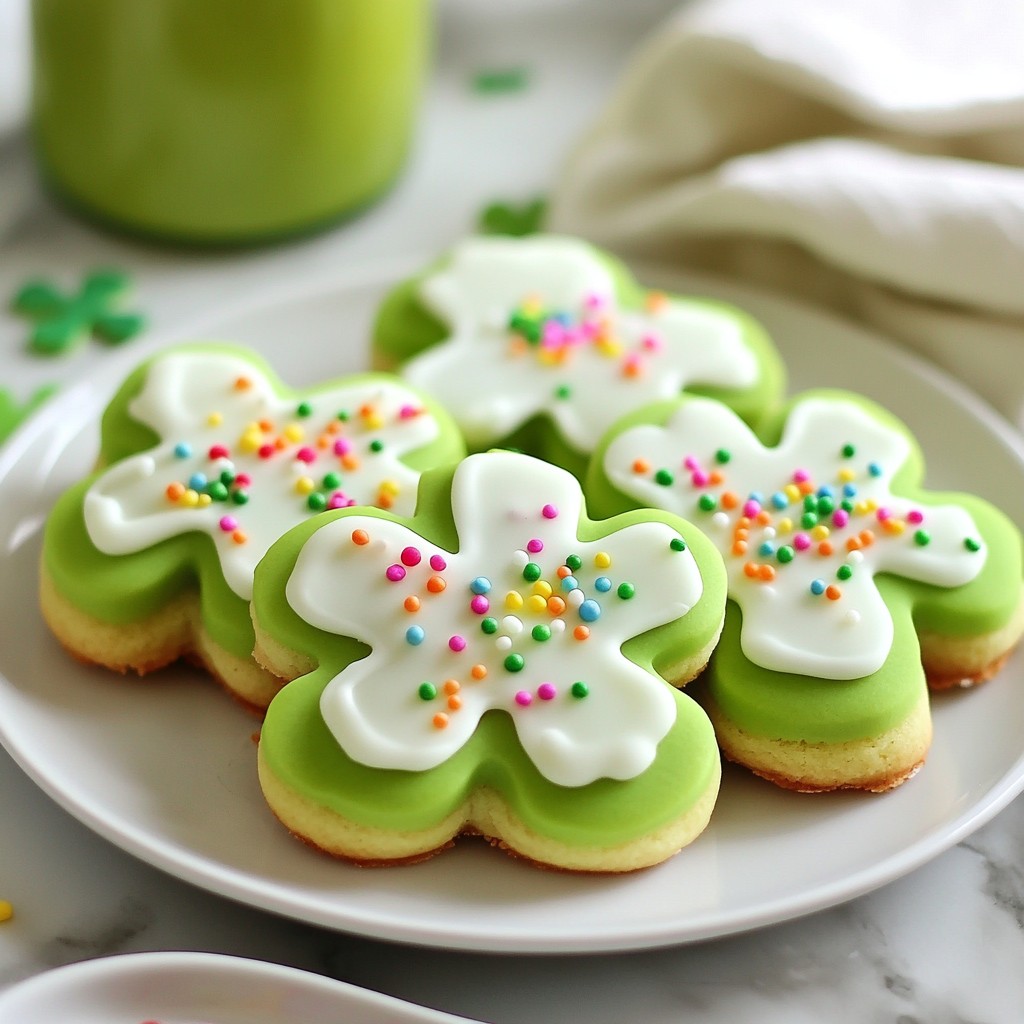
Presentation Suggestions
A festive plate makes your cookies stand out. Arrange them nicely when serving.
To make them extra special, sprinkle crushed Oreo pieces or colorful sprinkles on top. This adds a fun look and makes them more appealing. Your guests will love the added touch!
Pro Tips
- Use Room Temperature Ingredients: Make sure your butter and eggs are at room temperature for better incorporation and a smoother dough.
- Don't Overmix the Dough: Mix the flour just until combined to keep your cookies soft and chewy; overmixing can lead to tough cookies.
- Watch the Baking Time: Keep an eye on the cookies as they bake; they should be slightly underbaked in the center for that soft texture.
- Cool on Wire Racks: Allow the cookies to cool on wire racks to prevent them from becoming soggy and to maintain their texture.
Variations
Gluten-Free Option
If you want to make these cookies gluten-free, it's easy! Just swap out the all-purpose flour for a gluten-free flour blend. Many brands work well, so pick one you like. The texture may change a bit, but the cookies will still taste great.
Dairy-Free Alternative
For a dairy-free version, use vegan butter instead of regular butter. You can also replace the eggs with an egg substitute, like applesauce or flaxseed meal. This change keeps the cookies soft and moist while being friendly to those with dairy allergies.
Additional Flavor Combinations
Want to switch up the flavor? Adding mint extract gives these cookies a fresh, minty twist. Just a teaspoon will brighten the taste. If you prefer, use white chocolate melts instead of green. This change will give a rich, creamy texture that pairs well with the cookies.
Storage Info
How to Store
To keep your Soft Oreo Shamrock Cookies fresh, place them in an airtight container. Store the container at room temperature. This method helps keep the cookies soft and tasty. If you stack them, use parchment paper to separate layers. This prevents sticking.
Freezing Options
You can freeze unbaked cookie dough. Scoop the dough onto a baking sheet and freeze until solid. Then, transfer the dough balls to a freezer bag. They will stay fresh for up to three months. When ready to bake, just add a few extra minutes to the baking time.
You can also freeze baked cookies. Once they cool, place them in a freezer-safe bag. Remove as much air as possible. Baked cookies can last in the freezer for about three months too. When you're ready to enjoy, thaw them at room temperature.
Shelf Life
When stored properly, these cookies can last about a week. They stay fresh and soft if kept in an airtight container. If you freeze them, they remain good for three months. Enjoy your cookies whenever you want a tasty treat!
FAQs
How do I make the cookies more festive?
You can add fun toppings to your cookies. Try using green sprinkles on top. Place some mini chocolate chips on the dough before baking. You can also drizzle white chocolate over the cookies after they cool. For a more vibrant look, add colorful candy pieces or edible glitter. Make a festive plate by arranging the cookies with some extra crushed Oreos and sprinkles. This makes the cookies pop and adds to the fun!
Can I use regular chocolate instead of green melts?
Yes, you can use regular chocolate. Dark or milk chocolate works well too. If you want to keep the festive vibe, try using white chocolate. Just melt it and mix it into the dough like the green melts. You can also use colored candy melts if you want different colors. This way, you can customize your cookies for any occasion!
What should I do if my cookie dough is too sticky?
If your cookie dough is sticky, don’t worry! This can happen sometimes. First, chill the dough in the fridge for about 30 minutes. This helps the butter firm up. If it’s still sticky, add a little more flour, one tablespoon at a time. Mix gently until the dough is easier to handle. You want it soft but manageable. This way, your cookies will bake up nicely!
In this blog post, we explored a fun cookie recipe using simple ingredients. We covered everything from mixing wet and dry bits to baking and cooling. I shared tips on getting the texture just right and customizing flavors. Remember, these cookies can be stored or frozen for later. By substituting ingredients, you can even create dairy-free or gluten-free versions. Enjoy making these cookies for any occasion or just for fun. Happy baking!