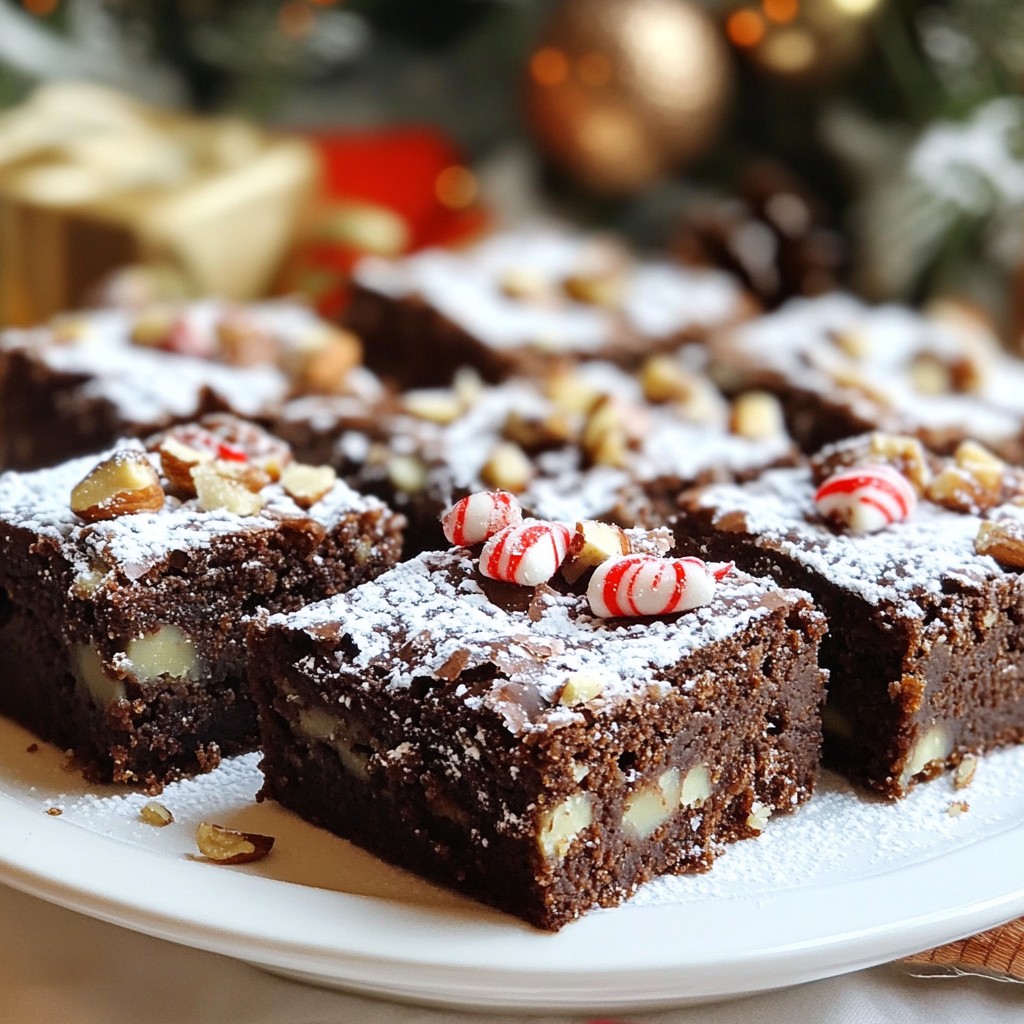
Get ready to bake the perfect treat for your holiday gatherings! In this post, I’ll share my delightful and easy recipe for Snowy Holiday Brownies. These fudgy brownies are a hit with everyone, featuring rich chocolate and a snowy powdered sugar dusting. With simple steps and fun variations, you’ll impress your friends and family. Let’s dive into the ingredients and get baking!
Why I Love This Recipe
- Rich Chocolate Flavor: These brownies are incredibly fudgy and packed with rich chocolate flavor, making them a decadent treat for any chocolate lover.
- Easy to Make: With simple ingredients and straightforward steps, this recipe is perfect for bakers of all skill levels, ensuring great results every time.
- Customizable Toppings: The optional toppings allow you to personalize each brownie, offering a fun and festive way to celebrate the holidays.
- Impressive Presentation: The dusting of powdered sugar creates a stunning snowy effect, making these brownies a beautiful addition to any holiday dessert table.
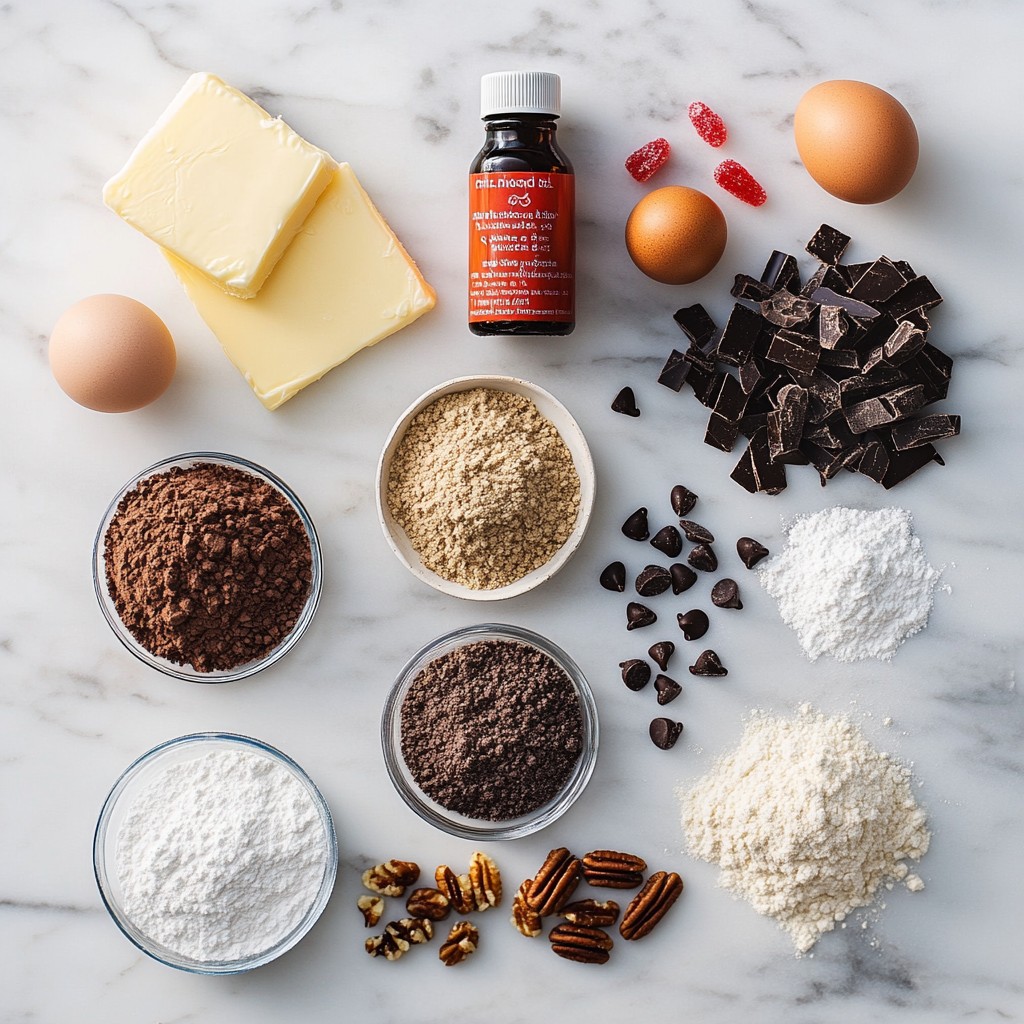
Ingredients
Main Ingredients for Snowy Holiday Brownies
- 1 cup unsalted butter
- 2 cups granulated sugar
- 4 large eggs
Dry Ingredients
- 1 cup all-purpose flour
- 1 cup unsweetened cocoa powder
- 1 teaspoon baking powder
- 1/2 teaspoon salt
Optional Toppings
- 1 cup powdered sugar (for dusting)
- Crushed peppermint candies
- Chopped nuts
The key to perfect brownies starts with the right ingredients. For these Snowy Holiday Brownies, you need unsalted butter, granulated sugar, and large eggs. Butter gives richness and moisture. Sugar adds sweetness and balance. Eggs help bind the mixture, giving it that lovely fudgy texture.
Next, we have the dry ingredients. All-purpose flour gives structure, while cocoa powder adds deep chocolate flavor. Baking powder helps them rise, and a pinch of salt enhances the taste.
For the finishing touch, consider optional toppings. Powdered sugar creates that snowy look. Crushed peppermint candies add a minty crunch, perfect for the season. Chopped nuts offer a delightful bite. You can mix and match these toppings to make your brownies truly festive.
Step-by-Step Instructions
Preparing Your Baking Pan
- Preheat oven to 350°F (175°C).
- Grease or line the 9x13 inch baking pan.
Start by preheating your oven. This step warms the oven and helps the brownies bake evenly. Greasing or lining the pan ensures easy removal later. You can use cooking spray or parchment paper for this.
Mixing Wet Ingredients
- Melt butter and mix with sugar.
- Incorporate eggs and vanilla extract.
Next, melt the butter in a medium saucepan over low heat. Once it melts, remove it from heat. Stir in the granulated sugar until well mixed. Allow this mixture to cool for a few minutes. Then, add the eggs one by one. Mix thoroughly after each egg. Finally, stir in the vanilla extract. This adds a nice flavor to your brownies.
Combining Wet and Dry Ingredients
- Sift dry ingredients together.
- Gradually combine wet and dry ingredients.
- Fold in chocolate chips.
In a large bowl, sift together the flour, cocoa powder, baking powder, and salt. This helps mix the dry ingredients evenly. Gradually pour the wet mixture into the dry ingredients. Stir gently until just mixed. It's okay if the batter has a few lumps. Over-mixing can make the brownies dense. Now, carefully fold in the chocolate chips. They will add pockets of gooey chocolate throughout.
Baking Your Brownies
- Pour batter into prepared pan.
- Bake for 25-30 minutes and check for doneness.
Pour the brownie batter into your prepared pan. Use a spatula to smooth the top. Bake in your preheated oven for 25-30 minutes. To check for doneness, insert a toothpick in the center. It should come out with a few moist crumbs. This means your brownies are fudgy and ready to enjoy.
Final Touches
- Cool brownies completely before slicing.
- Dust with powdered sugar and add toppings.
After baking, let the brownies cool completely in the pan. This helps them set properly. Once cooled, slice them into squares. Dust the top with powdered sugar for that snowy effect. You can also add crushed peppermint candies or chopped nuts for extra flavor and texture. Enjoy your snowy holiday brownies with family and friends!
Tips & Tricks
Achieving the Perfect Fudgy Texture
To get that rich, fudgy texture in your brownies, do not over-mix the batter. When you combine the wet and dry ingredients, stir gently. It’s okay to have small lumps. Over-mixing will make your brownies tough. After baking, check for doneness with a toothpick. Insert it into the center; it should come out with a few moist crumbs. If it’s clean, your brownies may be overcooked.
Best Practices for Dusting with Powdered Sugar
Creating a snowy effect on your brownies is easy. After they cool, use a fine mesh sieve to dust powdered sugar evenly over the top. This gives that lovely winter look. Timing is key! Dust just before serving to keep the sugar from soaking in. This way, your brownies stay beautiful and delicious.
Presentation Ideas for Holiday Gatherings
For a festive touch, use cookie cutters to shape your brownies. This adds fun and charm to your display. Arrange them on a decorative platter for a beautiful presentation. You can also serve extra toppings, like crushed peppermint or nuts, on the side. Let guests customize their own brownies for a fun party treat!
Pro Tips
- Use Quality Chocolate: Opt for high-quality chocolate chips for a richer flavor and a more indulgent brownie.
- Don't Overmix: Mix the batter just until combined to keep the brownies tender and fudgy.
- Cool Completely: Let the brownies cool completely in the pan to ensure they set properly and slice cleanly.
- Experiment with Toppings: Try different toppings like sea salt, caramel drizzle, or sprinkles for a fun twist!
Variations
Flavor Combinations
You can bring fun twists to your brownies. Try adding peppermint extract for a minty flavor. Just a teaspoon can make a big difference. You might also add spices like cinnamon or nutmeg for a gingerbread vibe. These flavors bring warmth and cheer to your dessert.
Dietary Modifications
If you need gluten-free options, use almond flour or a gluten-free blend. These work well in place of all-purpose flour. For vegan brownies, you can swap eggs with aquafaba or flax eggs. Both options help keep your brownies moist and tasty.
Alternate Decorations
To make your brownies even more special, drizzle melted chocolate on top. It adds a rich touch to the snowy look. You can also use Christmas-themed sprinkles or edible glitter for a festive finish. These simple changes make your brownies stand out during the holiday season.
Storage Info
Best Practices for Storing Brownies
Store your Snowy Holiday Brownies at room temperature for a soft texture. Use an airtight container to keep them fresh. If you live in a warm area, the fridge works too. Just remember, cold air can dry them out. Make sure to wrap them well if using the fridge.
Freezing Brownies
To freeze brownies, cut them into squares first. Wrap each square in plastic wrap, then place them in a freezer bag. This keeps them fresh for up to three months. When ready to eat, take them out and let them thaw at room temperature for a couple of hours.
Shelf Life of Snowy Holiday Brownies
These brownies stay tasty for about 5 days at room temperature. Look for any signs of spoilage, like a strange smell or dryness. If they start to harden, they may not taste as good. Enjoy them while they are fresh for the best flavor!
FAQs
Can I make these brownies ahead of time?
Yes, you can make these brownies ahead of time. Here are some tips:
- Bake and cool: Bake the brownies and let them cool completely.
- Wrap tightly: Wrap them in plastic wrap or foil to keep them fresh.
- Store in the fridge: You can store them in the fridge for up to a week.
- Freeze for longer: For longer storage, freeze the brownies for up to three months.
How can I customize the sweetness of the brownies?
You can easily adjust the sweetness. Here’s how:
- Reduce sugar: Cut down on the granulated sugar by up to 1/2 cup.
- Use alternatives: Try using coconut sugar or maple syrup.
- Taste as you go: Always taste your batter to find the right level of sweetness.
What if I don't have chocolate chips?
No chocolate chips? No problem! Here are some substitutes:
- Chopped chocolate: Use chopped chocolate bars instead of chips.
- Cocoa nibs: Try cocoa nibs for a more intense chocolate flavor.
- White chocolate or butterscotch chips: These can add a fun twist to your brownies.
Can I add nuts to the brownie mix?
Absolutely! Nuts can add great texture and flavor. Here’s what to consider:
- Best nuts: Walnuts or pecans work well in brownie mixes.
- Recommended quantity: Add about 1/2 to 1 cup of chopped nuts to your batter.
- Mix in gently: Fold them in carefully to avoid over-mixing your batter.
These brownies are perfect for your holiday fun. We covered the main ingredients like butter and sugar. You learned simple steps for baking and tips for a perfect texture. Remember, you can add toppings or change flavors to suit your taste.
In the end, don't rush. Take your time for the best brownies. Enjoy making these treats and sharing them with friends and family.