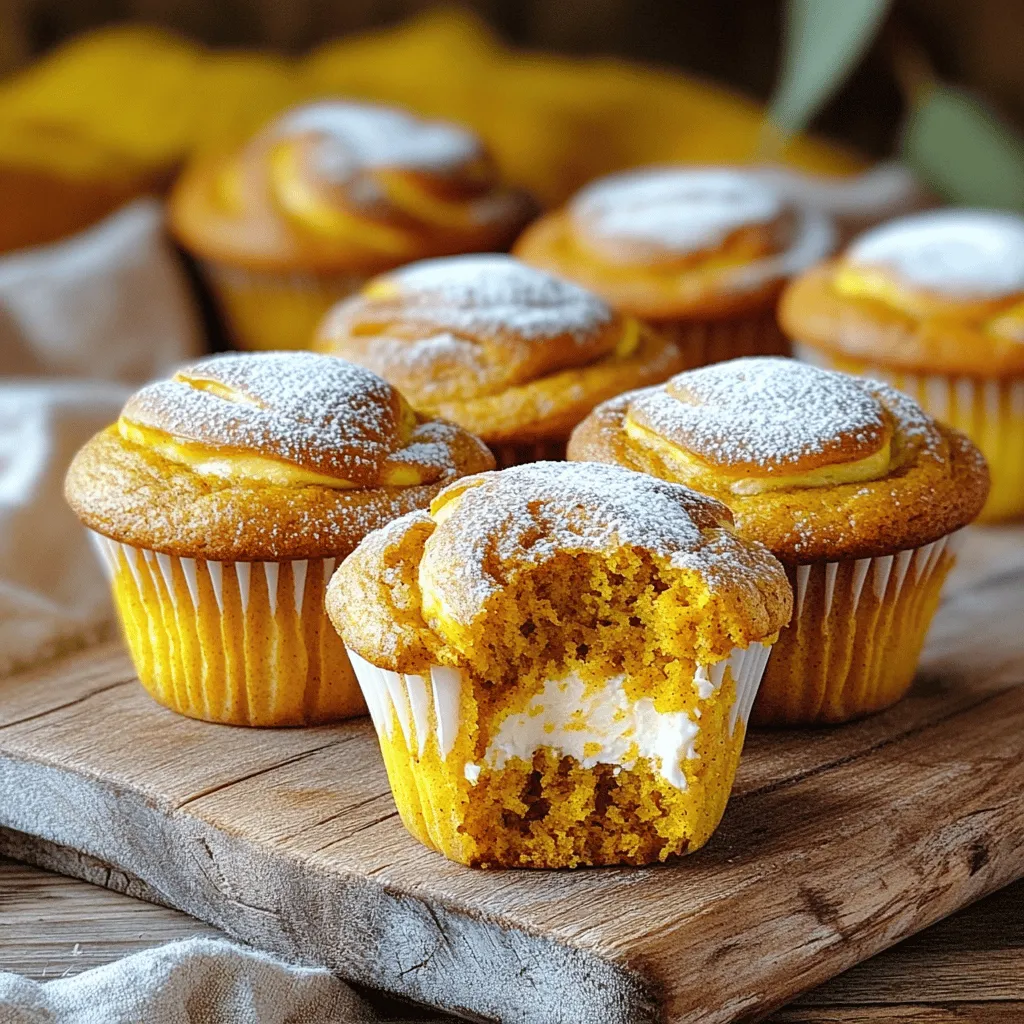
Fall is here, and it’s time to bake! Pumpkin cream cheese muffins are the perfect treat for this cozy season. They are soft, flavorful, and filled with creamy goodness. You can easily whip them up at home with simple ingredients. Whether you enjoy them for breakfast or as a snack, these muffins will quickly become your new favorite. Let’s dive in and start baking these delicious muffins together!
Ingredients
Dry Ingredients
– 1 ½ cups all-purpose flour
– ½ teaspoon baking soda
– 1 teaspoon baking powder
– ½ teaspoon salt
– 1 teaspoon ground cinnamon
– ½ teaspoon ground nutmeg
– ¼ teaspoon ground ginger
Wet Ingredients
– ¾ cup granulated sugar
– ½ cup packed brown sugar
– ½ cup vegetable oil
– 2 large eggs
– 1 cup canned pumpkin puree
– 1 teaspoon vanilla extract
Cream Cheese Filling
– 8 oz cream cheese, softened
– ¼ cup powdered sugar
– 1 teaspoon vanilla extract
The right mix of ingredients makes these pumpkin cream cheese muffins a fall treat. First, we start with dry ingredients. Flour gives structure while baking soda and baking powder help them rise. The spices—cinnamon, nutmeg, and ginger—bring warmth and flavor that says autumn.
Next, we have the wet ingredients. Granulated and brown sugar add sweetness and moisture. Vegetable oil keeps them soft. Eggs bind everything together, and pumpkin puree adds that cozy fall flavor. Don’t forget the vanilla extract for a hint of sweetness.
Lastly, we make the cream cheese filling. Softened cream cheese mixes with powdered sugar and more vanilla. This mix adds a creamy surprise inside each muffin.
Step-by-Step Instructions
Prepping for Baking
– Preheat the oven to 350°F (175°C).
– Line the muffin tin or grease cups.
Start by preheating your oven. This ensures even baking. While the oven heats, prepare your muffin tin. You can use paper liners or grease the cups. This helps the muffins come out easily.
Making the Cream Cheese Filling
– Combine cream cheese, powdered sugar, and vanilla until smooth.
In a bowl, mix the softened cream cheese with the powdered sugar. Add a teaspoon of vanilla extract for flavor. Use a mixer or a whisk to blend until smooth. This filling adds creaminess to each bite.
Mixing the Batter
– Whisk together dry ingredients.
– Combine wet ingredients separately.
– Fold wet into dry ingredients.
In a large bowl, whisk the flour, baking soda, baking powder, salt, and spices. This mix gives the muffins flavor. In another bowl, combine the sugars, oil, and eggs. Mix well, then add pumpkin and vanilla. Pour the wet mix into the dry ingredients. Stir gently until just combined. It’s okay if it’s a bit lumpy; don’t over-mix.
Assembling Muffins
– Fill muffin cups with batter and cream cheese filling.
– Layer with remaining batter.
Using a spoon, fill each muffin cup halfway with batter. Add a dollop of cream cheese filling on top. Then, cover the filling with more batter until the cups are two-thirds full. This layers the flavors nicely.
Baking and Cooling
– Bake muffins and check doneness.
– Let muffins cool in tin before transferring.
Place the muffin tin in the oven. Bake for 20 to 25 minutes. To check if they are done, insert a toothpick in the center. If it comes out clean, they are ready. Once baked, let the muffins cool in the tin for about 5 minutes. Then, move them to a wire rack to cool completely.
Tips & Tricks
Baking Tips
– Avoid over-mixing the batter: Over-mixing makes muffins tough. Stir gently until just combined.
– Check for doneness with a toothpick: Stick a toothpick in the center. If it comes out clean, your muffins are ready.
Presentation Suggestions
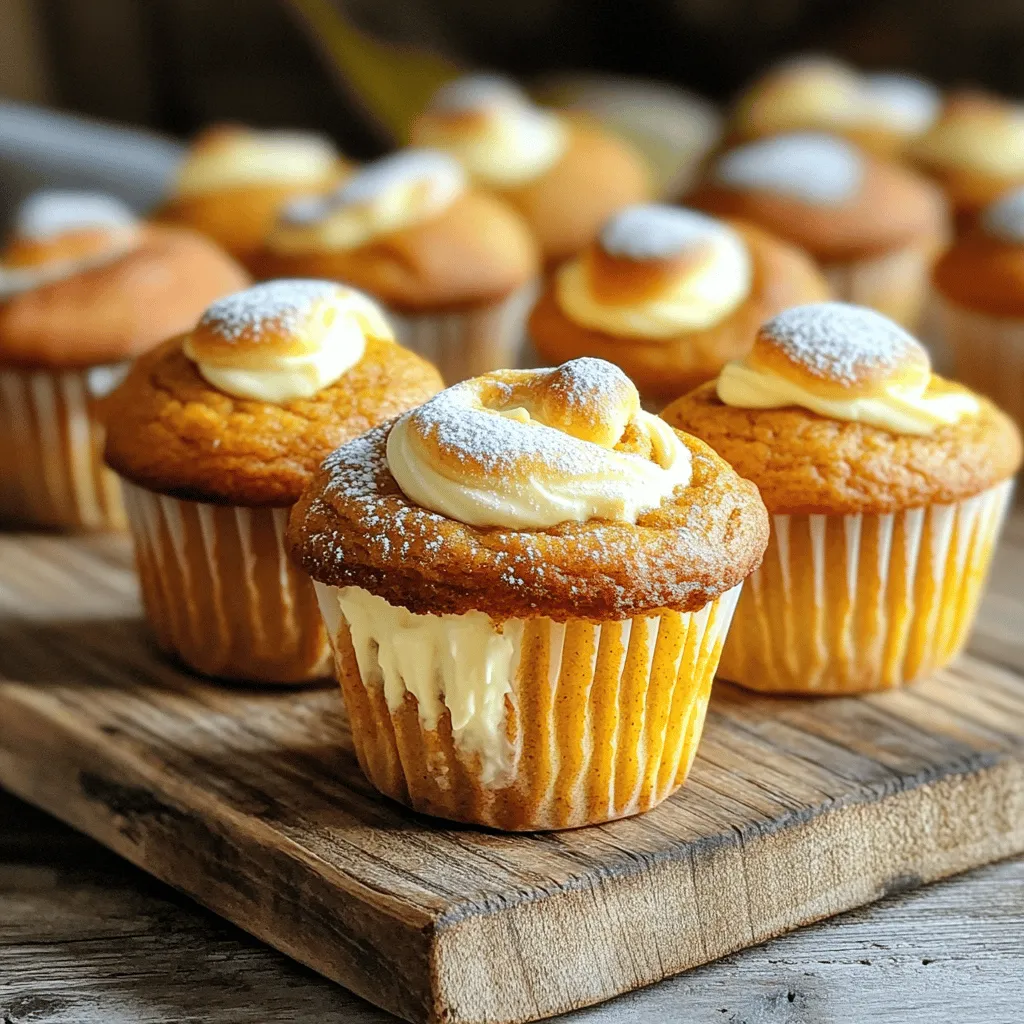
– Dust with powdered sugar: This adds a sweet touch and makes them look pretty.
– Top with whipped cream cheese: A swirl of cream cheese makes them extra special.
Flavor Enhancement
– Add chocolate chips or nuts for extra texture: They add a delightful crunch. You can use walnuts or pecans for a nutty flavor.
– Experiment with spices for unique flavors: Try adding cardamom or allspice for a twist. You can mix and match to find your favorite blend.
These tips will help you create the best pumpkin cream cheese muffins ever!
Variations
Gluten-Free Version
You can make these muffins gluten-free! Use a gluten-free flour blend instead of all-purpose flour. Look for one that has xanthan gum to help with texture. Also, swap baking powder with gluten-free baking powder. This keeps your muffins light and fluffy.
Vegan Adaptation
Want a vegan version? Replace the eggs with flaxseed meal. Mix one tablespoon of flaxseed meal with three tablespoons of water. Let it sit for a few minutes until it thickens. For the cream cheese, use vegan cream cheese options available in stores. This keeps the rich taste without any animal products.
Seasonal Add-ins
Add cranberries or walnuts for a fun twist! Fold in one cup of fresh or dried cranberries. They add a nice tart flavor. If you like nuts, mix in half a cup of chopped walnuts. They give a great crunch and make your muffins even better.
Storage Info
Storing
To keep your pumpkin cream cheese muffins fresh, store them in airtight containers. This will help them stay moist and flavorful. You can keep them at room temperature for up to three days. For longer storage, refrigerate them for about a week. If you want to save them for later, freezing is a great option. Place the muffins in freezer-safe bags or containers. They can last for up to three months in the freezer. Just remember to label them with the date, so you know when they were frozen.
Reheating Guidelines
When you’re ready to enjoy your muffins again, reheating them is easy. The best method is to use the oven. Preheat it to 350°F (175°C). Place the muffins on a baking sheet and heat them for about 10 minutes. This helps maintain their soft texture. If you’re in a hurry, you can microwave them for about 15 to 20 seconds. Just be careful not to overheat them, or they may become dry. Enjoy your pumpkins muffins warm for the best taste!
FAQs
Can I make these muffins ahead of time?
Yes, you can make these muffins ahead of time. To do this, bake them and let them cool completely. Then, store them in an airtight container. You can also freeze the muffins for longer storage. Wrap each muffin in plastic wrap, then place them in a freezer bag. When you want to enjoy them, thaw them overnight in the fridge or microwave them for a few seconds.
How do I know when the muffins are done baking?
Look for a few signs to tell if your muffins are done. Besides the toothpick test, check if the tops are golden brown and feel firm to the touch. The muffins should spring back when gently pressed. If they sink in the middle, they need more time.
Can I use fresh pumpkin instead of canned?
Yes, you can use fresh pumpkin. To do this, start with a sugar pumpkin. Cut it, remove the seeds, and roast it until soft. Then, scoop out the flesh and mash it. Measure out one cup for the recipe. Fresh pumpkin has a slightly different flavor, so adjust spices to your taste.
How long can I store the muffins?
These muffins can last up to a week at room temperature. Keep them in an airtight container to maintain freshness. If you need to store them longer, they can go in the freezer for up to three months. Just thaw and enjoy whenever you like.
This guide covered all you need to bake delicious muffins. We explored the important ingredients, like flour, sugar, eggs, and spices. We detailed the steps for mixing and baking, plus tips for great results. You learned how to make a creamy filling and variations to suit your taste. Lastly, we discussed storing and reheating your muffins. Now, you’re set to impress with homemade treats. Enjoy making and sharing these tasty delights!


