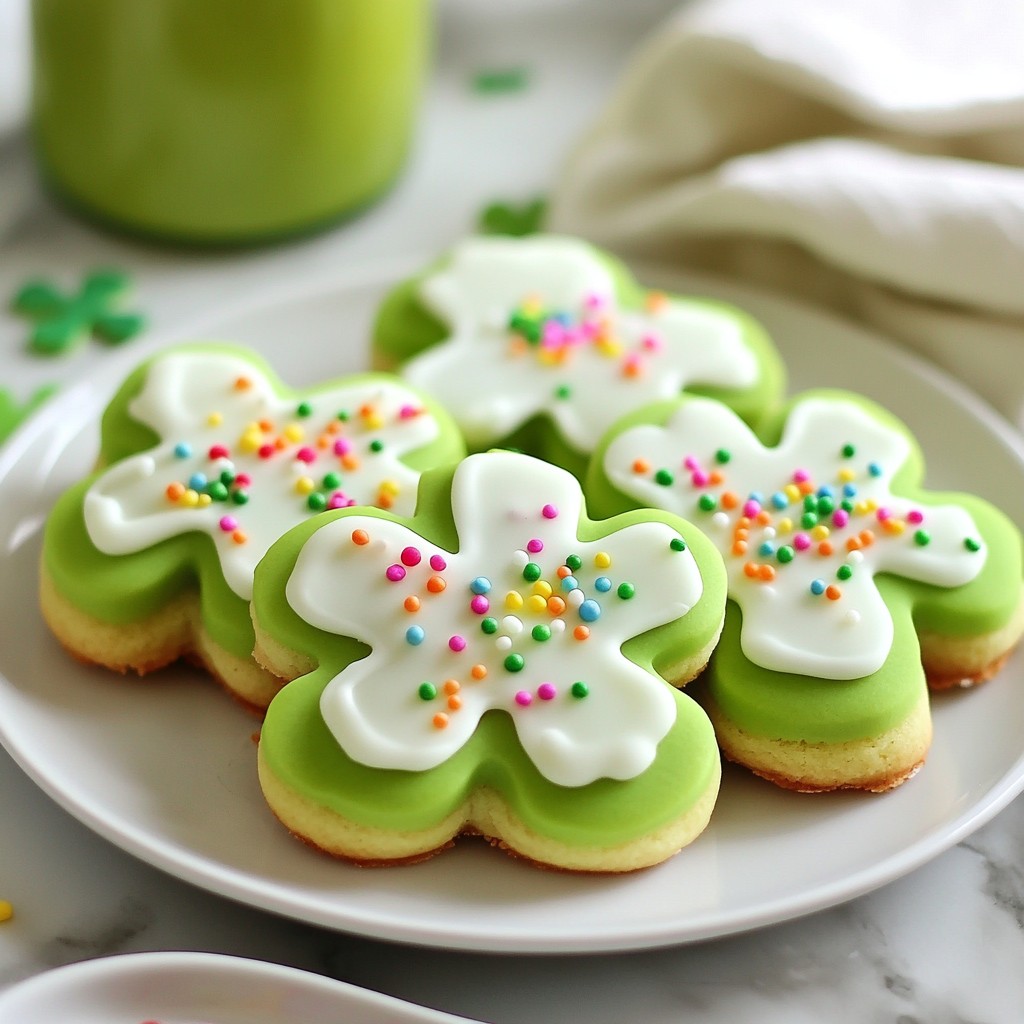
Get ready to sweeten your celebrations with my easy Pot of Gold Sugar Cookies! These cookies radiate joy, thanks to their colorful sprinkles and edible gold glitter. Perfect for any occasion, they're simple to make and even more fun to share. In this post, I will guide you through the delicious journey of baking these festive treats, from gathering ingredients to storing the leftovers! Let’s get started!
Why I Love This Recipe
- Deliciously Fun: These cookies are not only tasty but also bursting with color, making them a hit for any celebration or gathering!
- Easy to Make: With simple ingredients and straightforward steps, this recipe is perfect for bakers of all skill levels, including kids!
- Festive Presentation: The addition of sprinkles and edible gold glitter transforms these cookies into a stunning treat that dazzles the eyes.
- Customizable: You can easily switch up the sprinkles or add different flavors, allowing for endless variations to suit any occasion.
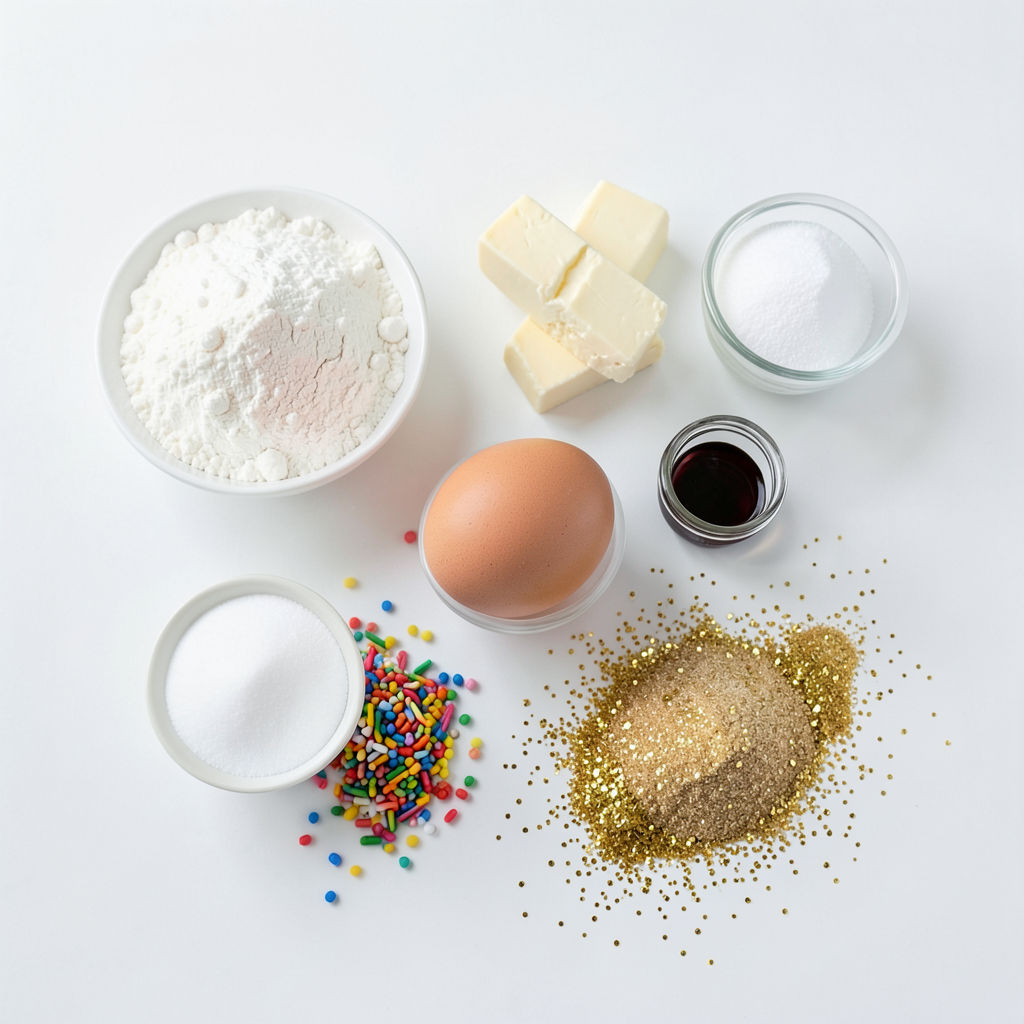
```markdown H2 - Ingredients
H3 - Dry Ingredients
- 2 ¾ cups all-purpose flour
- 1 teaspoon baking powder
- ½ teaspoon baking soda
- ¼ teaspoon salt
H3 - Wet Ingredients
- 1 cup unsalted butter, softened to room temperature
- 1 ½ cups granulated sugar
- 1 large egg
- 2 teaspoons pure vanilla extract
- 1 teaspoon almond extract
H3 - Special Additions
- ½ cup rainbow sprinkles (or colorful sugar)
- Edible gold glitter for decoration
When baking Pot of Gold Sugar Cookies, gather your ingredients first. This helps you stay organized.
For dry ingredients, you will need all-purpose flour, baking powder, baking soda, and salt. These create a strong base for the cookies.
Next, gather your wet ingredients. You need unsalted butter, granulated sugar, a large egg, vanilla extract, and almond extract. These add flavor and moisture to the cookies.
Now for the fun part! Special additions make your cookies pop. Rainbow sprinkles add color and joy. Edible gold glitter gives a magical touch. This makes your cookies not just tasty but beautiful too.
Each ingredient plays a role. Flour gives structure, while butter adds richness. Sugar sweetens and helps with browning. The egg brings everything together. These smart choices lead to delicious cookies that everyone will love. ```
Step-by-Step Instructions
Prepping Your Workspace
First, preheat your oven to 350°F (175°C). This step warms the oven for even baking. Next, take two baking sheets. Line them with parchment paper. This helps prevent the cookies from sticking.
Mixing Dry and Wet Ingredients
In a medium bowl, whisk these dry ingredients:
- 2 ¾ cups all-purpose flour
- 1 teaspoon baking powder
- ½ teaspoon baking soda
- ¼ teaspoon salt
Set the dry mix aside. In a larger bowl, cream together 1 cup of softened unsalted butter and 1 ½ cups of granulated sugar. Use an electric mixer. Mix for 3-5 minutes until fluffy and light. Add 1 large egg, 2 teaspoons of pure vanilla extract, and 1 teaspoon of almond extract. Beat these ingredients until well blended.
Forming the Cookies
Gently add the dry ingredients to the wet mix. Stir until just combined. Overmixing can make cookies tough. Now, fold in ½ cup of rainbow sprinkles. This adds fun colors! Using a cookie scoop or a tablespoon, drop rounded balls of dough on the baking sheets. Leave about 2 inches between each one. The cookies will spread as they bake.
Baking Cookies
Gently flatten each ball with the back of a fork or your fingers. Bake for 10-12 minutes. Watch for the edges to turn golden brown. The centers may look slightly undercooked, but they will firm up as they cool. Take the cookies out and let them cool on the baking sheet for 5 minutes. Then, move them to a wire rack to cool completely. Once cool, sprinkle edible gold glitter on top to add a magical touch!
Tips & Tricks
Perfecting Cookie Texture
To make your cookies soft and tender, avoid overmixing the dough. When you mix the dry and wet ingredients, only stir until just combined. If you mix too much, your cookies may turn out tough. This happens because you develop the gluten in the flour. Remember, less is more when it comes to mixing!
Decorating Ideas
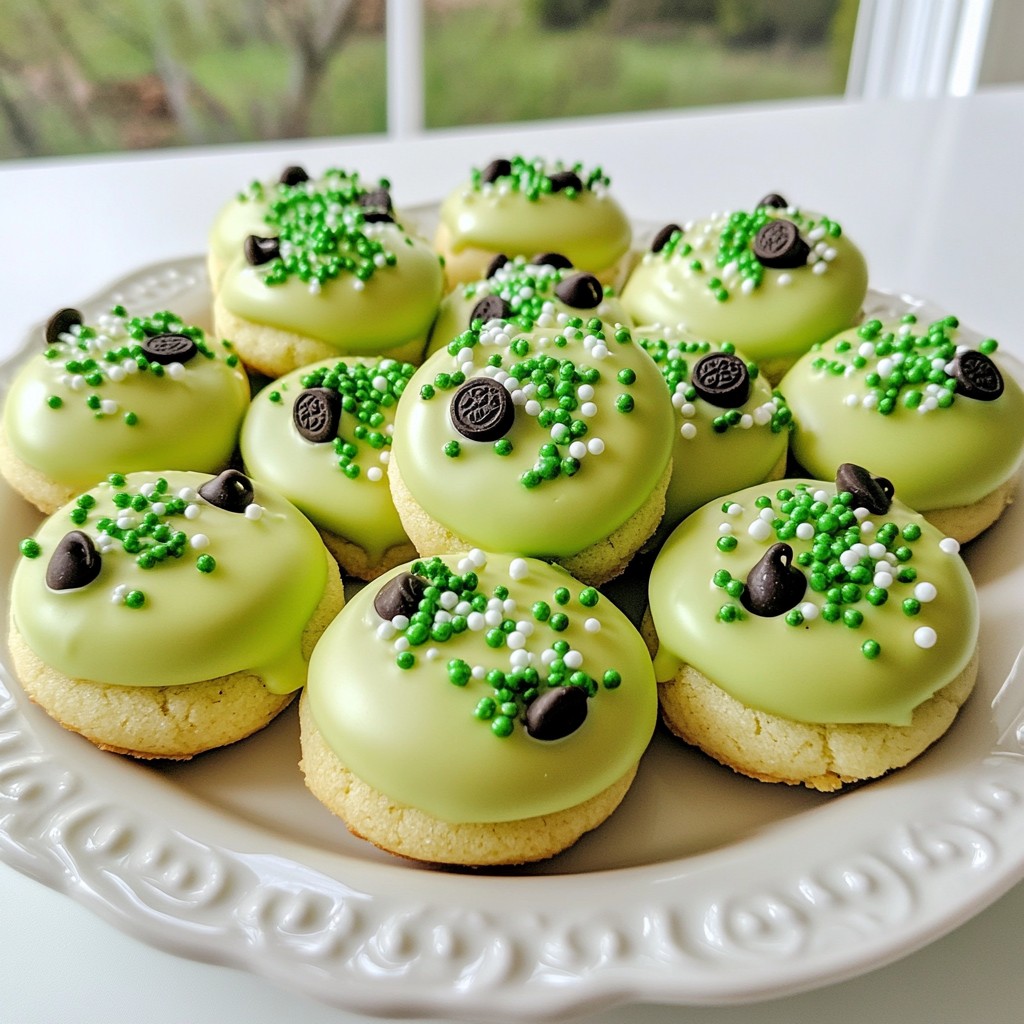
Using edible gold glitter can transform your cookies into a festive treat. After your cookies cool completely, sprinkle the gold glitter on top. This will give them a beautiful shimmer. Be sure to use it sparingly; a little goes a long way. The glitter will catch the light and add magic to your presentation.
Presentation Suggestions
Display your cookies in a fun way to impress your guests. You can arrange them in a clear jar or a decorative box. To enhance the pot of gold theme, add a small rainbow flag to each container. The colorful sprinkles and gold glitter will shine, making your cookies look as good as they taste!
Pro Tips
- Chill the Dough: For thicker cookies, chill the dough for at least 30 minutes before baking. This helps prevent spreading and enhances the texture.
- Use Fresh Ingredients: Ensure your baking powder and baking soda are fresh for the best rise and texture in your cookies.
- Perfect Baking Time: Keep an eye on the cookies as they bake; they should be lightly golden on the edges but still soft in the center for a chewy texture.
- Decorate Creatively: Beyond gold glitter, consider using themed decorations like mini chocolate coins or edible pearls for a festive touch!
Variations
Flavor Add-ins
You can change flavors by swapping extracts. Instead of vanilla, try lemon or orange extract. Almond extract adds a nice nutty taste, but you can use coconut for a tropical twist. These small changes can make your cookies unique.
Alternative Decorations
Decorating your cookies can be fun. Use different colored sprinkles to match any theme. You can also drizzle melted chocolate or icing on top. Try using edible glitter for extra shine. The more colorful your cookies, the more fun they are!
Themed Variations
You can make these cookies for any holiday. For Halloween, add orange and black sprinkles. For Christmas, use red and green. You can even shape the cookies with fun cookie cutters. This way, you can celebrate each season with your special cookies!
Storage Info
Keeping Cookies Fresh
To keep your Pot of Gold Sugar Cookies fresh, store them in an airtight container. This helps them stay soft and tasty. Place parchment paper between layers to prevent sticking. Keep them in a cool, dry place. Avoid the fridge, as it can dry them out. If you have a lot, consider storing them in smaller containers for easier access.
Freezing Instructions
Freezing cookies is a great way to enjoy them later. First, let your cookies cool completely. Then, place them in a single layer on a baking sheet. Freeze them for about an hour until they are solid. After that, transfer the cookies to a freezer-safe bag or container. Label the bag with the date. They can last up to three months in the freezer.
Shelf Life
At room temperature, these cookies last about one week. If stored correctly, they stay soft and delicious. If you want them to last longer, consider freezing. This way, you can always have a tasty treat ready for any occasion!
FAQs
Can I use margarine instead of butter?
Yes, you can use margarine. However, it changes the cookies' taste and texture. Margarine has more water than butter. This can make cookies spread too much or become too soft. If you want a firmer cookie, stick with butter.
How can I make the cookies softer?
To get softer cookies, try these tips:
- Use more brown sugar instead of white sugar.
- Add an extra egg yolk to your dough.
- Do not bake for too long. Take them out when they are just light golden.
- Let the cookies cool on the baking sheet for a few minutes before moving them.
What should I do if dough is too sticky?
If your dough is too sticky, here are some easy fixes:
- Chill the dough in the fridge for 30 minutes.
- Add a little more flour, one tablespoon at a time.
- Make sure your butter is soft but not melted. Overly soft butter can create sticky dough.
Can I make these sugar cookies ahead of time?
Yes, you can prepare the dough ahead of time. Wrap it tightly in plastic wrap and store it in the fridge for up to three days. You can also freeze the dough for up to three months. Just thaw it in the fridge before baking.
This blog post showed you how to make yummy cookies from scratch. We covered the right ingredients, mixing steps, and baking tips. You also learned clever storage tips and fun ways to decorate your cookies. Remember, practice makes perfect. Try different flavors and designs to make your cookies special. Enjoy baking and sharing your creations with family and friends! Your cookie journey starts now; let your creativity shine.