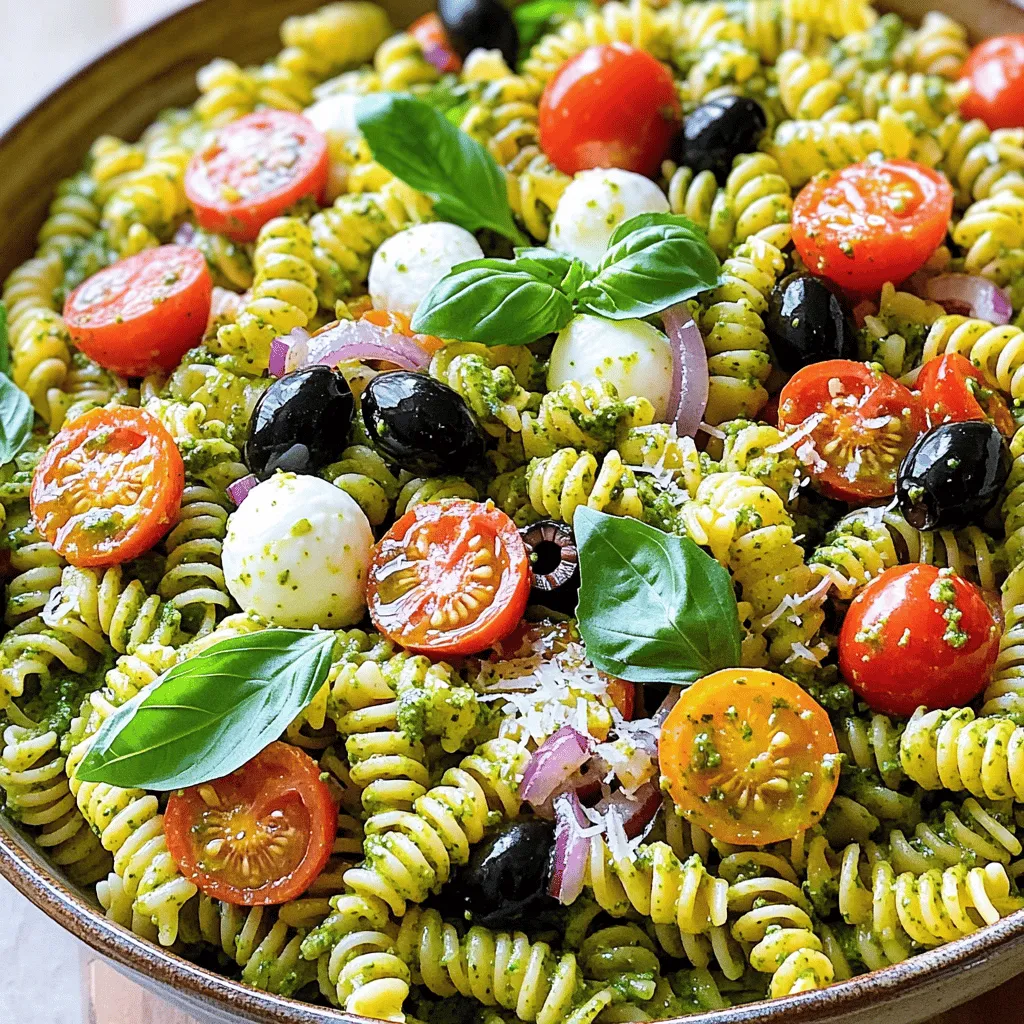
Looking for a fresh and flavorful side dish that impresses at every meal? My Pesto Pasta Salad is the answer! With just a few simple ingredients, like vibrant basil and ripe cherry tomatoes, you can create a dish that bursts with flavor. Join me as I walk you through easy steps to make a delicious salad that’s perfect for any gathering, picnic, or family dinner. Let’s dive in!
Ingredients
List of Ingredients
– Pasta Options: Fusilli or Penne
– Pesto Ingredients: Fresh Basil, Pine Nuts, Olive Oil, Garlic, Parmesan Cheese
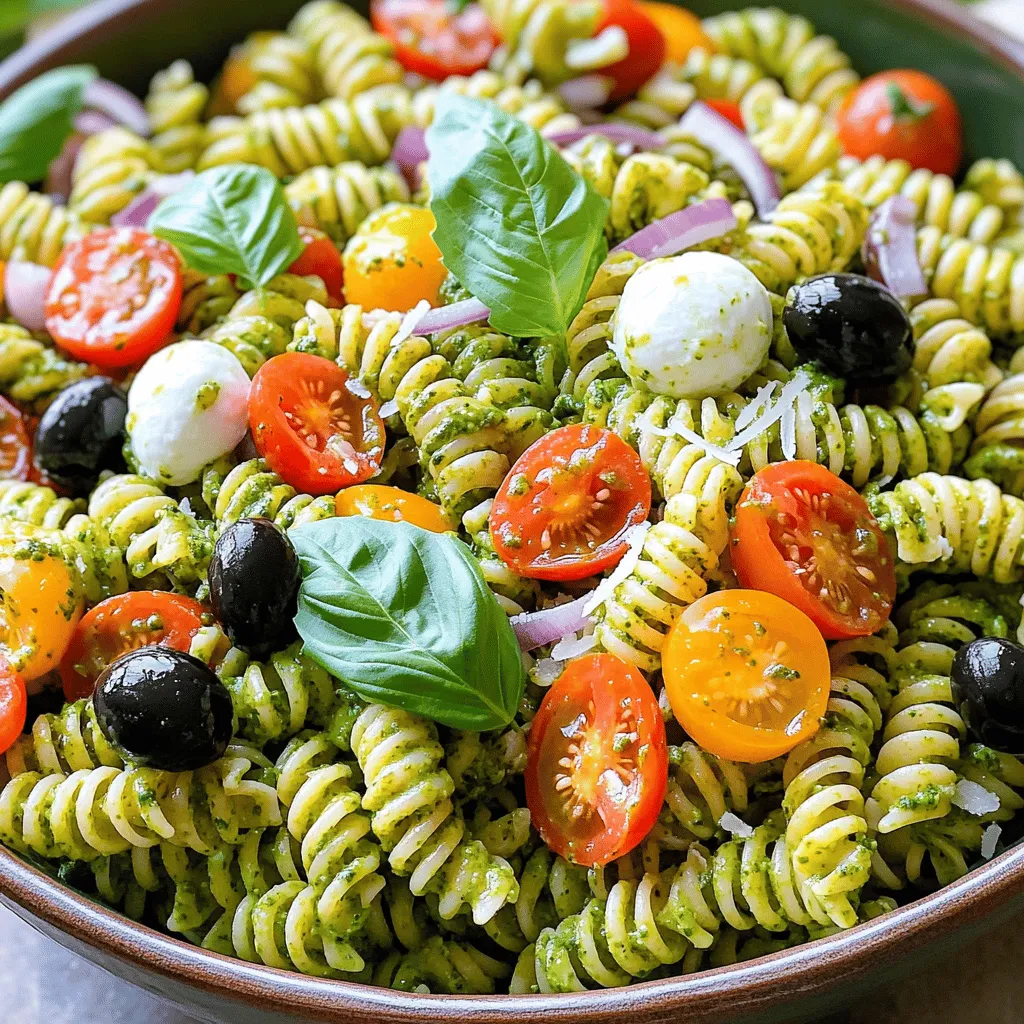
– Additional Salad Ingredients: Cherry Tomatoes, Black Olives, Red Onion
– Seasoning: Salt, Pepper, Lemon Zest, and Juice
– Optional Garnish: Fresh Mozzarella Balls
To make a great pesto pasta salad, choose your pasta first. Fusilli or penne works best. They hold onto the pesto well.
Next, gather the pesto ingredients. You’ll need fresh basil, pine nuts, olive oil, garlic, and Parmesan cheese. These flavors blend to make a fresh sauce.
Then, add the salad ingredients. Cherry tomatoes add sweetness, while black olives bring a bit of salt. Red onion adds crunch and flavor.
Don’t forget the seasoning! Use salt and pepper to taste. Lemon zest and juice will brighten the dish.
Lastly, think about garnishing. Fresh mozzarella balls can add a creamy touch. They also look great on the plate.
With these ingredients, you set the stage for a tasty and colorful salad. Feel free to mix and match based on your taste!
Step-by-Step Instructions
Cooking the Pasta
To start, fill a large pot with water and add salt. The water needs to taste like the sea. Bring this water to a rolling boil. This means bubbles are rapidly rising. Add 2 cups of pasta, like fusilli or penne. Cook it according to the package directions. You want the pasta to reach al dente texture. Al dente means it is cooked but still firm. This usually takes about 8 to 10 minutes. Once cooked, drain the pasta in a colander. Spread it out on a baking sheet to cool. This helps stop the cooking process.
Making the Pesto
For the pesto, gather your ingredients. You will need:
– 1 cup fresh basil leaves
– 1/3 cup pine nuts, lightly toasted
– 1/2 cup extra-virgin olive oil
– 2 cloves garlic, minced
– 1/2 cup grated Parmesan cheese
– Salt and pepper to taste
– Zest and juice of 1 lemon
In a food processor, add the basil, pine nuts, garlic, and Parmesan. Pulse the mixture until it is finely chopped. While the processor runs, slowly pour in the olive oil. This creates a smooth and creamy pesto. Season it with salt and pepper. Add lemon zest and juice to brighten the flavor. Blend again to mix everything well.
Combining the Ingredients
In a large mixing bowl, combine the cooled pasta and pesto. Gently mix them with a spatula or wooden spoon. Next, add in the halved cherry tomatoes, sliced black olives, and finely chopped red onion. These ingredients add color and taste. Use a folding motion to combine. This method is better than stirring because it keeps the pasta intact.
Chilling and Serving
Chilling the pasta salad is key for flavor. Cover the bowl with plastic wrap or a lid. Place it in the fridge for at least 30 minutes. This helps the flavors meld together. When ready to serve, taste the salad. You might need more salt, pepper, or lemon juice. If you like, fold in fresh mozzarella balls for creaminess. You can serve the pasta salad cold or at room temperature. Enjoy!
Tips & Tricks
Perfecting the Pesto
How to store pesto for freshness
Store your pesto in an airtight jar. Pour a thin layer of olive oil on top. This helps keep the pesto bright and fresh. It can last about a week in the fridge. If you want to keep it longer, freeze it in ice cube trays. Once frozen, pop them into a bag. This way, you have small portions ready to use.
Alternative nuts for pesto
Pine nuts are great, but they can be pricey. You can use walnuts, almonds, or cashews. Each nut adds a unique flavor. Experiment to find your favorite!
Enhancing the Flavor
Best practices for seasoning
Always taste your pesto while making it. Adjust salt and pepper as needed. A dash of lemon juice brightens the flavors. Remember, fresh herbs like basil add a lot of taste. So, pack them in!
Ways to add extra creaminess
For a creamier texture, add more cheese. You can use ricotta or cream cheese. These make the pesto rich and smooth. If you want a vegan option, blend in some silken tofu. It adds creaminess without dairy.
Presentation Tips
Colorful serving suggestions
Serve your pasta salad in a bright bowl. A colorful dish makes it more appealing. You can mix in vibrant veggies like bell peppers or spinach. This adds color and nutrients.
Garnishing ideas for visual appeal
Top your salad with fresh basil leaves. They look great and taste fresh. A sprinkle of extra cheese also adds a nice touch. Lastly, drizzle some olive oil for shine and flavor.
Variations
Vegan Options
For a vegan twist on pesto pasta salad, you can skip the cheese. Instead of Parmesan, use nutritional yeast. It adds a cheesy flavor without dairy. You can also try cashews or sunflower seeds as nut alternatives. They blend well into the pesto, giving it a creamy texture.
Protein Additions
If you want to add protein, consider grilled chicken, shrimp, or chickpeas. Chicken and shrimp give a nice texture and flavor. Chickpeas are a great plant-based option. You can mix in protein to make the salad more filling. Just remember to balance the flavors with the pesto.
Seasonal Variants
Using seasonal vegetables makes this dish more fun. In summer, add sweet corn or zucchini. In fall, try roasted butternut squash or Brussels sprouts. Adapting the recipe helps bring out fresh flavors. It also makes the salad vibrant and colorful.
Storage Info
Proper Storage Techniques
To keep your pesto pasta salad fresh, use airtight containers. Glass containers work best. They prevent odors and keep the salad crisp. Make sure to cool the salad completely before sealing it. This helps avoid excess moisture that can make the pasta soggy.
If you want to store the salad longer, consider freezing it. However, pasta salad does change in texture when frozen. To freeze, pack the salad in freezer-safe bags, removing as much air as possible. You can also freeze the pesto separately. This way, you can enjoy fresh flavors anytime.
Reheating Instructions
Reheating pesto pasta salad is simple. The best method is to let it sit at room temperature for a bit. You can also warm it gently in a microwave. Use a low setting and check every 30 seconds. This method helps keep the pasta from getting too soft.
To maintain flavor and texture, avoid high heat. If reheating, add a splash of olive oil or lemon juice. This helps revive the salad’s taste. Stir gently to mix everything well before serving.
FAQs
How long can Pesto Pasta Salad be stored?
You can store Pesto Pasta Salad in the fridge for up to three days. Use an airtight container to keep it fresh. After three days, the flavors fade and the pasta may become mushy. If you want to keep it longer, consider freezing it. Just know the texture may change after freezing.
Can I use store-bought pesto?
Yes, you can use store-bought pesto. Just pick a high-quality brand for the best flavor. Some store-bought options may taste a bit different than fresh. Always check the ingredients for added oils and preservatives. Fresh pesto adds a brighter taste, but store-bought is a quick option.
What can I serve with Pesto Pasta Salad?
Pesto Pasta Salad pairs well with grilled chicken or fish. It also goes great with a fresh green salad. You can serve it alongside crusty bread or garlic bread for a complete meal. For a fun twist, try it with a side of roasted vegetables or a fruit salad.
Is this recipe gluten-free?
Yes, you can make this recipe gluten-free. Look for gluten-free pasta options made from rice or quinoa. These choices work well and keep the dish tasty. Just cook them according to the package directions for the best results. Enjoy your delicious gluten-free Pesto Pasta Salad!
This blog post covered the essential steps to make a delicious pesto pasta salad. We explored the key ingredients, from pasta options to vibrant toppings. You learned how to make a smooth pesto and combine all the elements for optimal flavor. I shared tips on enhancing your dish and variations for special diets. Remember, storage and reheating are crucial for maintaining taste. Enjoy this dish at any gathering, knowing it will impress everyone. Creating it at home lets you customize flavors to your liking. Dive into the joy of cooking!


