One-Pot Busy Day Vegetable Soup Easy and Quick Recipe

Are you tired of long cooking times on busy days? I’ve got the perfect solution: One-Pot Busy Day Vegetable Soup! This easy and quick recipe makes hearty comfort food without the fuss. In just a few steps, you’ll enjoy a warm bowl filled with fresh, nutritious veggies. Plus, I’ll share tips for making it even better and ways to customize it to your taste. Let’s dive into this simple, delicious soup!
Why I Love This Recipe
- Quick and Easy: This soup comes together in just one pot, making it perfect for busy days when you want something nourishing without a lot of hassle.
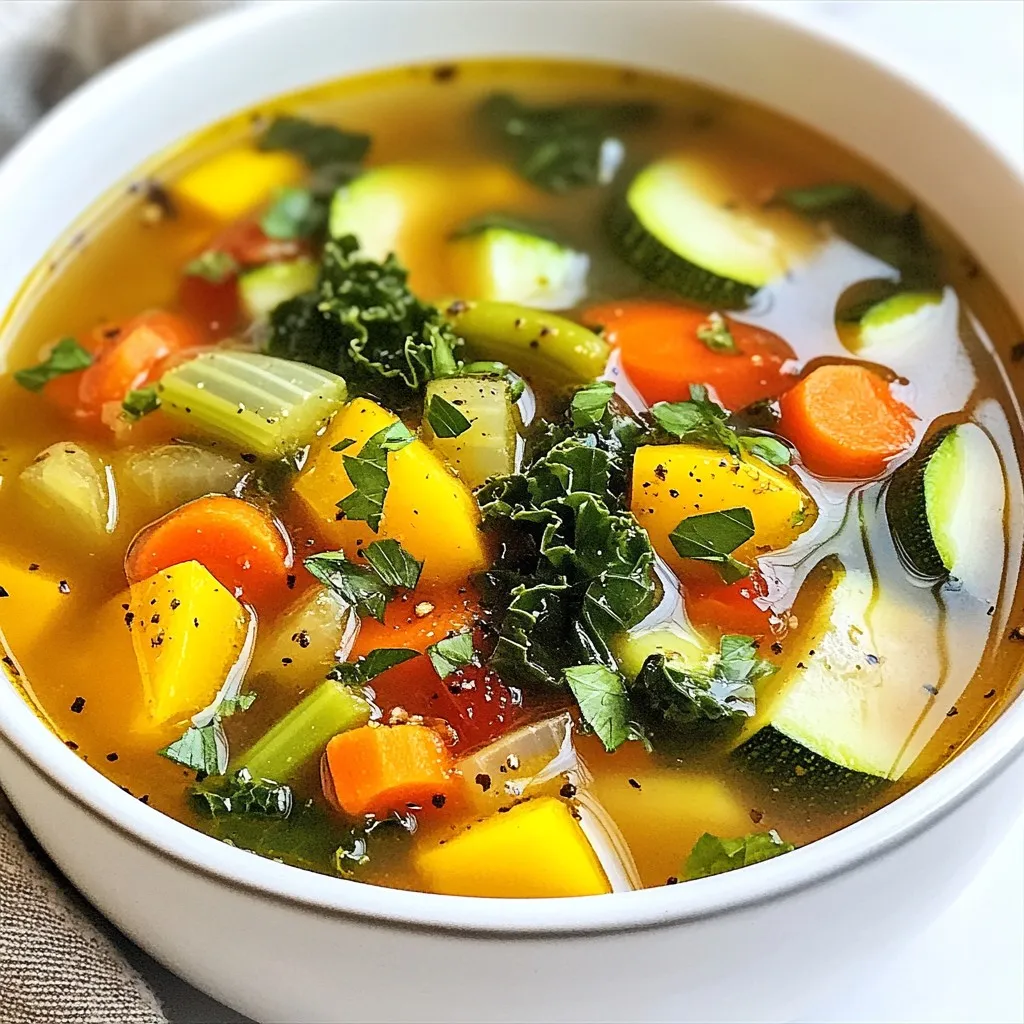
- Loaded with Vegetables: Packed with a variety of colorful vegetables, this soup is not only healthy but also visually appealing.
- Customizable: You can easily modify the ingredients based on what you have on hand or your personal preferences, making it a versatile dish.
- Comforting and Satisfying: This vegetable soup is warm and hearty, perfect for any time you need a cozy meal.
Ingredients
Complete List of Ingredients
– 1 tablespoon olive oil
– 1 medium onion, finely chopped
– 2 cloves garlic, minced
– 2 carrots, peeled and diced
– 2 celery stalks, diced
– 1 zucchini, diced
– 1 bell pepper, diced
– 1 cup green beans, trimmed and chopped
– 4 cups vegetable broth
– 1 can (15 oz) diced tomatoes, undrained
– 1 teaspoon dried Italian herb blend
– Salt and freshly ground pepper to taste
– 1 cup frozen peas
– 1 cup kale or spinach, chopped
– 1 tablespoon fresh lemon juice (optional)
Substitutions for Fresh Ingredients
You can swap fresh veggies for frozen ones. Frozen carrots, peas, and green beans work well. Use canned tomatoes instead of fresh ones if needed. Don’t have kale? Spinach is a great choice, too. If you can’t find a bell pepper, use any color you have on hand. For herbs, dried ones work, but fresh gives more flavor.
Tips on Selecting Quality Produce
When choosing vegetables, look for vibrant colors and firm textures. Check for any bruises or soft spots. Fresh onions should feel heavy and dry. Garlic should be plump and firm. For bell peppers, pick ones with smooth skin. Zucchini should be shiny and free of blemishes. Lastly, choose kale that is deep green and crisp.

Step-by-Step Instructions
Initial Preparation and Sautéing
Start by gathering all your ingredients. You will need olive oil, onion, garlic, carrots, celery, zucchini, bell pepper, green beans, broth, diced tomatoes, herbs, salt, pepper, peas, and greens.
1. In a large pot, heat 1 tablespoon of olive oil over medium heat.
2. Add the finely chopped onion and minced garlic.
3. Sauté for 3-4 minutes until the onion turns soft and clear. Stir often to avoid sticking.
Cooking the Vegetables
Next, it’s time to add more veggies.
1. Toss in the diced carrots, celery, zucchini, bell pepper, and green beans.
2. Cook for another 5-7 minutes. Stir frequently until the veggies soften and smell great.
Simmering the Soup
Now, we will create the soup base.
1. Carefully pour in 4 cups of vegetable broth and the can of diced tomatoes.
2. Stir well to mix everything. Add 1 teaspoon of dried Italian herbs, salt, and pepper to taste.
3. Turn up the heat and bring the mix to a gentle boil.
4. Once it boils, lower the heat and cover the pot.
5. Let it simmer for 20-25 minutes. This step helps the flavors mix well.
After simmering, add 1 cup of frozen peas and 1 cup of chopped kale or spinach.
1. Stir everything to combine and cook for an extra 5 minutes. This will wilt the greens nicely.
2. For some extra zing, add 1 tablespoon of fresh lemon juice just before serving.
Taste the soup and adjust the seasoning with more salt or pepper if needed. Enjoy your warming, one-pot soup!
Tips & Tricks
How to Enhance the Flavor
To boost flavor, choose fresh herbs. Fresh thyme, basil, or parsley work well. You can also add a splash of soy sauce for depth. A pinch of red pepper flakes adds warmth without too much heat. If you like zest, lemon juice brightens the soup. Stir in a tablespoon just before serving.
Adjusting Consistency and Thickness
If you want a thicker soup, blend part of it. Use an immersion blender or a regular blender. You can also add more diced tomatoes or a potato. For a thinner soup, add more broth. Adjust slowly until you reach your perfect texture.
Cooking Tips for Busy Days
Prep your veggies ahead of time. Chop them the night before and store them in the fridge. Use frozen veggies for convenience; they save time and keep well. One-pot meals like this soup let you cook and clean less. Set a timer to avoid overcooking. This way, you can focus on other tasks while it simmers.
Pro Tips
- Use Fresh Ingredients: Whenever possible, opt for fresh vegetables as they provide the best flavor and nutrients. Frozen vegetables can be a good alternative when fresh ones are not available.
- Customize Your Vegetables: Feel free to swap in your favorite vegetables or whatever you have on hand. This recipe is versatile and can accommodate a variety of produce.
- Make It a Meal: To transform this soup into a hearty meal, consider adding cooked grains like quinoa or rice, or even some protein such as diced chicken or beans.
- Storage Tip: This soup stores well in the refrigerator for up to 3 days. You can also freeze portions for later use. Just make sure to cool it completely before transferring to airtight containers.

Variations
Adding Protein Options
You can easily boost the protein in this soup. Try adding cooked beans or lentils. Chickpeas work well too. If you prefer meat, add cooked chicken or turkey. Just chop it up and stir it in. You can also use tofu for a plant-based option.
Spice Level Adjustments
Want to spice things up? Add red pepper flakes for heat. Start with a pinch and taste as you go. You can also use hot sauce if you like. For a milder soup, skip the spices or use sweet paprika instead.
Seasonal Vegetable Swaps
This soup is great for using up veggies. Use what’s fresh in your garden or local market. In spring, add asparagus or peas. In summer, try corn or tomatoes. In fall, butternut squash or pumpkin works well. In winter, root vegetables like parsnips are perfect. Just dice and swap them in!
Storage Info
How to Store Leftovers
To store your leftover soup, let it cool to room temperature. Then, transfer the soup to airtight containers. Be sure to leave some space at the top, as the soup may expand when frozen. Label the containers with the date. Store them in the fridge for up to four days. This helps keep the flavors fresh and tasty.
Freezing Instructions
If you want to freeze the soup, it’s easy! Pour the cooled soup into freezer-safe containers or bags. Remove as much air as possible to prevent freezer burn. The soup can last up to three months in the freezer. When you’re ready to enjoy it, thaw the soup in the fridge overnight before reheating.
Reheating Tips
To reheat the soup, pour it into a pot and warm it over medium heat. Stir it often to avoid sticking. You can also use the microwave. Place the soup in a microwave-safe bowl. Heat in short bursts, stirring in between. Make sure it’s hot all the way through. If it seems too thick, add a splash of broth or water to reach your desired consistency. Enjoy your warm bowl of comfort!
FAQs
Can I make this soup in advance?
Yes, you can make this soup ahead of time. It tastes even better the next day. Just let it cool down, then store it in a container. You can keep it in the fridge for up to three days. This way, you save time on busy days.
How long does this soup last in the fridge?
This soup stays fresh in the fridge for about three to four days. Make sure to store it in an airtight container. If you want to keep it longer, consider freezing it.
What can I do with leftover vegetable soup?
Leftover soup is very versatile. You can enjoy it as a quick meal the next day. Try adding cooked pasta or rice for a hearty dish. You can also blend it for a smooth texture. Pour it over grains for a nice twist. The options are endless!
In this blog post, we covered the key ingredients, preparation steps, and tips for making soup. We talked about how to choose fresh produce, enhance flavor, and store leftovers. Remember, you can swap in proteins or adjust spices to make the soup your own.
Cooking soup can be fun and easy, even on busy days. I hope you’re excited to try these tips. Enjoy your cooking adventur

One-Pot Busy Day Vegetable Soup
Ingredients
- 1 tablespoon olive oil
- 1 medium onion, finely chopped
- 2 cloves garlic, minced
- 2 medium carrots, peeled and diced
- 2 stalks celery, diced
- 1 medium zucchini, diced
- 1 medium bell pepper, diced
- 1 cup green beans, trimmed and chopped
- 4 cups vegetable broth
- 1 can diced tomatoes, undrained (15 oz)
- 1 teaspoon dried Italian herb blend
- to taste salt
- to taste freshly ground pepper
- 1 cup frozen peas
- 1 cup kale or spinach, roughly chopped
- 1 tablespoon fresh lemon juice (optional)
Instructions
- In a large pot, heat the olive oil over medium heat. Once hot, add the finely chopped onion and minced garlic. Sauté for about 3-4 minutes until the onion is soft and translucent, stirring occasionally to prevent sticking.
- Introduce the diced carrots, celery, zucchini, bell pepper, and green beans into the pot. Continue to cook for an additional 5-7 minutes, stirring frequently, until the vegetables begin to soften and release their flavors.
- Carefully pour in the vegetable broth and diced tomatoes, stirring well to combine all the ingredients. Sprinkle in the dried Italian herbs, along with a generous pinch of salt and freshly ground pepper.
- Increase the heat and bring the mixture to a gentle boil. Once boiling, reduce the heat to low. Cover the pot with a lid and allow it to simmer for about 20-25 minutes.
- After the simmering time, add the frozen peas and the chopped kale or spinach to the pot. Stir thoroughly to mix everything together, and cook for an additional 5 minutes, allowing the greens to wilt.
- For a zesty kick, stir in the fresh lemon juice just before serving.
- Taste the soup and adjust the seasoning with more salt and pepper if necessary for your preference.


 to guide you through each step. - Preheat your oven to 375°F (190°C). - Rinse and prepare the quinoa and vegetables. To start, turn on your oven and set it to 375°F (190°C). This step ensures your oven is hot and ready when it’s time to bake. While it heats, take one cup of quinoa and rinse it under cool water. This helps remove any bitterness. Next, chop your zucchinis and bell pepper. Dice the zucchini into small cubes and chop the bell pepper into bite-sized pieces. Don’t forget to finely dice one small onion and mince three cloves of garlic. - Sauté onion and garlic in olive oil until translucent. - Add zucchini and bell pepper, cooking until softened. Next, grab a medium saucepan. Add one tablespoon of olive oil and heat it over medium. Once the oil is warm, toss in your diced onion and minced garlic. Stir them for about 3-4 minutes. You want the onion to turn translucent and smell great. After that, add the diced zucchini and chopped bell pepper. Cook these veggies for around 5 minutes, stirring often. They should soften but still have a little crunch. - Mix in quinoa, cherry tomatoes, broth, and seasonings. - Transfer to a casserole dish and bake for 20-25 minutes. Now comes the fun part! Mix in your rinsed quinoa, one cup of halved cherry tomatoes, and two cups of vegetable broth into the pan. Add one teaspoon of dried oregano, one teaspoon of dried basil, and sprinkle salt and pepper to taste. Stir everything well to combine. Bring this mix to a gentle boil. Once it bubbles, reduce the heat to low, cover the pan, and let it simmer for 15 minutes. This allows the quinoa to absorb the broth. Once done, transfer the mixture into a lightly greased 9x13 inch casserole dish. If you love cheese, sprinkle one cup of shredded mozzarella on top. Place the dish in your preheated oven and bake for 20-25 minutes. You’ll know it’s ready when it bubbles and the cheese is golden brown. To make fluffy quinoa, rinse it well before cooking. This removes the bitter coating called saponin. Use two cups of vegetable broth for one cup of quinoa. Bring it to a boil, then lower the heat and cover. Let it simmer for 15 minutes. After cooking, let it rest for five minutes before fluffing with a fork. This will keep it light and airy. For the vegetables, sauté onion and garlic first in olive oil. Cook them until they are soft and fragrant. Then add zucchini and bell pepper. Stir them for about five minutes until they soften. This builds a great flavor base for your casserole. To elevate the dish, try adding a pinch of red pepper flakes for heat. Fresh herbs like thyme or parsley can add brightness. You can also swap out the dried oregano and basil for fresh herbs. Fresh herbs bring a stronger flavor. If you want to change ingredients, use brown rice instead of quinoa. You can also add cooked beans for a protein boost. For a creamier texture, mix in some ricotta cheese or yogurt before baking. Pair the casserole with a light side salad or some crusty bread. A fresh garden salad with lemon vinaigrette works well. It adds a nice contrast to the warm casserole. For gatherings, serve the casserole directly from the dish. Garnish with fresh basil leaves to make it look inviting. You can also sprinkle some extra cheese on top just before serving for a melty touch. {{image_4}} You can easily change the vegetables in this casserole. Try using bell peppers, spinach, or even eggplant. These swaps keep the dish vibrant and fresh throughout the summer. You can also mix in seasonal veggies like corn or cherry tomatoes for a burst of flavor. If you need a quinoa substitute, consider using brown rice or farro. These grains add a nice texture and flavor. Other options include couscous or even cauliflower rice for a low-carb choice. To make this casserole vegan, simply skip the cheese or use a plant-based cheese. You'll still get a creamy texture from the cooked veggies and broth. For a gluten-free option, use certified gluten-free quinoa. This way, everyone can enjoy the dish. If you're looking to cut calories, reduce the olive oil or skip the cheese. You can also use less quinoa and bulk up with more veggies. This keeps the dish light, tasty, and full of nutrients. Each of these variations allows you to enjoy this Summer Zucchini Quinoa Casserole in your own way. For the full recipe, check out the detailed instructions above. To keep your summer zucchini quinoa casserole fresh, first let it cool. Once cool, store it in an airtight container. You can refrigerate it for up to five days. If you want to save it for later, freeze it. Use a freezer-safe container or heavy-duty freezer bags. This way, it can last for up to three months. Remember to label the container with the date. This helps you track how long it has been stored. When you want to enjoy the casserole again, reheating is easy. For the best texture, use an oven. Preheat the oven to 350°F (175°C). Place the casserole in an oven-safe dish and cover it with foil. Heat for about 20 minutes or until warm. If you're in a hurry, you can use the microwave. Place a single serving in a microwave-safe dish. Heat for 1-2 minutes, checking every 30 seconds. This will keep the flavors and texture intact. Enjoy your delicious meal! Can I prepare the Summer Zucchini Quinoa Casserole in advance? Yes, you can prepare it ahead of time. Make the casserole, then cover and refrigerate it. When you're ready to eat, just bake it straight from the fridge. You may need to add a few more minutes to the cooking time. How to customize the recipe to suit my taste preferences? Feel free to swap out the veggies. For instance, you can use spinach, carrots, or even corn. You can also change the cheese or add some cooked chicken for extra protein. What are the best herbs to use for added flavor? Fresh herbs like basil and thyme work great. You can also try parsley or cilantro. These herbs add a fresh taste and brighten up your dish. Is this recipe suitable for a low-carb diet? This recipe is not low-carb due to the quinoa. Quinoa has more carbs than other grains but is also high in protein. If you want a lower carb option, you can use cauliflower rice instead of quinoa. What are the main nutritional benefits of zucchini and quinoa? Zucchini is low in calories and high in vitamins A and C. It also has a lot of water, which keeps you hydrated. Quinoa is a complete protein, meaning it has all nine essential amino acids. It’s also high in fiber, which is good for digestion. What should I do if my casserole is too watery? If your casserole is watery, try draining some liquid before baking. You can also bake it longer to help it thicken up. How can I prevent the quinoa from sticking together? To prevent sticking, rinse the quinoa well before cooking. This removes excess starch. Also, fluff the quinoa with a fork after it cooks to keep it separate. For the full recipe, check out the details above! You learned how to make a tasty Summer Zucchini Quinoa Casserole. We covered the ingredients, simple steps, and tips for perfect results. You can adjust the recipe to fit your taste and needs. Explore flavor swaps and storage tips to keep it fresh. With this dish, enjoy a healthy meal that is easy to make. I hope you try it and enjoy every bite!](https://fastmealmate.com/wp-content/uploads/2025/07/552d1654-693f-4b1b-8ee9-d91b85ff9950-768x768.webp)


