Looking for a simple and tasty treat that's also a crowd-pleaser? No-Bake Peanut Butter Bars tick all the boxes! With just a handful of easy ingredients, you can whip up these delicious bars in no time. Perfect for snacks, desserts, or even gifts, they require no oven and barely any prep. Let's dive into the simple steps and tips to make your very own batch of these yummy bars!
Why I Love This Recipe
- Easy to Make: This no-bake recipe requires minimal effort and time, making it perfect for a quick treat.
- Nutritious Ingredients: With rolled oats and peanut butter, these bars offer a healthy dose of protein and fiber.
- Customizable: You can easily swap ingredients like honey for maple syrup or choose your favorite type of chocolate.
- Irresistible Flavor: The combination of peanut butter and chocolate creates a decadent treat that satisfies any sweet tooth.
Ingredients
Main Ingredients
- 1 cup creamy peanut butter
- 1/2 cup honey or maple syrup
- 2 cups rolled oats
- 1 cup chocolate chips
- 1/4 cup unsweetened cocoa powder
- 1/2 teaspoon pure vanilla extract
- A pinch of sea salt
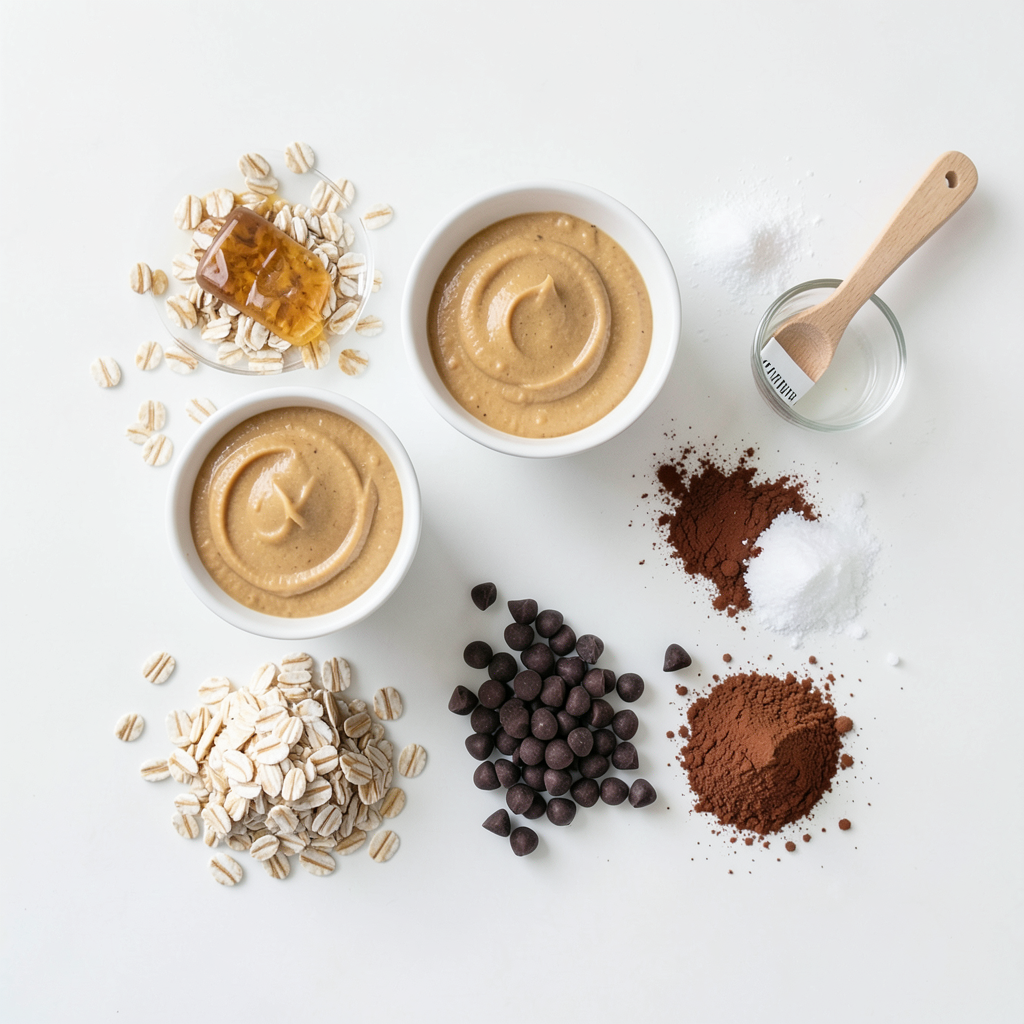
To start, gather your ingredients. You will need creamy peanut butter, honey, or maple syrup for sweetness. Rolled oats give the bars their chewy texture. For a chocolatey twist, include chocolate chips and cocoa powder. A dash of vanilla extract adds flavor, and a pinch of sea salt balances the sweetness.
Using these simple ingredients, you can create a delicious treat. I love how easy it is to mix them together. You won’t need to bake anything. Just combine, press into a dish, and let the fridge do the rest!
This recipe is flexible, too. You can switch honey for maple syrup if you prefer. Also, feel free to experiment with different types of chocolate chips. Dark or milk chocolate both work well!
Once you have everything ready, you can move on to the next steps. Trust me, these bars are sure to impress!
Step-by-Step Instructions
Preparation Steps
- Mixing the Peanut Butter and Sweetener
Start by taking a big bowl. Add 1 cup of creamy peanut butter and 1/2 cup of honey or maple syrup. Use a strong spatula to mix them well. Keep stirring until the mix is smooth and creamy.
- Incorporating Cocoa Powder and Vanilla
Next, add 1/4 cup of unsweetened cocoa powder and 1/2 teaspoon of pure vanilla extract. Don't forget a pinch of sea salt. Mix everything well again. This step gives your bars a rich flavor.
- Folding in the Rolled Oats
Now it's time for the oats. Gradually add 2 cups of rolled oats to your mix. Fold them in gently, making sure they are fully coated. You want a thick, sticky mixture that holds together nicely.
Creating the Base
- Preparing the Baking Dish
Get an 8x8-inch baking dish. Line it with parchment paper. Make sure to leave some paper hanging over the edges. This helps you lift the bars out later.
- Pressing the Mixture Evenly
Spoon your peanut butter mixture into the lined dish. Use a spatula or your hands to press it down firmly. Make sure it fills the dish evenly. This step creates a solid base.
Topping with Chocolate
- Melting the Chocolate Chips
In a microwave-safe bowl, add 1 cup of chocolate chips. Melt them in the microwave. Do this in 30-second bursts, stirring after each. Stop when the chocolate is smooth.
- Spreading the Chocolate on Top
Once melted, pour the chocolate over your pressed mixture. Use a spatula to spread it evenly. This layer adds a sweet finish to your bars.
Setting and Slicing
- Refrigeration Process
Place the dish in the fridge. Let it chill for at least 2 hours. This makes the bars firm and easier to cut.
- Cutting the Bars into Servings
After they set, lift the bars out using the parchment paper. Place them on a cutting board. Slice them into squares or rectangles. Enjoy your tasty no-bake peanut butter bars!
Tips & Tricks
Perfecting the Recipe
Texture Adjustments with Oats You can change the texture by using quick oats instead of rolled oats. Quick oats make the bars softer and easier to chew. Rolled oats give a heartier bite. Find what you like best!
Sweetness Variations: Honey vs. Maple Syrup Honey adds a rich flavor. Maple syrup gives a lighter taste. If you want a stronger flavor, stick with honey. For a more subtle sweetness, go for maple syrup. It’s your choice!
Achieving Smooth Chocolate Topping To get a smooth chocolate topping, melt the chocolate chips slowly. Use the microwave in 30-second bursts. Stir often until it’s silky. You can also melt it in a double boiler for better control.
Presentation Tips
Arranging on a Serving Platter When serving, place the bars on a nice platter. Choose one that matches your table setting. This makes the bars look extra special and inviting!
Garnishing with Melted Chocolate and Sea Salt Drizzle extra melted chocolate on top for a fancy touch. A sprinkle of sea salt adds a nice pop of flavor. It makes the bars not just tasty but also pretty!
Pro Tips
- Use Natural Sweeteners: Opt for honey or maple syrup based on your dietary preferences, but ensure they are pure and natural for the best flavor.
- Press Firmly: When pressing the mixture into the baking dish, make sure to pack it down firmly. This will help the bars hold their shape once set.
- Experiment with Add-ins: Feel free to include extras like chopped nuts, dried fruits, or seeds for added texture and flavor variety.
- Store Properly: Keep the bars in an airtight container in the refrigerator to maintain freshness and prevent them from becoming too soft.
Variations
Ingredient Swaps
Nut Butter Alternatives
You can swap peanut butter for other nut butters. Almond butter works well. Cashew butter is another tasty choice. Sunflower seed butter is great for nut-free diets. Each option will bring its own flavor.
Sweetener Alternatives
Honey or maple syrup are the usual sweeteners. You can use agave syrup if you prefer. Brown rice syrup also works well. Each sweetener will change the taste a bit.
Flavor Additions
Adding Nuts or Seeds
Mix in chopped nuts or seeds for crunch. Walnuts or pecans add great flavor. Sunflower seeds or pumpkin seeds are also good. They add texture and healthy fats.
Incorporating Dried Fruits or Coconut
Add dried fruits like raisins or cranberries for sweetness. Shredded coconut gives a tropical twist. Both options will enhance the taste and make bars chewy.
Dietary Adjustments
Making it Vegan
To make these bars vegan, use maple syrup. Choose dairy-free chocolate chips for the topping. This way, everyone can enjoy them.
Gluten-Free Options
This recipe is mostly gluten-free. Just check your oats. Make sure they are labeled gluten-free. This way, those with gluten sensitivities can dive in without worry.
Storage Info
Storing the Bars
To keep your no-bake peanut butter bars fresh, follow these tips:
- Best Practices for Refrigeration: Store the bars in an airtight container. This helps them stay fresh for up to a week. Place parchment paper between layers to prevent sticking. The fridge is the best place to keep them cool and firm.
- Recommended Storage Containers: Use a glass or plastic container with a tight lid. These containers help keep out moisture and air. If you want to take them on the go, use a small lunchbox or a snack bag.
Freezing Options
If you want to store the bars for longer, freezing is a great choice.
- How to Freeze for Longer Storage: Cut the bars into pieces before freezing. Wrap each piece in plastic wrap or foil. Place them in a freezer-safe bag or container. This way, you can grab a bar whenever you need a treat!
- Thawing Instructions: To enjoy your frozen bars, take them out of the freezer. Leave them in the fridge for a few hours to thaw. If you’re in a hurry, you can let them sit at room temperature for about 30 minutes. Either way, they taste just as good!
FAQs
How long do No-Bake Peanut Butter Bars last?
No-Bake Peanut Butter Bars last about one week in the fridge. Store them in an airtight container. They stay fresh and tasty this way.
Can I use chunky peanut butter instead of creamy?
Yes, you can use chunky peanut butter. It adds a nice texture to the bars. The flavor will still be rich and delicious.
What if I don't have honey or maple syrup?
If you don't have honey or maple syrup, try using agave syrup or brown rice syrup. These options work well and keep the bars sweet.
Is it possible to make this recipe nut-free?
Yes, you can make this recipe nut-free. Use sun butter or soy nut butter instead of peanut butter. They give a similar taste and texture.
Can I add protein powder to the mixture?
Absolutely! Adding protein powder is a great way to boost nutrition. Just mix a scoop into the peanut butter before adding the other ingredients.
You learned how to make no-bake peanut butter bars step by step. We covered key ingredients and the easy preparation process. I shared tips to perfect the bars and ways to mix up flavors. You also discovered the best storage methods. These delicious treats are perfect for everyone. Enjoy creating these bars with your favorite ingredients! Try different variations and share them with friends. Your kitchen will be filled with joy and sweet smells. Happy snacking!