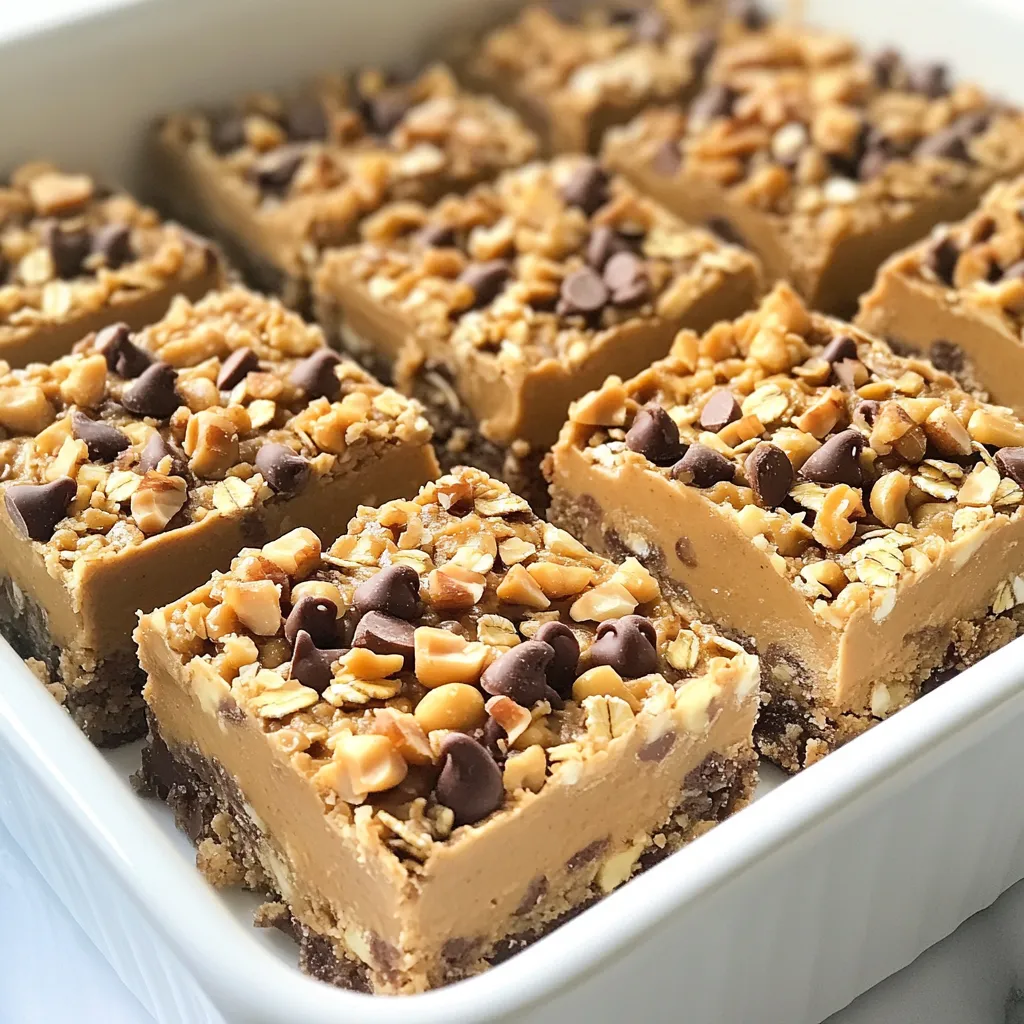
Looking for a simple, healthy snack? Try my no-bake peanut butter bars! They’re easy to make and pack a punch of flavor and nutrition. With just a few ingredients like rolled oats and dark chocolate chips, you can whip up a tasty treat in no time. Plus, they’re perfect for any diet! Let’s dive into this fun recipe that you can enjoy at home anytime.
Why I Love This Recipe
- Quick to Prepare: With just 15 minutes of prep time, these bars are a fast and easy treat to whip up for any occasion.
- No Baking Required: No oven needed! Simply mix, chill, and enjoy these delicious bars without any baking fuss.
- Customizable: You can easily modify the ingredients by adding your favorite nuts or swapping in different sweeteners.
- Healthy Indulgence: Packed with wholesome ingredients, these bars satisfy your sweet tooth while providing nutrients and energy.
Ingredients
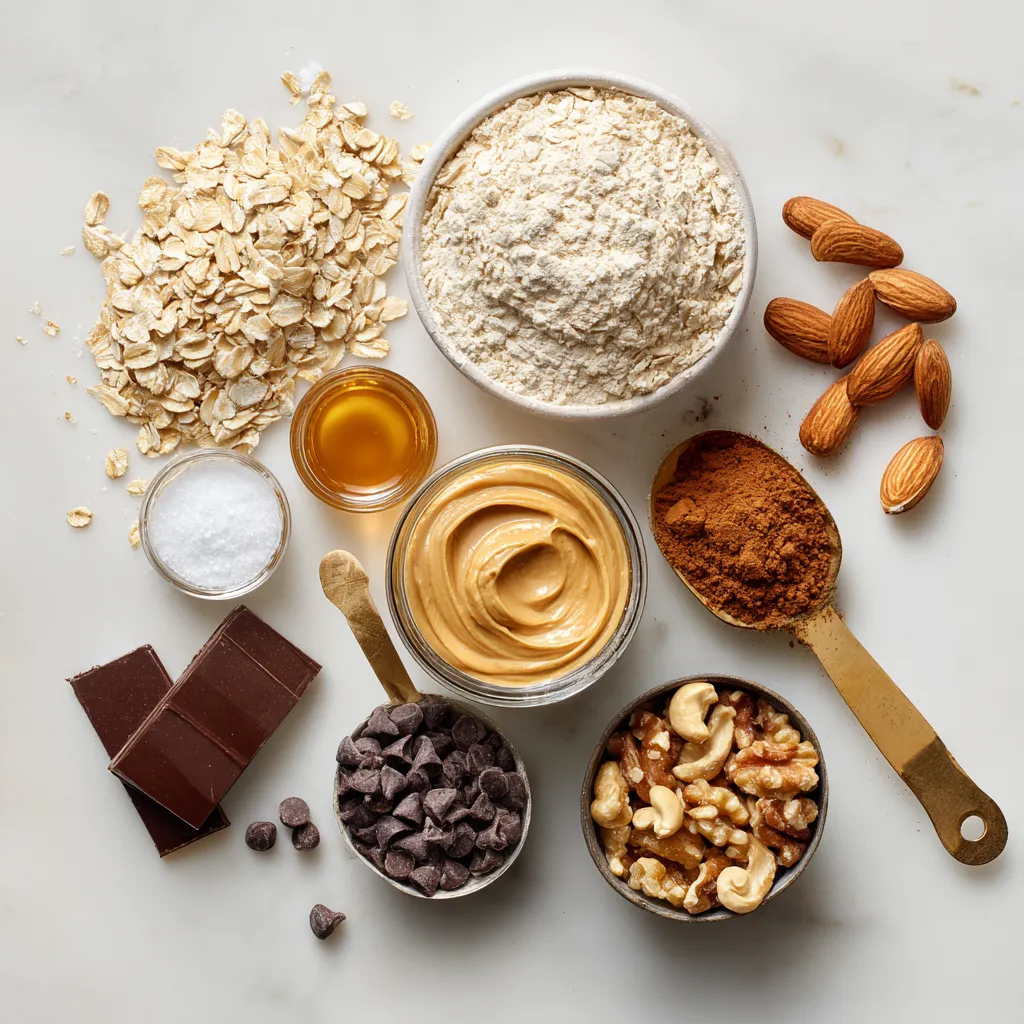
To make No-Bake Peanut Butter Bars, you need simple, healthy ingredients. Here’s what you’ll gather:
– 1 cup rolled oats
– 1 cup smooth peanut butter
– 1/2 cup honey or maple syrup
– 1/2 cup vanilla protein powder (optional)
– 1/4 teaspoon ground cinnamon
– 1/2 cup dark chocolate chips
– 1/4 cup chopped nuts (choose from almonds, walnuts, or peanuts)
– A pinch of sea salt
These ingredients work together to give you a tasty, filling snack. The oats provide fiber, while peanut butter adds protein. Honey or maple syrup gives sweetness. You can skip the protein powder if you wish, but it adds a nice boost. Ground cinnamon adds warmth, and chocolate chips bring rich flavor. Finally, the nuts add crunch and healthy fats. Each bite is a mix of flavors and textures. Enjoy!
Step-by-Step Instructions
Preparation Steps
1. Mixing the base ingredients
In a large bowl, start with the rolled oats and smooth peanut butter. Add in honey or maple syrup. If you want added protein, mix in the vanilla protein powder. Then, sprinkle in the ground cinnamon and a pinch of sea salt. Stir well until everything is mixed into a thick, cohesive batter.
2. Incorporating chocolate chips and nuts
Now, gently fold in the dark chocolate chips and your choice of chopped nuts. Make sure they are evenly spread throughout the mixture. This will make each bite delicious and crunchy.
3. Preparing the baking dish
Grab an 8×8 inch baking dish. Line it with parchment paper, letting the edges hang over. This will help when you lift out the bars later.
4. Pressing the mixture into the dish
Carefully spread the oat and peanut butter mix into the lined dish. Use a spatula to press it down firmly. Make sure it is even and has no gaps. A good press helps the bars hold together.
5. Chilling and setting the bars
Place the dish in the refrigerator. Let it chill for at least 1-2 hours. This step is crucial. You want the bars to be solid and firm.
6. Cutting into servings
Once the mixture has set, lift it out using the parchment paper. Place it on a cutting board. Cut it into squares or rectangles, depending on how big you want your servings.
7. Storage
Keep the bars in an airtight container in the fridge. They stay fresh for up to one week. You can also freeze them for longer enjoyment.
Tips & Tricks
Technique Tips
– Ensuring an even mixture: Mix the rolled oats and peanut butter well. Use a strong spoon or spatula. Make sure every oat is coated in peanut butter. This helps all flavors blend together.
– Pressing for the perfect texture: When you spread the mixture into the dish, use firm pressure. A spatula works best. Press down evenly to avoid air pockets. This gives the bars a nice, dense texture.
– Chilling time considerations: Let the bars chill for at least 1-2 hours. This step is key for them to set. If you are in a hurry, a longer chill will make them firmer.
Serving Suggestions
– Drizzling with melted chocolate: For added flavor, melt some dark chocolate. Drizzle it over the cut bars. This adds a nice touch and makes them look fancy.
– Dusting with cinnamon: After cutting the bars, sprinkle a little cinnamon on top. This gives a warm flavor and a nice look. It’s a small step that makes a big difference.
Pro Tips
- Use Natural Sweeteners: If you’re looking to reduce refined sugars, opt for natural sweeteners like agave syrup or coconut nectar instead of honey or maple syrup.
- Experiment with Flavors: Feel free to add different spices such as nutmeg or even a splash of vanilla extract for an extra layer of flavor in your bars.
- Chill for Perfect Texture: Make sure to chill the bars for the full recommended time to achieve a firm texture. This helps them hold together when cut.
- Customize Your Add-ins: Don’t hesitate to swap out the nuts or chocolate chips for your favorite mix-ins, such as dried fruits or seeds, to tailor the bars to your taste.
Variations
Flavor Variations
You can easily change the flavor of these bars. Adding dried fruits is a great option. Try mixing in raisins or cranberries for a sweet twist. The fruity notes pair well with peanut butter. You can also switch out the nut butter. Almond or cashew butter works nicely. Each nut brings its own taste. This lets you customize your bars to suit your likes.
Dietary Alternatives
If you need gluten-free options, use certified gluten-free oats. This way, you can enjoy the bars without worry. For vegan substitutions, replace honey with maple syrup. This keeps the sweetness while making it plant-based. You can also skip the protein powder if you want. The bars will still taste great and hold their shape.
Storage Info
Best Storage Practices
To keep your no-bake peanut butter bars fresh, use an airtight container. This will protect them from air and moisture. When you seal them well, they stay tasty and safe to eat.
You can choose between refrigeration and freezing. If you plan to eat them within a week, store them in the fridge. They will stay firm and delicious. If you want them to last longer, freezing is the way to go.
Shelf Life
In the refrigerator, these bars last up to one week. Just make sure to keep them sealed in that airtight container. They will stay fresh, and you can enjoy them any day.
When you freeze them, they last up to three months. Just wrap each bar well in plastic wrap before placing them in a container. This way, they won’t get freezer burn, and you can enjoy a tasty snack anytime you want.
FAQs
Can I use quick oats instead of rolled oats?
Yes, you can use quick oats. They will make the bars softer. Rolled oats give a chewier texture.
How can I make these bars vegan?
To make these bars vegan, use maple syrup instead of honey. Also, choose dark chocolate chips that are dairy-free.
What is the best way to cut the bars?
Use a sharp knife to cut the bars after they set. Lift them out of the dish with parchment paper for easy cutting.
Can I add more protein powder without changing the texture?
You can add a little more protein powder. Just be careful, as too much can make the bars dry.
How do I know when the bars are set?
The bars are set when they feel firm to the touch. Chill them for at least 1-2 hours for best results.
This article covered a simple and healthy recipe for energy bars. You learned about the key ingredients, step-by-step instructions, and useful tips. I shared variations for taste and diet needs, plus storage guidelines. Making these bars is easy, fun, and rewarding. You can enjoy them as snacks or share them with friends. Get creative with flavors and make them your own! Follow these steps, and you’ll have a tasty treat that fits your lifestyle and preferences. Enjoy your homemade energy bar


