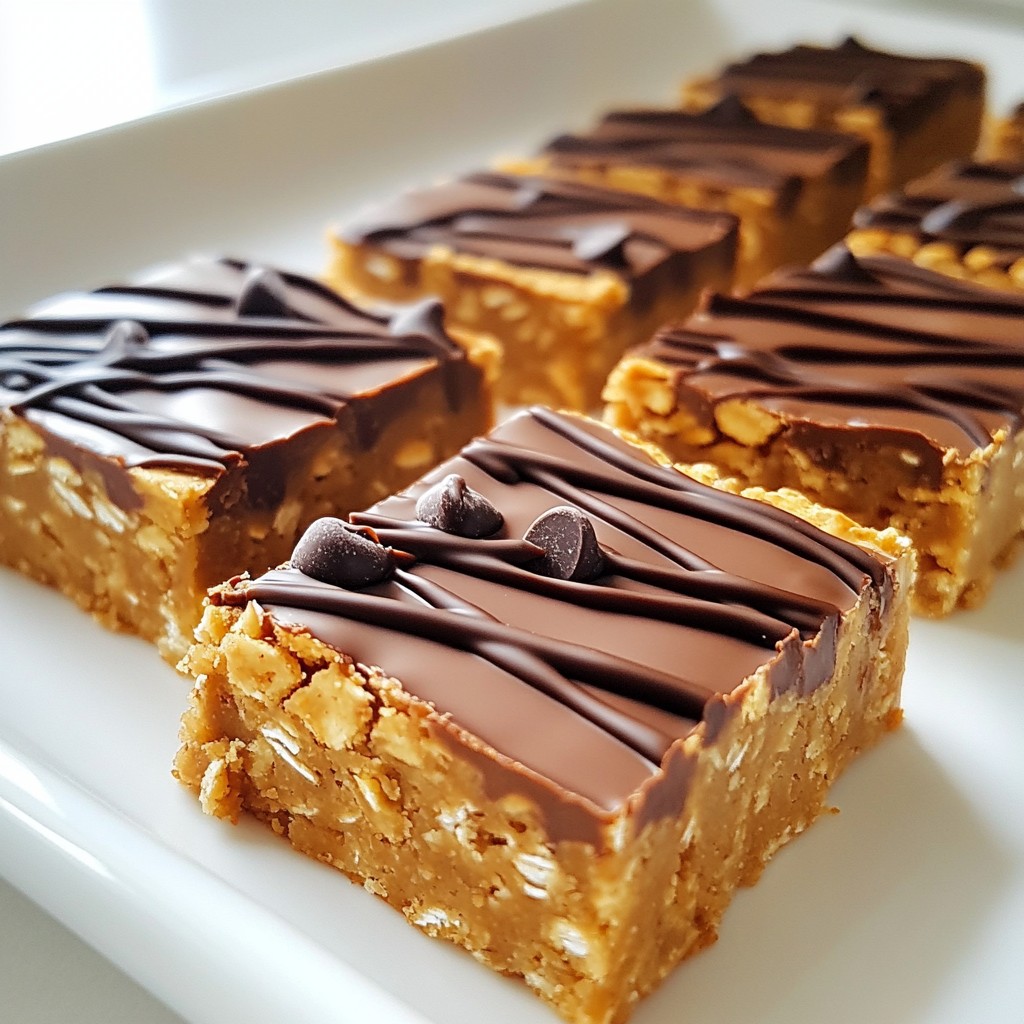
Are you craving a sweet treat that’s easy to make? Look no further! These No-Bake Peanut Butter Bars are quick, tasty, and only require simple ingredients you likely already have at home. In just a few steps, you’ll have a delicious treat that satisfies your sweet tooth without turning on the oven. Let’s dive into this simple recipe and get you snacking on these bars in no time!
Why I Love This Recipe
- Easy to Make: This recipe requires no baking, making it a quick and hassle-free treat to whip up at any time.
- Nutritious Ingredients: With wholesome oats, peanut butter, and honey, these bars are a delicious way to fuel your day.
- Customizable: Add your favorite nuts or swap out ingredients to suit your dietary preferences or taste.
- Decadent Flavor: The combination of peanut butter and dark chocolate creates a rich and satisfying flavor that everyone loves.
Ingredients
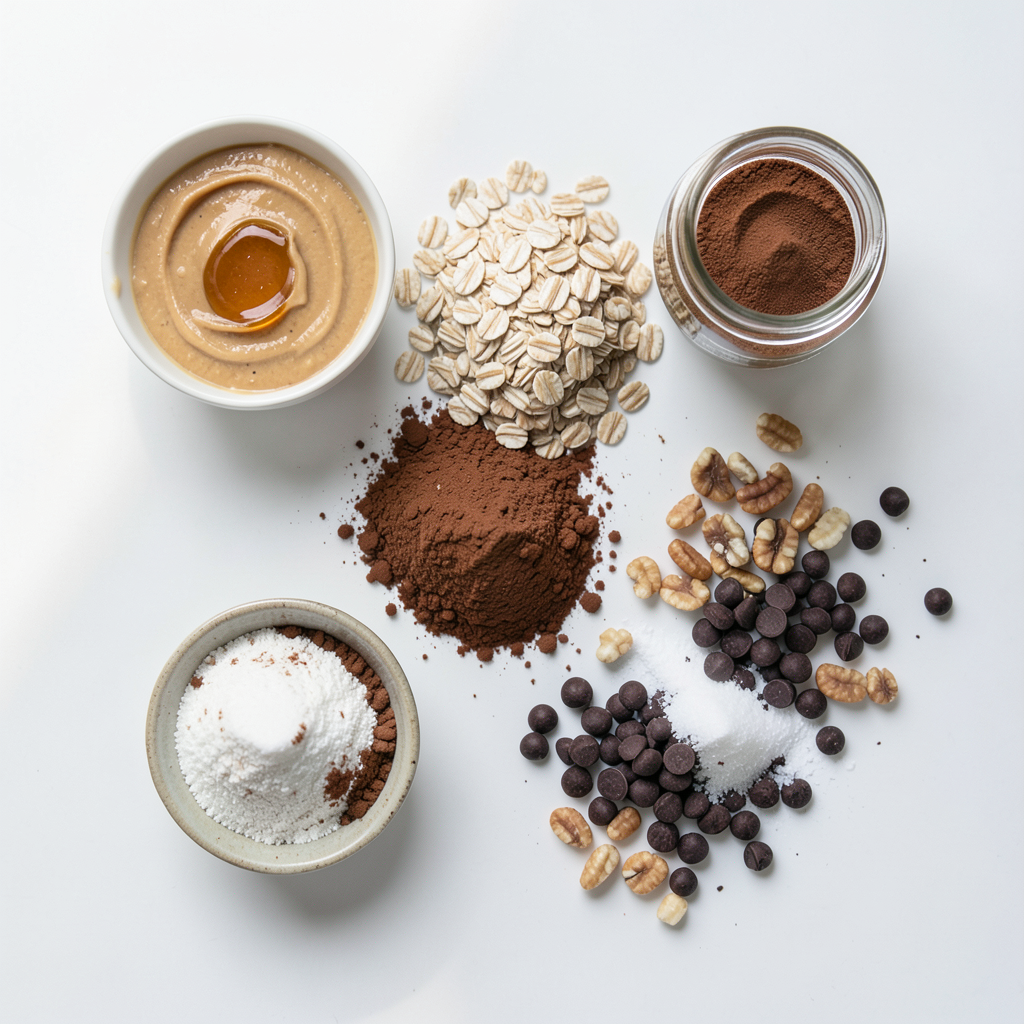
To make No-Bake Peanut Butter Bars, you need simple and tasty ingredients. Here is what you will gather:
- 1 cup creamy peanut butter
- 1/2 cup honey or maple syrup
- 2 cups rolled oats
- 1 teaspoon pure vanilla extract
- 1/4 cup unsweetened cocoa powder
- 1/2 teaspoon sea salt
- 1/2 cup dark chocolate chips
- Optional: 1/4 cup chopped nuts (like almonds or walnuts)
Each ingredient plays a key role in the flavor and texture of these bars. The creamy peanut butter gives richness. Honey or maple syrup adds sweetness. Rolled oats provide a hearty base. Cocoa powder brings a deep chocolate taste. The sea salt enhances all the flavors. Dark chocolate chips add a delightful finish. If you like, add nuts for crunch. These ingredients come together to create a delicious treat you can enjoy any time.
Step-by-Step Instructions
Melting the Peanut Butter Mixture
- Start by adding 1 cup of creamy peanut butter and 1/2 cup of honey (or maple syrup) into a medium saucepan.
- Heat this mixture over low heat. Stir continuously until it melts and becomes smooth. This takes about 3 to 5 minutes. Be careful not to let it boil.
Mixing Dry Ingredients
- In a large bowl, combine 2 cups of rolled oats and 1/4 cup of unsweetened cocoa powder. Mix them well.
- Gradually pour the melted peanut butter mixture over the oat mixture. Stir thoroughly until everything is well combined. Make sure that the oats are coated evenly.
Setting Up the Baking Dish
- Line an 8x8 inch baking dish with parchment paper. Leave some paper hanging over the edges. This helps you remove the bars later.
- Transfer the mixture into the lined dish. Use a spatula to press it down firmly and evenly across the surface.
Chilling the Bars
- Sprinkle 1/2 cup of dark chocolate chips over the pressed mixture. Gently push them down with the spatula.
- Place the dish in the refrigerator. Chill for at least 2 hours, or until the mixture is firm and set.
Tips & Tricks
Perfecting Your No-Bake Peanut Butter Bars
To make the best no-bake peanut butter bars, avoid boiling the peanut butter mixture. Boiling can change the texture and taste. Instead, melt the peanut butter and honey on low heat. Stir slowly and watch for a smooth mix.
Ensure the oats are well-coated for the best texture. When you add the melted mixture to the oats, stir thoroughly. This step is key to get a chewy bite. If the oats are not coated, your bars may crumble.
Presentation Tips
For a fun presentation, drizzle melted dark chocolate over the bars. This adds a tasty touch and makes them look fancy. You can also place the bars on a pretty plate.
Pairing the bars with ice cream adds extra joy. A scoop of vanilla or chocolate ice cream makes a great side. This combo will impress your friends and family.
Pro Tips
- Storage Tip: Keep these bars in an airtight container in the refrigerator for up to a week for optimal freshness.
- Sweetness Adjustment: Feel free to adjust the amount of honey or maple syrup based on your sweetness preference.
- Add-In Ideas: Experiment with different mix-ins like dried fruits or seeds to customize the flavor and texture.
- Serving Suggestion: Serve these bars chilled or at room temperature, and consider pairing them with your favorite nut milk for a delicious snack.
Variations
Dietary Adjustments
You can make tasty changes to fit your diet. If you want a dairy-free option, use dark chocolate chips. They taste great and are free from milk. For a vegan recipe, swap honey for agave syrup. This keeps your bars sweet and plant-based.
Flavor Combinations
Get creative with flavors! Adding spices like cinnamon or nutmeg gives your bars a warm kick. Just a pinch goes a long way. You can also mix in dried fruits such as cranberries or raisins. They add a sweet chewiness that enhances every bite. These simple tweaks make your no-bake peanut butter bars unique and delicious!
Storage Info
Storing the Bars
Store your no-bake peanut butter bars in an airtight container. This keeps them fresh and delicious. You can keep them in the fridge for about a week. Just make sure the lid is tight.
Freezing Tips
If you want to save some for later, freezing is a great option. Cut the bars into squares before freezing. Wrap each piece in plastic wrap, then place them in a freezer-safe bag. They can last for up to three months in the freezer.
When you are ready to eat one, take it out and let it thaw in the fridge for a few hours. You can also leave it at room temperature for quicker thawing. Enjoy your tasty treat anytime!
FAQs
How long do No-Bake Peanut Butter Bars last?
No-bake peanut butter bars stay fresh for about one week. Store them in an airtight container in the fridge. This keeps them firm and tasty. You can also freeze them for up to three months. Just wrap each bar in plastic wrap before placing them in a freezer bag. Thaw them in the fridge before eating.
Can I substitute peanut butter with another nut butter?
Yes, you can use other nut butters. Almond butter and cashew butter work well. Each gives a unique flavor. Just make sure the nut butter is creamy. This helps your bars hold together nicely.
What can I use instead of rolled oats?
If you don’t have rolled oats, quick oats are a fine choice. They will still give a nice texture. For those needing gluten-free options, use certified gluten-free oats. They provide the same great taste without gluten.
How do I know when the bars are set?
After chilling, check the firmness of the bars. They should feel solid to the touch. If they still feel soft, give them extra chilling time. Generally, two hours is enough for them to set well.
You now know how to make tasty no-bake peanut butter bars. We covered key ingredients, steps, tips, variations, and storage. Follow these simple steps to enjoy a delicious treat. Experiment with flavors or make them fit your diet. Storing them right keeps them fresh and ready! Enjoy these bars as a snack or dessert. They’re easy and fun to make!