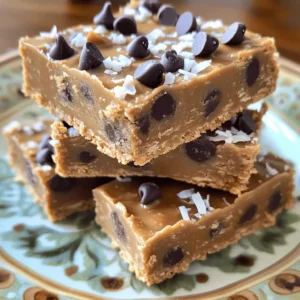
No-Bake Peanut Butter Bars Healthy and Simple Treat
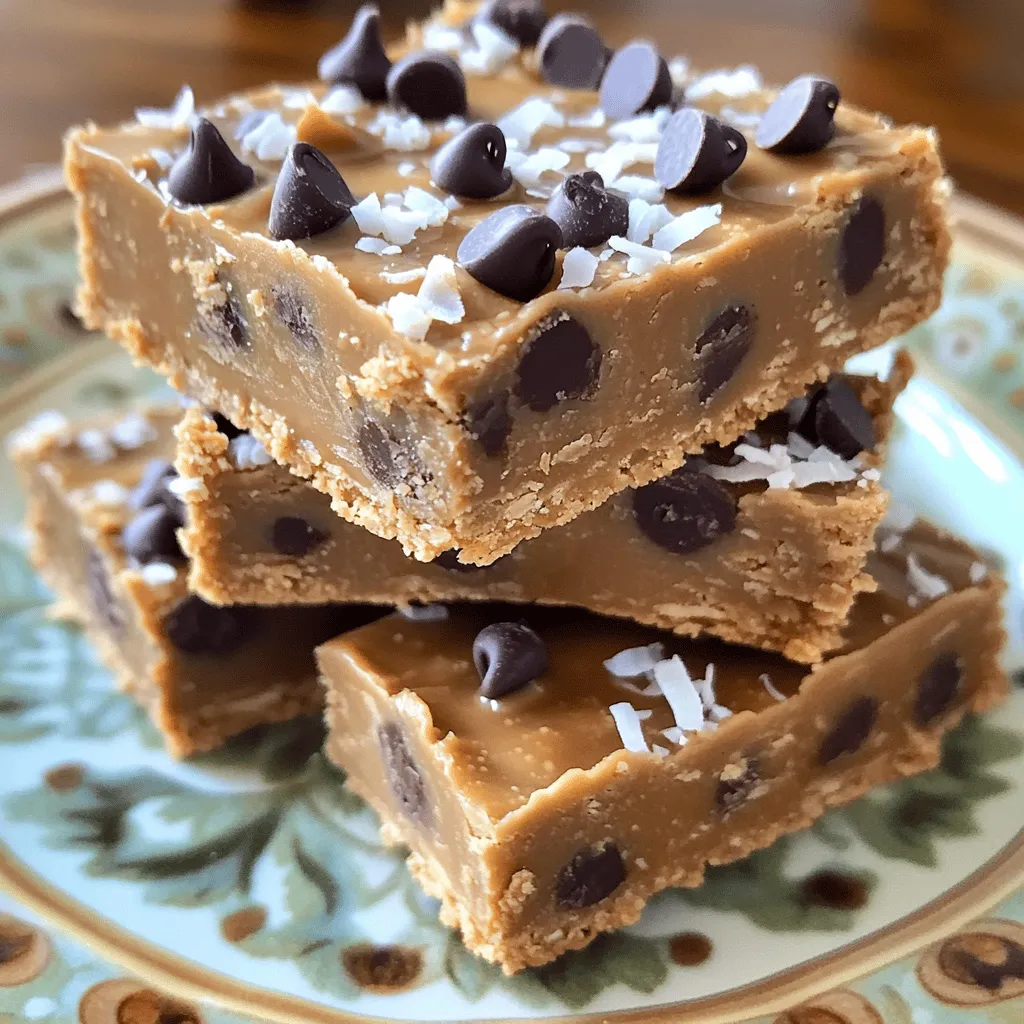
Craving a sweet treat without the guilt? These No-Bake Peanut Butter Bars are your answer! Made with wholesome ingredients, they’re quick to whip up and deliciously satisfying. In this article, I’ll guide you through every step, from choosing the right ingredients to storage tips, ensuring you enjoy a healthy snack anytime. Let’s dive in and make something delicious together!
Ingredients
List of Required Ingredients
– 1 cup natural peanut butter
– 1/2 cup honey or maple syrup
– 1 1/2 cups rolled oats
– 1/2 cup chocolate chips
– 1/2 cup unsweetened shredded coconut
– 1/4 cup flaxseeds (optional)
– 1 teaspoon pure vanilla extract
– A pinch of salt
Notes on Ingredient Quality
Choosing between creamy or chunky peanut butter: I often prefer creamy peanut butter. It spreads easily and gives a smooth texture. Chunky peanut butter adds a nice crunch if you like that. Choose what you enjoy most.
Benefits of using natural sweeteners like honey and maple syrup: Natural sweeteners are better for your health. Honey and maple syrup have nutrients. They add rich flavor and sweetness.
Importance of organic versus non-organic ingredients: Organic ingredients are grown without harmful chemicals. They taste better and are safer. If possible, choose organic for your bars. It makes a difference!
Step-by-Step Instructions
Mixing the Base
Start by taking a large mixing bowl. Add 1 cup of natural peanut butter and 1/2 cup of honey or maple syrup. Use a spatula or spoon to mix them until they blend into a smooth and creamy mixture. This is the base of your bars. Then, add 1 teaspoon of pure vanilla extract and a pinch of salt. Stir well until everything is mixed evenly. This step builds a rich flavor for your bars.
Incorporating Dry Ingredients
Next, it’s time to add the dry ingredients. Gradually mix in 1 1/2 cups of rolled oats and 1/2 cup of unsweetened shredded coconut. If you like, add 1/4 cup of flaxseeds for a healthy boost. Stir well until all the ingredients start to come together. This should form a thick and sticky mixture. Finally, fold in 1/2 cup of chocolate chips. Make sure the chips are spread evenly without breaking.
Preparing for Chilling
Now, you need to prepare for chilling. Take an 8×8-inch baking dish and line it with parchment paper. Leave some extra paper hanging over the sides. This makes it easier to lift out the bars later. Take your peanut butter mixture and press it firmly into the bottom of the dish. Use your fingers or the back of a spoon to create an even layer. Compact it tightly to ensure it holds shape. Cover the dish with plastic wrap or foil, and put it in the fridge. Let it chill for at least 2 hours. This helps the bars firm up so you can cut them easily.
Tips & Tricks
Achieving the Perfect Texture
To get the right texture, compact the mixture well. Press it down firmly in the pan. This ensures the bars hold together. If the mixture is too dry, add a bit more peanut butter or honey. You can also adjust the sweetness. If you like it sweeter, add a little more honey or maple syrup. Taste as you go to find what you like best.
Customizing the Flavor
You can swap peanut butter for almond or cashew butter. This change gives a new flavor profile. Try adding different chocolate chips too. Use dark chocolate for a rich taste or white chocolate for a sweet twist. You can even leave out the chocolate altogether if you want a simpler bar.
Serving Suggestions
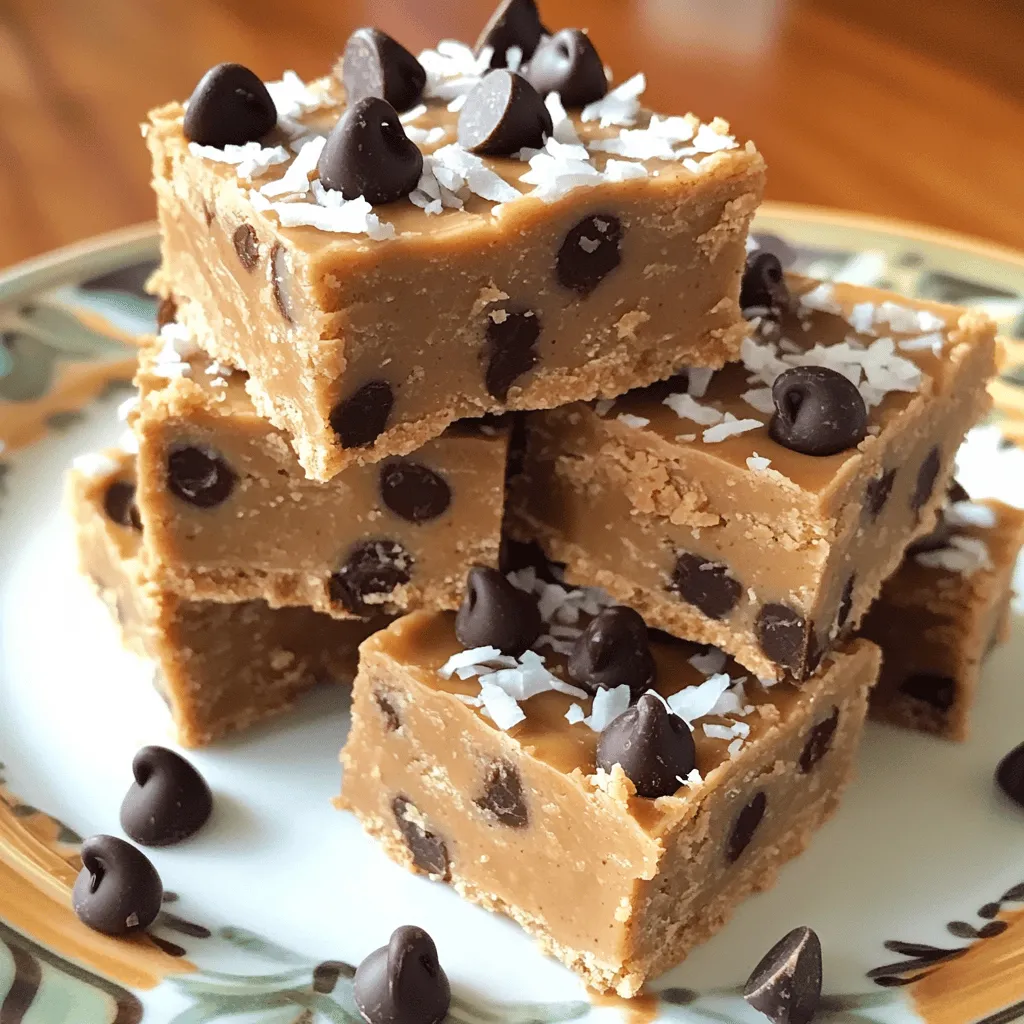
There are many fun ways to present your bars. Cut them into fun shapes for kids, or drizzle melted chocolate on top. You can also arrange them on a colorful plate. For a fresh touch, pair the bars with fruits like apples or bananas. Yogurt is another great option. It adds creaminess and complements the flavors well.
Variations
Flavor Enhancements
You can make these bars even tastier. Add dried fruits like raisins or cranberries for sweetness. These fruits add a chewy texture. You can also mix in nuts or seeds. Almonds, walnuts, or sunflower seeds bring a great crunch. This way, every bite feels exciting and different.
Dietary Adjustments
Want to keep it vegan? Simply swap honey for maple syrup. This change keeps the bars sweet and sticky. For gluten-free options, use certified gluten-free oats. This way, everyone can enjoy these treats without worry.
Seasonal Variations
You can change flavors with the seasons. Add cinnamon for a warm, fall taste. It pairs well with the peanut butter. For holidays, think about peppermint. Crush some peppermint candies and mix them in for a festive touch. This makes your bars feel special and festive!
Storage Info
Best Practices for Storage
To keep your no-bake peanut butter bars fresh, use an airtight container. Glass or plastic containers work well. When storing, always place parchment paper between layers. This prevents sticking. You can store the bars in the refrigerator or freezer. Refrigeration is great for short-term storage. The freezer is best if you want to keep them longer.
Shelf Life
At room temperature, these bars last for about 1 week. If you store them in the fridge, they can last up to 2 weeks. In the freezer, they can stay good for up to 3 months. Signs that the bars have gone bad include an off smell or mold. If they feel very hard or crumbly, it’s best to toss them.
Reheating and Serving After Storage
To thaw frozen bars, simply move them to the fridge for several hours. You can also leave them out at room temperature for about 30 minutes. Eating the bars straight from the fridge gives a nice cool treat. If you prefer, let them sit out for a bit to reach room temperature. This can enhance their flavor and texture.
FAQs
How long do no-bake peanut butter bars last?
No-bake peanut butter bars can last up to one week in the fridge. Store them in an airtight container to keep them fresh. If you want to keep them longer, you can freeze them for about three months. Just remember to wrap each bar well before freezing. This way, you can enjoy them later without losing flavor or texture.
Can I use natural sweeteners instead of honey?
Yes, you can use natural sweeteners like agave syrup or maple syrup. Both options work great and keep the bars sweet. Maple syrup gives a nice flavor that pairs well with peanut butter. If you want a vegan option, maple syrup is a perfect choice.
Is there a nut-free version of this recipe?
Absolutely! You can swap the peanut butter for sunflower seed butter. This option works well and gives a similar taste. Make sure to check for any nut allergies if you share the bars with others. Sunflower seed butter is a great alternative for a nut-free treat.
What type of chocolate chips can I use?
You have many options for chocolate chips. You can use dairy-free, dark, or milk chocolate chips. Each type offers a different taste. Dairy-free chips are perfect for vegans. Dark chocolate adds a rich flavor, while milk chocolate brings sweetness.
Can I make these bars in larger quantities?
Yes, you can easily double or halve the recipe. Just adjust the amount of each ingredient accordingly. Use a bigger baking dish for larger batches. If you want to make fewer bars, just cut the ingredient amounts in half. This flexibility helps you make the perfect amount for your needs.
What if my mixture is too dry or too sticky?
If your mixture is too dry, add a little more peanut butter or syrup. This will help bind everything together. If it’s too sticky, try adding more rolled oats. This will absorb some of the moisture. Adjusting the mixture is key to getting the right texture for your bars.
This blog post outlined how to make no-bake peanut butter bars. We covered key ingredients, mixing steps, and storage tips to keep them fresh. Remember, you can customize the recipe with different nuts, sweeteners, or flavors. Try adding fruits or spices for a twist! Making adjustments ensures these bars fit your taste and dietary needs. Enjoy them as a snack or dessert! Now, it’s your turn to create a tasty batch that suits you.
