Indulging in a sweet treat doesn’t have to mean turning on the oven! With my No Bake Peanut Butter Bars, you’ll whip up a delightful snack in no time. Simple ingredients like creamy peanut butter, oats, and chocolate make this recipe a winner. Ready to learn how to make these easy bars? Let’s dive into the steps and tips for a delicious dessert everyone will love!
Why I Love This Recipe
- Easy to Make: This recipe requires no baking, making it quick and convenient for any skill level.
- Nutritious Ingredients: Packed with peanut butter and oats, these bars offer a healthy snack option without compromising on taste.
- Customizable: You can easily adapt the recipe by adding your favorite nuts, seeds, or dried fruits for extra flavor and texture.
- Deliciously Indulgent: The combination of creamy peanut butter and rich chocolate creates a treat that is both satisfying and delightful.
Ingredients
Primary Ingredients for No Bake Peanut Butter Bars
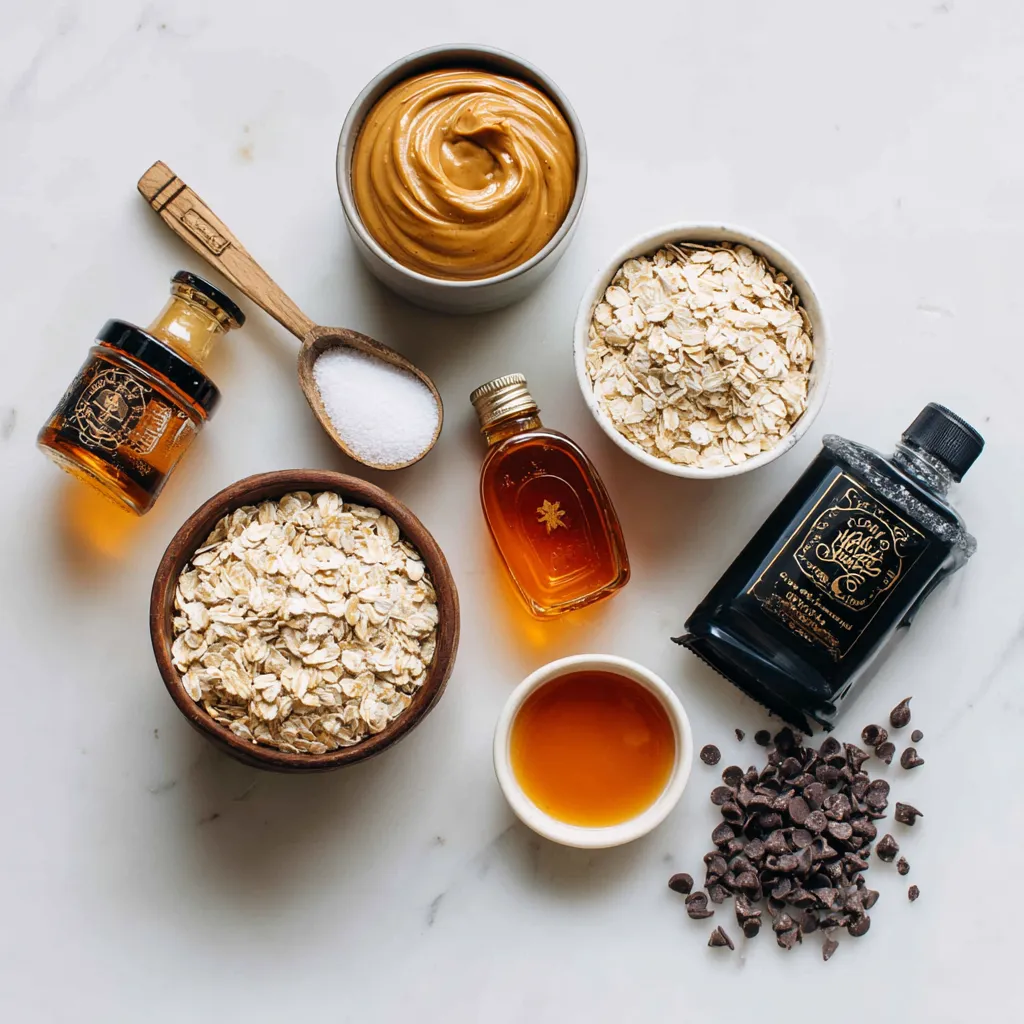
– 1 cup creamy peanut butter
– 1 cup rolled oats
– 1/2 cup honey or maple syrup
– 1/2 cup powdered sugar
– 1 teaspoon vanilla extract
– 1/4 teaspoon salt
– 1/2 cup dark chocolate chips
These ingredients come together to make a rich, tasty treat. The creamy peanut butter gives these bars their great flavor. Rolled oats add texture and a bit of healthy fiber. Honey or maple syrup sweetens the mix and keeps everything together. Powdered sugar helps to thicken the bars and adds extra sweetness. Vanilla extract adds a lovely aroma, while salt balances the flavors. Dark chocolate chips on top make every bite a delight.
Suggested Substitutions
– Alternatives for peanut butter: You can try almond butter or sun butter if you have nut allergies.
– Sweetener options: Agave syrup or brown rice syrup can replace honey or maple syrup.
– Dairy-free chocolate choices: Use dairy-free chocolate chips if you want to make this treat vegan.
These options can help you customize the bars to fit your needs or preferences. Feel free to experiment and find your favorite combination!
Step-by-Step Instructions
Preparatory Steps
To start, gather your ingredients. In a large bowl, add 1 cup of creamy peanut butter, 1/2 cup of honey or maple syrup, 1 teaspoon of vanilla extract, and 1/4 teaspoon of salt. Mix these together with a spatula until smooth. Make sure there are no lumps. This step is key for a creamy texture.
Next, slowly add 1 cup of rolled oats and 1/2 cup of powdered sugar. Stir them in carefully. Keep mixing until the dough feels thick and well combined. This should take a few minutes. You want it to hold together well.
Preparing the Baking Pan
Now, prepare an 8×8 inch baking pan. Line it with parchment paper. Make sure to leave some paper hanging over the edges. This will help you lift the bars out later.
Using clean hands or a spatula, press the peanut butter mixture into the bottom of the lined pan. Smooth the surface so it is level. This helps the bars cook evenly.
Melting the Chocolate
Next, it’s time to melt the chocolate. Place 1/2 cup of dark chocolate chips in a microwave-safe bowl. Microwave in 30-second bursts, stirring each time. This prevents the chocolate from burning. You want it to be fully melted and smooth.
Once melted, carefully pour the chocolate over the peanut butter layer. Use a spatula to spread it evenly. This gives a nice finish to your bars.
Chilling and Serving
Now, place the pan in the refrigerator. Chill for at least 1-2 hours. This time helps the bars set well. When they are firm, use the parchment paper to lift them out of the pan.
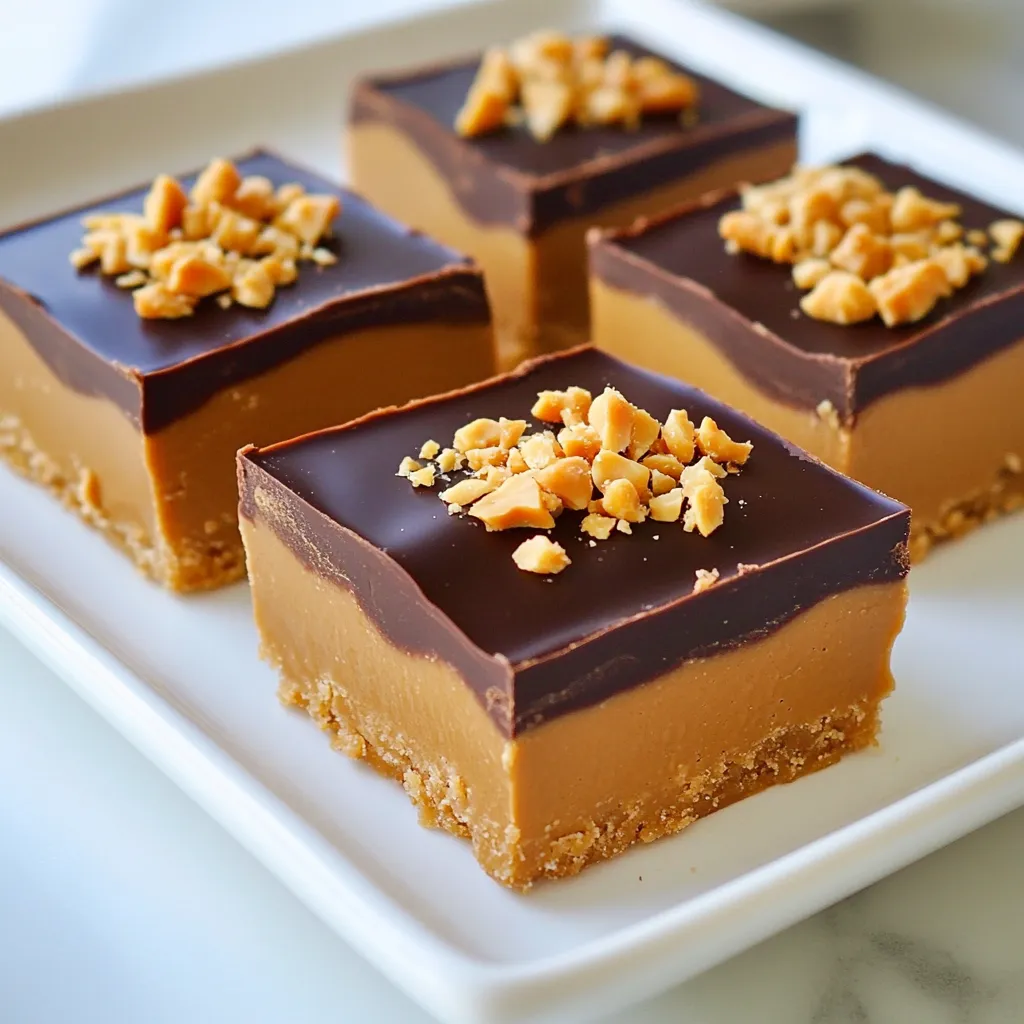
Cut into squares or rectangles as you like. For a beautiful presentation, arrange the bars on a nice platter. You can sprinkle some crushed peanuts on top and drizzle with extra melted chocolate. Enjoy your delicious no-bake treat!
Tips & Tricks
Important Tips for Success
To make your no-bake peanut butter bars a hit, start with a smooth mixture. Mix the peanut butter, honey, vanilla, and salt well. Use a spatula or whisk to blend until it’s lump-free. This ensures a creamy base for your bars.
Next, chill your bars properly. After pouring the melted chocolate on top, place the pan in the fridge. Let it chill for at least 1-2 hours. This helps the bars set firmly, making them easy to cut.
Customization Ideas
You can make these bars your own by adding nuts or seeds. Chopped almonds or sunflower seeds add crunch and nutrition. Feel free to mix in some dried fruit for a sweet touch.
Another option is to incorporate protein powder. This will boost the protein content and make your bars more filling. Just mix in a scoop with the oats and sugar.
Enhancing Flavor
To take your bars to the next level, try adding spices or extracts. A pinch of cinnamon or a drop of almond extract can enhance the flavor.
You can also get creative with toppings. Try drizzling extra melted chocolate over the top. Or sprinkle some sea salt for a sweet and salty combo. These little touches can make your bars even more special.
Pro Tips
- Storage Solution: Keep the bars in an airtight container in the refrigerator for up to a week for maximum freshness.
- Nut Butter Swap: Feel free to use almond or cashew butter instead of peanut butter for a different flavor profile.
- Chocolate Variety: Experiment with different types of chocolate, such as milk chocolate or white chocolate, for a unique twist.
- Sweetness Adjustment: Adjust the amount of honey or maple syrup to your taste preference; you can reduce it for a less sweet version.
Variations
Different Flavor Combinations
You can easily make these no bake peanut butter bars even more exciting. One fun way is to add chocolate chips. Just mix in half a cup of dark chocolate chips into your peanut butter mix. This simple step gives a rich chocolate flavor with each bite.
Another great option is the peanut butter and banana bars. To create this, add mashed bananas to your peanut butter mixture. This gives a sweet and fruity twist to the bars. The banana flavor pairs well with the creamy peanut butter.
Dietary-Friendly Options
If you want to make vegan no bake bars, it’s simple. Use maple syrup instead of honey. Ensure you pick dairy-free chocolate chips. This keeps the bars tasty and suitable for everyone.
For gluten-free adaptations, use certified gluten-free oats. This small change allows those with gluten issues to enjoy these bars without worry. They will still taste just as good!
Serving Suggestions
These bars are great on their own but can be even better with sides. Try pairing them with fresh fruits like strawberries or bananas. The juicy fruits balance the sweetness of the bars.
You can also serve them on a dessert platter. Arrange the bars nicely and add some yogurt dips on the side. This makes for a colorful and fun dessert spread that everyone will love!
Storage Info
Best Storage Practices
For your No Bake Peanut Butter Bars, use airtight containers. They help keep the bars fresh. If you don’t have one, parchment paper works too. Just wrap the bars tightly. This method keeps them from drying out.
Store your bars in the fridge for the best taste. The cool temperature helps them stay firm. You can also freeze them for longer storage. If you freeze them, they can last for months. Just remember to let them thaw before you eat.
Shelf Life
These peanut butter bars last about one week in the fridge. If you freeze them, they can last up to three months. Check for signs of spoilage. If they smell off or have a weird texture, it’s best to toss them. Always trust your senses.
FAQs
Common Questions
Can I use natural peanut butter?
Yes, you can use natural peanut butter. It adds a nice texture and flavor. Just make sure it’s smooth. Stir it well before measuring to mix the oils back in.
Is it necessary to refrigerate the bars?
Yes, refrigerating the bars helps them set. It makes them firm and easy to cut. You can leave them out for a short time, but they are best cold.
How can I make these bars lower in sugar?
To lower sugar, reduce the powdered sugar. You can also use ripe bananas or unsweetened applesauce. These add sweetness without extra sugar.
Recipe Variants
What can I substitute for honey?
Maple syrup works great as a substitute. Agave nectar is another option. Both will keep the bars sweet and tasty.
Can I use ingredients other than oats?
Yes, you can use crushed nuts or seeds instead of oats. You can also try puffed rice for a different crunch. Just make sure they blend well with the mix.
Health-Related Inquiries
Are these bars suitable for kids?
Absolutely! These bars are safe and healthy for kids. They are full of protein and good fats from peanut butter. Kids love the taste too!
Nutritional information overview
Each bar has about 150 calories. They contain protein, healthy fats, and some carbs. Check labels for exact nutrition based on your ingredients.
No-bake peanut butter bars are easy and fun to make. You learned about key ingredients like creamy peanut butter and oats. I touched on possible swaps, like sweeteners and chocolate. Clear steps guide you from mixing the base to melting chocolate and cutting bars.
Remember to experiment with flavors and storage options. With these tips, you can create delicious treats for everyone. Enjoy making your own bars and share them with family and friend


