Are you craving a sweet, refreshing dessert that requires no baking? Look no further! This No-Bake Orange Creamsicle Cheesecake Delight is the perfect treat for any occasion. With a creamy texture and a burst of citrus flavor, it’s easy to make and even easier to enjoy. Join me as I guide you through a simple recipe that even beginners can master. Get ready to impress your friends and family with this delightful cheesecake!
Ingredients
Main Ingredients
To make the No-Bake Orange Creamsicle Cheesecake, you need a few key items. Here is the list:
– 1 ½ cups graham cracker crumbs
– ¼ cup granulated sugar
– ½ cup unsalted butter, melted
– 16 oz cream cheese, softened
– ¾ cup powdered sugar
– 2 teaspoons pure vanilla extract
– 1 cup heavy whipping cream
– ½ cup freshly squeezed orange juice (about 2 large oranges)
– Zest of 1 large orange
These ingredients come together to create a rich and creamy dessert that tastes just like an orange creamsicle.
Optional Ingredients
You can enhance the flavor with a little extra twist. Consider adding:
– ¼ teaspoon orange extract (optional for extra flavor)
This small addition can bring out a stronger orange taste, making the cheesecake even more delightful.
Equipment Needed
To craft this cheesecake, you will need a few essential tools:
– A 9-inch springform pan
– An electric mixer
– Mixing bowls
– A spatula
Having these tools ready makes the process smooth and easy. The springform pan helps you easily remove the cheesecake once it’s set.
Step-by-Step Instructions
Preparing the Crust
To start, gather your ingredients. You need graham cracker crumbs, granulated sugar, and melted unsalted butter. In a medium mixing bowl, combine the graham cracker crumbs and sugar. Mix them well. Next, pour in the melted butter. Stir until the mixture looks like wet sand and clumps together. This is your crust base.
Now, take a 9-inch springform pan. Press the crumb mixture firmly into the bottom. Use the back of a measuring cup or your fingers for this. Make sure it is even and compact. Once done, place the pan in the refrigerator. Let it chill while you prepare the filling.
Making the Cream Cheese Filling
Now, let’s move on to the filling. You will need softened cream cheese, powdered sugar, and vanilla extract. In a large mixing bowl, beat the softened cream cheese with an electric mixer on medium speed. Mix until it is smooth and creamy. Then, gradually add the powdered sugar and vanilla extract. Keep mixing until there are no lumps at all.
Next, add the freshly squeezed orange juice and orange zest. If you want an extra kick, add the optional orange extract. Continue to mix until everything is silky smooth.
Combining and Chilling
In a separate bowl, whip the heavy cream using an electric mixer on high speed. You want to whip it until stiff peaks form. This will make your filling light and airy.
Now, gently fold the whipped cream into the cream cheese mixture. Use a spatula for this. Be careful not to deflate the whipped cream. Mix until fully combined and smooth.
Spoon the creamy filling over your chilled crust. Spread it evenly with a spatula to make a smooth top. Cover the cheesecake with plastic wrap. Refrigerate it for at least 4 hours, but overnight is best. This helps it set properly.
Tips & Tricks
Achieving the Perfect Texture
To keep your cheesecake fluffy, mix the cream cheese slowly. Start at a low speed to avoid lumps. Gradually increase the speed to blend in the sugar and vanilla. When adding the whipped cream, gently fold it in. This keeps the air in and ensures a light texture. Use a spatula to carefully combine the mixtures without deflating them.
Chilling Time Tips
Chill the cheesecake for at least four hours. For the best results, let it sit overnight. This helps the flavors blend and the cheesecake to set properly. If you can wait longer, it will taste even better. A well-chilled cheesecake has a firmer structure, making it easier to slice.
Presentation Ideas
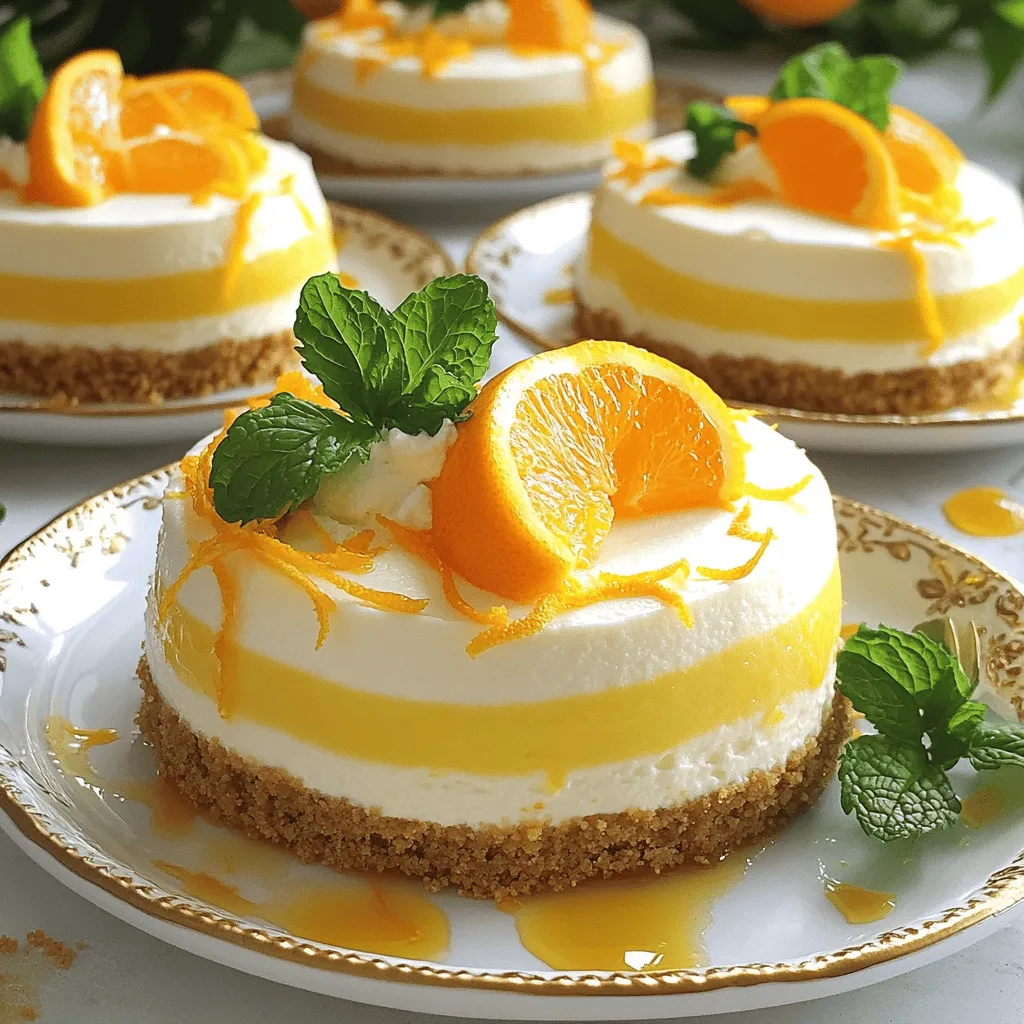
For a stunning look, garnish your cheesecake with fresh orange zest. You can also add orange segments on top for color. Serve each slice on decorative plates. Drizzle with homemade orange syrup or fresh cream for an elegant touch. A sprig of mint adds a nice pop of green and freshness.

Variations
Flavor Adjustments
You can add fun twists to your cheesecake. Try using lemon or lime zest for a fresh taste. You can also swap the orange extract for almond or coconut. This change gives your dessert a unique flavor. If you want a richer taste, mix in some finely chopped chocolate. This can make your cheesecake even more exciting!
Dietary Adjustments
If you need a gluten-free option, use gluten-free graham crackers for the crust. Many brands offer these now. For a healthier sweetener, swap granulated sugar with honey or maple syrup. You can even try using stevia or monk fruit for low-sugar options, keeping the taste delightful without the extra sugar.
Serving Variants
Pair your cheesecake with fresh fruit or a drizzle of chocolate sauce. Berries, like strawberries or raspberries, add a nice touch. You can also serve it with whipped cream or a scoop of vanilla ice cream. For a fun twist, try adding a sprinkle of crushed nuts on top. This adds a crunchy texture that complements the creamy filling. Want to explore more?
Storage Info
Refrigeration Instructions
To keep your No-Bake Orange Creamsicle Cheesecake fresh, store it in the fridge. First, cover the cheesecake tightly with plastic wrap. This helps prevent it from absorbing any other odors. Place it on a flat surface to keep its shape. It’s best to chill it for at least four hours before serving. If you have leftovers, they will stay fresh in the fridge.
Freezing Guidelines
If you want to freeze the cheesecake, start by chilling it first. Once set, slice it into pieces. Wrap each slice tightly in plastic wrap, then place them in an airtight container. This method keeps the flavors intact. To thaw, move the cheesecake to the fridge for a few hours before serving. Avoid thawing it at room temperature, as it can lose texture.
Shelf Life
When stored properly, your cheesecake will last up to five days in the fridge. If frozen, it can last for about two months. After that, it may lose flavor and texture. Always check for signs of spoilage before enjoying it. Storing it well is key to keeping that delightful flavor intact. Enjoy your creamy treat!
FAQs
Can I use store-bought crust?
Yes, you can use a store-bought graham cracker crust. It saves time and effort. Just make sure it fits a 9-inch springform pan. This option works well if you want a quick dessert.
How can I make this cheesecake ahead of time?
You can prepare the cheesecake a day in advance. Follow the recipe, then chill it overnight. This helps the flavors blend and firm up. Just remember to cover it with plastic wrap to keep it fresh.
Can I substitute the orange juice with another flavor?
Absolutely! You can use lemon juice or even a mix of other fruit juices. Just keep the same amount. The flavor will change, but it will still be delicious.
You now know how to make a delicious cheesecake. I covered the key ingredients, including cream cheese and orange juice. I shared step-by-step instructions for the crust and filling. Tips helped you achieve the perfect texture and enhance flavor variations. I also provided storage and serving options.
With this knowledge, you can create a wonderful dessert for any occasion. Enjoy crafting your cheesecake masterpiece!


