Looking for a quick, tasty energy snack? Mint Chocolate Chip Protein Balls are the perfect answer! Packed with protein and a refreshing minty flavor, these balls are easy to make and delicious to eat. In just a few steps, you can whip up a batch that fuels your day. Stick around to learn how to make this fun treat and discover tips, tricks, and tasty variations!
Ingredients
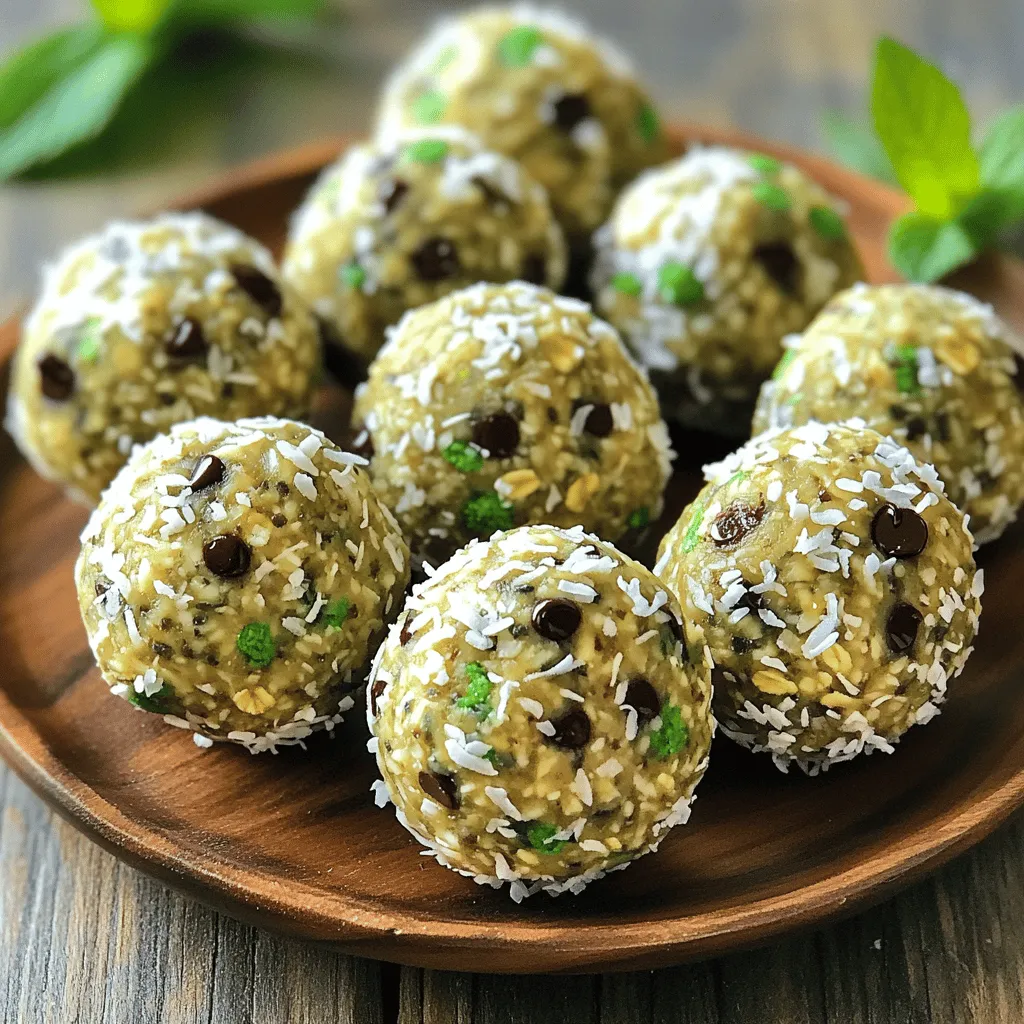
Complete List of Ingredients for Mint Chocolate Chip Protein Balls
– 1 cup rolled oats
– 1/2 cup almond butter
– 1/3 cup honey or maple syrup
– 1/4 cup chocolate protein powder
– 1/4 cup mini dark chocolate chips
– 1 teaspoon peppermint extract
– 1/4 teaspoon sea salt
– 2 tablespoons chia seeds (optional)
– 1/4 cup shredded coconut (optional)
I love using simple, wholesome ingredients for these protein balls. The rolled oats form the base, providing fiber and energy. Almond butter adds creaminess and healthy fats. You can choose honey or maple syrup for sweetness.
Chocolate protein powder gives these balls a rich flavor while boosting protein. The mini dark chocolate chips add little bursts of joy in each bite. Peppermint extract brings that refreshing minty taste.
The sea salt enhances all the flavors, making each bite pop. Chia seeds are optional but add extra texture and nutrients. Shredded coconut adds a fun twist, giving a tropical feel.
Each ingredient plays a role in creating a delightful energy snack. Together, they make Mint Chocolate Chip Protein Balls a tasty and nutritious choice.
Step-by-Step Instructions
Detailed Instructions for Making Mint Chocolate Chip Protein Balls
– Mixing Dry Ingredients
Start by taking a big mixing bowl. Add 1 cup of rolled oats, 1/4 cup of chocolate protein powder, and 1/4 teaspoon of sea salt. Use a spoon to mix these dry items well. This step is key for a balanced taste.
– Preparing the Wet Ingredients
In a second bowl, add 1/2 cup of almond butter, 1/3 cup of honey or maple syrup, and 1 teaspoon of peppermint extract. Whisk these together until smooth. This creamy mix will help bind everything.
– Combining Mixtures
Pour the wet mixture into the bowl with the dry ingredients. Stir it well until everything is blended. You want a uniform texture. If it feels too dry, add a splash more almond butter.
– Adding Chocolate Chips and Optional Ingredients
Next, fold in 1/4 cup of mini dark chocolate chips. You can also add 2 tablespoons of chia seeds if you want more crunch. Mix gently to keep the chips from breaking.
– Rolling into Balls
Grab a small amount of the mixture and roll it into a ball with your hands. Aim for the size of a tablespoon. Make sure they are all about the same size. This helps with even cooking and serving.
– Chilling Instructions
Place the rolled balls on a parchment-lined baking sheet. Make sure they have some space between them. Chill them in the fridge for about 30 minutes. This helps them firm up. After that, they are ready to enjoy!
Tips & Tricks
Helpful Tips for Perfecting Your Protein Balls
Achieving the Right Consistency
To get the perfect texture for your protein balls, start with the right amount of oats and almond butter. If your mixture is too sticky, add more oats or protein powder, one tablespoon at a time. If it feels dry, mix in a teaspoon of almond butter until it becomes easy to roll.
Flavor Enhancements
To boost the flavor, consider adding a pinch more peppermint extract. You can also switch up the chocolate by using white chocolate chips or cocoa nibs. If you love coconut, adding extra shredded coconut can enhance the taste and texture.
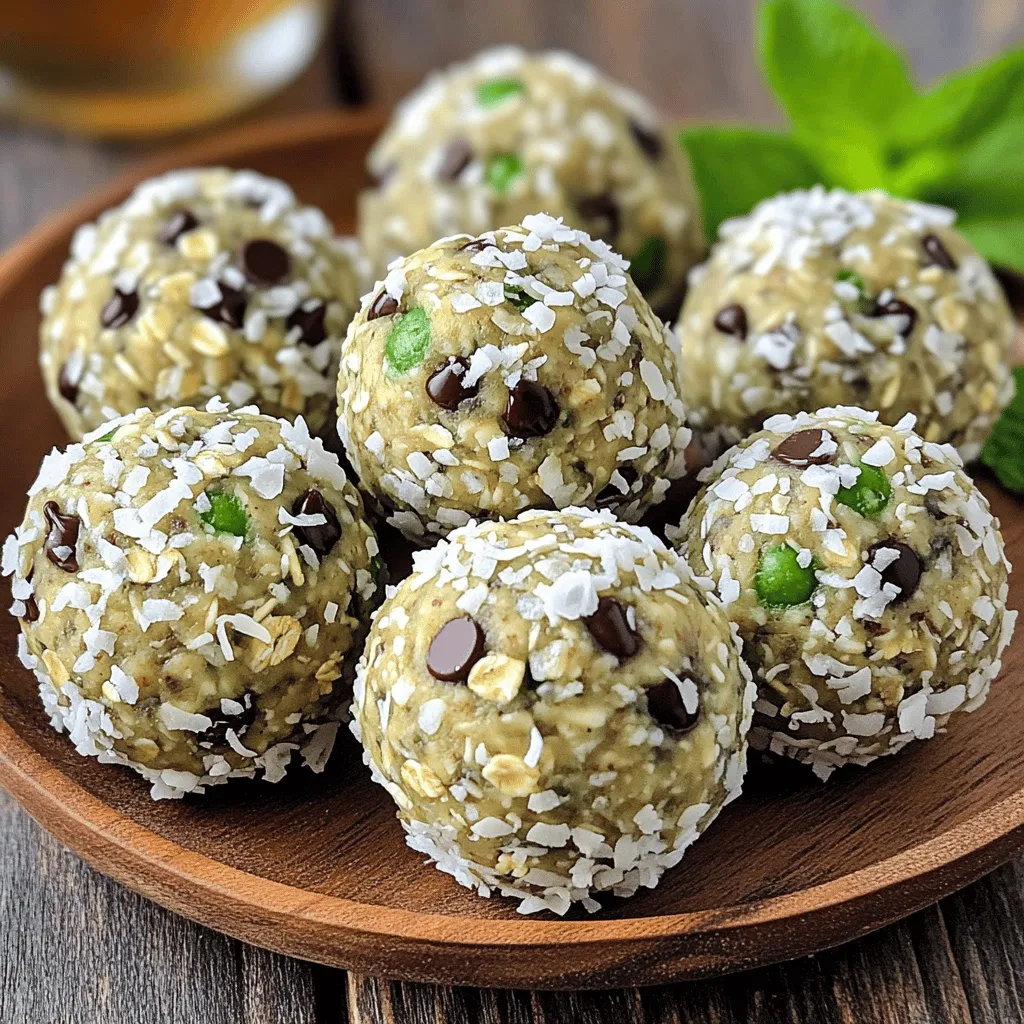
Presentation Suggestions
For an eye-catching display, arrange your protein balls on a pretty plate. Sprinkle some extra mini chocolate chips or shredded coconut on top. This not only makes them look great but adds a fun twist for your guests.
Variations
Creative Alternatives to Mint Chocolate Chip Protein Balls
You can have fun with this recipe! Here are some easy ways to mix it up.
– Different Nut Butters
Try using peanut butter or cashew butter instead of almond butter. Each nut butter adds its own flavor and texture. If you want a nut-free option, sun butter works great too!
– Substitute Sweeteners
You can switch honey for agave syrup or use a sugar-free sweetener. Each option changes the taste and sweetness level. Just find what you like best!
– Add-ins for Extra Flavor
Want more crunch? Add chopped nuts or seeds. For a fruity twist, mix in dried fruit like cranberries or cherries. You can even stir in some cocoa powder for a richer chocolate taste!
These variations let you create your perfect protein ball. Enjoy trying new things!
Storage Info
Best Practices for Storing Protein Balls
How to Store in the Refrigerator
Store your mint chocolate chip protein balls in an airtight container. This keeps them fresh and tasty. Place them in the fridge for up to a week. This way, they stay firm and delicious.
Freezing for Long-Term Storage
Want to save some for later? Freeze your protein balls! First, lay them on a baking sheet. Make sure they don’t touch each other. Freeze them for about two hours. Once they are solid, move them to a freezer-safe bag. They can last for up to three months in the freezer.
Shelf Life and Freshness Tips
These protein balls stay fresh for about a week in the fridge. If you notice any change in smell or texture, it’s best to toss them. For the best taste, eat them within the first few days. This way, you enjoy them at their peak flavor and texture.
FAQs
Common Questions about Mint Chocolate Chip Protein Balls
How can I customize the recipe?
You can change the nut butter to peanut or cashew. Swap honey for agave syrup. Add nuts or seeds for crunch. Use different protein powders for variety. You can even change the flavor by using almond or vanilla extract instead of mint.
Can I make these protein balls vegan?
Yes, you can make them vegan. Use maple syrup instead of honey. Choose a plant-based protein powder. Almond butter is already vegan. Just ensure all ingredients are plant-based.
Where can I buy pre-made mint chocolate chip protein balls?
You can find them at health food stores. Many grocery stores carry them too. Online shops like Amazon also sell various brands. Check the labels for ingredients and nutrition info.
What are the nutritional benefits of these protein balls?
These protein balls provide protein from almond butter and chocolate powder. They have fiber from oats and chia seeds. Healthy fats from almond butter support energy. The dark chocolate chips add antioxidants.
How long do homemade protein balls last?
Homemade protein balls last about one week in the fridge. Store them in an airtight container. For longer storage, freeze them for up to three months. Just thaw before eating!
In this post, I shared how to make tasty mint chocolate chip protein balls. We covered the key ingredients, easy steps, and helpful tips. You learned about fun variations and how to store them well.
These protein balls are great for snacks or quick energy. They fit any diet and are easy to make. I encourage you to try them for a healthy treat. Enjoy your mint chocolate chip protein balls!


