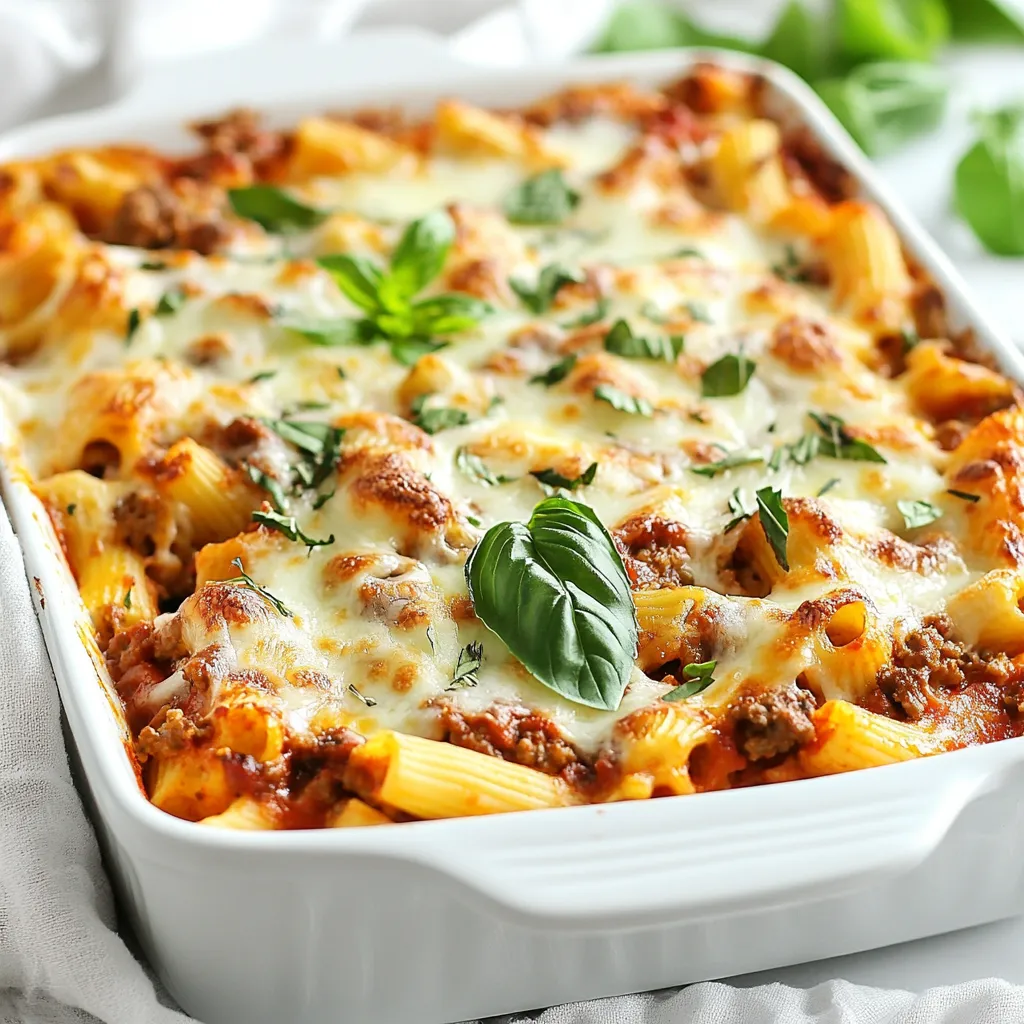
Get ready to impress with my Million Dollar Baked Ziti, a heartwarming family meal! This dish is easy to prepare and packed with flavor. You’ll love the creamy textures and rich taste. Perfect for any occasion, it’s sure to become a family favorite. Let’s dive into the ingredients and steps to create this comforting dish that will make everyone ask for seconds!
Why I Love This Recipe
- Comforting Dish: This baked ziti is the ultimate comfort food, combining pasta, meat, and cheese in every delicious bite.
- Easy to Prepare: With simple steps and common ingredients, this recipe is perfect for a weeknight dinner or a family gathering.
- Great for Leftovers: This dish keeps well in the fridge, making it an excellent choice for meal prep or for enjoying later in the week.
- Customizable: You can easily adapt this recipe by adding your favorite vegetables or using different types of cheese to suit your taste.
Ingredients
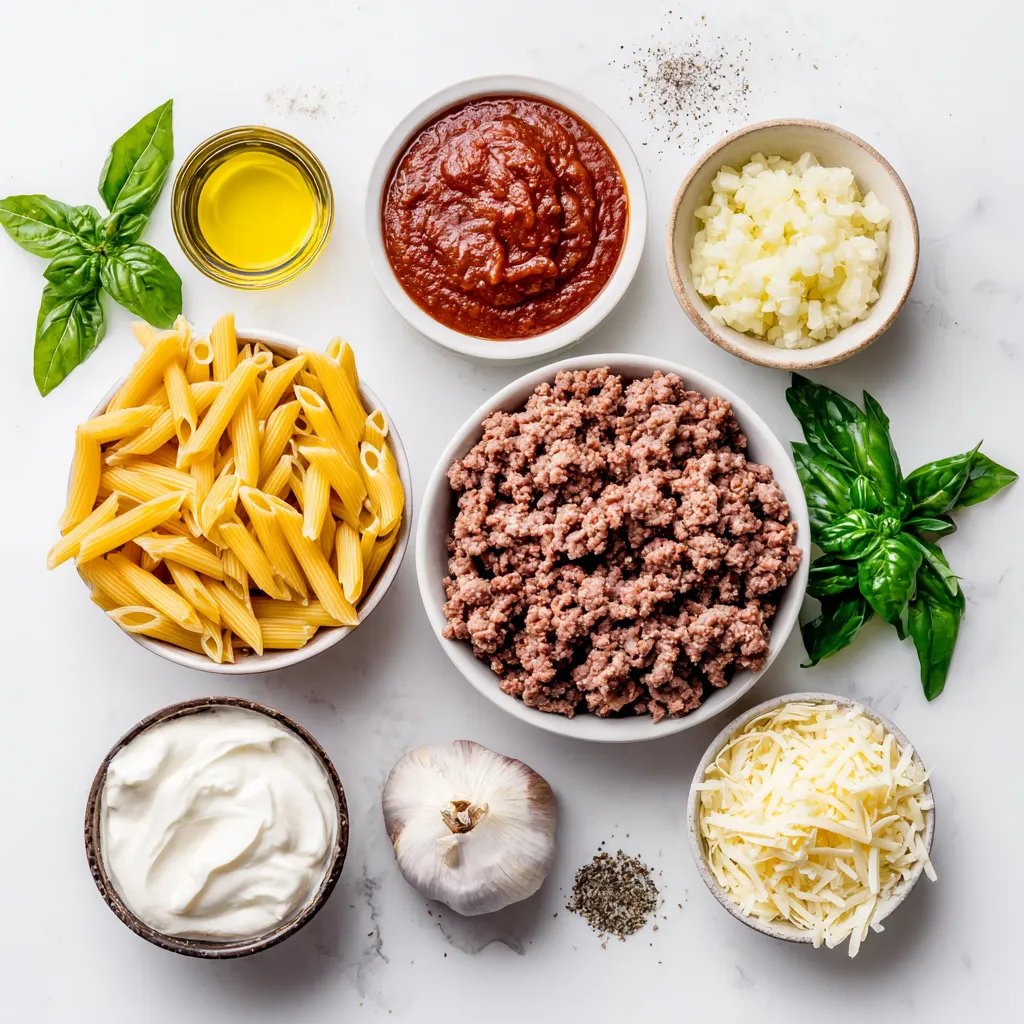
List of Ingredients
– 16 oz ziti pasta
– 2 tablespoons olive oil
– 1 medium onion, finely chopped
– 3 cloves garlic, minced
– 1 pound ground beef or turkey
– 1 teaspoon Italian seasoning
– 24 oz marinara sauce
– 1 cup ricotta cheese
– 1 large egg
– 2 cups shredded mozzarella cheese
– 1 cup grated Parmesan cheese
– Fresh basil leaves for garnish
– Salt and freshly ground black pepper to taste
Notes on Ingredient Quality
Using high-quality ingredients makes a big difference. Fresh garlic adds strong flavor. Good olive oil enhances the dish’s richness. Choose a flavorful marinara sauce. I recommend a brand with simple, natural ingredients. Fresh herbs like basil can elevate the taste. They add freshness and color to your baked ziti.
Suggested Ingredient Substitutions
You can swap ingredients based on your needs. For a lighter option, use ground turkey instead of beef. If you want a vegetarian meal, consider mushrooms or lentils. You can also use gluten-free pasta. Ricotta can be replaced with cottage cheese if you prefer. Feel free to mix different cheeses for unique flavors, like adding provolone or gouda.
Step-by-Step Instructions
Prepping the Oven and Ziti
First, preheat your oven to 375°F (190°C). This step helps cook the ziti evenly. While the oven heats, bring a large pot of salted water to a boil. Add the 16 oz of ziti pasta to the water. Cook it according to the package instructions until just al dente. This means the pasta should be firm to the bite. Once cooked, drain the pasta and set it aside for later.
Cooking the Meat Mixture
Next, grab a large skillet and heat 2 tablespoons of olive oil over medium heat. When the oil is hot, add a finely chopped medium onion. Sauté the onion for about 3-4 minutes. You want it to look soft and smell fragrant. Then, add 3 minced garlic cloves and 1 pound of ground beef or turkey. Cook everything together, stirring often. This should take about 5-7 minutes. Make sure the meat is browned and fully cooked. Season with 1 teaspoon of Italian seasoning, salt, and freshly ground black pepper to taste. After that, pour in 24 oz of marinara sauce and mix well. Let this simmer for around 5 minutes to blend the flavors.
Combining the Cheese Mixture
In a separate bowl, mix 1 cup of ricotta cheese with 1 large egg, a pinch of salt, and half of the 1 cup of grated Parmesan cheese. Stir it until smooth and creamy. This cheese mixture adds richness to the dish. Make sure there are no lumps.
Assembling the Baked Ziti
Now, take a large mixing bowl and combine the drained ziti pasta with the meat sauce and the ricotta mixture. Stir everything together well. You want the pasta coated evenly with the sauce and cheese. Next, transfer this mixture into a greased 9×13 inch baking dish. Spread it out evenly. Then, sprinkle the top with 2 cups of shredded mozzarella cheese and the remaining Parmesan cheese. Make sure the cheese covers the whole top.
Baking Instructions
Cover the baking dish tightly with aluminum foil. Place it in your preheated oven and bake for 20 minutes. After 20 minutes, carefully remove the foil. Continue baking for another 15-20 minutes. You want the cheese to bubble and turn a nice golden brown.
Final Touches Before Serving
Once baked to perfection, take the dish out of the oven. Let it sit for 5-10 minutes. This helps the layers set and makes slicing easier. Just before serving, garnish the baked ziti with fresh basil leaves. This adds a pop of color and a hint of freshness. Enjoy your delicious meal!
Tips & Tricks
Perfecting the Bake
To get that perfect baked ziti, start with a good oven temperature. Preheat your oven to 375°F (190°C). This ensures even cooking. Cover the dish with foil for the first part of baking. This keeps the moisture in. After 20 minutes, take the foil off. This lets the cheese brown nicely on top. Watch it closely for that golden crust. Let it sit for 5-10 minutes after baking. This helps the layers stay together.
Enhancing Flavor with Seasonings
Season your meat well. I suggest using Italian seasoning in the meat mix. It adds a nice herbal taste. Don’t forget salt and pepper. They make all the flavors pop. You can also add red pepper flakes for a bit of heat. If you want a twist, try fresh herbs like basil or oregano. Adding these enhances the dish and makes it more vibrant.
Cheese Choices for Ultimate Creaminess
Cheese is key in baked ziti. I use ricotta for creaminess and mozzarella for stretch. You can also mix in some provolone for a different taste. For a strong flavor, sprinkle more Parmesan on top. Make sure to cover the dish with enough cheese. This creates a delicious, gooey layer. Each bite should feel rich and satisfying.
Pro Tips
- Use Fresh Herbs: Adding fresh basil or parsley right before serving enhances the flavor and adds a vibrant touch to your baked ziti.
- Cheese Variations: Experiment with different cheeses like provolone or fontina for a unique flavor profile in your dish.
- Make Ahead: Prepare the ziti in advance and refrigerate it. Bake it when ready for a quick, delicious meal without the fuss.
- Leftover Storage: Store any leftovers in an airtight container in the fridge for up to 3 days, or freeze for later enjoyment!
Variations
Vegetarian Million Dollar Baked Ziti
You can easily make a vegetarian version of Million Dollar Baked Ziti. Simply swap the meat for a mix of veggies. Try using mushrooms, zucchini, or spinach. Sauté these veggies just like you would the meat. This adds great flavor and texture. You can also add lentils for protein. Use the same marinara sauce to keep it rich and tasty.
Incorporating Gourmet Ingredients
Want to elevate your baked ziti? Use gourmet ingredients. Try adding truffle oil for a unique twist. You can also mix in some sun-dried tomatoes or artichokes. These ingredients add depth and flair. Consider using a blend of cheeses, like fontina or gouda, for a rich taste. This makes the dish feel extra special for guests.
Gluten-Free Options
For a gluten-free Million Dollar Baked Ziti, choose gluten-free pasta. Many brands offer ziti made from rice or corn. The texture may be slightly different, but it’s just as delicious. Be sure to check your marinara sauce label for gluten ingredients. This way, everyone can enjoy this comforting meal.
Storage Info
How to Properly Store Leftovers
Store any leftover Million Dollar Baked Ziti in an airtight container. Make sure to cool it first. You can keep it in the fridge for up to four days. If you want to keep it longer, freezing is a great option.
Reheating Tips
When ready to eat, preheat your oven to 350°F (175°C). Cover the ziti with foil to keep it moist. Bake for about 20-25 minutes. Check if it’s hot all the way through. You can also use the microwave. Heat in short bursts on medium power, stirring in between.
Freezing Instructions
To freeze, let the baked ziti cool completely. Use a freezer-safe dish or wrap it tightly in plastic wrap. Then, cover it with aluminum foil. It can last for up to three months in the freezer. When you’re ready to cook it, thaw it overnight in the fridge. Then, reheat it as described above.
FAQs
Can I make Million Dollar Baked Ziti ahead of time?
Yes, you can prepare it a day before. Cook the ziti and meat sauce as usual. Then, layer the pasta, sauce, and cheese in your baking dish. Cover and store it in the fridge. When you’re ready, bake it straight from the fridge. Just add a few extra minutes to the cooking time.
What can I serve with this dish?
Million Dollar Baked Ziti pairs well with many sides. Here are some ideas:
– A fresh green salad
– Warm garlic bread
– Roasted vegetables
– Steamed broccoli
These sides add great flavor and balance to the meal.
Can I use different types of cheese?
Absolutely! You can mix and match cheeses. Try using:
– Cheddar for extra sharpness
– Fontina for a creamy texture
– Goat cheese for a tangy twist
Each cheese brings its own flavor. Feel free to experiment and find your favorite mix.
Is Million Dollar Baked Ziti kid-friendly?
Yes, it is very kid-friendly! Kids love the cheesy goodness and pasta. Plus, it’s easy to eat. You can also hide veggies in the meat sauce for extra nutrition. They may not even notice!
How can I make this dish spicier?
To add some heat, try these tips:
– Add red pepper flakes to the meat sauce
– Mix in diced jalapeños
– Use spicy Italian sausage instead of ground beef
Adjust the amount to suit your taste. Enjoy the extra kick!
In this post, we covered the ingredients and steps to make Million Dollar Baked Ziti. We explored quality ingredients, helpful tips, and creative variations. You can easily customize it to fit your tastes. Remember, the right ingredients and a few tips can elevate this dish. Whether serving it for family or friends, it is sure to impress. Enjoy making and sharing this delicious mea


