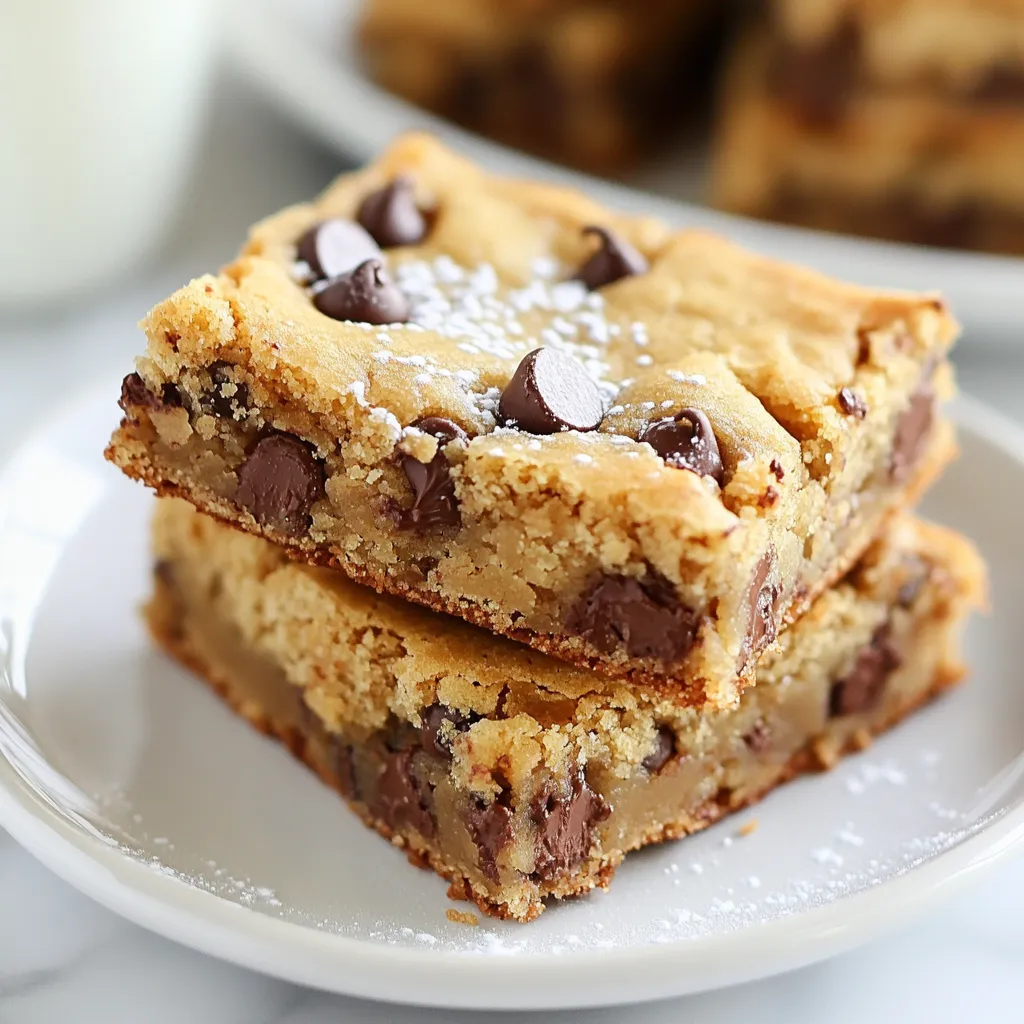
Are you ready to create cookie magic? These Melt-In-Your-Mouth Chocolate Chip Cookie Bars are a dream come true! With soft butter, rich chocolate, and a little crunch from walnuts, these bars will make your taste buds dance. I’ll guide you through every step, from mixing the dough to achieving the perfect bake. Grab your apron, and let’s dive into this delicious adventure!
Why I Love This Recipe
- Irresistible Texture: These cookie bars are soft and chewy, melting in your mouth with every bite.
- Quick to Prepare: With just 15 minutes of prep time, you can have these delicious bars ready to bake.
- Versatile for Any Occasion: Perfect for parties, potlucks, or just a cozy night in; they’re always a hit!
- Customizable: You can easily modify the recipe by adding different nuts or using dark chocolate for a richer flavor.
Ingredients
List of Ingredients
– 1 cup unsalted butter, softened to room temperature
– 1 cup packed brown sugar
– 1/2 cup granulated sugar
– 2 large eggs, at room temperature
– 2 teaspoons pure vanilla extract
– 3 cups all-purpose flour
– 1 teaspoon baking soda
– 1/2 teaspoon fine sea salt
– 2 cups semi-sweet chocolate chips
– 1/2 cup chopped walnuts (optional, for a delightful crunch)
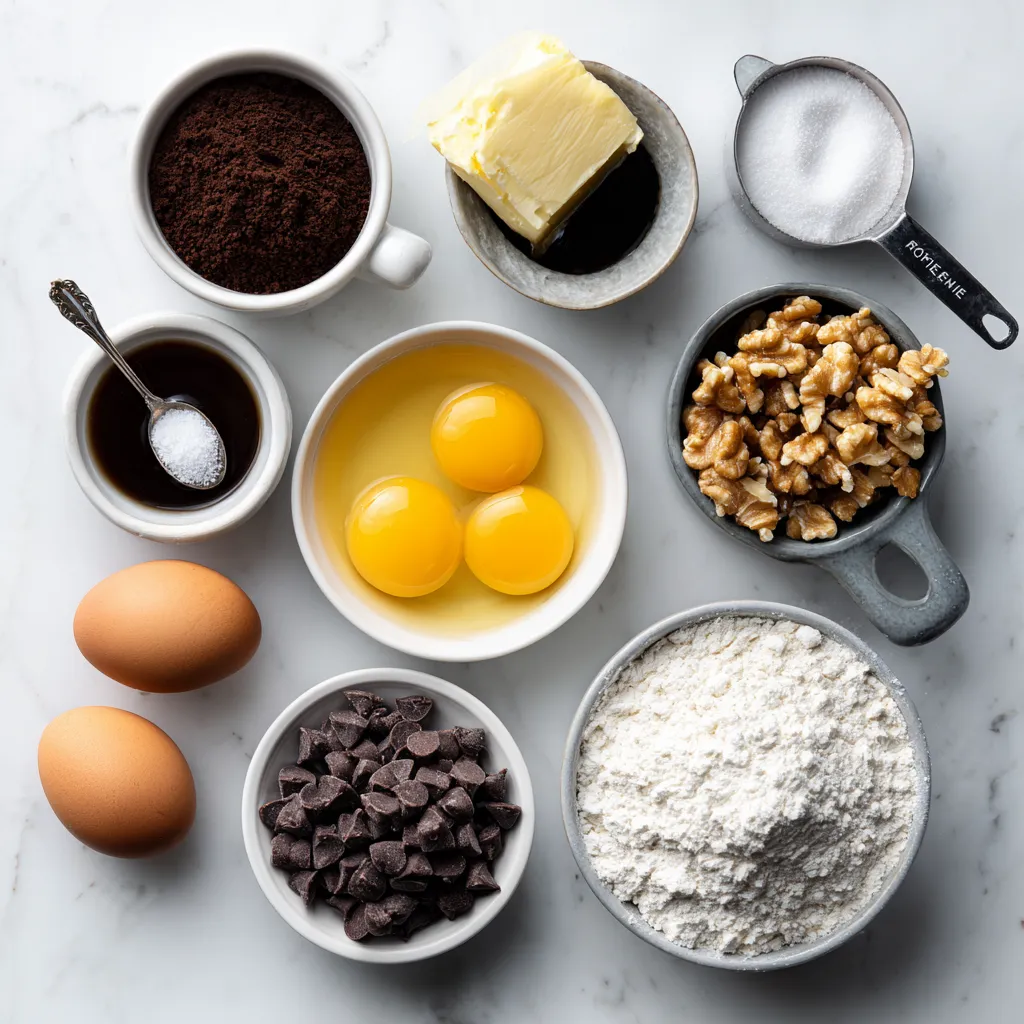
To make these melt-in-your-mouth chocolate chip cookie bars, you need simple yet essential ingredients. First, unsalted butter creates a rich base. Use brown sugar for moisture and sweetness. Granulated sugar adds a nice crunch. With eggs and vanilla, you get a delightful flavor.
Next, you need all-purpose flour, which gives the bars structure. Baking soda helps them rise and become soft. Sea salt balances sweetness and enhances flavor. Finally, the chocolate chips bring that gooey goodness. If you like a bit of crunch, toss in some chopped walnuts.
Gather these ingredients before starting. This way, you’ll have everything ready to go. You’ll enjoy the process and the tasty results!
Step-by-Step Instructions
Preheat Oven and Prepare Baking Pan
Set your oven to 350°F (175°C). Grab a 9×13-inch baking pan. Lightly grease it with butter or use parchment paper. This helps the cookie bars come out easily.
Cream Butter and Sugars
In a large mixing bowl, mix 1 cup of softened butter with 1 cup of packed brown sugar and 1/2 cup of granulated sugar. Use an electric mixer on medium speed. Beat until it looks light and fluffy, about 2-3 minutes.
Add Eggs and Vanilla
Now, add 2 large eggs, one at a time, to the butter-sugar mix. Beat well after each egg. Next, pour in 2 teaspoons of pure vanilla extract and mix it until smooth.
Combine Dry Ingredients
In a separate bowl, whisk together 3 cups of all-purpose flour, 1 teaspoon of baking soda, and 1/2 teaspoon of fine sea salt. Gradually add this dry mix to the wet ingredients. Mix gently with a spatula or wooden spoon until just combined. Be careful not to over-mix!
Fold in Chocolate Chips and Walnuts
Add 2 cups of semi-sweet chocolate chips to the dough. If you like, add 1/2 cup of chopped walnuts for some crunch. Gently fold these into the dough until evenly mixed.
Bake and Cool
Transfer the cookie dough into your prepared baking pan. Use a spatula to spread it evenly. Place the pan in the oven and bake for 25-30 minutes. Look for golden edges and check with a toothpick; it should come out with a few moist crumbs.
Once baked, let the cookie bars cool in the pan for about 10 minutes. Carefully remove them and place them on a wire rack to cool completely. After they cool, cut them into squares or rectangles. Enjoy this melt-in-your-mouth treat!
Tips & Tricks
Achieving the Perfect Texture
Creaming the butter and sugars is key. You want the mix to be light and fluffy. This step helps to trap air, which makes the cookie bars rise. Use softened, unsalted butter for the best results. Beat the butter with both sugars for about 2-3 minutes. The color should lighten as you mix. This shows you’ve done it right.
Preventing Over-Mixing
You need to be gentle when mixing wet and dry ingredients. After you add the flour, baking soda, and salt, mix just until combined. Over-mixing can make the cookie bars tough. Use a spatula or wooden spoon. Fold in the chocolate chips and walnuts carefully. This keeps the dough soft and chewy.
Baking Time Indicators
Checking doneness is simple. Bake your bars for 25-30 minutes. Look for golden edges. Insert a toothpick in the center. It should come out with moist crumbs, not wet batter. If you see wet batter, they need more time. Remember, they will continue to cook a bit after you take them out. This helps keep them soft and delicious.
Pro Tips
- Room Temperature Ingredients: Ensure your eggs and butter are at room temperature for better incorporation and a smoother dough.
- Don’t Overmix: Mix the dry ingredients into the wet just until combined. Overmixing can result in tough cookie bars.
- Check for Doneness: Use a toothpick to check for doneness; it should come out with a few moist crumbs, not wet batter.
- Storage Tips: Store cookie bars in an airtight container at room temperature for up to a week, or freeze for longer shelf life.
Variations
Nut-Free Version
To make these cookie bars nut-free, simply skip the walnuts. This change keeps the bars soft and tasty without any crunch. You still get the melt-in-your-mouth goodness from the chocolate. If you want a bit more texture, try adding oats. Just use 1/2 cup of rolled oats in place of the walnuts. This keeps it nut-free and adds a nice chew.
Different Chocolate Types
You can change up the chocolate in these bars! Use any type you like. For a sweeter taste, use milk chocolate chips. Dark chocolate gives a deeper flavor and is less sweet. If you want something creamy, go for white chocolate chips. Feel free to mix different types of chocolate too. This way, you create your own unique flavor blend.
Flavor Additions
Want to add a twist? You can mix in spices or extracts. A touch of cinnamon gives warmth and a hint of spice. Try adding 1 teaspoon of cinnamon to the dough. Almond extract adds a rich flavor. Use 1 teaspoon instead of vanilla. You can even add a pinch of sea salt for extra depth. These small changes can make your cookie bars even more special!
Storage Info
Best Storage Practices
To keep your cookie bars fresh, store them in an airtight container. Place parchment paper between layers to prevent sticking. This keeps them soft and tasty. If you prefer a crispy edge, store them uncovered.
Freezing Directions
To freeze your cookie bars, let them cool completely. Cut them into squares before freezing. Wrap each piece tightly in plastic wrap. Place them in a freezer bag or container. Thaw them at room temperature for about one hour, or microwave for a few seconds.
Shelf Life
These cookie bars stay fresh for up to one week at room temperature. If you store them in the fridge, they can last about two weeks. Freezing extends their life to about three months. Enjoy them whenever you want a sweet treat!
FAQs
Can I use margarine instead of butter?
Yes, you can use margarine in place of butter. Margarine works well in baking. It adds moisture and fat to your cookie bars. However, the taste may change slightly. Butter gives a rich flavor that many love. If you want the best taste, stick with real butter.
How do I know when the cookie bars are done?
To check if your cookie bars are done, look for golden edges. The center should look slightly soft. A toothpick test works well. Insert a toothpick into the center. If it comes out with a few moist crumbs, they are ready. If it has wet batter, bake a bit longer.
What is the best way to cut cookie bars?
To cut cookie bars without crumbling, let them cool first. After cooling for about 10 minutes, turn them out onto a wire rack. Use a sharp knife to slice them. Make clean cuts to avoid breaking the bars. A ruler can help you get even squares if you want.
This blog post covered a delicious cookie bar recipe. We discussed every step, from gathering ingredients to storage tips. Remember, the key is to cream your butter and sugars well for the best texture. You can also try different types of chocolate or add spices for fun. Store cookie bars properly to keep them fresh. I hope you find joy in baking these treats. With practice, you’ll master them and impress your friends and family! Happy bakin


