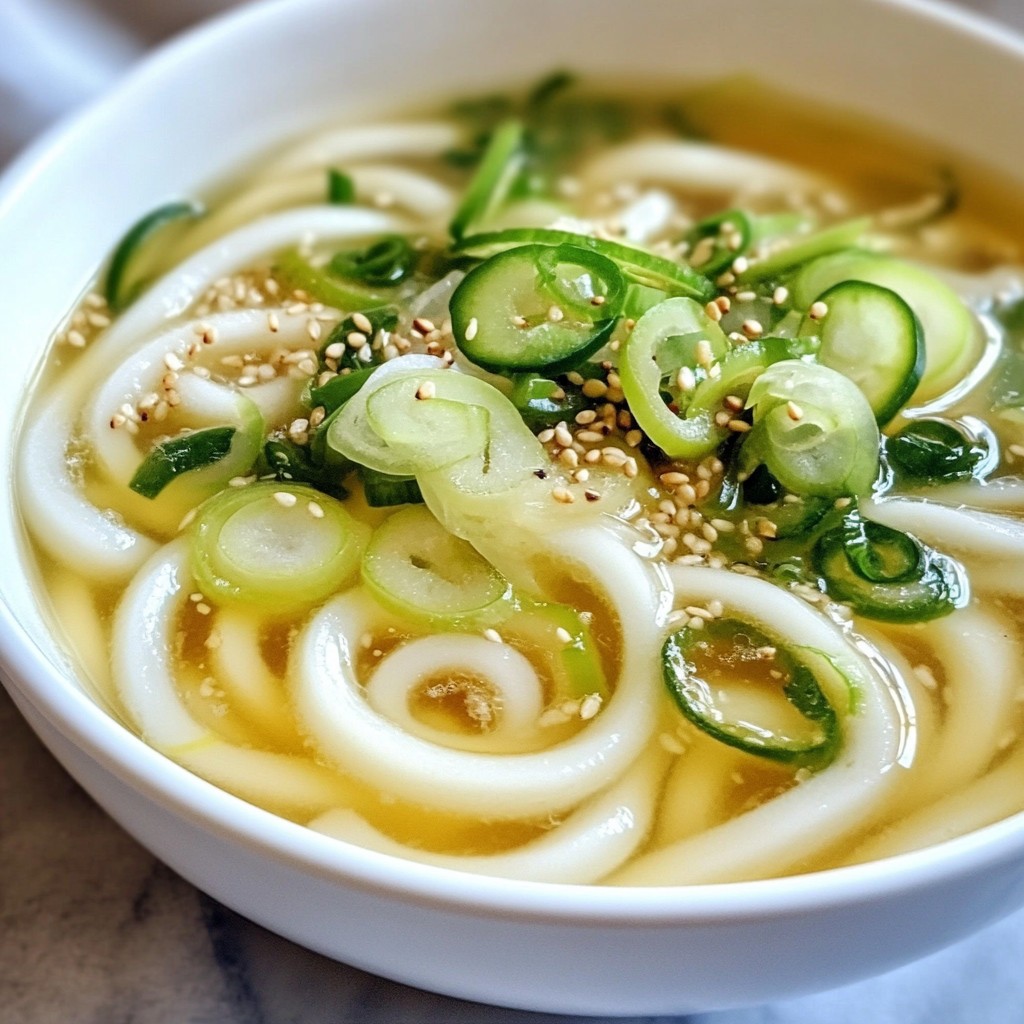
Making homemade gluten-free udon noodles is fun and easy! In this guide, I'll walk you through every step, from choosing the right ingredients to perfecting your noodle texture. You’ll learn simple tips that make your noodles tasty and flexible. Plus, I’ll share options for flavors and toppings. Whether you’re a novice or a pro, you’ll enjoy these delicious noodles. Let’s dive into this easy recipe!
Why I Love This Recipe
- Freshness: Making homemade udon noodles allows you to enjoy the incredible freshness that store-bought options can’t match.
- Customizable: You can easily customize the thickness and texture of the noodles to suit your personal preference.
- Healthier Option: By using gluten-free ingredients, you can enjoy this delicious dish without worrying about gluten sensitivities.
- Fun Activity: This recipe is not only delicious but also a fun cooking project to enjoy with family or friends.
Ingredients
Main Ingredients for Homemade Gluten Free Udon Noodles
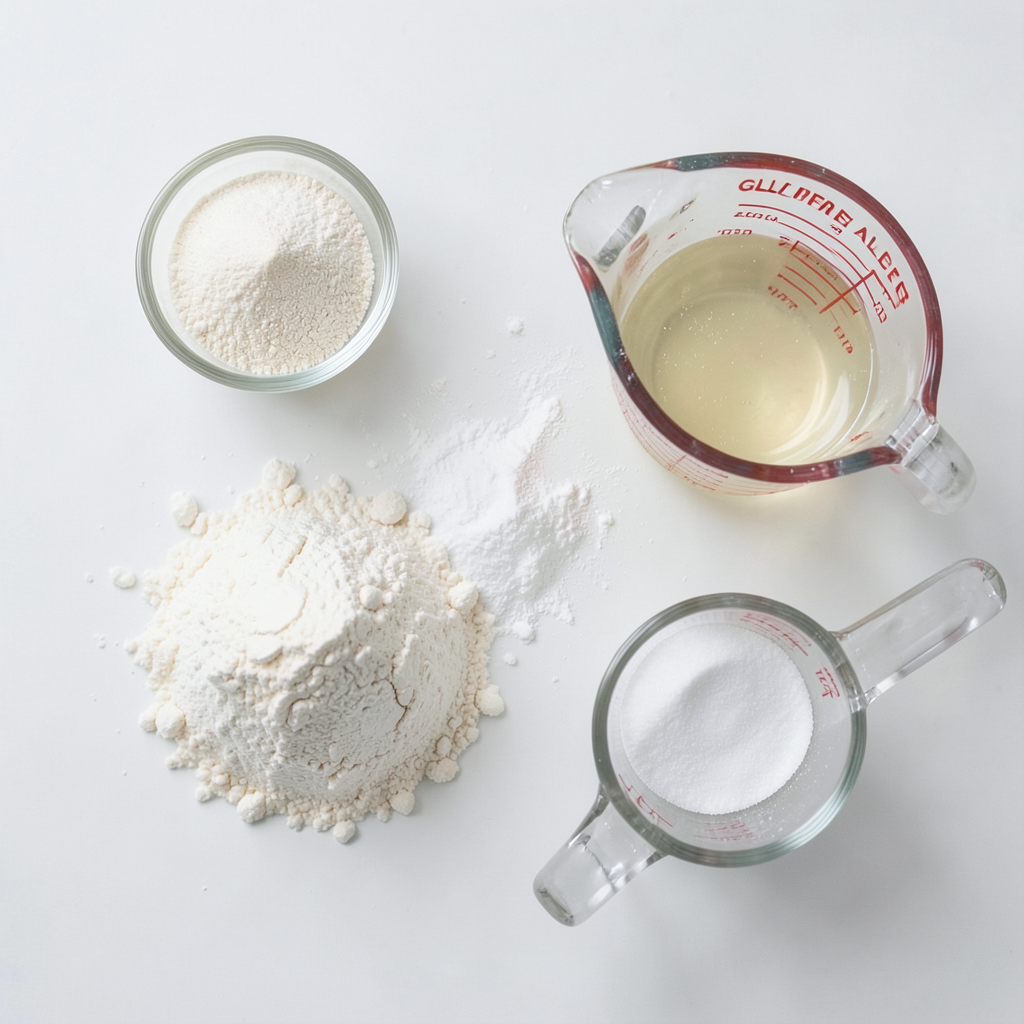
To make these delicious homemade gluten free udon noodles, you will need:
- 1 ½ cups gluten-free all-purpose flour
- 1 tablespoon tapioca starch
- ½ teaspoon xanthan gum
- 1 teaspoon salt
- ½ cup warm water
- Cornstarch for dusting
These ingredients work together to create a chewy, tasty noodle. Gluten-free all-purpose flour gives the base, while tapioca starch adds extra chew. Xanthan gum helps bind everything, making it easier to work with.
Optional Ingredients for Serving
You can take your noodles to the next level by adding:
- Broth of your choice
- Sautéed vegetables like bell peppers, carrots, or bok choy
- Protein options such as grilled chicken, tofu, or shrimp
- Sliced green onions for garnish
- Sesame seeds for extra crunch
These toppings make your dish colorful and full of flavor. Feel free to mix and match based on what you enjoy.
Alternative Gluten-Free Flour Options
If you want to try different flours, consider:
- Brown rice flour
- Chickpea flour
- Almond flour
These flours can change the texture and taste of your noodles. Experiment with them to find your favorite combination. Each flour brings its unique flavor and texture to your homemade gluten free udon noodles.
Step-by-Step Instructions
Mixing the Dough
To start, gather your ingredients. In a large bowl, mix:
- 1 ½ cups gluten-free all-purpose flour
- 1 tablespoon tapioca starch
- ½ teaspoon xanthan gum
- 1 teaspoon salt
Whisk these dry ingredients well. It helps to combine them evenly. Next, slowly add ½ cup of warm water while stirring. Keep mixing until the dough starts to come together. It should look like a shaggy mass.
Kneading for Perfect Texture
Now, transfer the dough to a clean surface. Use your hands to knead it for 5-7 minutes. Your goal is a smooth and pliable dough. If it sticks to your hands, sprinkle some cornstarch on it. This will help you keep going without too much mess.
After kneading, wrap the dough in plastic wrap. Let it rest at room temperature for 30 minutes. This step is key for soft and easy-to-work dough.
Rolling and Cutting the Noodles
Once the dough has rested, dust your work surface with cornstarch. Place the dough on it. Roll it out to about ¼ inch thick. Keep dusting with cornstarch to avoid sticking.
Next, lightly dust the rolled dough with more cornstarch. Fold it into thirds, like a letter. This fold makes cutting easier.
Using a sharp knife, slice the folded dough into ½ inch wide strips. Unfold these strips gently. Toss them with a bit of cornstarch to stop them from sticking.
Now, your homemade gluten-free udon noodles are ready to cook!
Tips & Tricks
Achieving the Right Consistency
To get the best udon noodles, focus on your dough's texture. The dough should be smooth and soft. If it feels too dry, add a little more warm water, a teaspoon at a time. If it feels sticky, sprinkle some cornstarch. It's all about finding that perfect balance. Knead the dough well, as this helps develop its structure. Remember, letting the dough rest is key. This softens it and makes it easier to roll out.
Avoiding Common Mistakes
One common mistake is not measuring your flour correctly. Use a kitchen scale for accuracy, or spoon the flour into the measuring cup and level it off. Too much flour can make the noodles tough. Another mistake is skipping the resting time. This step is vital for the dough to relax. If you cut the resting time short, your noodles may end up chewy and hard. Lastly, don’t forget to dust your work surface and dough with cornstarch. This prevents sticking and makes rolling easier.
Techniques for Preventing Sticking
To keep your noodles from sticking together, toss them in cornstarch after cutting. Use a light hand; too much cornstarch can change the taste. When cooking, stir the noodles gently during the first minute. This helps separate them in the pot. If you notice sticking when rolling out, sprinkle more cornstarch on the surface. Always keep your workspace well-dusted. With these tips, you will have udon noodles that are easy to cook and delicious to eat!
Pro Tips
- Knead Thoroughly: Make sure to knead the dough until it is completely smooth and pliable. This develops the gluten-free texture that gives the noodles their characteristic chewiness.
- Use Warm Water: Using warm water helps the starches in the flour absorb better, leading to a more cohesive and elastic dough.
- Prevent Sticking: Always dust your work surface and the rolled dough with cornstarch to prevent the noodles from sticking together during slicing and cooking.
- Cook in Batches: If making a larger quantity, cook the udon noodles in batches to avoid overcrowding the pot. This ensures even cooking and prevents clumping.
Variations
Adding Flavors to the Dough
You can boost the taste of your udon noodles. Try mixing spices or herbs into the dough. For a savory kick, add garlic powder or onion powder. If you want a hint of warmth, sprinkle in some ginger powder. You can also add a splash of soy sauce or sesame oil to the water for extra flavor.
Serving Suggestions
Serve your udon noodles in many ways. One popular option is in a hot broth. You can use miso or dashi stock for a rich taste. If you prefer a cold dish, toss the noodles with a light sauce and fresh vegetables. You can also enjoy the noodles stir-fried with your favorite sauce and toppings.
Incorporating Vegetables and Proteins
Adding veggies and proteins makes your udon dish more filling. Slice up bell peppers, carrots, or bok choy for color and crunch. For protein, grilled chicken, tofu, or shrimp work great. You can cook them separately and add them just before serving. This way, you get a tasty and well-rounded meal!
Storage Info
How to Store Raw Udon Noodles
To store raw udon noodles, place them in an airtight container. You can also wrap them tightly in plastic wrap. This keeps them fresh for up to two days in the fridge. If you plan to use them later, consider freezing them. Always dust the noodles with cornstarch to prevent sticking before storing.
Freezing and Reheating Instructions
To freeze the raw noodles, lay them flat on a baking sheet. Make sure they don’t touch each other. Freeze them for about an hour until firm. Then, transfer the noodles to a freezer bag. They can stay in the freezer for up to three months. When ready to use, cook them straight from frozen. Just add a minute or two to the cooking time for best results.
Best Practices for Leftover Noodles
If you have leftover cooked udon noodles, store them in an airtight container. They will last in the fridge for about three days. To reheat, add them to boiling water for a minute. Drain and serve with your favorite broth or sauce. You can also quickly stir-fry them with veggies and protein for a tasty meal!
FAQs
What is the best gluten-free flour for udon noodles?
The best gluten-free flour for udon noodles is a blend of gluten-free all-purpose flour. This flour works well because it mimics the texture of regular flour. Look for a brand that contains a mix of rice flour, tapioca starch, and potato starch. These ingredients provide the right chewiness. You can also add tapioca starch and xanthan gum to help bind the dough.
Can I make udon noodles ahead of time?
Yes, you can make udon noodles ahead of time. After you make the dough, wrap it tightly in plastic. Let it rest for about 30 minutes. Once rolled and cut, you can store the raw noodles. Place them in an airtight container and keep them in the fridge for up to two days. For longer storage, freeze the noodles. Just be sure to dust them with cornstarch to prevent sticking.
How do I cook udon noodles perfectly?
To cook udon noodles perfectly, start with a large pot of boiling water. Add the noodles gently to avoid breaking them. Cook for about 4-5 minutes. You want them to float to the top and become tender. Stir occasionally to keep them separate. Once cooked, drain and rinse under cold water. This step stops the cooking and helps prevent sticking. Enjoy your noodles in a savory broth or with tasty toppings!
Making homemade gluten-free udon noodles is fun and rewarding. You learned about key ingredients and how to mix, knead, roll, and cut your dough. We explored tips to get the best texture and avoid sticky issues. You can even add flavors, veggies, or proteins for a tasty twist. Proper storage and reheating keep your noodles fresh, too. With these steps, you can enjoy delicious udon at home anytime. Now, it's your turn to get started and create your perfect bowl of noodles!