Are you curious about Grass Jelly Balls? These delightful treats are not only tasty but also packed with nutrients! Originating from Southeast Asia, they carry a rich history and cultural significance. In this blog post, I’ll walk you through everything you need to know about Grass Jelly Balls, from their ingredients to fun variations. Get ready to impress your friends and family with this unique dessert!
What are Grass Jelly Balls?
Overview of Grass Jelly Balls
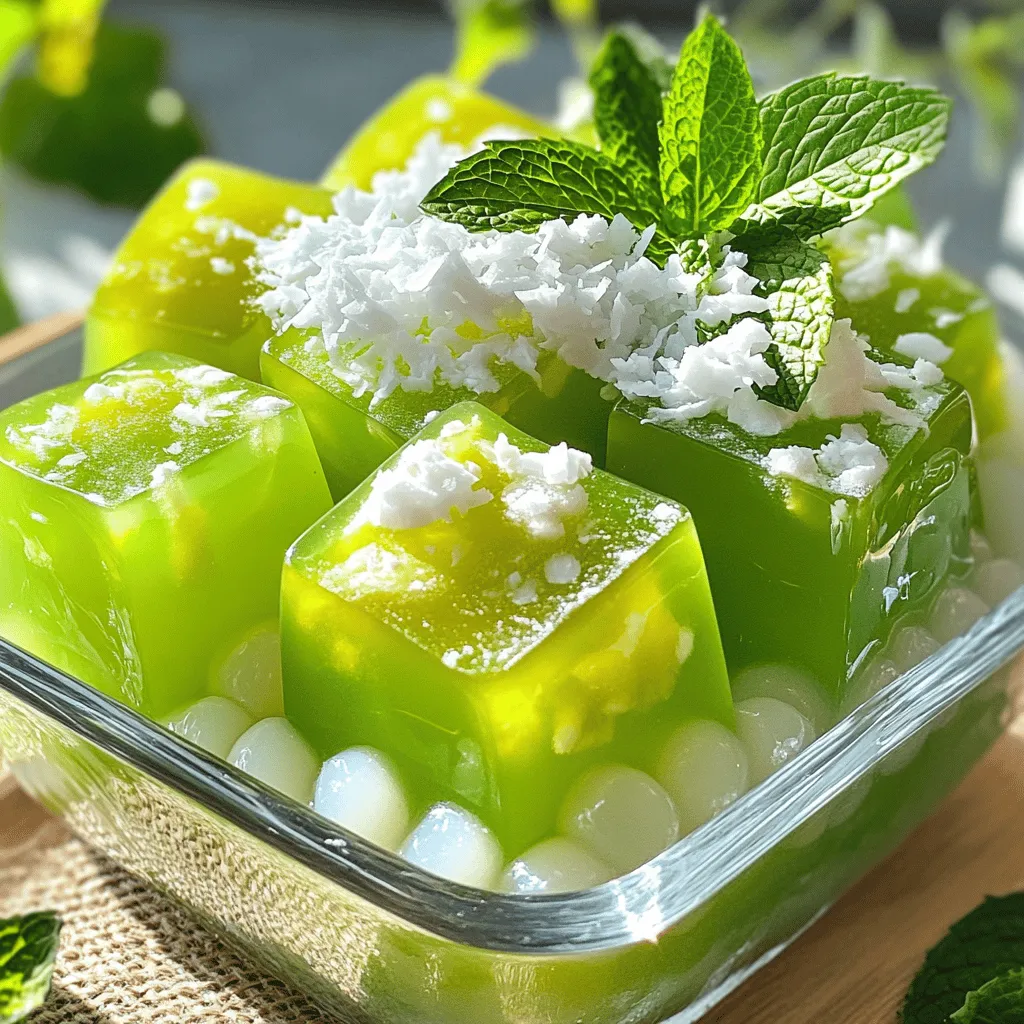
Grass jelly balls are a fun and tasty treat. They feature soft, chewy tapioca pearls mixed with refreshing grass jelly. This dessert has a unique look and texture that makes it stand out. The jelly has a dark color and a slightly herbal taste, which pairs well with sweet coconut milk. You can enjoy grass jelly balls as a snack or a dessert.
Origin and Cultural Significance
Grass jelly comes from the leaves of the Mesona chinensis plant. People in Asia have enjoyed it for many years. It appears in various dishes, from drinks to desserts. In countries like Taiwan and Malaysia, grass jelly is a popular dessert base. It often combines with other ingredients, creating a delightful mix of flavors and textures. This treat connects people to their culture and traditions.
Nutritional Benefits
Grass jelly balls offer several health benefits. They are low in calories, making them a great choice for a light dessert. Grass jelly contains antioxidants, which help protect your body from damage. The tapioca pearls provide energy through carbohydrates. Coconut milk adds healthy fats, while sugar gives you a quick energy boost. Enjoying this treat in moderation can be a delightful way to satisfy your sweet tooth while also being mindful of nutrition.
Ingredients for Grass Jelly Balls Delight
Complete List of Ingredients
To make Grass Jelly Balls Delight, gather these simple ingredients:
– 1 cup grass jelly, cut into small cubes
– 1/2 cup small-sized tapioca pearls
– 1/4 cup creamy coconut milk
– 2 tablespoons sugar (adjust according to your sweetness preference)
– 1/4 teaspoon pure vanilla extract
– Fresh mint leaves for garnish
– Crushed ice (optional, for a refreshing touch)
Ingredient Substitutions
If you can’t find grass jelly, try using agar jelly. It has a similar texture and taste. For tapioca pearls, you can use mini boba as an alternative. If you want a dairy-free option, replace the coconut milk with almond milk or cashew cream. You can also swap sugar for honey or maple syrup for added flavor.
Sourcing Quality Ingredients
For the best taste, buy high-quality grass jelly from Asian grocery stores or online. Look for brands with a short ingredient list. When choosing tapioca pearls, select small-sized ones that are fresh. Always check the packaging for expiration dates. For coconut milk, choose full-fat coconut milk for a rich flavor. Fresh mint adds a nice touch, so get it from a local market or grow it at home.
Step-by-Step Instructions
Preparing the Tapioca Pearls
To start, you need to prepare the tapioca pearls. Grab a medium pot and fill it with 3 cups of water. Heat the water until it boils. Carefully add the tapioca pearls to the pot. Stir gently to keep them from sticking together. Cook the pearls for 15 to 20 minutes. They should look clear and feel chewy when done. After cooking, turn off the heat and let the pearls sit for 10 more minutes. This helps them reach the perfect texture. Next, drain the pearls using a fine mesh strainer. Rinse them under cold water to stop cooking and remove extra starch. Set the pearls aside.
Assembling the Grass Jelly Balls Delight
Now, it’s time to assemble your treat! First, take individual serving bowls. Start by layering the bottom with grass jelly cubes. Make sure they cover the bowl evenly. Then, add a generous amount of the cooked tapioca pearls on top of the grass jelly. This adds a nice chewy texture. Next, mix the creamy coconut milk, sugar, and vanilla extract in a bowl. Stir well until the sugar dissolves. Carefully drizzle this sweet coconut mixture over the layered grass jelly and tapioca. If you want it cold, add some crushed ice on top. Finally, garnish with fresh mint leaves for color and a fresh taste.
Tips for Perfect Layering
For the best results, layer your ingredients carefully. Start with the grass jelly to prevent it from breaking. Spread the tapioca pearls evenly for a nice look. Drizzle the coconut milk slowly to cover all layers. This helps every bite be sweet and tasty. If you want a fun twist, consider adding toasted sesame seeds or fresh fruit on top. These not only add flavor but also make your dessert look beautiful. Enjoy your Grass Jelly Balls Delight!
Tips & Tricks for Best Results
Common Mistakes to Avoid
When making Grass Jelly Balls, avoid overcooking the tapioca pearls. This can make them too soft. Make sure to follow the cooking time closely. Rinsing the pearls after cooking is also key. It stops the cooking and removes extra starch. If you skip this step, pearls may clump together. Lastly, don’t rush the layering process. This helps create a beautiful dish.
Storing Leftovers
If you have leftovers, store them in the fridge. Keep the grass jelly and tapioca pearls in separate containers. This keeps the texture fresh. When ready to eat, combine them again. You can reheat the coconut milk slightly if needed. Consume leftovers within two days for the best taste.
Enhancing Flavor Profiles
To boost flavors, try adding a pinch of salt to the coconut milk. This can enhance sweetness. You can also mix in a bit of fresh fruit like mango or berries. They add natural sweetness and color. For a twist, add a splash of lime juice. This will give a zesty kick. Remember, small changes can make a big difference in taste!
Variations of Grass Jelly Balls Delight
Alternative Ingredients and Flavors
You can mix it up with different ingredients. Try using fruit jelly instead of grass jelly for a sweeter twist. You can also swap coconut milk for almond milk. This change adds a nutty flavor that many enjoy. For a more tropical vibe, add pineapple or mango pieces. These fruits brighten the dish and offer more nutrients.
Creative Serving Suggestions
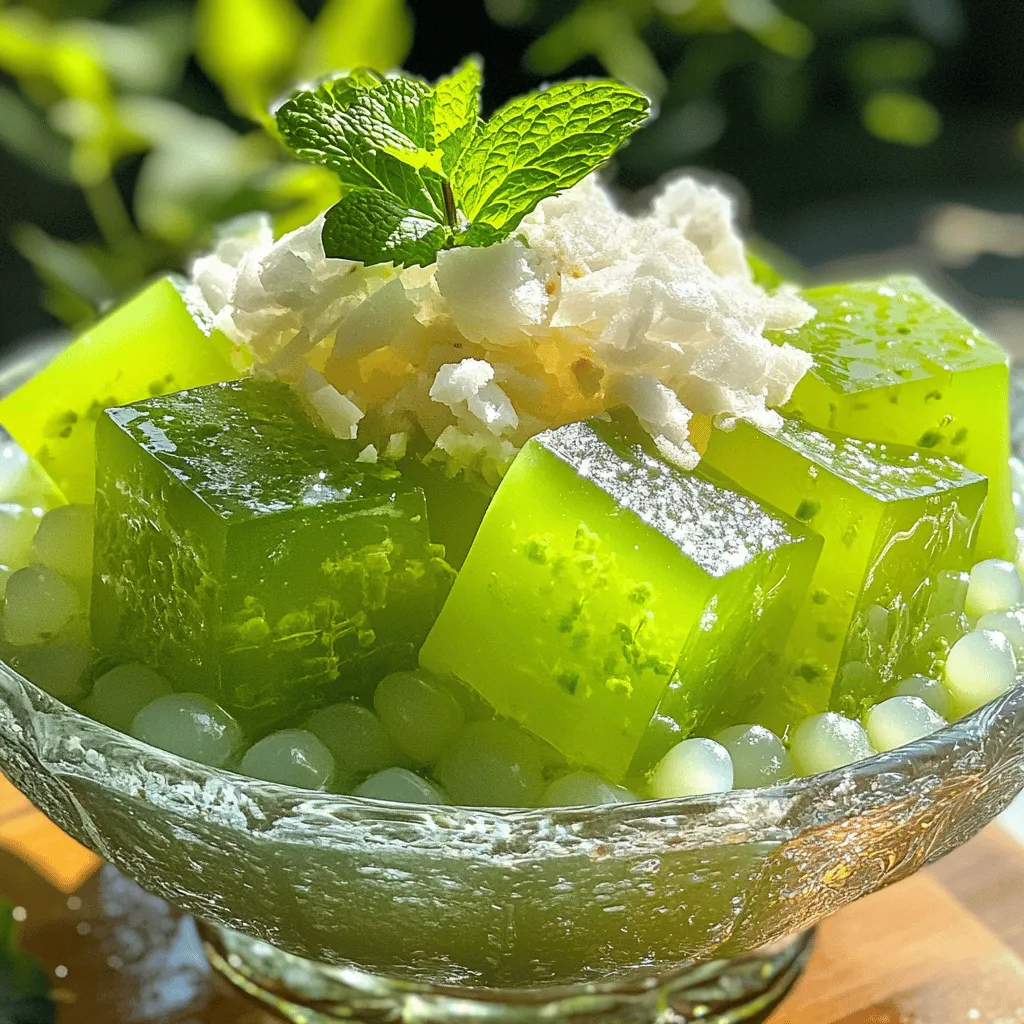
Serve your grass jelly balls in unique ways. Use a clear glass to show off the beautiful layers. You can also put them in small cups for easy sharing. Drizzle honey or agave syrup on top for added sweetness. Adding a sprinkle of toasted nuts gives a nice crunch too. For a fun twist, freeze the mixture in popsicle molds for a cool treat.
Incorporating Grass Jelly Balls in Other Dishes
Grass jelly balls can fit into many dishes. Mix them into smoothies for a refreshing drink. You can also add them to fruit salads for texture. Another option is to throw them into Asian desserts like shaved ice. Their chewy texture adds a fun element to any dish.
FAQs about Grass Jelly Balls
How to make grass jelly from scratch?
To make grass jelly, you need specific plants. You will use the leaves of the Mesona chinensis plant. Boil the leaves in water for a while. Strain the liquid and add sugar. Let it cool to form jelly. This jelly can then be cut into cubes and used in recipes.
Where can I buy grass jelly balls?
You can find grass jelly balls in many Asian grocery stores. Look in the dessert aisle or the refrigerated section. You might also find them online through specialty food websites. Check if they sell vacuum-sealed or canned versions for convenience.
Can grass jelly balls be made ahead of time?
Yes, you can make grass jelly balls ahead of time. They keep well in the fridge for about three days. Just store them in an airtight container. When ready to use, simply layer them into your dish.
What dishes can I use grass jelly balls in?
You can use grass jelly balls in many dishes. They work well in desserts like fruit salads and bubble teas. You can add them to sweet soups or serve them with coconut milk. They make a great addition to any refreshing summer treat.
Grass jelly balls offer a unique and tasty treat. We explored their origins, cultural importance, and health perks. You learned how to gather quality ingredients and make them at home. The step-by-step guide made the process easy, while tips helped you avoid mistakes. Variations and creative uses keep things exciting.
Now, go ahead and enjoy your grass jelly balls in fun ways. The possibilities are endless, so get creative and share your delights!


