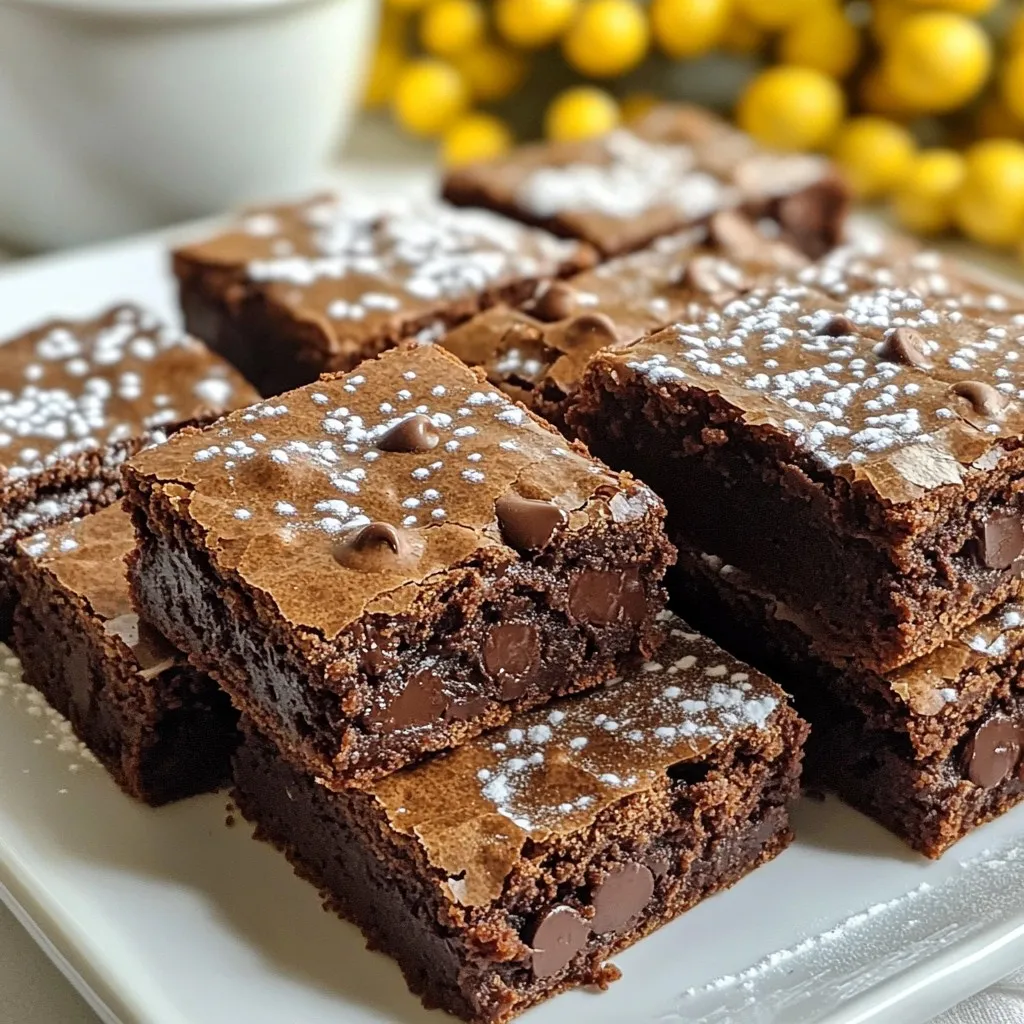
Get ready to dive into a simple yet festive treat: Gingerbread Brownie Bars! These bars blend the warm spices of gingerbread with the rich taste of brownies. Whether it’s the holiday season or any cozy day, these goodies are perfect for sharing. I’ll guide you step-by-step through making these delicious treats. Let’s create a sweet moment in your kitchen that you won’t forget!
Why I Love This Recipe
- Festive Flavors: The warm spices of ginger, cinnamon, and nutmeg make these brownie bars a perfect holiday treat, filling your home with delightful aromas.
- Decadent Texture: The combination of melted chocolate chips and a tender brownie base creates a rich, gooey texture that is simply irresistible.
- Easy to Bake: With simple ingredients and straightforward steps, this recipe is perfect for bakers of all skill levels, ensuring everyone can enjoy these treats.
- Perfect for Sharing: These brownie bars are easy to cut into squares, making them ideal for gatherings, parties, or holiday celebrations with friends and family.
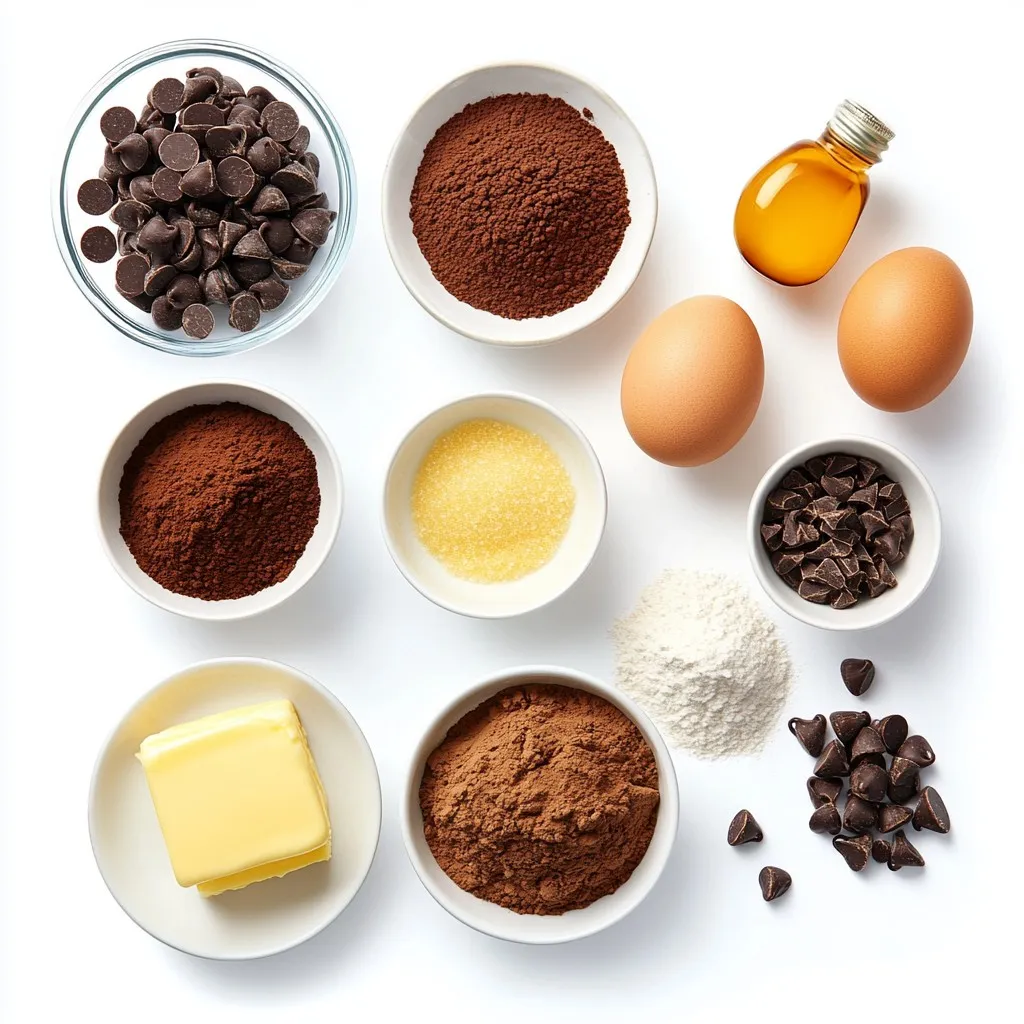
Ingredients
To make the perfect Gingerbread Brownie Bars, gather these simple ingredients:
– 1 cup unsalted butter, melted
– 1 cup packed brown sugar
– 1/2 cup granulated sugar
– 1/2 cup unsweetened cocoa powder
– 1 tablespoon ground ginger
– 1 tablespoon ground cinnamon
– 1/2 teaspoon ground nutmeg
– 1/4 teaspoon ground cloves
– 1 teaspoon baking soda
– 3 large eggs
– 1 teaspoon vanilla extract
– 1 1/2 cups all-purpose flour
– 1/2 cup molasses
– 1 cup semi-sweet or dark chocolate chips
– A pinch of salt
Each ingredient plays a special role. The unsalted butter adds richness, while brown sugar gives a deep flavor. Cocoa powder brings that chocolate taste we love, and spices like ginger and cinnamon give a warm kick. Eggs help bind everything, and molasses adds moisture and that classic gingerbread taste.
Feel free to choose chocolate chips based on your taste. Semi-sweet chips add sweetness, while dark chips bring a more intense flavor. This mix creates a festive treat that’s sure to impress!
Step-by-Step Instructions
Preparing the Baking Pan
Start by preheating your oven to 350°F (175°C). Next, grab a 9×13 inch baking pan. Grease it well, then line it with parchment paper. Make sure some paper hangs over the edges. This will help you lift the bars out easily later.
Mixing the Wet Ingredients
In a large bowl, melt one cup of unsalted butter. Once melted, whisk in one cup of brown sugar and half a cup of granulated sugar. Mix until the blend is smooth. This step takes about one minute of good whisking. After that, add three large eggs one at a time, mixing well after each addition. Don’t forget to add one teaspoon of vanilla extract and half a cup of molasses. Stir until everything is smooth.
Incorporating the Dry Ingredients
Now, it’s time to sift in the dry ingredients. Add half a cup of unsweetened cocoa powder, one tablespoon of ground ginger, one tablespoon of ground cinnamon, half a teaspoon of nutmeg, and a quarter teaspoon of ground cloves. Mix well to combine. Next, sprinkle in one teaspoon of baking soda and mix again. Finally, add one and a half cups of all-purpose flour. Stir gently until no flour is visible. Be careful not to overmix.
Folding in Chocolate Chips
Gently fold in one cup of semi-sweet or dark chocolate chips. Make sure they spread evenly in the batter. This way, you get chocolate in every bite.
Baking and Cooling
Pour the batter into your prepared pan. Use a spatula to spread it evenly. Bake in the oven for 25 to 30 minutes. To check if they are done, insert a toothpick in the center. It should come out with a few moist crumbs. Once baked, remove the pan and let the brownies cool for about ten minutes. Use the parchment to lift them out and place them on a wire rack. Let them cool completely before slicing.
Tips & Tricks
Ensuring Perfect Texture
For soft and chewy gingerbread brownie bars, you want the right balance. Use room temperature eggs. This helps mix better. Melt your butter, but do not let it cool too much. It should be warm, not hot. Mix the sugars until they are smooth and creamy. This makes the bars light and fluffy.
How to Avoid Overmixing
Overmixing can make your bars tough. After adding the flour, mix gently. Use a spatula to fold in the flour. Stop mixing as soon as you see no flour. This keeps your bars tender and soft.
Checking for Doneness
To check if your bars are done, stick a toothpick in the center. If it comes out with a few moist crumbs, they are ready. Do not wait for a clean toothpick. This will keep your bars gooey, just how they should be! Let them cool in the pan for about 10 minutes before slicing.
Pro Tips
- Use Fresh Spices: For the best flavor, use fresh ground spices rather than pre-ground ones. This will enhance the aromatic qualities of your brownies.
- Check Your Oven Temperature: Ovens can vary in temperature. Use an oven thermometer to ensure your brownies bake at the correct temperature for the perfect texture.
- Don’t Overmix: When adding the flour, mix just until combined. Overmixing can lead to tough brownies, so be gentle!
- Experiment with Toppings: Add nuts, caramel drizzle, or sea salt on top before baking for an extra layer of flavor and texture.
Variations
Adding Nuts or Dried Fruits
You can make these bars even better by adding nuts or dried fruits. Try chopped walnuts or pecans for a nice crunch. Dried cherries or cranberries add a sweet and tart flavor. Just mix in about 1/2 cup of your choice. Make sure to fold them in gently so they spread evenly.
Spices and Flavor Alternatives
If you want to change the flavor, play with the spices. You can add cardamom for a warm twist. Try a hint of allspice for extra depth. You can also switch the ginger for fresh ginger. Fresh ginger gives a bright and zesty taste. Just remember to adjust the amount to keep the balance right.
Gluten-Free Option
To make these bars gluten-free, swap the all-purpose flour with a gluten-free blend. Many blends work well, so choose one you like. Make sure it has a good mix of starches and flours. This keeps the texture soft and chewy. Always check the package for correct measurements when baking.
Storage Info
How to Store Gingerbread Brownie Bars
To keep your gingerbread brownie bars fresh, store them in an airtight container. Be sure they are completely cool before sealing. This helps prevent moisture buildup, which can make them soggy. You can keep them at room temperature for up to three days. For longer storage, the fridge is a good option. Just remember, they may lose some of their soft texture when chilled.
Freezing for Later Use
If you want to save some for later, freezing works great. Cut the cooled bars into squares. Wrap each piece in plastic wrap, then place them in a freezer bag. Make sure to remove as much air as possible. You can freeze them for up to three months. When you’re ready to enjoy, just thaw them in the fridge overnight.
Reheating Instructions
To reheat your gingerbread brownie bars, simply place them in the microwave. Heat them for about 10 to 15 seconds. This will warm them up without drying them out. If you prefer, you can also use the oven. Preheat it to 350°F (175°C) and warm the bars for about 5 to 10 minutes. Enjoy them warm with a scoop of ice cream or a dollop of whipped cream!
FAQs
What can I substitute for molasses?
You can use honey or maple syrup. Both options add sweetness and flavor. Adjust the amount slightly since these sweeteners are sweeter than molasses. Use about 1/3 cup of honey or syrup for 1/2 cup of molasses.
Can I use a different type of chocolate?
Yes, you can use any chocolate you like. Dark chocolate, milk chocolate, or even white chocolate work well. Adjust the sweetness if you choose a sweeter chocolate. Each type will bring a unique flavor to your bars.
How long do these brownie bars last?
These brownie bars stay fresh for about five days at room temperature. To keep them longer, store them in an airtight container. If you refrigerate them, they can last up to a week.
Can I make these brownie bars ahead of time?
Absolutely! You can bake the bars a day or two before serving. Just store them in a cool place, covered. This can help the flavors meld and improve the taste.
What’s the best way to cut brownie bars?
To get clean cuts, let the bars cool completely. Use a sharp knife to cut them into squares or rectangles. For neat slices, wipe the knife with a damp cloth between cuts. This keeps the edges clean and pretty.
In this blog post, we explored the delicious gingerbread brownie bars. We covered key ingredients, steps for mixing, and baking these treats. I shared tips for perfecting texture and avoiding overmixing. You can also try fun variations, like adding nuts or making them gluten-free.
Remember to store your bars properly to enjoy them longer. With these insights, you can bake, share, and savor every bite. Happy bakin


