Looking for a cool treat to beat the heat this summer? Look no further! My Frozen Limonada de Coco packs a punch of fresh coconut and lime flavors, creating a refreshing drink that’s perfect for warm days. With just a few simple ingredients, you can whip up this icy delight at home. Join me as I guide you through the easy steps to make this summer staple!
Ingredients
To make a refreshing Frozen Limonada de Coco, you will need these ingredients:
– 2 cups coconut water
– 1 cup freshly squeezed lime juice
– 1 cup unsweetened shredded coconut
– 1/2 cup agave syrup
– 2 cups ice cubes
– Garnish options: Fresh lime slices and shredded coconut
Each ingredient plays a key role. Coconut water gives a light, tropical flavor. Lime juice adds a zesty kick that refreshes. Shredded coconut brings a chewy texture and richness. Agave syrup sweetens the mix without overpowering it. Ice cubes create that icy, slushy feel, perfect for hot days.
Garnishes like lime slices and shredded coconut not only look good but also enhance the flavor. They make each sip feel special. This simple list can transform your summer drink into something unforgettable.
Step-by-Step Instructions
Blending the Base
Start by adding these ingredients to your blender:
– 2 cups coconut water
– 1 cup freshly squeezed lime juice
– 1 cup unsweetened shredded coconut
– 1/2 cup agave syrup
Blend on high until it is smooth, and everything combines well. This creates the bright, tangy base for your limonada. The mix should smell fresh and zesty.
Adding Ice
Now, it’s time to make it cold and slushy!
– Incorporate 2 cups of ice cubes into the mixture.
Blend again on high until you reach a smooth, slushy texture. If it seems too thick, add a bit more coconut water. Adjust it to your liking!
Final Adjustments
After blending, take a moment to taste your limonada. If you want it sweeter, add more agave syrup. Blend briefly to mix.
Next, pour the frozen limonada into pre-chilled glasses. This keeps it nice and cold.
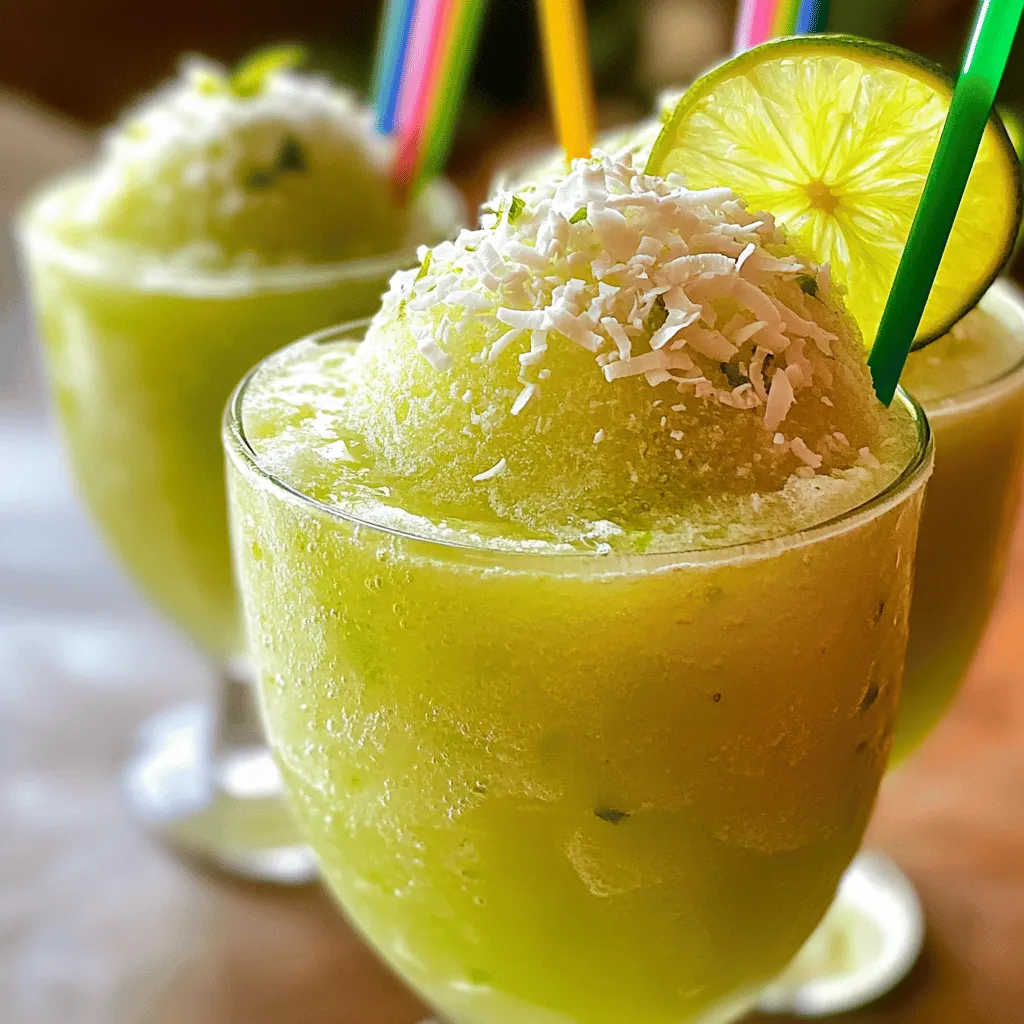
For a fun touch, garnish with fresh lime slices and a sprinkle of shredded coconut. This adds a lovely tropical vibe to your drink! Enjoy your Frozen Limonada de Coco!
Tips & Tricks
Achieving the Perfect Consistency
To get the right thickness, start with coconut water. If your drink is too thick, add more coconut water slowly. You want it smooth but not watery. For freezing leftover limonada, pour it into ice cube trays. This way, you can use it in future drinks, keeping that fresh taste.
Enhancing Flavor
You can play with sweeteners in your limonada. Try honey or maple syrup for a different taste. If you want, switch up your coconut type. Use fresh coconut meat for a richer flavor. It’s fun to explore and find your favorite mix.
Presentation Tips
Garnishing makes your drink pop. Use fresh lime wedges and a sprinkle of shredded coconut on top. Colorful straws add fun to the drink. A small mint sprig can make it feel special. These little touches make your limonada look and taste even better.

Variations
Fruit Infusions
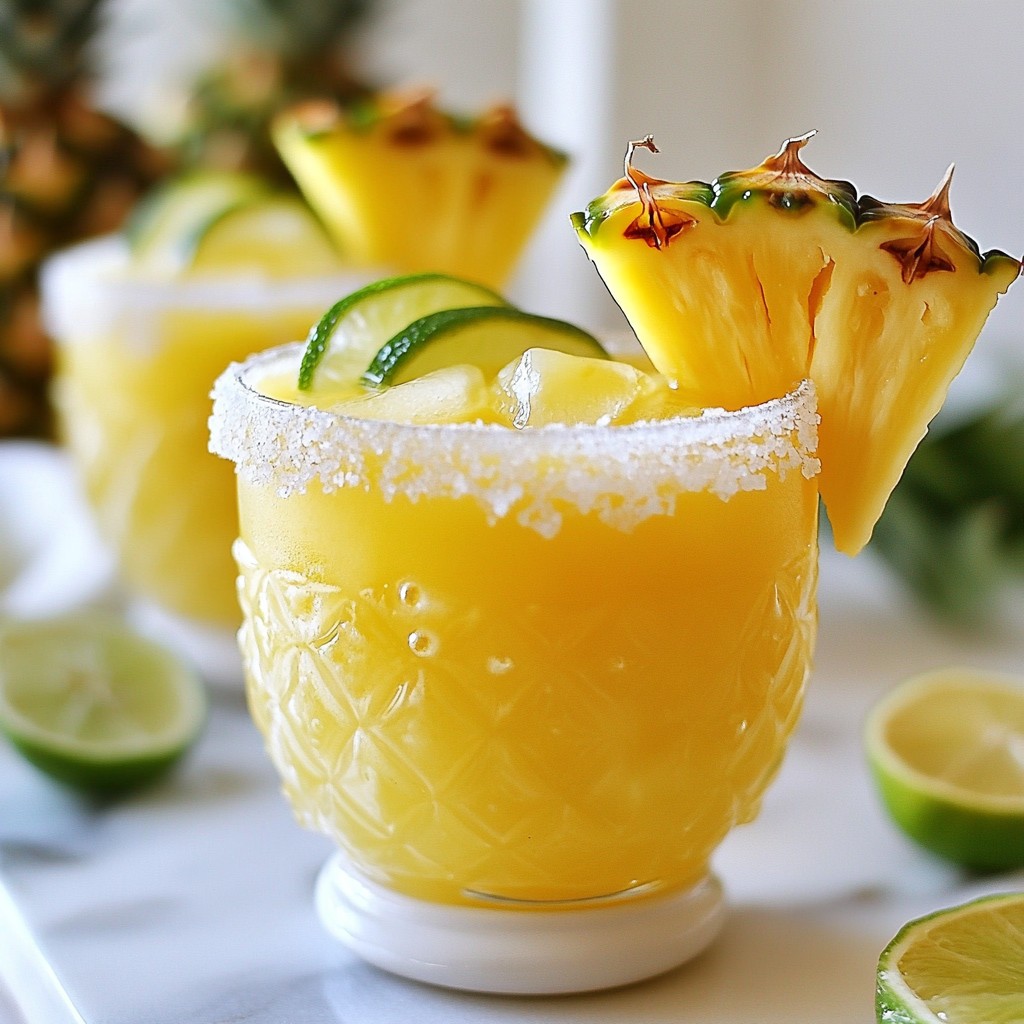
You can easily change the flavor of your Frozen Limonada de Coco. Adding other fruits makes it more fun. Pineapple brings a sweet and tangy twist. You can blend fresh pineapple chunks right in. Mango also adds a rich sweetness. Try using ripe mango for the best flavor. If you enjoy berries, create a berry version. Blend in strawberries or raspberries for a vibrant touch. These fruits pair well with lime and coconut.
Alcoholic Twist
Want to make it a cocktail? Adding rum is a great choice! It gives your limonada a tropical vibe. Use light rum for a smooth blend. I suggest mixing 1 to 2 ounces of rum per serving. Pour the rum into the blender with the other ingredients. Blend until smooth and enjoy a refreshing drink with a kick.
Alternative Sweeteners
If you’re looking for different sweeteners, consider honey or maple syrup. Both options add unique flavors. Honey gives a floral sweetness. Maple syrup has a rich taste that complements coconut. When using these, adjust the amount to fit your taste. Start with a smaller amount and add more if needed. This way, you can cater to your dietary needs while enjoying this tasty drink.
Storage Info
Storing Leftovers
After enjoying your frozen limonada, you might have some left. To store it, pour any unused limonada into a clean container. Make sure the container is airtight to keep it fresh. You can refrigerate it for up to two days. Before serving again, give it a good stir. The texture may change a bit after chilling.
If you want to save limonada for later, freezing is a great option. Pour the limonada into ice cube trays or a freezer-safe container. This way, you can enjoy a refreshing treat anytime. When you want to drink it, let it thaw in the fridge overnight. You can also blend the frozen limonada cubes for a quick slushy drink.
Shelf Life
How long can homemade limonada last in the fridge? It can stay fresh for about two days. After that, the flavor may fade.
Look for signs of spoilage. If you notice any off smells, changes in color, or separation, it’s best to toss it. Trust your senses! Fresh food should always taste and smell good. Enjoy your frozen limonada de coco while it’s at its best!
FAQs
What is Frozen Limonada de Coco?
Frozen Limonada de Coco is a tropical drink made from simple ingredients. It combines coconut water, fresh lime juice, and unsweetened shredded coconut. This drink tastes refreshing and tangy, with a hint of sweetness from agave syrup. The ice gives it a frosty texture, perfect for hot days. You can enjoy it as a cool treat or a fun party drink.
Can I make this recipe ahead of time?
Yes, you can prepare this drink in advance. You can blend all the ingredients and store them in the freezer. Just make sure to keep it in an airtight container. When you are ready to enjoy it, blend it again with a bit of coconut water. This makes it smooth and easy to serve.
Is Frozen Limonada de Coco healthy?
Frozen Limonada de Coco offers several health benefits. Coconut water is hydrating and rich in electrolytes. Lime juice is packed with vitamin C, which boosts your immune system. Shredded coconut adds healthy fats and fiber. This drink is a guilt-free treat, especially when you control the sweetness.
How to adjust the sweetness in Frozen Limonada de Coco?
Adjusting the sweetness is easy. You can add more or less agave syrup based on your taste. Try using honey or maple syrup for a different flavor. If you prefer it less sweet, use less syrup. Taste as you mix, so you get it just right.
Serving suggestions for Frozen Limonada de Coco
Serve Frozen Limonada de Coco with light snacks. It pairs well with fresh fruit, chips, or tacos. You can also enjoy it with grilled chicken or fish. This drink adds a fun twist to any meal or gathering.
This blog post covered how to make a delicious Frozen Limonada de Coco. We discussed the key ingredients, blending steps, and tips to enhance flavor and consistency. You learned how to store leftovers and explore fun variations.
Enjoy this refreshing drink on warm days or at gatherings. Feel free to get creative and make it your own. The options are endless, and you can always adjust the flavors to suit your taste.