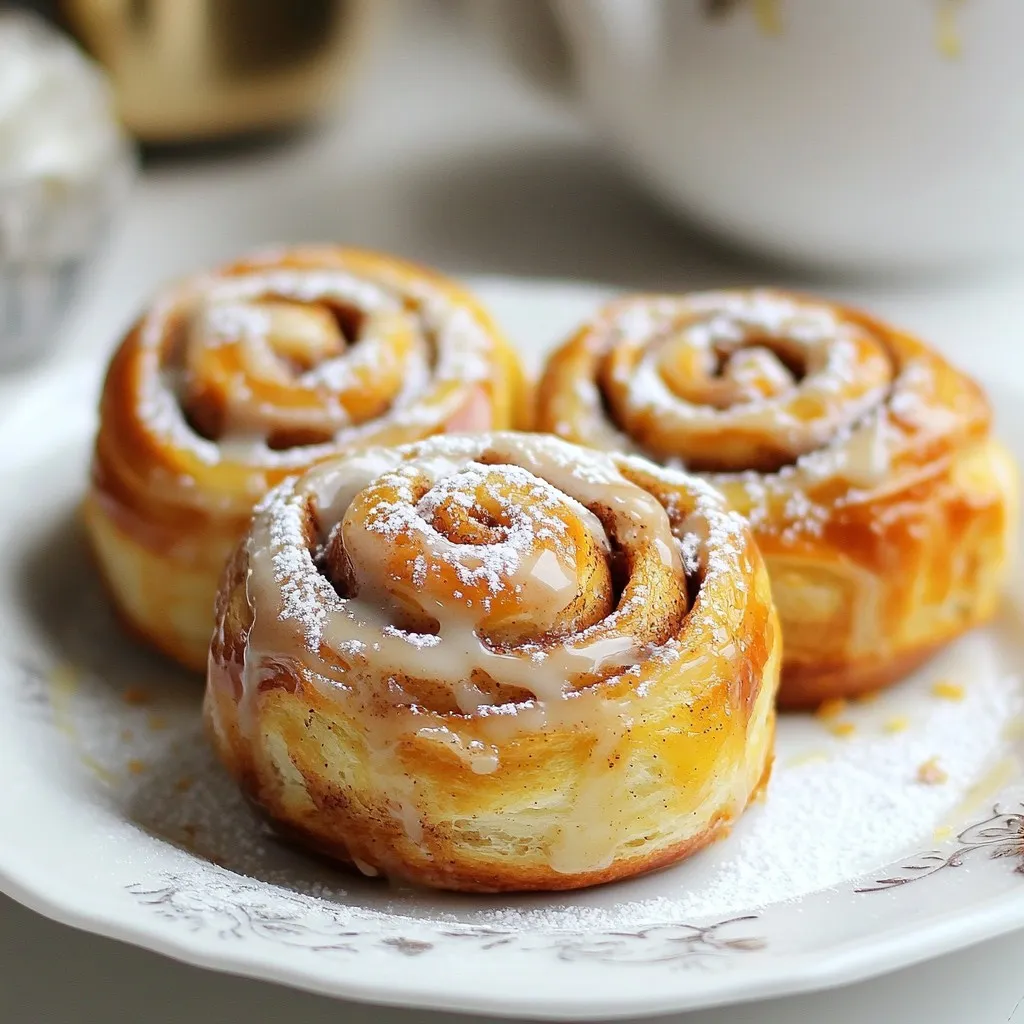
Craving warm, gooey cinnamon rolls? Look no further! In this recipe, I’ll show you how to make fluffy homemade cinnamon rolls that are easy, tasty, and sure to impress. With simple ingredients like flour, milk, and butter, you can whip up a batch that’s perfect for breakfast or a treat. Let’s dive into the steps to create these delicious rolls together! You won’t regret it.
Why I Love This Recipe
- Comforting Aroma: The delightful smell of cinnamon and sugar wafts through your kitchen, creating a cozy atmosphere that draws everyone in.
- Soft and Fluffy Texture: These rolls are light and airy, making them the perfect indulgent treat for any breakfast or brunch.
- Customizable Filling: You can easily modify the filling to include nuts, raisins, or even a chocolate twist, making each batch uniquely yours.
- Perfect for Sharing: With 12 generous servings, these cinnamon rolls are ideal for gatherings, ensuring everyone gets to enjoy a piece of homemade goodness.
Ingredients
Dry Ingredients
– 4 cups all-purpose flour
– 1/4 cup granulated sugar
– 2 teaspoons instant yeast
– 1 teaspoon baking powder
– 1/2 teaspoon salt
Wet Ingredients
– 1 cup whole milk, warmed to about 110°F (43°C)
– 1/4 cup unsalted butter, melted and slightly cooled
– 2 large eggs
– 1 tablespoon vanilla extract
Cinnamon Filling
– 1/4 cup unsalted butter, softened
– 1 cup brown sugar, packed
– 2 tablespoons ground cinnamon
– 1/4 teaspoon nutmeg (optional)
Icing Ingredients
– 1/2 cup icing sugar
– 1 tablespoon milk
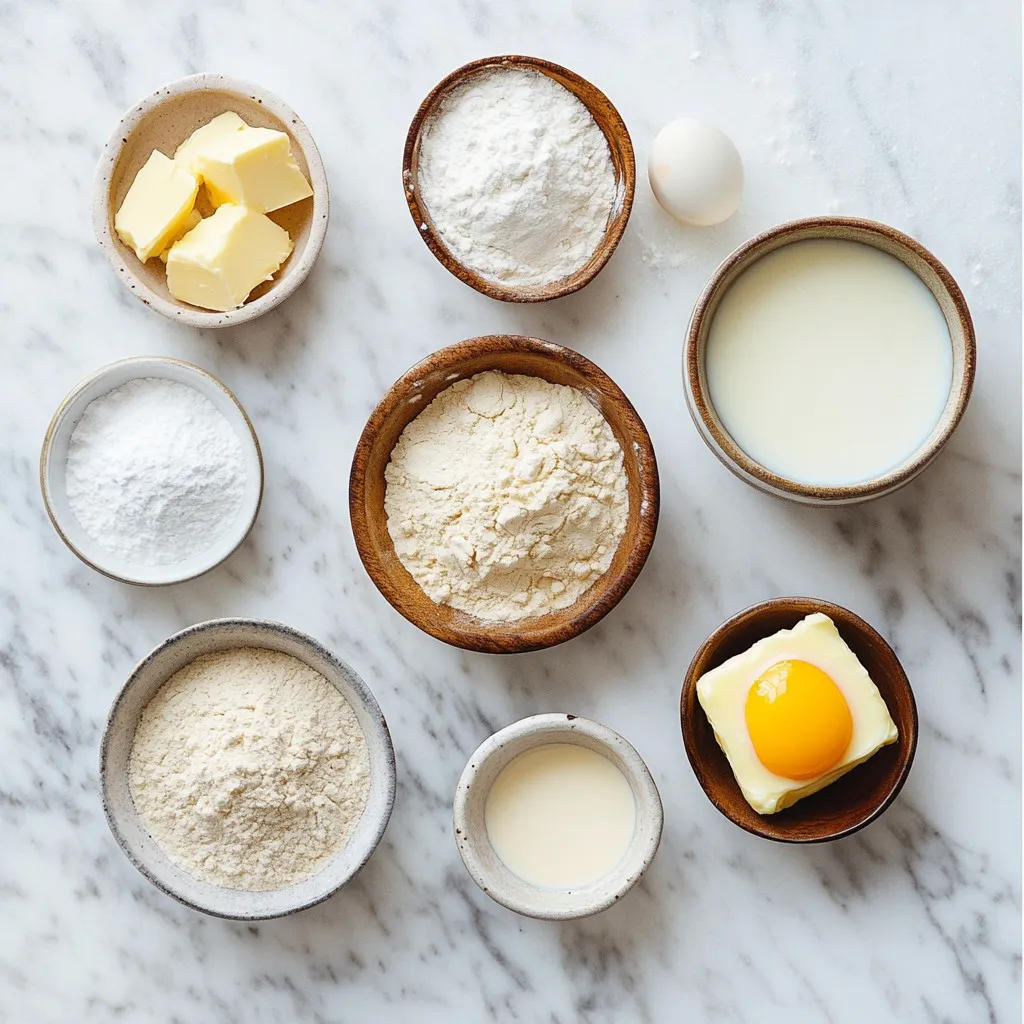
To make fluffy homemade cinnamon rolls, you need to gather a few key ingredients. These ingredients fall into three main categories: dry, wet, and filling.
For the dry ingredients, you will use flour, sugar, yeast, baking powder, and salt. The flour gives structure to the rolls. Sugar adds sweetness. Yeast helps the dough rise. Baking powder adds extra lift, and salt enhances flavor.
Next, for the wet ingredients, warm milk, melted butter, eggs, and vanilla extract come into play. Warm milk activates the yeast. Butter provides richness. Eggs give moisture and bind the dough. Vanilla adds a lovely aroma and taste.
Now, let’s talk about the cinnamon filling. You need softened butter, brown sugar, ground cinnamon, and nutmeg (optional). The butter makes the filling spreadable. Brown sugar brings a deep sweetness. Cinnamon gives the rolls that classic flavor, and nutmeg adds a warm note if you choose to include it.
Finally, don’t forget the icing. You’ll need icing sugar and milk. This simple mixture creates a sweet drizzle that makes the rolls even more delicious.
With these ingredients ready, you are all set to create warm, fluffy cinnamon rolls. Enjoy the delicious smell and taste as you bake!
Step-by-Step Instructions
Preparing the Dough
– Combine 2 cups of flour, sugar, yeast, baking powder, and salt in a bowl. Whisk these dry ingredients well. This mix is the base for our fluffy rolls.
– In another bowl, blend warmed milk and melted butter. Then, whisk in the eggs and vanilla extract until smooth. This adds richness to your dough.
– Gradually add the wet mix to the dry mix. Stir gently with a wooden spoon. Keep mixing until a shaggy dough forms. It should look a bit rough at this stage.
Kneading and Rising
– Slowly add the remaining flour, half a cup at a time. Knead the dough by hand or with a dough hook for 8 to 10 minutes. The dough should be smooth and elastic, not sticky.
– Lightly grease a large bowl. Place the dough inside, cover it with a damp towel, and let it rise in a warm spot. Wait until it doubles in size, about 1 to 1.5 hours.
Rolling and Filling
– Once the dough rises, gently punch it down to release air. Transfer it to a floured surface. Roll the dough into a rectangle, measuring about 16 by 12 inches.
– Spread the softened butter evenly across the rolled dough. In a small bowl, mix brown sugar, cinnamon, and nutmeg (if using). Sprinkle this mixture over the buttered dough.
– Starting from one long edge, roll the dough tightly into a log. Pinch the seam to seal it well. Cut the log into 12 equal slices with a sharp knife. Place the slices in a greased baking dish, spacing them apart. Cover with a towel and let them rise again for 30 minutes.
Baking
– Preheat your oven to 350°F (175°C). When the rolls are puffy, bake them for 25 to 30 minutes. They should turn a lovely golden brown on top.
Icing and Serving
– While the rolls bake, prepare the icing. Mix icing sugar and milk in a small bowl until smooth. Adjust thickness by adding more sugar or milk if needed.
– After baking, allow the rolls to cool for a few minutes. While they are warm, drizzle the icing generously over the top. Serve them on a beautiful platter for a lovely presentation. You can garnish with a dusting of icing sugar or chopped nuts. Enjoy the warm, sweet aroma!
Tips & Tricks
Achieving Fluffy Rolls
Warm milk and proofing time are key for fluffy rolls. The warm milk helps yeast grow. When yeast grows, it creates air bubbles. These bubbles make the rolls light and soft. Proofing time is when the dough rests. This time allows the dough to rise. Give it at least one hour. Kneading is also vital. Knead the dough well for 8 to 10 minutes. This helps develop gluten. Gluten gives the dough its stretch and strength.
Common Mistakes to Avoid
One big mistake is not allowing the dough to rise fully. If you rush this step, the rolls will be dense. They need time to puff up and grow. Another mistake is overbaking or underbaking. Rolls should be golden brown on top. If they are too light, they might be doughy inside. Watch your rolls closely in the oven.
Equipment Recommendations
Using the right tools makes baking easier. A large mixing bowl is a must for mixing the dough. A wooden spoon or spatula helps combine the wet and dry ingredients. For kneading, use your hands or a dough hook. A bench scraper is great for cutting the rolls evenly. Lastly, a good baking dish is key. A glass or metal dish works well for even baking.
Pro Tips
- Use Fresh Yeast: Ensure your instant yeast is fresh for the best rise. Check the expiration date and store it in a cool, dry place.
- Warm Milk is Key: Warm the milk to about 110°F (43°C) to activate the yeast without killing it. This temperature is perfect for a fluffy dough.
- Don’t Skip the Second Rise: Allow the rolls to rise a second time after cutting. This step ensures they are light and fluffy when baked.
- Drizzle While Warm: Drizzle the icing over the rolls while they are still warm for maximum absorption and a deliciously gooey finish.
Variations
Flavor Add-Ins
You can make your cinnamon rolls even more exciting! Try adding nuts or raisins to the filling. Chopped walnuts or pecans add a nice crunch. Raisins bring a sweet chewiness that pairs well with cinnamon. You can mix and match based on your taste.
You can also use different spices to change the flavor. Cardamom gives a warm, floral note, while allspice adds a hint of clove and nutmeg. These spices can really elevate your rolls. Just sprinkle them in with the cinnamon when you make the filling.
Alternative Icings
If you want to switch up the icing, consider cream cheese frosting. It adds a rich, tangy flavor. To make it, blend softened cream cheese with butter, icing sugar, and a splash of vanilla. This icing pairs well with the sweet rolls.
Another option is a lemon glaze. Mix icing sugar with fresh lemon juice. This will give your rolls a bright, zesty kick. The citrus flavor contrasts with the sweetness, creating a balanced treat.
Gluten-Free and Vegan Options
You can enjoy cinnamon rolls even on special diets! For gluten-free rolls, use a good gluten-free flour blend. Make sure it contains xanthan gum, which helps the dough rise.
If you need vegan options, swap out the butter for coconut oil or a plant-based butter. Use almond milk or oat milk instead of whole milk. These changes will keep your rolls soft and tasty while meeting your dietary needs.
Storage Info
Storing Leftover Rolls
To keep your cinnamon rolls fresh, store them in an airtight container. This keeps moisture in and prevents them from drying out. If you do not have a container, wrap them tightly in plastic wrap. Leftover rolls stay fresh for about 2 to 3 days at room temperature. For longer storage, consider freezing them.
Freezing Instructions
You can freeze the rolls either before or after baking. For freezing before baking, cut the rolls and place them in a greased dish. Cover them tightly with plastic wrap and freeze. Once frozen, they can last for up to 3 months.
To freeze after baking, let the rolls cool completely. Then, place them in an airtight container or wrap them well. Thaw the rolls overnight in the fridge when you’re ready to eat them. To reheat, warm them in the oven at 350°F (175°C) for about 10-15 minutes. They will taste just like fresh-baked rolls!
FAQs
How do I know when the dough has risen enough?
The dough is ready when it has doubled in size. You can check this by gently pressing your finger into the dough. If the indent stays, it’s good to go. If it springs back, let it rise longer. Keep an eye on the dough; it should look puffy and full of air bubbles.
Can I make cinnamon rolls ahead of time?
Yes, you can prepare the dough the night before. After you make the dough, shape the rolls and place them in your baking dish. Cover them tightly and place them in the fridge. In the morning, take them out and let them rise for about 30 minutes before baking. This way, you can enjoy fresh rolls with less morning fuss.
What can I do if my rolls turn out dense?
If your rolls are dense, check a few things. First, make sure your yeast is fresh and active. Old yeast won’t rise well. Also, ensure you kneaded the dough enough. It should be smooth and elastic. Lastly, don’t rush the rising time. Allowing the dough to rise fully is key to fluffy rolls. If you follow these tips, your rolls will improve!
This blog post covered all you need to make perfect cinnamon rolls. It detailed key ingredients, step-by-step instructions, and tips for fluffy dough. Remember to allow the dough to rise fully for the best results. You can also experiment with flavors and icing types for variety. Store leftovers properly to keep them fresh. With these guidelines, you can enjoy soft, sweet rolls any time. Happy bakin


