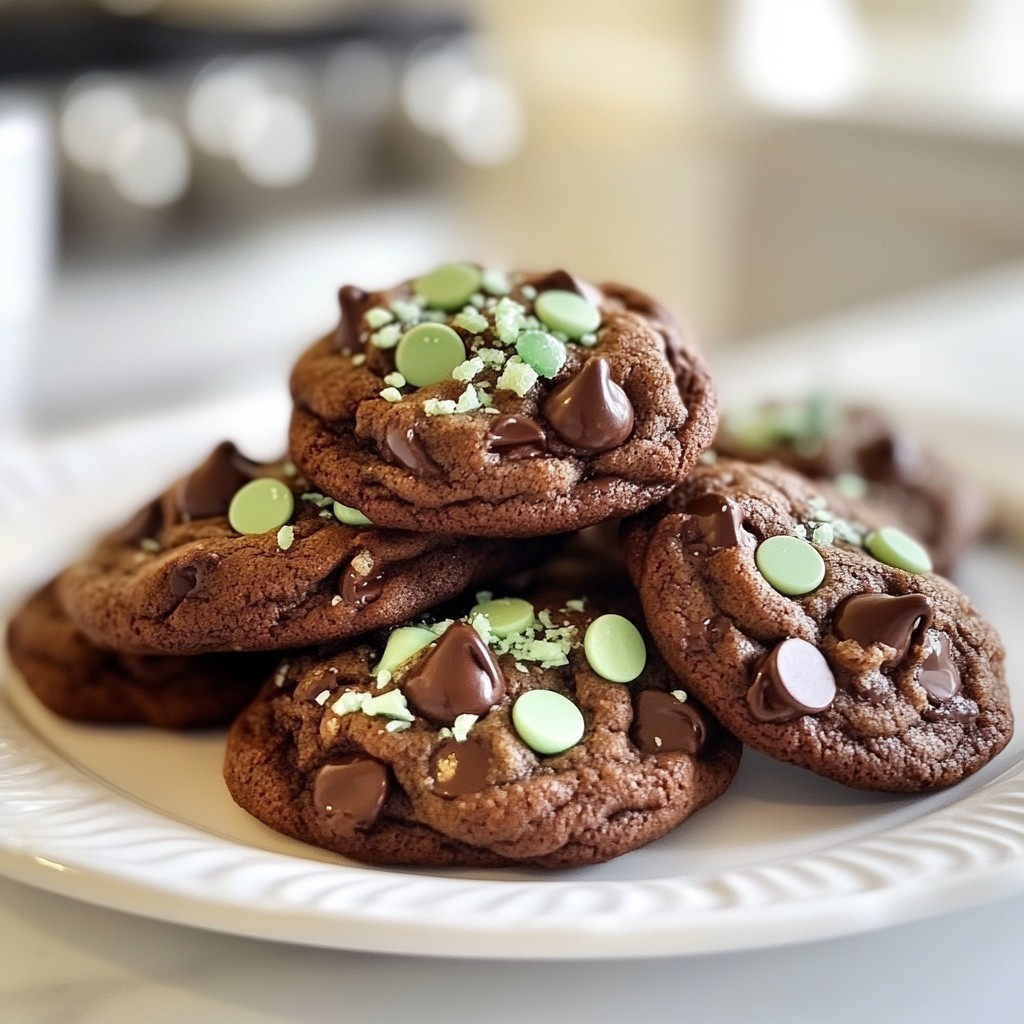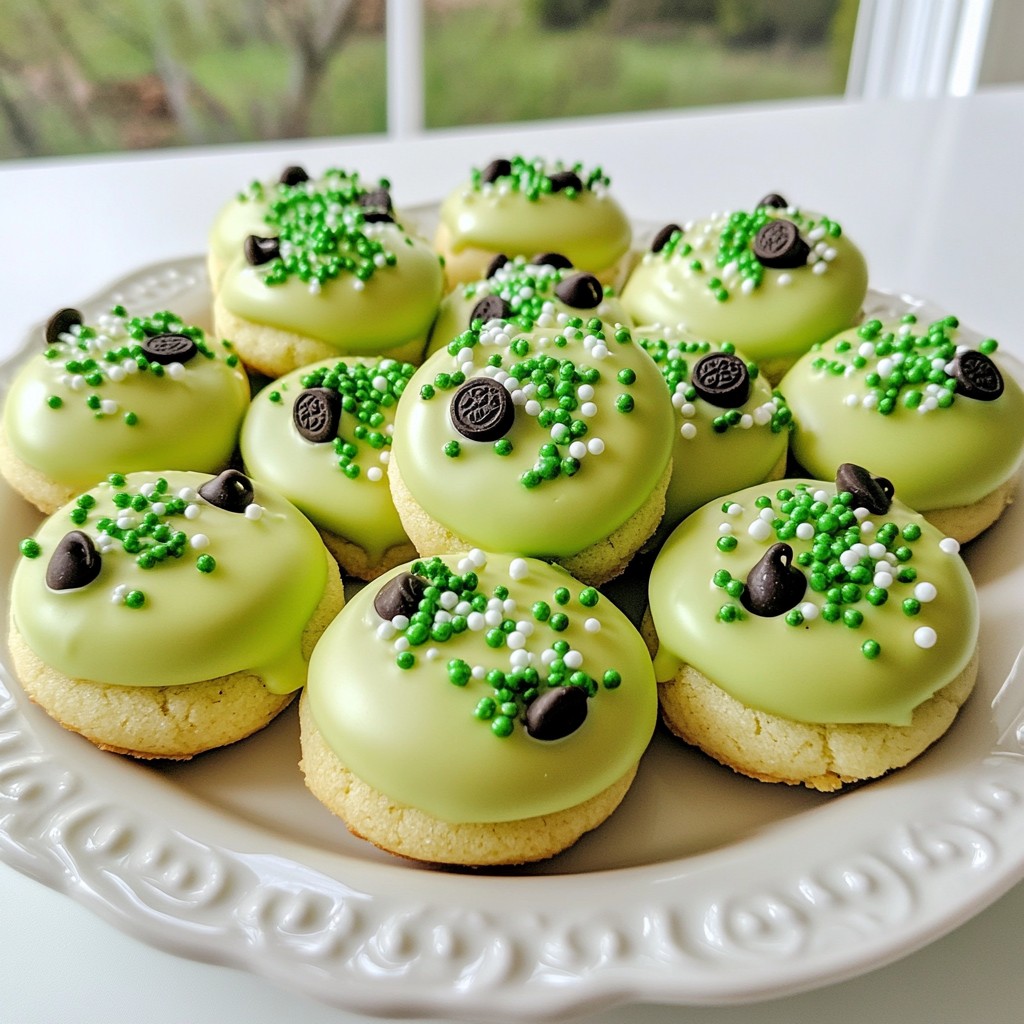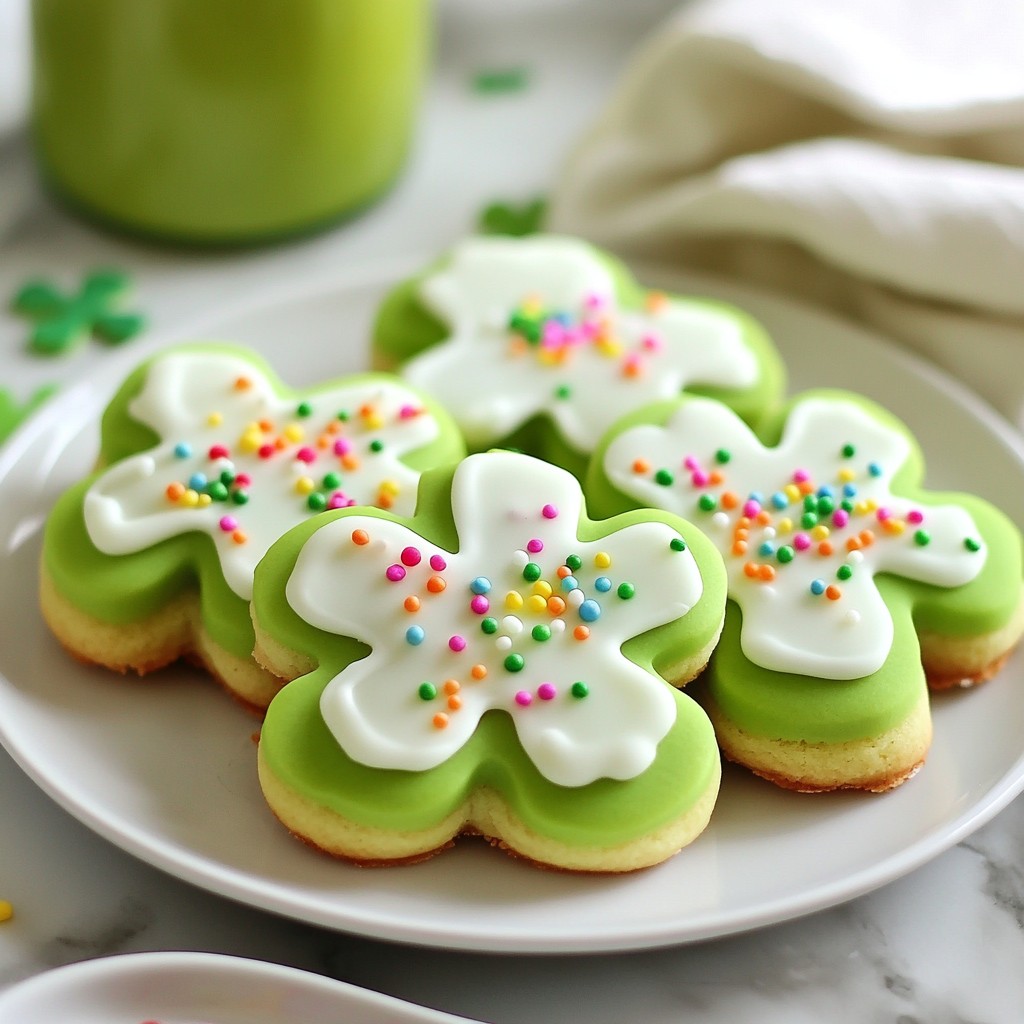
Looking for a sweet treat that’s simple and fun? You’ve come to the right place! These Easy Shamrock Sugar Cookies are perfect for any festive occasion. With just a few basic ingredients and a touch of creativity, you can whip up delicious shamrock-shaped cookies that taste as good as they look. Join me as we dive into this easy recipe that will impress your friends and family. Let’s get baking!
Why I Love This Recipe
- Festive Theme: These shamrock sugar cookies are perfect for celebrating St. Patrick's Day, adding a cheerful touch to any gathering.
- Customizable Colors: The addition of green food coloring allows you to create cookies in any shade, making them as vibrant as your celebration.
- Kid-Friendly Fun: Rolling out the dough and cutting out shapes is a fun activity for kids, making baking a family affair.
- Delicious Icing: The sweet icing and rainbow sprinkles not only enhance the cookies' appearance but also add a delightful flavor.
Ingredients
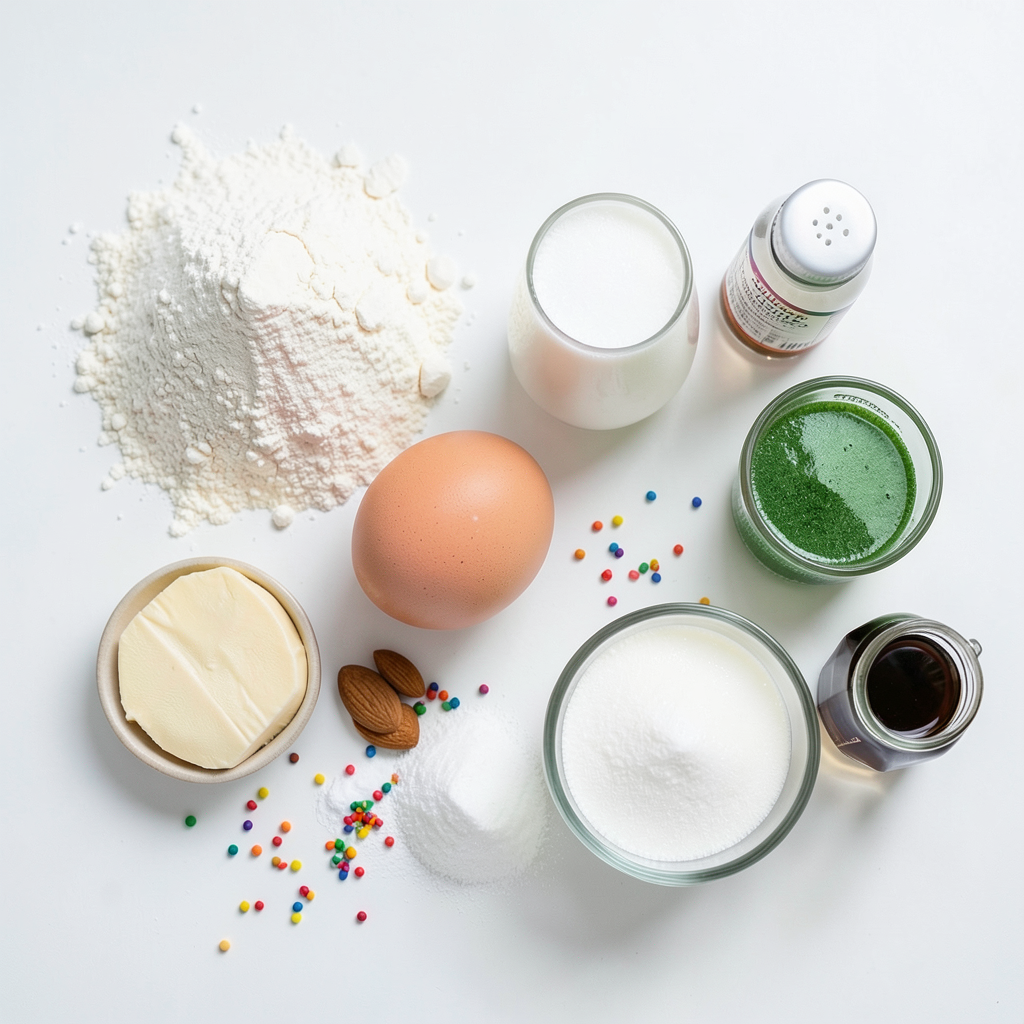
Here’s what you need to make Easy Shamrock Sugar Cookies:
- 2 ¾ cups all-purpose flour
- 1 teaspoon baking powder
- ½ teaspoon baking soda
- ½ teaspoon salt
- 1 cup unsalted butter, softened
- 1 ½ cups granulated sugar
- 1 large egg (room temperature)
- 1 teaspoon vanilla extract
- 1 teaspoon almond extract
- Green food coloring (gel or liquid)
- 1 cup powdered sugar (for icing)
- 2 tablespoons milk (for icing)
- Rainbow sprinkles (for toppings)
Using these simple ingredients, you can create cookies that are not only fun but also delicious. Each item plays a key role in achieving that soft, chewy texture and sweet flavor that we all love. The butter adds richness, while the sugars create the right sweetness. The extracts infuse the cookies with lovely aromas. Don’t forget the green food coloring to make them festive for St. Patrick’s Day!
Step-by-Step Instructions
Preparation Steps
- Preheat the oven to 350°F (175°C).
- Prepare baking sheets with parchment paper.
Mixing and Combining Ingredients
- In a medium bowl, mix the dry ingredients: flour, baking powder, baking soda, and salt.
- In a large bowl, cream the softened butter and granulated sugar together. Beat them until light and fluffy.
- Add the large egg, vanilla extract, and almond extract into the butter mixture. Mix until smooth.
- Gradually add green food coloring to the mixture. Keep adding until you like the green shade.
Dough Handling
- Carefully combine the wet and dry mixtures. Mix on low speed until just combined.
- Chill the dough for 30 minutes. This makes it easier to cut into shapes.
Baking Process
- Lightly flour a clean surface and roll out the dough to about ¼ inch thick.
- Use a shamrock-shaped cookie cutter to cut out shapes. Place them on the prepared baking sheets.
- Bake for 8 to 10 minutes. The edges should be just golden. Allow cookies to cool on the sheets for a few minutes, then move them to wire racks to cool completely.
Icing and Decorating
- In a medium bowl, mix powdered sugar and milk. Stir until smooth. Adjust milk for thickness.
- Once cookies are cool, use a piping bag or a knife to spread icing on each cookie. Add rainbow sprinkles while the icing is still wet for a fun touch.
Tips & Tricks
Baking Tips
To ensure your cookies bake evenly, follow these steps:
- Choose the right pan: Use light-colored baking sheets. They help cookies bake evenly without burning.
- Cool the dough: Chill the dough before cutting shapes. This helps the cookies keep their shape while baking.
- Check the oven temperature: Use an oven thermometer to make sure your oven is at the right heat.
Adjusting the thickness of the dough is also key:
- Roll carefully: Aim for about ¼ inch thick. If it’s too thin, cookies may burn.
- Use a ruler: This can help measure the thickness accurately as you roll it out.
Decorating Tips
Using piping bags for icing makes decorating easier:
- Cut a small hole: This gives you control when icing cookies. It helps create neat designs.
- Practice on parchment paper: Before icing your cookies, practice your designs on paper first.
You can get creative with sprinkles too:
- Mix colors: Use different colors of sprinkles for a fun look that pops.
- Layer them: Sprinkle them on wet icing. This way, they stick well and look great.
Pro Tips
- Chill the Dough Properly: Ensuring the dough is chilled for at least 30 minutes helps the cookies maintain their shape while baking and enhances the texture.
- Use Gel Food Coloring: For more vibrant colors, opt for gel food coloring instead of liquid, as it provides a more intense hue without altering the dough's consistency.
- Perfect Baking Time: Keep an eye on the cookies as they bake; they should be just set and slightly golden at the edges to maintain a soft interior.
- Experiment with Icing: Feel free to add flavors like lemon or peppermint to the icing for a fun twist that complements the sugar cookies beautifully.
Variations
Flavor Variations
You can change the taste of your shamrock sugar cookies easily. One way is to swap the extracts. Instead of vanilla or almond, try coconut or lemon. Both add a fun twist that can brighten the flavor.
Another option is to add zest or spices. For a fresh taste, use lemon or lime zest. You can also try a sprinkle of cinnamon or nutmeg for warmth. These small changes can make your cookies special and unique.
Shape and Design Variations
While shamrocks are perfect for St. Patrick's Day, you can use other shapes for different events. Heart shapes work well for Valentine's Day, and stars are great for the holidays. Just switch out your cookie cutter, and you can match any occasion.
If you want to get creative, try using cookie stencils. Stencils let you make fun designs on your cookies. You can dust icing sugar or cocoa powder over the stencil. This will give your cookies extra flair and a professional look.
Storage Info
Storing Cookies
To keep your shamrock sugar cookies fresh, store them in an airtight container. This helps maintain their soft texture. Place parchment paper between layers to prevent sticking. For best results, keep them at room temperature. Avoid refrigerating them, as this can make them hard.
Recommended storage containers:
- Airtight plastic containers
- Glass jars with tight lids
- Metal cookie tins
Freezing Cookies
You can freeze unbaked dough to save time later. Wrap the dough tightly in plastic wrap, then place it in a freezer bag. Label the bag with the date. This way, you can enjoy fresh cookies anytime.
Freezing decorated cookies is also simple. Place the cookies on a baking sheet and freeze them for about an hour. Once they are firm, transfer them to a freezer bag. This helps keep the icing intact. When ready to eat, let them thaw at room temperature.
FAQs
How can I get my cookies to hold their shape?
To keep your cookies from spreading, chill the dough. After mixing, wrap it in plastic wrap and chill for at least 30 minutes. This helps the butter firm up. Also, roll the dough to about ¼ inch thick. Use a shamrock cookie cutter to get nice shapes.
Can I use different food coloring?
Yes, you can use any food coloring you like. Gel coloring works best since it gives a richer hue. Liquid coloring is fine too, but you might need more to get the right shade. Just add a few drops at a time until you like the color.
What can I substitute for butter?
If you need a butter substitute, try using margarine or coconut oil. Both options work well in this recipe. Make sure they are softened just like butter for the best texture.
How long do the cookies last?
These cookies stay fresh for about a week when stored properly. Keep them in an airtight container at room temperature. If you want them to last longer, you can freeze them for up to three months.
Can I make the dough ahead of time?
Yes, you can make the dough ahead of time. Just wrap it in plastic wrap and store it in the fridge for up to three days. For longer storage, freeze the dough. Thaw it in the fridge before rolling it out and cutting shapes.
You now have a clear path to making fun and tasty cookies. We covered the key ingredients, easy steps, and expert tips. Whether you bake for a celebration or just for fun, these cookies will impress. Remember, you can always switch up flavors or shapes to make them your own. Enjoy baking and sharing these sweet treats!