Do you love rich, creamy eggnog? You’re in for a treat! This Easy RumChata Eggnog recipe combines classic flavors with a twist. I’ll guide you step-by-step to craft a festive drink that’s smooth and delightful. Whether you’re hosting a holiday party or enjoying a cozy night in, this creamy beverage will elevate your celebrations. Let’s dive into the ingredients and get mixing for the perfect holiday cheer!
Why I Love This Recipe
- Festive Flavor: This eggnog is infused with a delightful blend of spices that perfectly capture the essence of the holiday season.
- Rich Creaminess: The combination of whole milk and heavy cream creates a luxurious, creamy texture that elevates this drink above store-bought versions.
- Customizable: You can easily adjust the spices or add a splash of your favorite liquor to make this eggnog your own.
- Perfect for Gatherings: This recipe serves 8, making it an ideal choice for holiday parties and family get-togethers.
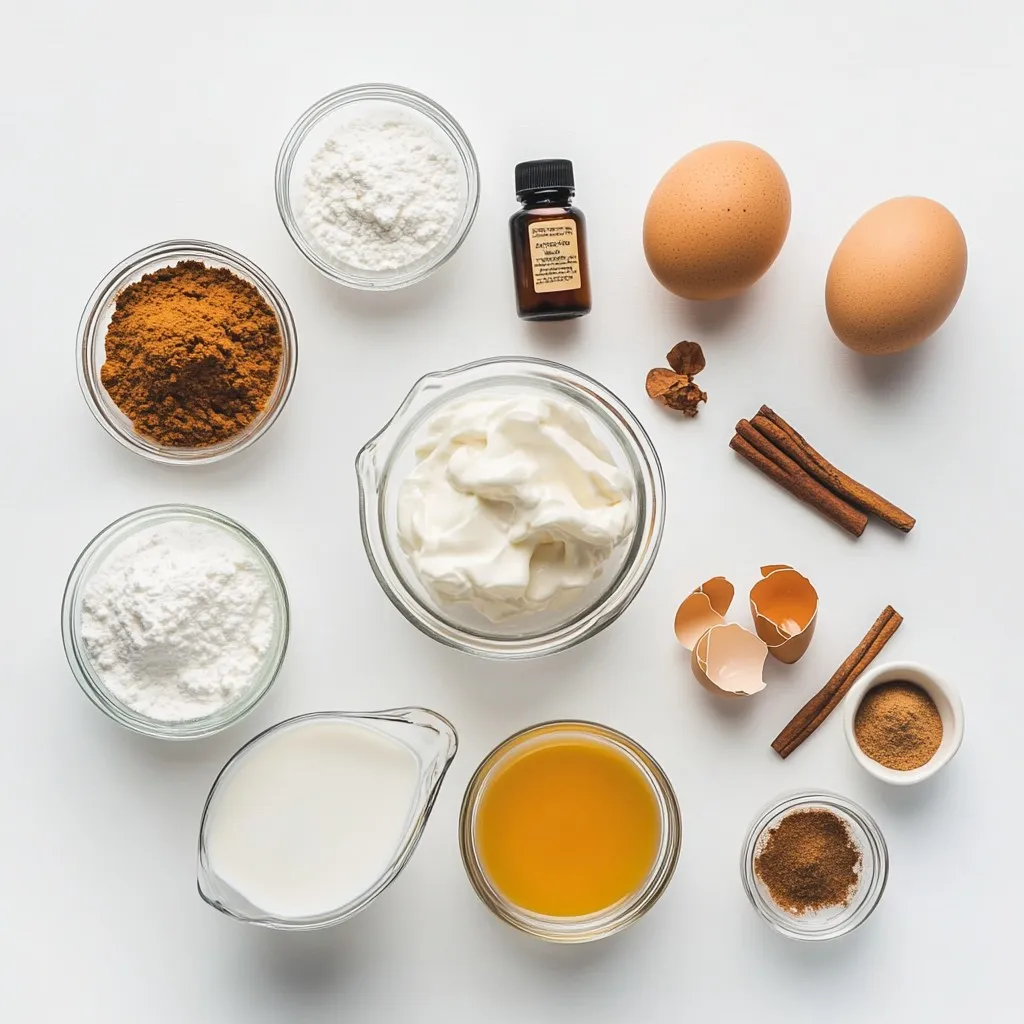
Ingredients
Key Ingredients for Easy RumChata Eggnog
To make this creamy treat, you need a few key ingredients:
– 4 cups whole milk
– 1 cup heavy cream
– 3 large eggs
– 3/4 cup granulated sugar
– 1 teaspoon vanilla extract
– 1 teaspoon ground nutmeg
– 1/2 teaspoon ground cinnamon
– 1/4 teaspoon ground ginger
– 1 teaspoon almond extract
These ingredients create a rich and smooth base for your eggnog. The milk and cream give it that velvety texture, while the eggs add body and richness. Sugar balances the spices, making every sip delightful.
Optional Ingredients for Added Flavor
You can play with optional ingredients to enhance your eggnog:
– A splash of RumChata
– A pinch of salt
– Extra spices like allspice or cardamom
Adding a splash of RumChata gives the drink an extra kick. You can also add a pinch of salt to bring out the sweetness. Feel free to experiment with spices to find your favorite mix!
Recommended Garnishes
Finishing touches make your eggnog stand out:
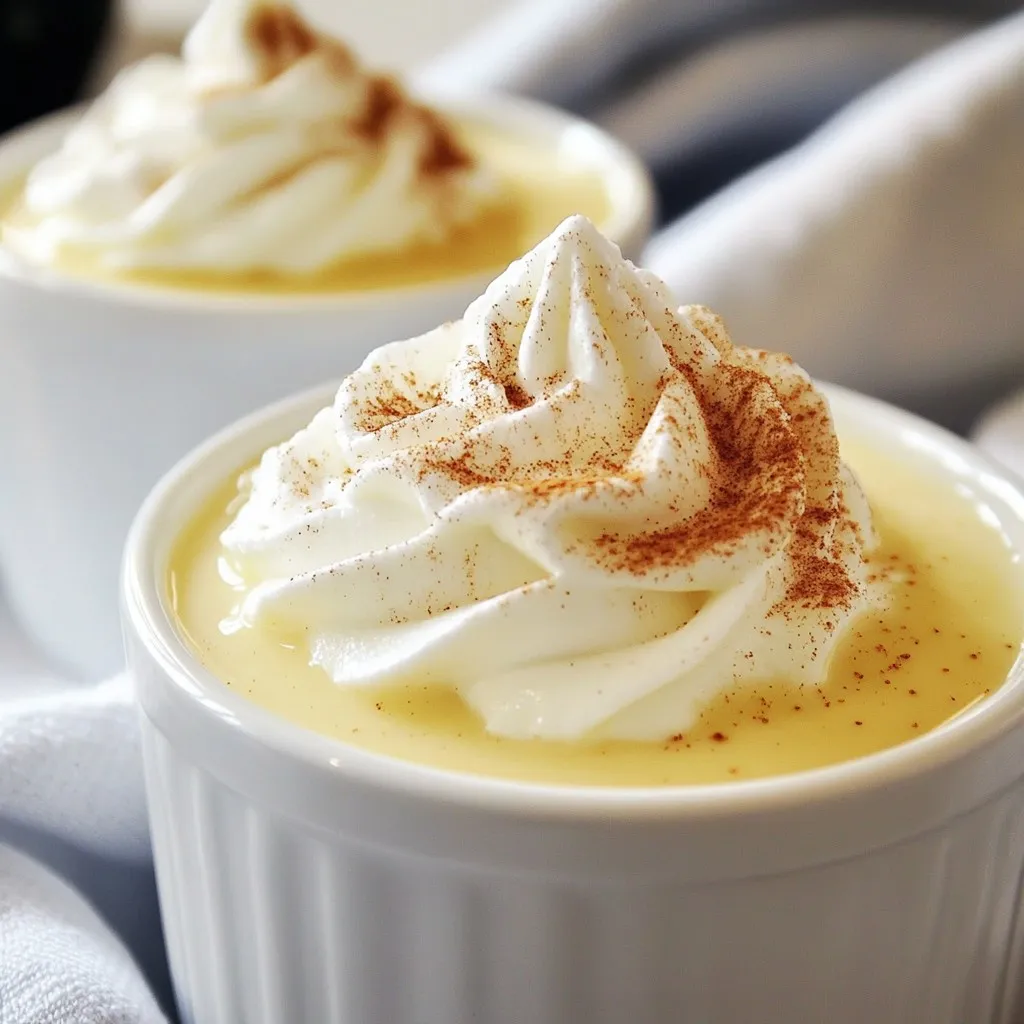
– Whipped cream for a fluffy top
– Ground cinnamon for a warm scent
– Cinnamon sticks for stirring
Top your eggnog with a generous dollop of whipped cream. A sprinkle of ground cinnamon adds a festive look and taste. For an extra touch, add a cinnamon stick to each cup for stirring. This not only looks great but also enhances the flavor as it sits.
Step-by-Step Instructions
Preparing the Milk and Cream Base
Start by heating the whole milk and heavy cream. In a medium saucepan, combine both. Warm them over medium heat, stirring often. This helps to heat the mix evenly. Keep it just below boiling.
Mixing Eggs and Sugar
In a separate bowl, crack the three large eggs. Add the granulated sugar next. Whisk them together until the mix is pale and thick. This helps create a smooth texture for your eggnog.
Tempering the Eggs
Next, you need to temper the eggs. Slowly drizzle the warm milk mix into the egg and sugar blend. Keep whisking to avoid curdling the eggs. This step is key for a creamy eggnog.
Cooking the Eggnog Mixture
Now pour the eggnog mix back into the saucepan. Cook it over low heat while stirring. Do this for about 5 to 7 minutes. The mix should thicken slightly, but don’t let it boil.
Adding Flavorings and Cooling
After thickening, take the saucepan off the heat. Add vanilla extract, nutmeg, cinnamon, ginger, and almond extract. Stir well to blend all the flavors. Let this mixture cool to room temperature.
Serving Suggestions
Refrigerate the eggnog for at least 2 hours. This chilling helps the flavors meld. When ready to serve, pour the eggnog into festive cups. Top with whipped cream and a sprinkle of cinnamon for a holiday touch. Enjoy!
Tips & Tricks
How to Achieve the Perfect Consistency
To get the best eggnog, keep an eye on the heat. Heat the milk and cream just below boiling. Stir often. If it boils, it can spoil the smooth texture. When you mix the eggs and sugar, whisk until pale and slightly thick. This step is key for that rich feel. Finally, cook the eggnog over low heat until it thickens. Don’t rush this; it takes about 5 to 7 minutes.
Best Practices for Tempering Eggs
Tempering eggs is simple but crucial. It helps avoid curdling. Start by slowly pouring the warm milk mixture into the egg blend while whisking. This step warms the eggs gently. If you add the hot mix too fast, you’ll cook the eggs. Take your time here to get the right mix. It will pay off with a creamy eggnog.
Choosing the Right Glassware for Serving
When serving eggnog, choose festive cups or mugs. Clear glass lets you show off the creamy drink. A holiday-themed mug adds joy. Once served, top with whipped cream and sprinkle some cinnamon. You can even add a cinnamon stick for a nice touch. It will make your drink look great and smell amazing too.
Pro Tips
- Use Fresh Spices: Always opt for freshly ground spices when making eggnog. They enhance the flavor significantly compared to pre-ground options.
- Chill Properly: Allow the eggnog to chill for at least 2 hours, but overnight is even better. This helps the flavors to meld and intensify.
- Control the Sweetness: Adjust the sugar to your taste. You can start with less and add more if needed after tasting the mixture before chilling.
- Garnishing Ideas: For a festive touch, add a cinnamon stick or star anise to each cup and serve with a sprinkle of nutmeg on top of the whipped cream.
Variations
Dairy-Free or Vegan Alternatives
You can make a dairy-free version of RumChata eggnog. Use almond milk, coconut milk, or oat milk. These options keep the drink creamy. For the heavy cream, try coconut cream or vegan whipping cream. This way, you keep the richness without dairy.
Alcohol-Free Version of RumChata Eggnog
If you want a fun drink without alcohol, skip the RumChata. Use vanilla extract and a bit of nutmeg for flavor. You can also add a splash of cream soda. This gives a sweet, festive taste without the buzz.
Spiced or Flavored Variations
Want to add a twist to your eggnog? You can mix in different spices. Try cardamom, clove, or allspice for a unique flavor. You can also add flavored extracts. Peppermint or hazelnut extracts will give you a fun holiday vibe. Experiment with these ideas to find your favorite spin!
Storage Info
How to Store Leftover Eggnog
To store leftover eggnog, pour it into a clean container. Make sure the container has a tight lid. This step keeps the eggnog fresh and prevents it from absorbing other smells in your fridge. You can also use a glass jar if you prefer.
Recommended Storage Duration
Leftover eggnog stays good in the fridge for about three to five days. After this time, it may lose its taste or texture. If you notice any change in smell or texture, it’s best to throw it away.
Tips for Reheating Eggnog
When you want to enjoy your cold eggnog, you can heat it gently. Pour the eggnog into a saucepan. Warm it on low heat and stir often. Avoid boiling it, as this can change the flavor. If you like it cold, just give it a good shake before serving.
FAQs
Can I make Easy RumChata Eggnog ahead of time?
Yes, you can make Easy RumChata Eggnog ahead of time. In fact, it tastes better after chilling. I suggest making it at least two hours before serving. This allows the flavors to blend well. You can keep it in the fridge for up to three days. Just remember to stir it well before serving.
What is RumChata and how does it enhance the flavor?
RumChata is a creamy liqueur made with rum, cream, and cinnamon. It adds a rich, sweet, and spicy taste to your eggnog. The blend of flavors makes the drink feel festive and cozy. Using RumChata gives your eggnog a unique twist. It pairs well with the nutmeg and cinnamon in the recipe.
Is it safe to use raw eggs in homemade eggnog?
Using raw eggs can carry some risk. However, if you use fresh eggs from a trusted source, the risk decreases. You can also pasteurize the eggs. To do this, heat them gently in warm milk before mixing. This process helps kill any harmful bacteria while keeping the eggs creamy.
What are some good pairings with RumChata Eggnog?
RumChata Eggnog pairs well with many treats. Try it with gingerbread cookies or spiced cakes. You can also serve it with nuts and cheese for a savory balance. Another great option is a slice of pie, like pumpkin or pecan. The flavors of the treats will enhance your eggnog experience.
How can I adjust the sweetness of the eggnog?
You can easily adjust the sweetness of your Easy RumChata Eggnog. If you prefer it sweeter, add more sugar or a splash of maple syrup. For less sweetness, reduce the sugar in the recipe. Taste the mixture as you go to find your perfect balance.
This blog post covered how to make easy RumChata eggnog. We explored key ingredients, preparation steps, and tips for success. You learned about variations, storage, and common questions.
In making this drink, enjoy the blend of flavors and textures. You can make it suit your taste, whether you’re having fun with friends or relaxing at home. Eggnog adds warmth to any gathering, so give it a tr