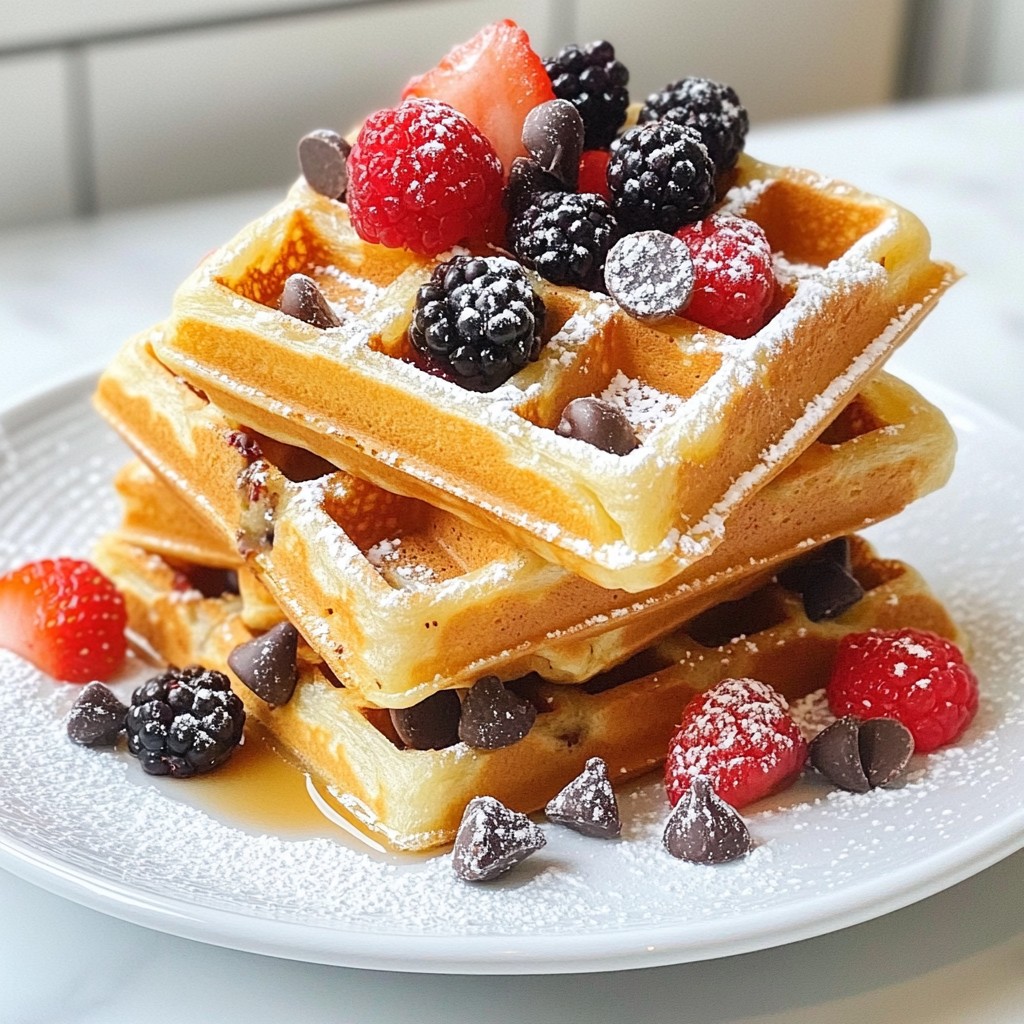
Wake up to a delightful treat that makes mornings special: Crispy Morning Chocolate Chip Waffles! With their perfect crunch and gooey chocolate chips, these waffles are a joyful start to any day. I’ll guide you through easy steps to create this delicious breakfast, whether you’re cooking solo or impressing friends. Let’s dive into the ingredients and tips to make your waffles a hit!
Why I Love This Recipe
- Crispy Perfection: These waffles achieve the perfect crispy exterior while remaining fluffy on the inside, making every bite a delightful experience.
- Chocolate Indulgence: With generous amounts of chocolate chips, each waffle is filled with melty chocolate goodness that satisfies any sweet tooth.
- Quick and Easy: This recipe is simple and quick to prepare, making it a perfect choice for busy mornings or brunch gatherings.
- Customizable Delight: Feel free to experiment with different types of chocolate or add toppings like fruits and syrups to personalize your waffle experience.
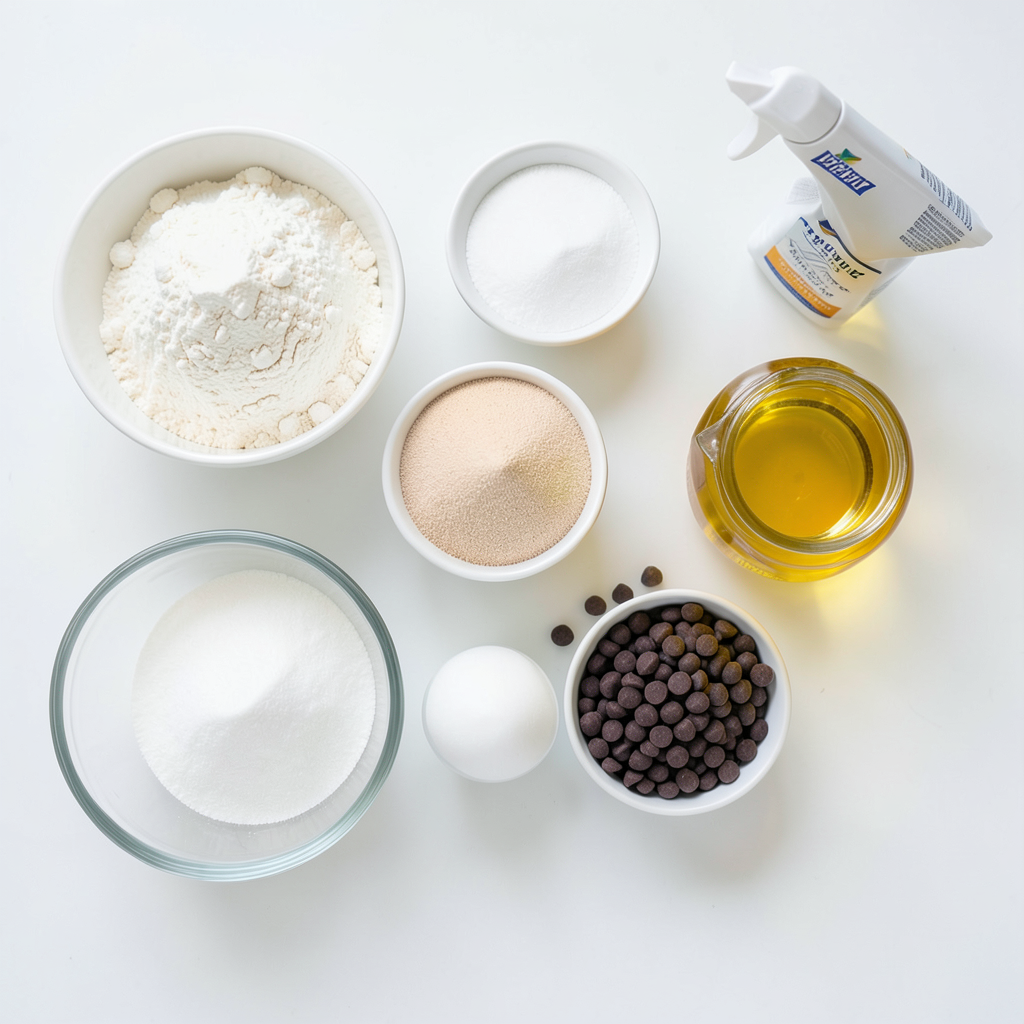
Ingredients
Dry Ingredients
- 1 ½ cups all-purpose flour
- 2 tablespoons granulated sugar
- 1 tablespoon baking powder
- ½ teaspoon salt
Wet Ingredients
- 1 ¾ cups milk (whole or 2% for creaminess)
- 1 large egg, beaten
- ½ cup vegetable oil (or melted coconut oil for a twist)
- 1 teaspoon pure vanilla extract
Optional Additions
- 1 cup semi-sweet chocolate chips (or dark chocolate chips for a richer flavor)
- Cooking spray or a little extra oil for greasing the waffle iron
To create these crispy morning chocolate chip waffles, start with the dry ingredients. Combine flour, sugar, baking powder, and salt in a big bowl. Mix them well so there are no lumps. Next, get your wet ingredients in a separate bowl. Whisk together milk, egg, oil, and vanilla. This step helps the flavors blend nicely.
When both mixtures are ready, pour the wet ingredients into the dry ones. Stir gently. You want it mixed but not overdone. A few lumps are okay; they will cook out in the waffle iron. Now, fold in those chocolate chips. This is where the magic happens! Make sure they spread throughout the batter for that gooey goodness.
With your batter ready, you can start cooking. Lightly grease your waffle iron and pour in the batter. Cook until golden brown and crispy. Enjoy the delightful treat that awaits you!
Step-by-Step Instructions
Preheating the Waffle Iron
First, preheat your waffle iron. Follow the instructions that come with it. Lightly grease the surface with cooking spray or a bit of oil. This step helps the waffles release easily.
Mixing Dry Ingredients
In a large bowl, combine the dry ingredients. Add 1 ½ cups of all-purpose flour, 2 tablespoons of sugar, 1 tablespoon of baking powder, and ½ teaspoon of salt. Whisk them together to blend well. This helps avoid lumps in your batter.
Combining Wet and Dry Ingredients
In another bowl, mix the wet ingredients. Whisk together 1 ¾ cups of milk, 1 large beaten egg, ½ cup of vegetable oil, and 1 teaspoon of vanilla extract. Once mixed, pour this into the bowl with dry ingredients. Stir gently with a spatula. Do not overmix; a few lumps are fine.
Cooking the Waffles
Now, it’s time to cook! Pour the batter onto the preheated waffle iron. Use enough to fill the iron without overflows. Close the lid and cook for about 4-6 minutes. You want them golden brown and crispy.
Serving Suggestions
To serve, carefully remove the waffles with a fork or tongs. Enjoy them hot for the best flavor. Stack them high on a plate and dust with powdered sugar. Add fresh berries or extra chocolate chips for a fun touch. Drizzle with warm maple syrup or whipped cream for a tasty finish.
Tips & Tricks
Achieving the Perfect Texture
To get crispy waffles, use the right flour. All-purpose flour works best. Mixing wet and dry ingredients should be gentle. Overmixing makes waffles tough. A few lumps in the batter are fine. Let the batter rest for 5 minutes. This helps the waffles rise better.
Cooking Time Adjustments
Waffle irons vary in heat. Start with 4 minutes and check for doneness. If the waffles are not golden, cook for another minute. For extra crispiness, you can leave them in a bit longer, but don't overdo it. Each waffle iron has its quirks, so adjust as needed.
Best Practices for Greasing the Waffle Iron
Always grease the waffle iron before adding batter. Use cooking spray or a little oil. This helps prevent sticking. If your waffles stick, they won’t come out whole. For best results, re-grease as you go. A well-greased surface ensures perfect release every time.
Pro Tips
- Choose the Right Flour: Using cake flour instead of all-purpose flour can yield lighter and fluffier waffles.
- Temperature Matters: For the crispiest waffles, ensure your waffle iron is fully preheated before pouring in the batter.
- Experiment with Mix-Ins: Try adding nuts or different types of chocolate chips for a unique flavor experience.
- Make Ahead: You can prepare the batter the night before and store it in the fridge for a quicker breakfast in the morning.
Variations
Flavor Enhancements
You can change the chocolate in your waffles. Try dark chocolate chips for a rich taste. You might also like white chocolate chips for a sweet twist. Mixing chocolate types adds fun flavors. Use half semi-sweet and half dark chocolate for a balanced taste.
Add-ins
Add-ins bring your waffles to life. Chopped nuts add crunch and flavor. Walnuts or pecans work well. You can also mix in fresh fruit. Blueberries or banana slices taste amazing. Just fold them into the batter gently. This way, you won’t break them.
Gluten-Free Alternatives
If you need a gluten-free option, use gluten-free flour. There are great blends available that work well. You can also try almond flour for a nutty taste. Adjust the liquid as needed, since some flours absorb more moisture. Enjoy your crispy waffles without worry.
Storage Info
Storing Leftover Waffles
To store leftover waffles, let them cool down first. Place them in an airtight container. Keep the container in the fridge. Leftover waffles stay fresh for about three days. For best taste, eat them within this time.
Reheating Techniques
Reheat your waffles using a toaster or an oven. If using a toaster, set it to medium heat. Toast each waffle for a few minutes until warm and crispy. For oven reheating, preheat to 350°F (175°C). Place waffles on a baking sheet and heat for 5-10 minutes. This keeps them crispy.
Freezing Options
Freezing waffles is a great way to enjoy them later. First, let the waffles cool completely. Then, stack them with parchment paper in between. Wrap the stack tightly in plastic wrap, and place it in a freezer bag. They can last up to two months in the freezer. To enjoy, simply reheat from frozen using your toaster or oven.
FAQs
Can I make waffle batter ahead of time?
Yes, you can make the batter ahead of time. Just mix the dry and wet parts separately. Store the wet mix in the fridge for up to 24 hours. When ready, mix them and cook your waffles.
What if my waffles are not crispy?
If your waffles are not crispy, check your cooking time. You may need to cook them longer. Also, ensure your waffle iron is hot enough before pouring in the batter. A little extra oil in the batter helps too.
How can I make my waffles sweeter?
To make your waffles sweeter, add more sugar. Try increasing the granulated sugar by one or two tablespoons. You can also add toppings like maple syrup, whipped cream, or fresh fruit for extra sweetness.
What can I serve with chocolate chip waffles?
Serve your chocolate chip waffles with various toppings. Fresh berries, whipped cream, or a drizzle of chocolate sauce work great. You can also add a scoop of ice cream for a fun dessert twist.
This blog post covered all the essentials for making your perfect chocolate chip waffles. We explored the right mix of dry and wet ingredients. I shared tips to help you get the best texture and cook time. You can add flavors, nuts, or fruit for extra fun. Plus, I provided simple ways to store and reheat your leftovers.
In the end, making great waffles at home is easy. With practice and creativity, you can create a breakfast treat everyone will love. Enjoy your cooking adventure!