Are you ready to master the art of pizza-making right at home? With my easy recipe for a crispy, chewy artisan pizza crust, you'll be impressing family and friends in no time. I’ll share essential tips, step-by-step instructions, and even variations for dietary needs. Say goodbye to store-bought crusts and hello to delicious, homemade perfection! Let’s get started on your pizza adventure!
Why I Love This Recipe
- Perfect Texture: This pizza crust strikes the ideal balance between crispy on the outside and chewy on the inside, making every bite delightful.
- Easy to Make: With simple ingredients and straightforward steps, even novice bakers can create a delicious artisan pizza crust at home.
- Customizable: You can easily adjust the thickness of the crust and choose your favorite toppings, making it a versatile choice for any pizza lover.
- Impressive Results: This recipe yields a restaurant-quality pizza that will impress family and friends, perfect for gatherings or special occasions.
Ingredients
Total Ingredients List
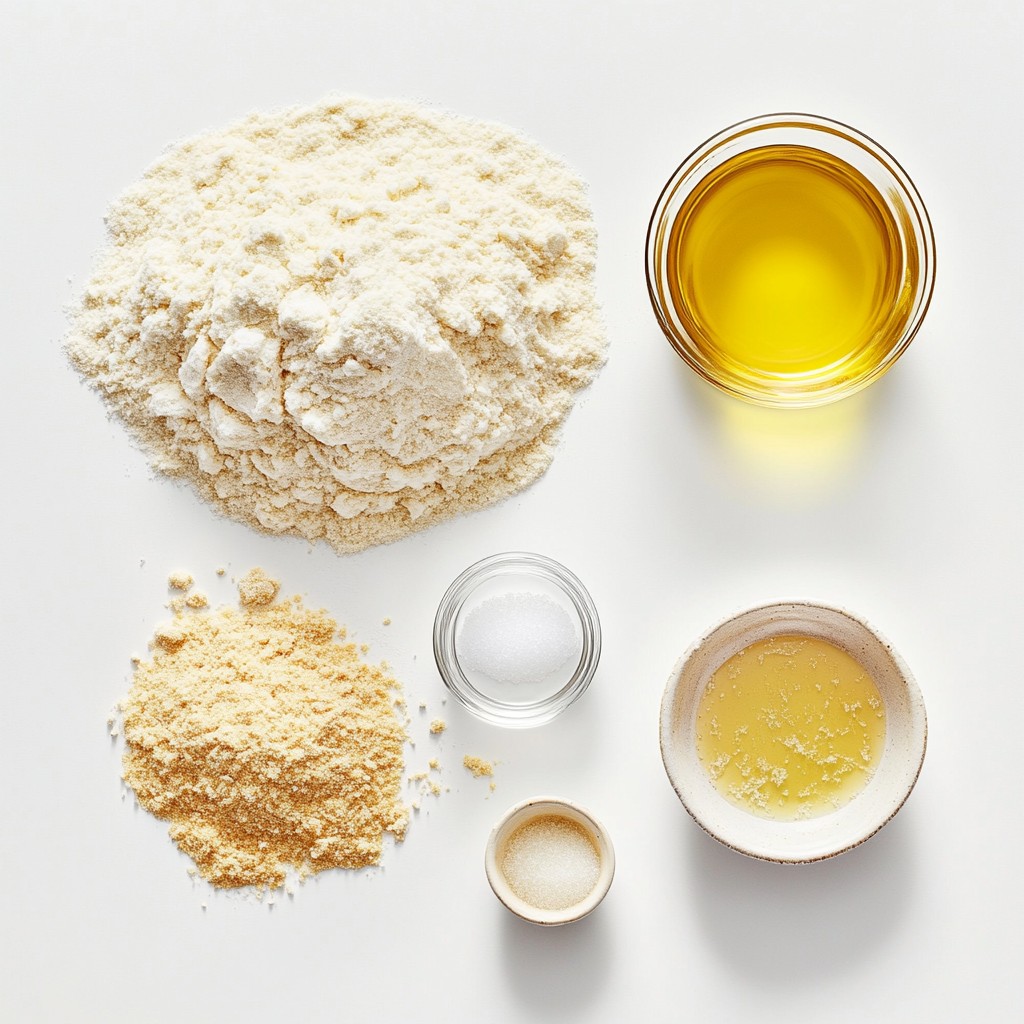
- 2 ½ cups all-purpose flour
- 1 teaspoon instant yeast
- 1 teaspoon salt
- 1 tablespoon sugar
- 1 cup warm water
- 2 tablespoons olive oil
- Cornmeal for dusting
Ingredient Tips
Best flour types for pizza crust I recommend using all-purpose flour for a good balance. You can also try bread flour. This flour has more protein, which gives the crust a nice chew.
Importance of using fresh yeast Fresh yeast is key for a great rise. Instant yeast works fast and gives a nice texture. Always check your yeast for freshness. If it’s old, it won’t activate well.
Why warm water is crucial Warm water is important for activating the yeast. It should be about 110°F. Too hot can kill the yeast, and too cold will keep it from waking up.
Step-by-Step Instructions
Preparing the Dough
To start, combine the warm water, sugar, and instant yeast in a large bowl. Stir it gently. Let this mixture sit for about 5-10 minutes. You will see it become frothy. This froth means the yeast is active.
Next, add the all-purpose flour and salt to the bowl. Use a wooden spoon to mix it all together. As you mix, gather the flour from the sides of the bowl. Soon, a shaggy dough will form.
Kneading and Rising
Now it's time to knead the dough. Transfer it to a lightly floured surface. Knead the dough for about 8-10 minutes. You want it to feel smooth and elastic. If the dough sticks to your hands, add a little more flour while kneading.
When you're done kneading, shape the dough into a ball. Place it in a lightly greased bowl. Cover it with a damp towel or plastic wrap. Let it rise in a warm spot for about 1-2 hours. It should double in size when ready.
Shaping the Crust
After the dough has risen, gently punch it down to release the air. Turn it out onto a floured surface. You can divide the dough into two for medium pizzas or keep it whole for one large pizza.
Cover the divided pieces with a kitchen towel. Let them rest for another 15-20 minutes. This resting time helps relax the gluten.
When ready to shape, roll or stretch the dough to your desired thickness. Place the dough on parchment paper dusted with cornmeal. This step prevents sticking and makes it easy to transfer to the oven.
Tips & Tricks
Achieving the Perfect Texture
To get that crispy and chewy crust, follow these tips:
- Use high-protein flour for better gluten formation.
- Knead the dough well; it should be smooth and elastic.
- Let the dough rise until it doubles in size.
- Preheat the oven with a pizza stone for even heat.
Common pitfalls to avoid include:
- Using cold water; it can slow yeast activation.
- Skipping the resting period; this relaxes the gluten.
- Not enough heat; your pizza will steam instead of bake.
Essential Equipment Recommendations
For the best results, choose a pizza stone over a baking sheet. A stone holds heat well and helps create a crispy base. If you use a sheet, flip it upside down to mimic a pizza stone.
Recommended tools for shaping and transferring dough:
- A rolling pin for even thickness.
- A pizza peel for easy transfers.
- Parchment paper dusted with cornmeal to prevent sticking.
Flavor Enhancements
Enhance the dough with herbs or seasoning. Try adding dried oregano or basil for extra flavor. You can also mix in grated cheese for a cheesy crust.
For homemade sauces, consider:
- Classic marinara with garlic and herbs.
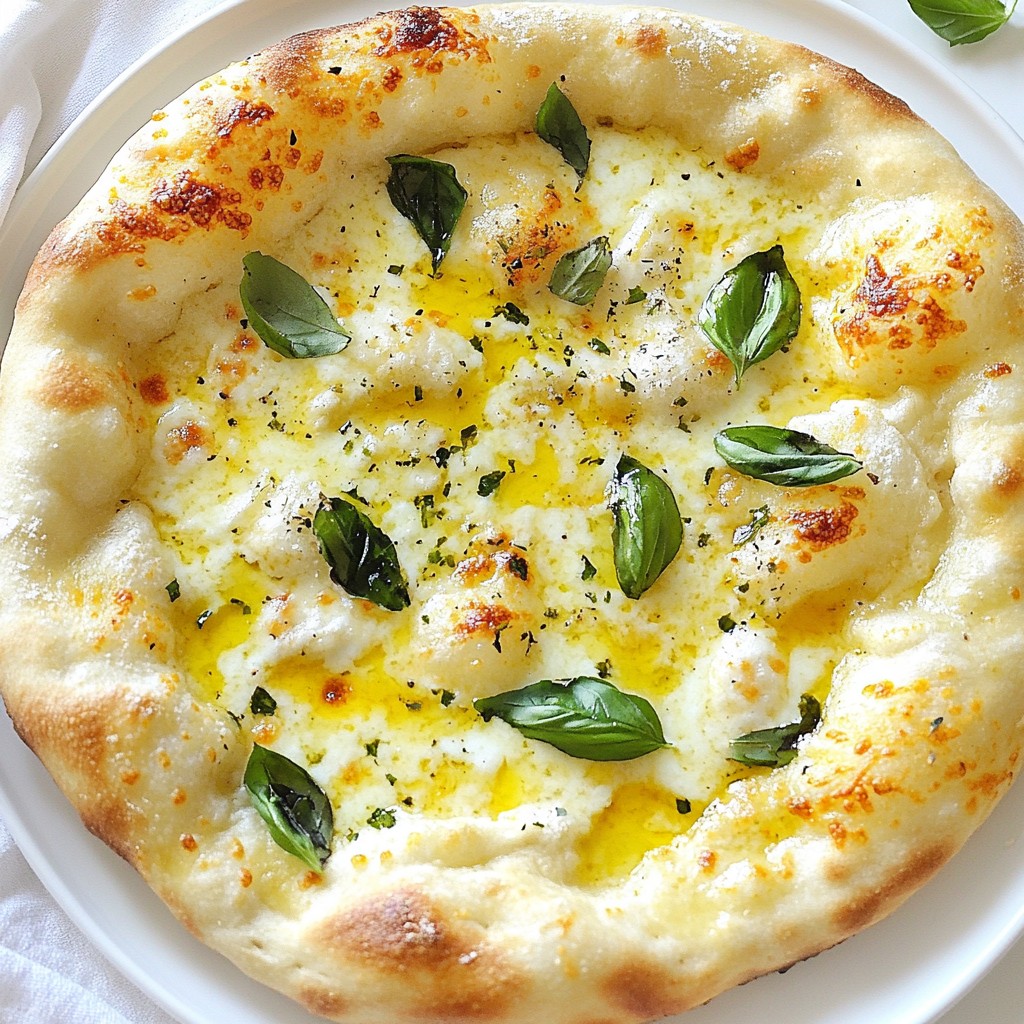
- A creamy white sauce with garlic and cheese.
- Fresh pesto for a unique twist.
Pro Tips
- Use High-Quality Flour: The type of flour can greatly affect the texture of your pizza crust. Opt for high-protein bread flour for a chewier texture or all-purpose flour for a softer crust.
- Let it Rise Properly: Allowing the dough to rise until it doubles in size is crucial for achieving a light and airy crust. Be patient and ensure your environment is warm.
- Preheat Your Oven: Make sure your oven is fully preheated before baking. A hot oven helps to create a crispy crust and ensures even cooking.
- Experiment with Toppings: Don’t hesitate to mix and match your favorite toppings! Just ensure not to overload the pizza, as this can make the crust soggy.
Variations
Gluten-Free Pizza Crust Options
For a gluten-free pizza crust, I suggest using almond flour or a gluten-free blend. These options give you a nice texture. You can also try brown rice flour. When using gluten-free flour, you need a binding agent. Xanthan gum or psyllium husk works well here. To adapt the original recipe, replace all-purpose flour with your chosen gluten-free flour. Add the binding agent according to package instructions. This helps the crust hold together.
Alternative Toppings Ideas
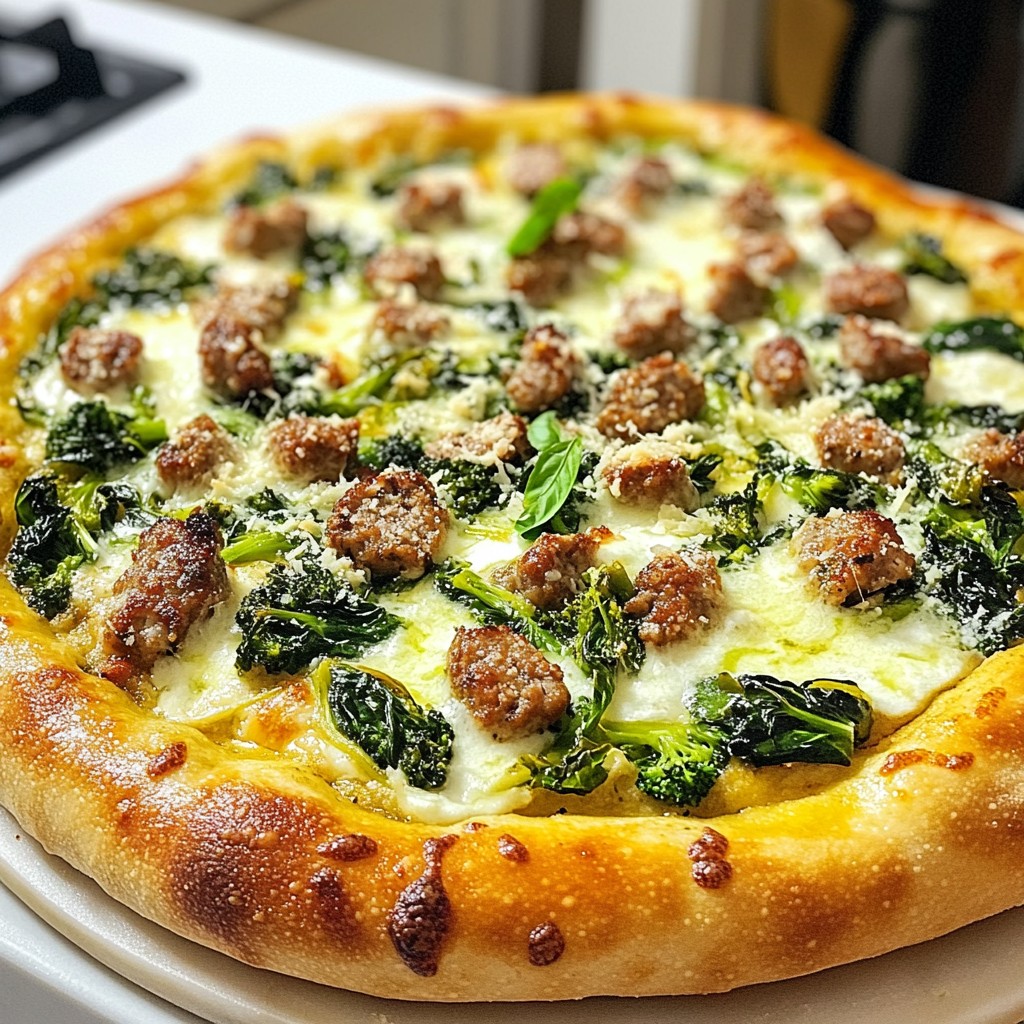
Get creative with your toppings! Try unique combinations like pear and gorgonzola or buffalo cauliflower. For a classic twist, use fresh mozzarella and basil. If you want vegetarian options, load your pizza with seasonal veggies. Zucchini, bell peppers, and artichokes make great choices. For a vegan pizza, use dairy-free cheese and top it with mushrooms or spinach. There are endless topping ideas, so have fun experimenting!
Different Cooking Methods
You can grill or bake your pizza crust. Grilling gives it a nice smoky flavor and crispy edges. When grilling, make sure to preheat the grill and use a pizza stone. Baking in a home oven is easy too. Preheat your oven to 475°F and use a pizza stone or baking sheet. If you have a pizza oven, it cooks faster and gives a great crust. Both methods work well, so choose what suits you best!
Storage Info
Storing Leftover Pizza Crust
To keep your pizza crust fresh, wrap it tightly. Use plastic wrap or aluminum foil. This helps prevent air from drying it out. If you have leftover dough, you can freeze it. Just shape it into a ball and wrap it well. Place it in a freezer bag. It will stay good for up to three months.
Reheating Recommendations
To reheat your pizza, use an oven. Preheat it to 375°F (190°C). Place the pizza on a baking sheet. Heat for about 10-15 minutes. This method keeps the crust crispy. You can also use a skillet. Heat it on medium-low and cover it. This helps warm the pizza without drying it out. If the crust is a bit stale, brush it with olive oil before reheating.
Shelf Life Discussion
In the fridge, your pizza crust lasts about 3-5 days. Look for any signs of spoilage. If it smells bad or has a dry texture, it’s time to toss it. Fresh dough should feel soft and pliable. If it becomes sticky or hard, it may not be safe to eat. Always trust your senses when checking for freshness.
FAQs
What makes a pizza crust chewy?
A chewy pizza crust has the right balance of gluten and moisture. Gluten forms when flour and water mix. The dough needs kneading to develop gluten. This gives the crust its structure and chewiness. If you let the dough rise properly, it traps air bubbles. This adds to the texture.
Can I use active dry yeast instead of instant yeast?
Yes, you can use active dry yeast. Just proof it first. Mix it with warm water and sugar. Wait until it bubbles, about 5-10 minutes. Instant yeast does not need this step. It can mix directly with dry ingredients. Both types give good results.
Why is my pizza crust not crispy?
Several factors can lead to a soft crust. One reason is too much moisture in the dough. Make sure to measure your water accurately. Another reason could be baking at a low temperature. Always preheat your oven to at least 475°F (245°C). Using a pizza stone also helps create a crispy crust.
How to adjust the recipe for different serving sizes?
To change the serving size, scale the ingredients. For two medium pizzas, use the full recipe. For one large pizza, keep it whole. If you want four smaller pizzas, double the ingredients. Just ensure you keep the same ratios. This way, the crust will still turn out great.
Making pizza dough involves simple ingredients and clear steps. You learned about essential items, tips for perfecting texture, and variations to suit different diets. I hope this guide helps you create tasty, homemade pizza with ease. Remember, good dough comes from great ingredients and patience. Enjoy your cooking journey and share your delicious results!