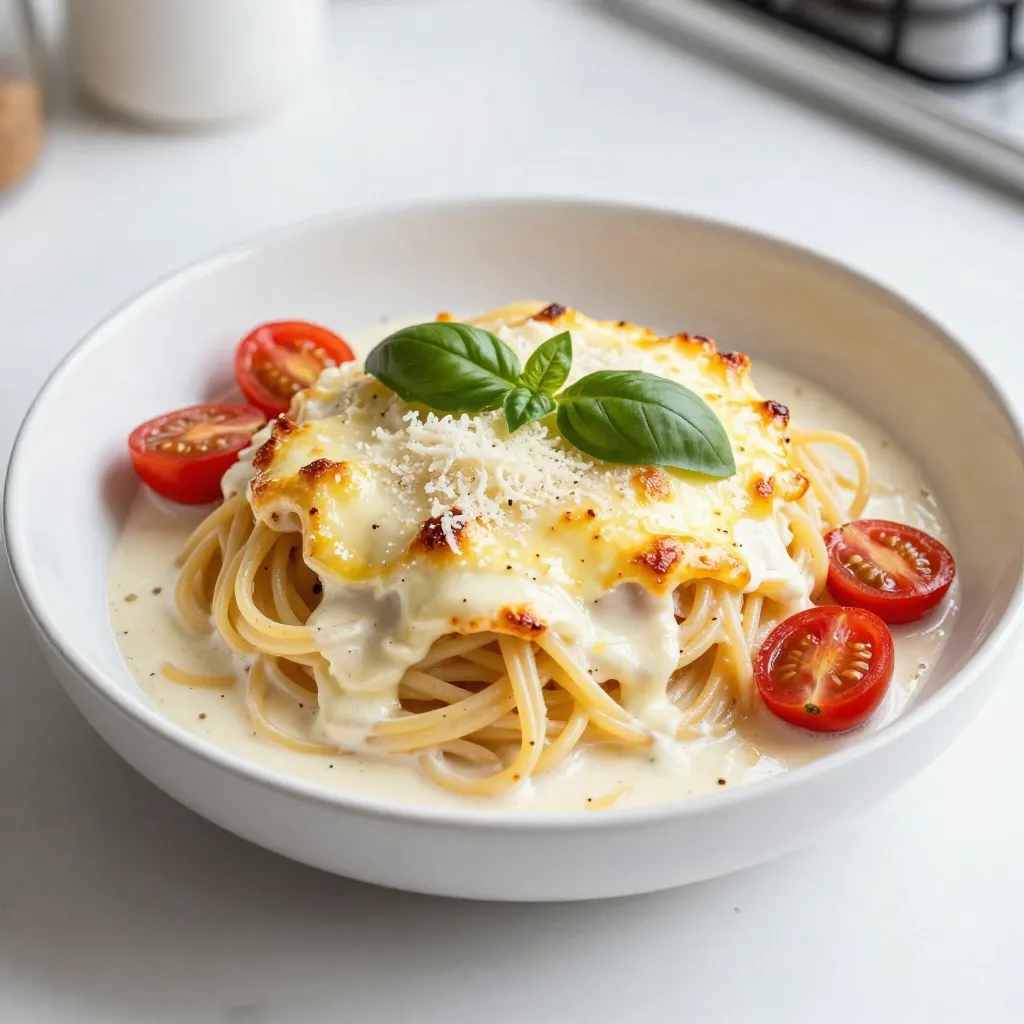
Discover the joy of making Creamy Baked Spaghetti with Mozzarella Delight. This dish hugs your taste buds with rich, cheesy goodness. It’s warm, comforting, and perfect for gatherings or family dinners. I’ll guide you through each step, from selecting the best ingredients to achieving the perfect bake. Ready to impress your loved ones? Let’s get cooking and make mealtime unforgettable!
Why I Love This Recipe
- Comforting Creaminess: This dish is the epitome of comfort food, with a rich and creamy sauce that wraps around each spaghetti strand beautifully.
- Cheesy Goodness: With layers of mozzarella and Parmesan, every bite is a cheesy delight that will satisfy any cheese lover’s cravings.
- Easy to Make: This recipe comes together quickly, making it perfect for busy weeknights while still being impressive enough for guests.
- Versatile Topping Options: The addition of cherry tomatoes or fresh herbs allows for customization, adding a burst of color and flavor to the dish.
Ingredients
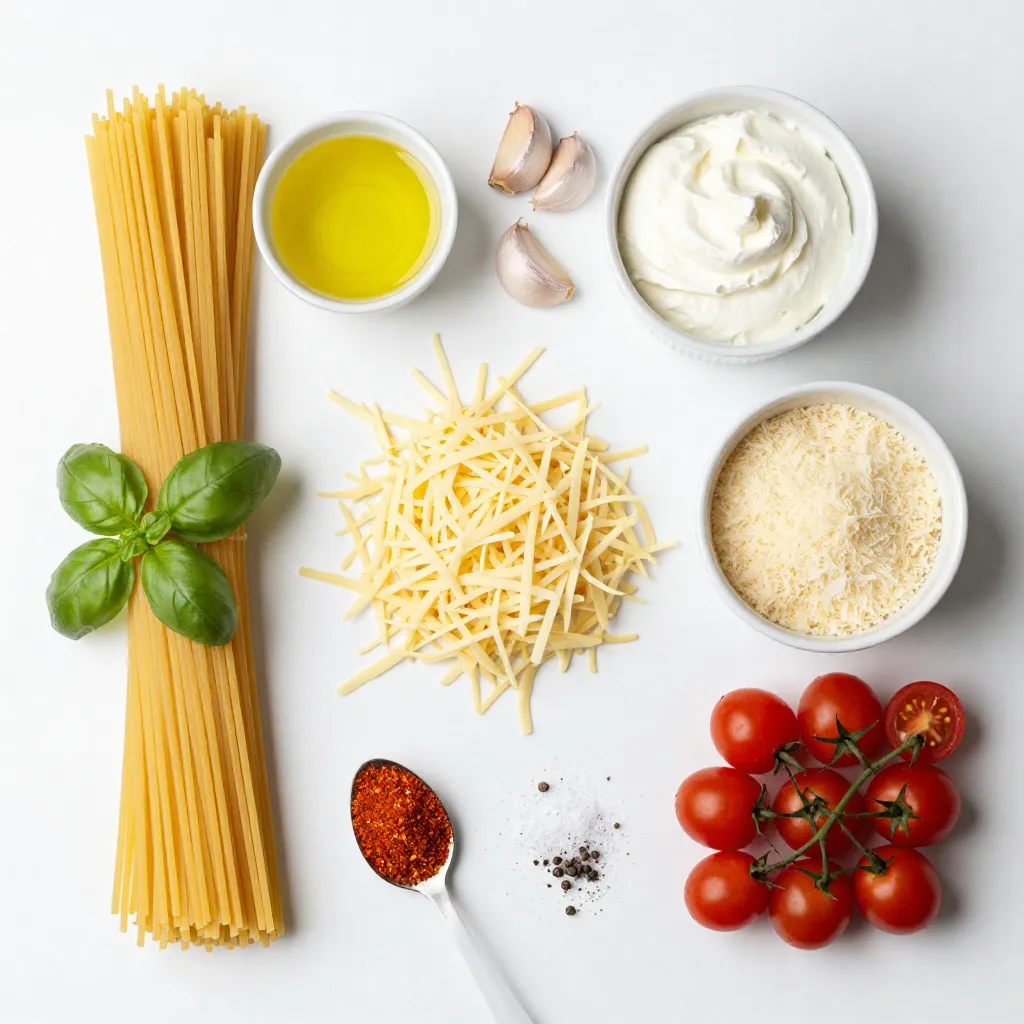
List of Ingredients
– 12 oz spaghetti
– 1 tablespoon olive oil
– 3 cloves garlic, minced
– 1 cup heavy cream
– 1 cup ricotta cheese
– 1 ½ cups shredded mozzarella cheese
– 1 cup grated Parmesan cheese
– ¼ cup fresh basil, chopped
– 1 teaspoon Italian seasoning
– Salt and pepper to taste
– ½ cup cherry tomatoes, halved (optional, for topping)
Measuring and Prepping Ingredients
Start with reliable measuring tools. Use a kitchen scale for the spaghetti to ensure you get the right amount. Measure the cream and cheeses in dry measuring cups for accuracy. Mince the garlic finely, so it blends well in the sauce. Chop the fresh basil with a sharp knife for even pieces. This helps release its full flavor. Halving cherry tomatoes adds color and freshness, but it’s up to your taste.
Tips for Quality Ingredients
Always choose fresh ingredients for the best flavor. Look for firm tomatoes without blemishes. Buy high-quality cheese; it really makes a difference in taste. When possible, use fresh basil instead of dried for a vibrant flavor. For the pasta, pick a brand you trust for a great texture. Always check expiration dates on dairy products to ensure freshness.
Step-by-Step Instructions
Preparation of Spaghetti
Start by boiling water in a large pot. Make sure to add a good amount of salt. This helps flavor the spaghetti as it cooks. Once the water is boiling, add 12 oz of spaghetti. Cook it according to the package instructions. You want it to be al dente, which means firm but not hard. After cooking, drain the spaghetti and set it aside.
Making the Creamy Sauce
In a large skillet, heat 1 tablespoon of olive oil over medium heat. When the oil is hot, add 3 cloves of minced garlic. Sauté for about 1 minute until the garlic smells good. Lower the heat to a gentle simmer. Next, pour in 1 cup of heavy cream and add 1 cup of ricotta cheese. Sprinkle in 1 teaspoon of Italian seasoning and season with salt and pepper to taste. Stir the sauce for about 2-3 minutes. This helps all the flavors mix well.
Assembling and Baking the Dish
Now it’s time to combine everything. Add the drained spaghetti to the skillet with the creamy sauce. Stir well until every piece of spaghetti is coated. Fold in ¼ cup of chopped basil and half of both 1 ½ cups of shredded mozzarella and 1 cup of grated Parmesan cheese. This adds richness to the dish.
Next, lightly grease a 9×13 inch baking dish. Pour the creamy spaghetti mixture into the dish, spreading it evenly. Top with the remaining mozzarella and Parmesan cheeses. If you like, scatter ½ cup of halved cherry tomatoes on top for a fresh touch.
Place the dish in your preheated oven at 350°F (175°C). Bake for 25-30 minutes. You want the top to be golden brown and bubbly. After baking, let the dish sit for a few minutes before serving. This helps the flavors settle and makes it easier to serve.
Tips & Tricks
Perfecting the Creamy Texture
To get a rich and creamy sauce, use heavy cream and ricotta cheese. These two ingredients blend well, creating a smooth texture. Be sure to heat them slowly. This helps the flavors mix without curdling. Stir the sauce gently to avoid lumps. If your sauce feels too thick, add a splash of pasta water for a lighter feel.
Achieving the Perfect Bake
Baking at 350°F (175°C) gives the dish a golden top. This temperature allows the cheeses to melt and bubble without burning. Cover the dish with foil for the first 20 minutes. This keeps moisture in and helps the pasta cook evenly. Remove the foil for the last 10 minutes to let the top crisp up.
Presentation and Serving Suggestions
Serve the creamy baked spaghetti in individual bowls. This adds a nice touch for guests. Garnish each bowl with fresh basil leaves for color and flavor. If you want to impress, consider adding cherry tomatoes on top before baking. They add a bright pop and a hint of sweetness. Pair this dish with a crisp side salad for a full meal.
Pro Tips
- Perfect Pasta: To achieve the best texture, cook the spaghetti until it is al dente, as it will continue to cook in the oven.
- Cheese Choices: Feel free to experiment with different cheese blends, such as adding a bit of goat cheese for extra creaminess.
- Herb Freshness: For maximum flavor, add fresh herbs right before serving, as they lose potency when cooked for too long.
- Make Ahead: This dish can be assembled a day in advance; just cover and refrigerate it until you’re ready to bake.
Variations
Adding Protein Options
You can easily boost the protein in your creamy baked spaghetti. Try adding cooked chicken, beef, or sausage. Shredded rotisserie chicken works great for quick prep. Ground beef gives a hearty touch. You can also use turkey sausage for a lighter option. Just brown your choice in the skillet before adding the creamy sauce. This step gives you a rich flavor and a filling meal.
Alternate Cheese Choices
While mozzarella is a star in this dish, don’t be shy with cheese. You can mix in cheddar for a sharp taste. Gouda adds a nice smokiness, and feta gives a tangy kick. If you’re feeling adventurous, try blue cheese for a bold twist. Just remember to balance strong flavors with the creamy sauce. This way, your dish remains rich but not overwhelming.
Vegetable Add-Ins
Adding vegetables is a smart way to sneak in nutrients. Spinach works well; just toss it into the sauce until it wilts. Zucchini or bell peppers add color and crunch. For a sweet touch, try roasted butternut squash. Just sauté your veggies before mixing them in. This will help them stay tender and flavorful in your creamy baked spaghetti.
Storage Info
How to Store Leftovers
To store leftovers, let the dish cool first. Transfer any uneaten spaghetti to an airtight container. Keep it in the fridge for up to three days. This helps keep the flavors fresh. For best taste, use it soon.
Reheating Recommendations
When ready to eat, preheat your oven to 350°F (175°C). Place the leftover spaghetti in an oven-safe dish. Cover it with foil to prevent drying. Heat for about 15-20 minutes. If you’re in a hurry, you can microwave it. Heat in short bursts, stirring often, until warm.
Freezing Instructions
To freeze, make sure the dish is completely cooled. Place portions in freezer-safe bags or containers. Remove as much air as possible to avoid freezer burn. You can freeze it for up to three months. When you’re ready to eat, thaw it in the fridge overnight. Then, reheat as described above. Enjoy your creamy baked spaghetti at a later date!
FAQs
Can I use different pasta types?
Yes, you can use different pasta types. Spaghetti works well, but you can try penne, fusilli, or rigatoni. Just ensure the pasta cooks to al dente for the best texture. Each shape holds the sauce differently, adding fun variety to each bite.
How do I make it gluten-free?
To make this dish gluten-free, choose gluten-free pasta. Many brands offer great alternatives that taste good. You may also want to check all other ingredients, like sauces and cheeses, to confirm they are gluten-free. This way, everyone can enjoy this creamy delight.
Can I prepare this dish in advance?
Absolutely! You can prepare it ahead of time. Cook the spaghetti and mix it with the sauce. Place everything in the baking dish, cover it, and store it in the fridge for up to two days. When you are ready to eat, just bake it. This makes meal prep easy and stress-free.
This blog post covered key steps for making a great creamy spaghetti dish. I shared the best ingredients, preparing and measuring tips, and how to make a rich sauce. You learned tricks to craft a perfect bite and tasty variations to try.
Finally, remember that great meals start with quality ingredients and smart techniques. Enjoy experimenting with flavors and sharing your results! Happy cookin


