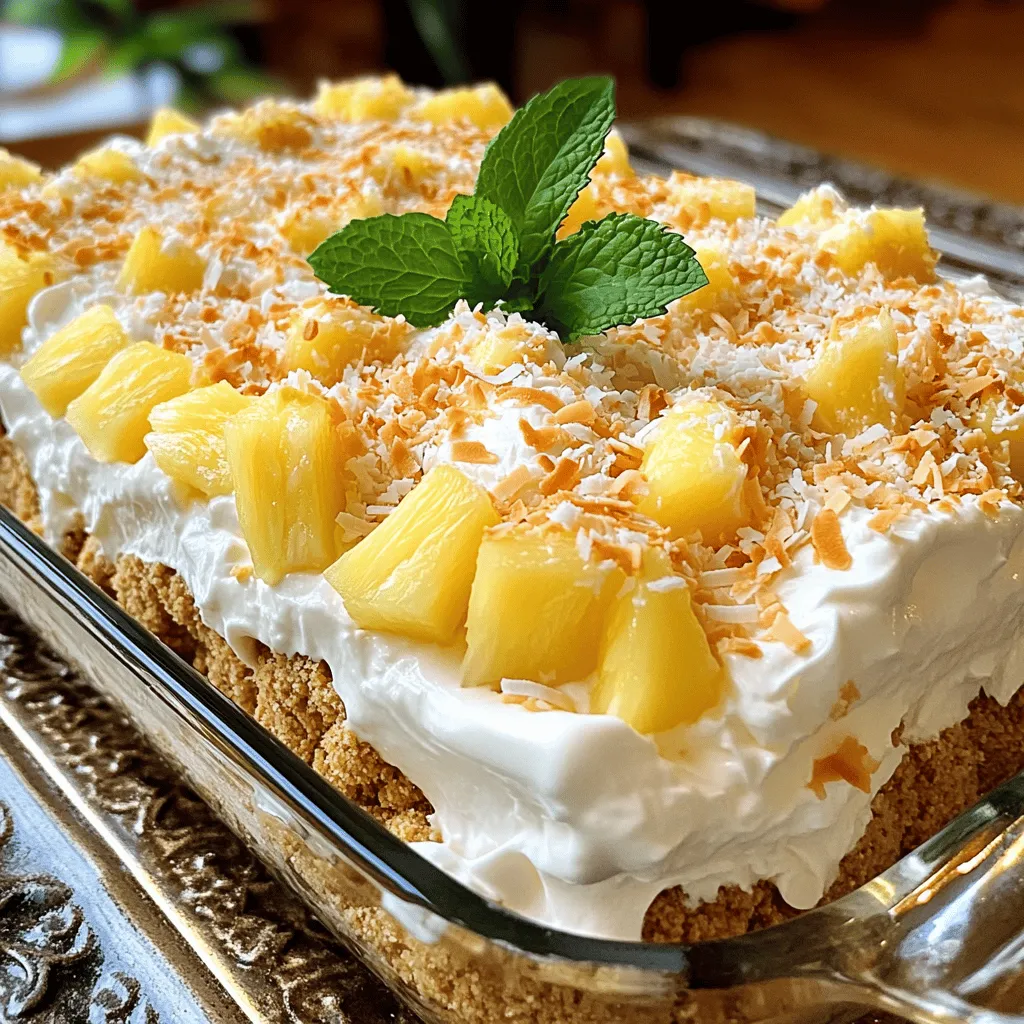
Are you looking for a dessert that’s both easy and delightful? Look no further! This Coconut Icebox Cake is a crowd-pleaser that combines creamy layers, sweet coconut, and fresh pineapple. Perfect for summer parties, it’s a no-bake option that will impress your friends and family. In just a few simple steps, you’ll create a refreshing treat that’s as beautiful as it is delicious. Let’s dive in and make some cake magic!
Ingredients
To make a Coconut Icebox Cake, you will need some simple yet tasty ingredients. Here’s what you need:
– 1 cup heavy whipping cream
– 1/2 cup sweetened condensed milk
– 1 teaspoon pure vanilla extract
– 1/2 cup shredded sweetened coconut
– 12-15 honey graham crackers
– 1 cup fresh pineapple, diced
– 1/2 cup toasted coconut flakes (for garnish)
– Fresh mint leaves (for garnish, optional)
These ingredients come together to create a creamy and delightful dessert. The heavy cream gives the cake its rich texture. Sweetened condensed milk adds sweetness and creaminess. The vanilla extract enhances the flavor in a lovely way. Shredded coconut gives it that tropical flair. Honey graham crackers form the base layers and add crunch. Fresh pineapple brings a sweet and tangy burst, and toasted coconut flakes add a nice finish. If you want, fresh mint leaves can add a pop of color and freshness.Enjoy gathering these ingredients!
Step-by-Step Instructions
Preparation Steps
– Whipping the cream mixture: Start with a medium bowl. Add the heavy whipping cream, sweetened condensed milk, and vanilla extract. Use an electric mixer to whip this mix on medium-high speed. It takes about 3-4 minutes to get stiff peaks. The cream should hold its shape when you lift the beaters.
– Folding in shredded coconut: Once your cream is ready, use a spatula to fold in the shredded coconut. Be gentle here. You want to keep that airy texture. Mix until the coconut is spread evenly throughout the cream.
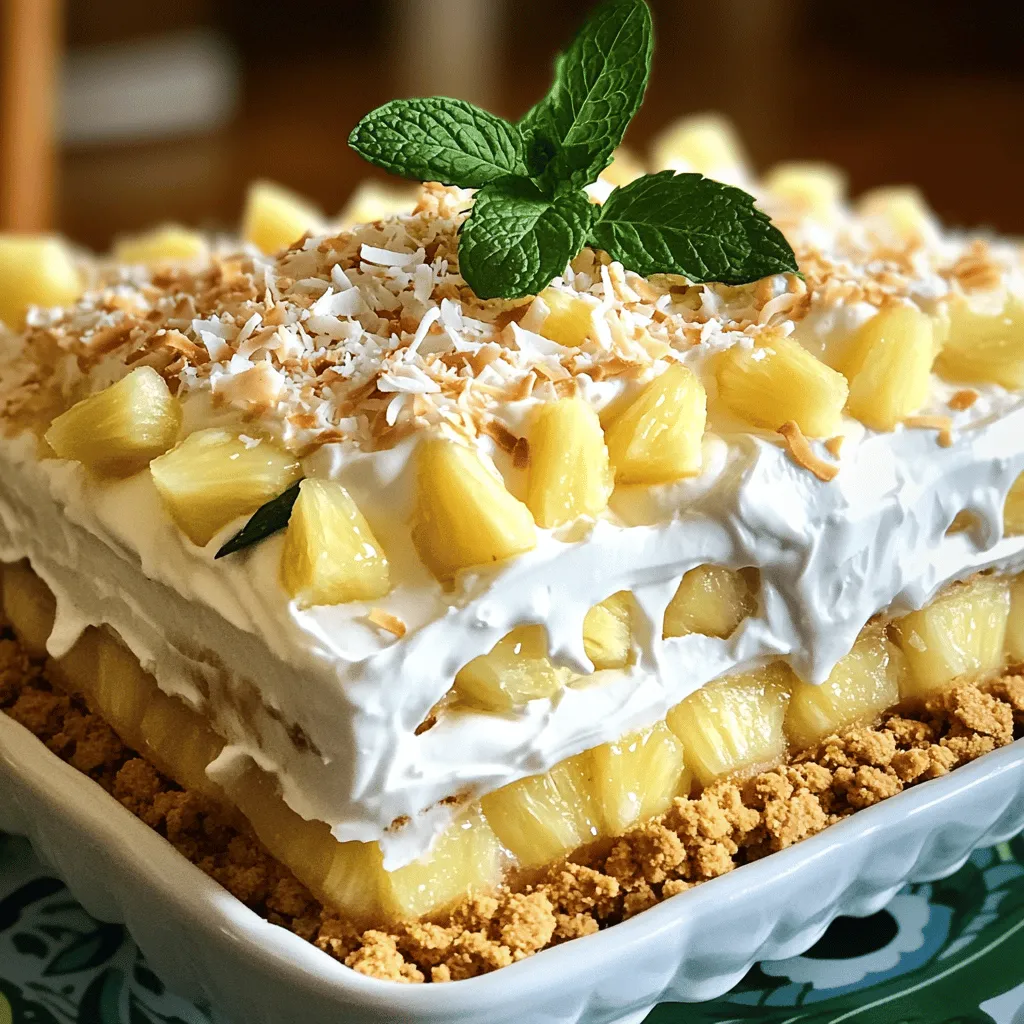
– Layering the graham crackers: Grab a 9×9 inch baking dish. Place honey graham crackers on the bottom. Make sure they cover the entire surface. If needed, break some crackers to fit snugly.
– Adding coconut cream and pineapple layers: Spread about one-third of your coconut whipped cream on top of the graham crackers. Then, add diced fresh pineapple evenly over the cream. This ensures every bite is sweet and fruity. Repeat this layering process twice. You should have two layers of graham crackers, two layers of cream, and two layers of pineapple. Finish with a final layer of the coconut whipped cream on top.
Final Assembly
– Completing layers of ingredients: Once all layers are in place, cover the baking dish tightly. Use plastic wrap to keep air out.
– Covering and chilling the cake: Place the covered dish in the refrigerator. Chill it for at least 4 hours. Overnight is best! This time helps the flavors blend and the graham crackers to soften.
Serving Suggestions
– Garnishing with toasted coconut and mint: Before serving, sprinkle toasted coconut flakes on top. They add a nice crunch and flavor. If you want, add fresh mint leaves for color and taste.
– Presentation tips: Serve slices on chilled dessert plates. A drizzle of extra pineapple juice can add a nice touch too.
Tips & Tricks
Tips for Perfecting the Coconut Icebox Cake
To get the best coconut icebox cake, focus on the whipped cream. Use cold heavy cream for better results. Whip it until it forms stiff peaks, but don’t overwhip. Overwhipping makes the cream grainy and hard.
When layering, spread each layer evenly. Start with graham crackers, then add the whipped cream and pineapple. Make sure to cover every corner. This way, each slice will have a perfect mix of flavors.
Common Mistakes to Avoid
One common mistake is overwhipping the cream. It changes the texture and ruins the cake. Stop whipping once you see stiff peaks.
Another mistake is not chilling the cake long enough. Chill it for at least four hours, but overnight is best. This helps the flavors blend and the graham crackers soften. A well-chilled cake is key to a tasty dessert!
Variations
Flavor Variations
You can change the flavor of Coconut Icebox Cake easily. Adding different fruits can give your cake a fresh twist. Try using mango or berries. These fruits add brightness and a new taste. You can also switch out the coconut. For a rich, chocolatey version, use chocolate pudding or shaved chocolate instead. This makes a fun dessert for chocolate lovers.
Dietary Substitutions
If you need gluten-free options, use different cookies. Almond flour cookies work well as a substitute for graham crackers. They give a nice crunch and taste. For those who want vegan options, you can replace heavy cream. Use coconut cream or a vegan whipped topping. This keeps the cake creamy without dairy. These swaps let everyone enjoy this dessert, no matter their diet.
Storage Info
Storage Suggestions
To keep your Coconut Icebox Cake fresh, store it tightly covered. Use plastic wrap or a lid. This prevents it from absorbing smells from your fridge. Your cake will stay good in the refrigerator for about 3 to 5 days.
Freezing Information
Yes, you can freeze Coconut Icebox Cake. Wrap it well in plastic wrap and then in foil. This helps keep it from getting freezer burn. When you want to enjoy it, thaw the cake in the fridge overnight.
After thawing, slice and serve it cold. The flavors will still be tasty! Enjoy the soft, sweet layers just like fresh.
FAQs
What is Coconut Icebox Cake?
Coconut Icebox Cake is a no-bake dessert that is creamy and sweet. It uses layers of whipped cream and graham crackers. This dish has roots in the early 20th century when icebox desserts became popular. Families would make them to enjoy during warm months. The cake is easy to prepare and is often a hit at gatherings.
Can I make Coconut Icebox Cake ahead of time?
Yes, you can make it ahead of time. In fact, it tastes better if it sits overnight.After layering, cover the dish tightly. Refrigerate for at least four hours or overnight. This time allows the flavors to mix well and the texture to soften.
How do I know when the Coconut Icebox Cake is ready to serve?
Your Coconut Icebox Cake is ready when it feels firm to the touch. The graham crackers should be soft but not mushy. Look for the whipped cream to hold its shape. If it has set well, you can slice it easily. When you serve it, the layers should stay intact, making it look beautiful.
This Coconut Icebox Cake combines simple ingredients for a delightful treat. You learned how to prepare each layer, ensuring great texture by folding the whipped cream carefully. Avoid common mistakes like overwhipping. Remember, variations add fun, so try different fruits or dietary swaps. Store leftovers properly to enjoy later, and don’t hesitate to make it ahead of time. This cake is perfect for gatherings and can impress any guest. Enjoy making this easy dessert that is sure to delight!


