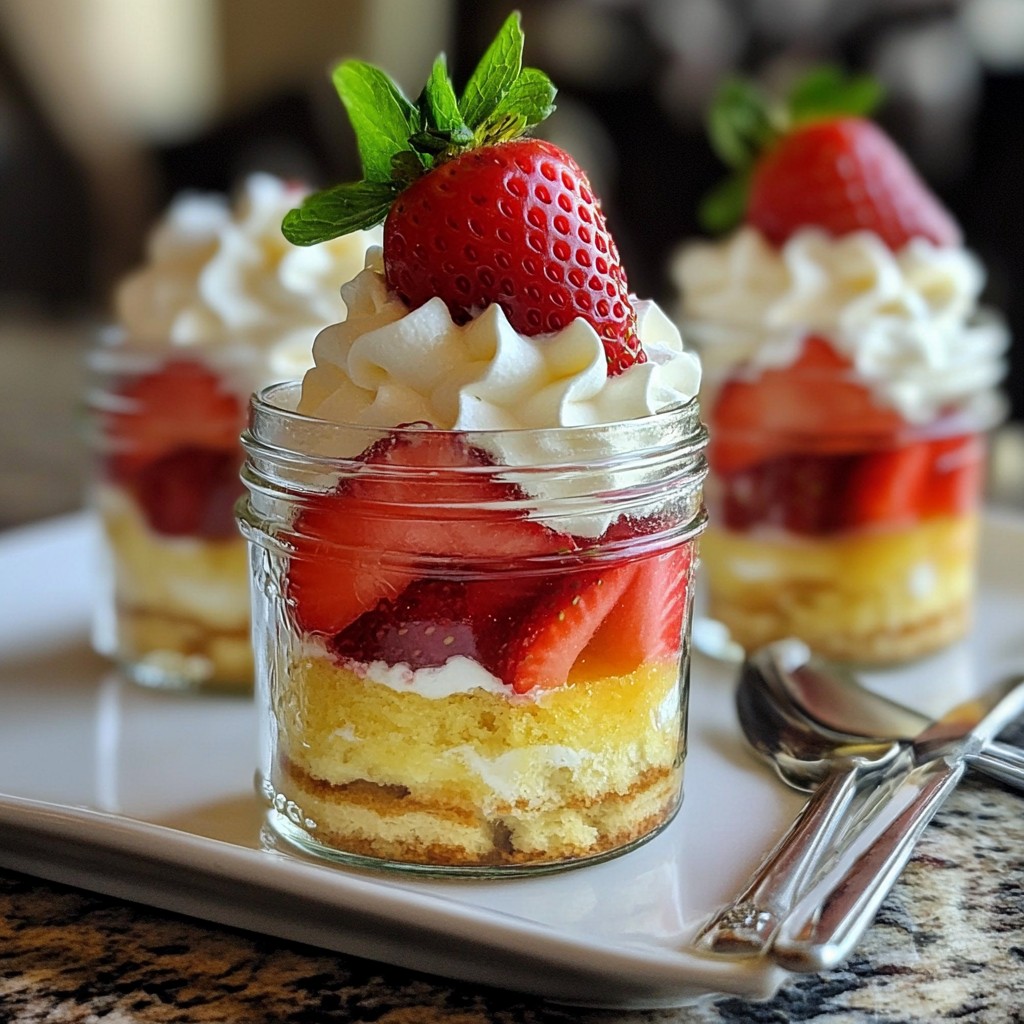
Looking for a sweet and easy dessert? Classic Strawberry Shortcake Parfait Jars are the answer! These layered treats combine fresh strawberries, rich cream, and soft shortcake biscuits for a perfect finish. I’ll show you how to make these desserts with step-by-step instructions and tips. Plus, discover fun variations and storage advice to keep them fresh. Let’s dive into this delightful treat and impress your friends and family!
Why I Love This Recipe
- Fresh Ingredients: This recipe showcases the vibrant flavors of fresh strawberries, making it a delightful treat during the strawberry season.
- Easy to Make: With just a few simple steps, anyone can whip up these parfaits, making it perfect for both novice and experienced bakers.
- Beautiful Presentation: The clear jars allow for a stunning display of layers, making it an impressive dessert for gatherings or special occasions.
- Customizable Layers: This recipe invites creativity—swap in different fruits or add your favorite toppings for a personalized touch.
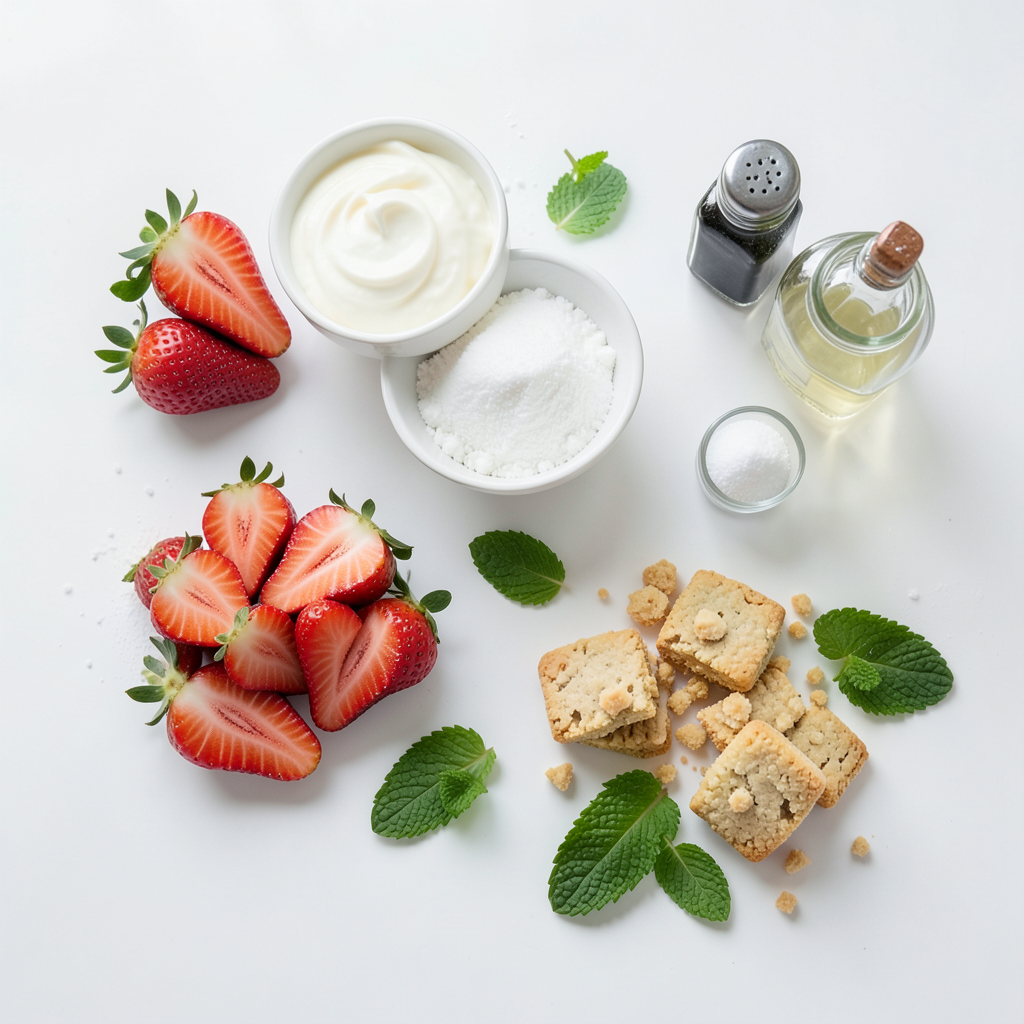
Ingredients
Fresh Strawberries
For this parfait, you need 2 cups of fresh strawberries. Start by hulling and slicing them. The sugar helps draw out their juices. Use 1 tablespoon of sugar to coat the berries. Let them sit for 10-15 minutes. This step makes them sweeter and juicier.
Heavy Cream and Sweeteners
Next, grab 1 cup of heavy cream. Make sure it is chilled for the best results. You will also need 2 tablespoons of powdered sugar. This will sweeten the cream. Add 1 teaspoon of vanilla extract for flavor. Whip the cream until it forms soft peaks. Don’t overwhip; it can turn grainy.
Shortcake Biscuits
You will need 6 shortcake biscuits. You can use store-bought or homemade. If you choose store-bought, crumble them into small pieces. If you make them at home, prepare them first. Crumbling creates a great base for the parfait layers.
Step-by-Step Instructions
Preparing the Strawberries
Start with 2 cups of fresh strawberries. Wash them well, hull, and slice them. Place the strawberries in a bowl. Sprinkle 1 tablespoon of sugar over them. Toss gently to coat each piece. Let the strawberries sit for 10-15 minutes. This process is called macerating. It helps the strawberries release their juices. The sugar mixes with the juice, making them taste sweeter. You will love the bright, fresh flavor this adds.
Whipping the Cream
Next, grab 1 cup of heavy cream. Make sure it is chilled. Pour it into a mixing bowl. Use an electric mixer to whip the cream. Start on low speed, then increase to medium. As you whip, the cream will thicken. When it thickens, add 2 tablespoons of powdered sugar and 1 teaspoon of vanilla extract. Keep whipping until soft peaks form. Be careful not to overwhip it or it may turn grainy. Perfectly whipped cream is light and fluffy.
Assembling the Parfait Jars
Now it's time to build your parfaits. Use clear jars to show off the layers. Start with the crumbled shortcake biscuits at the bottom. If you use store-bought biscuits, crumble them up into small pieces. Spoon a layer of macerated strawberries on top of the crumbled shortcake. Make sure to include some of the sweet juice. Next, add a layer of your freshly whipped cream. Use a spoon to spread it evenly. Repeat these layers until the jars are full, finishing with whipped cream on top. For an eye-catching touch, garnish with a whole strawberry and a mint leaf. This will give your dessert a lovely pop of color.
Tips & Tricks
Macerating Strawberries for Extra Flavor
To make your strawberries shine, you should macerate them. Start with fresh strawberries and slice them. Add one tablespoon of sugar to your bowl of sliced strawberries. Toss them gently to coat. Let them sit for about 10 to 15 minutes. This time allows the strawberries to release their natural juices. The sugar will pull out the sweetness, making them even better.
Achieving the Perfect Whipped Cream
Whipping cream is simple, but timing is key. Use chilled heavy cream for the best results. Start mixing at a low speed. Gradually increase the speed as the cream thickens. When it starts to hold soft peaks, add powdered sugar and vanilla. Mix until just combined. Be careful not to overwhip. If you do, your cream can turn grainy or even become butter.
Layering Techniques for Visual Appeal
Layering makes your parfait visually stunning. Start with crumbled shortcake at the bottom of your jar. This creates a sturdy base. Next, add a layer of macerated strawberries, including some juice for flavor. Follow with a layer of whipped cream. Use a spatula to create a smooth top. Repeat the layers until your jars are full. Finish with whipped cream and a whole strawberry on top. A sprig of fresh mint adds a nice touch, too!
Pro Tips
- Choose Ripe Strawberries: Select strawberries that are bright red and slightly soft to the touch for the best flavor and sweetness.
- Chill Your Tools: For perfectly whipped cream, chill your mixing bowl and beaters in the refrigerator before whipping the cream.
- Layer Strategically: To create visually appealing layers, use a piping bag to add the whipped cream for a more precise application.
- Make Ahead: Prepare the components in advance and assemble just before serving to keep the layers fresh and intact.
Variations
Substitute Fruits and Flavors
You can switch up the fruits in your parfait. Try blueberries, raspberries, or peaches for a new taste. Each fruit brings its own sweetness and color. You can also mix berries for a fun twist. Want a unique flavor? Use lemon curd instead of whipped cream. It adds a zingy taste that pairs well with strawberries.
Gluten-Free Shortcake Options
If you need gluten-free shortcake, look for gluten-free biscuits. Many brands offer tasty options. You can also make your own with almond flour or coconut flour. Just mix flour, sugar, baking powder, and butter. Bake until golden. This way, you can enjoy the parfait without gluten.
Additional Toppings and Garnishes
Toppings can take your parfait to the next level. Add granola for crunch or toasted nuts for texture. You could drizzle chocolate sauce or honey for extra sweetness. Fresh mint leaves add a pop of color and flavor. Get creative! Each topping can change the taste of your classic strawberry shortcake parfait jar.
Storage Info
Refrigeration Guidelines
Store your strawberry shortcake parfait jars in the fridge. Use an airtight container to keep them fresh. This helps prevent the layers from getting soggy. If you have leftovers, cover each jar well before placing them inside.
Make-Ahead Tips
You can make the components ahead of time. Prepare the strawberries and whipped cream a day before. Keep them separate from the biscuits until you are ready to serve. This keeps everything fresh and tasty.
Duration of Freshness
Your parfaits stay good for up to three days in the fridge. After that, the shortcake may get mushy. For the best taste and texture, enjoy your parfaits within two days.
FAQs
Can I use frozen strawberries?
Yes, you can use frozen strawberries. Just thaw them first. Drain any extra juice. This helps keep your parfait jars from getting too soggy. Frozen strawberries may be softer, but they still taste great when mixed with cream and shortcake.
How do I make homemade shortcake?
To make homemade shortcake, mix flour, sugar, baking powder, and a pinch of salt. Cut in cold butter until it looks like crumbs. Add milk to form a dough. Shape and bake at 425°F for 15-20 minutes. Let the shortcakes cool before crumbling them for your parfaits.
Can I prepare parfait jars in advance?
Yes, you can prepare parfait jars up to one day ahead. Assemble them but leave off the whipped cream topping. Cover tightly and store in the fridge. When ready to serve, add the cream on top for the best taste and look.
We explored how to create delicious parfaits with fresh strawberries, whipped cream, and shortcake. I shared step-by-step instructions, helpful tips, and tasty variations to elevate your dessert. Remember, layer those ingredients for great looks and taste! Don’t forget the storage info to keep your treat fresh. Enjoy your parfait-making journey! It's simple and fun, and you can impress anyone with these treats. Happy cooking!