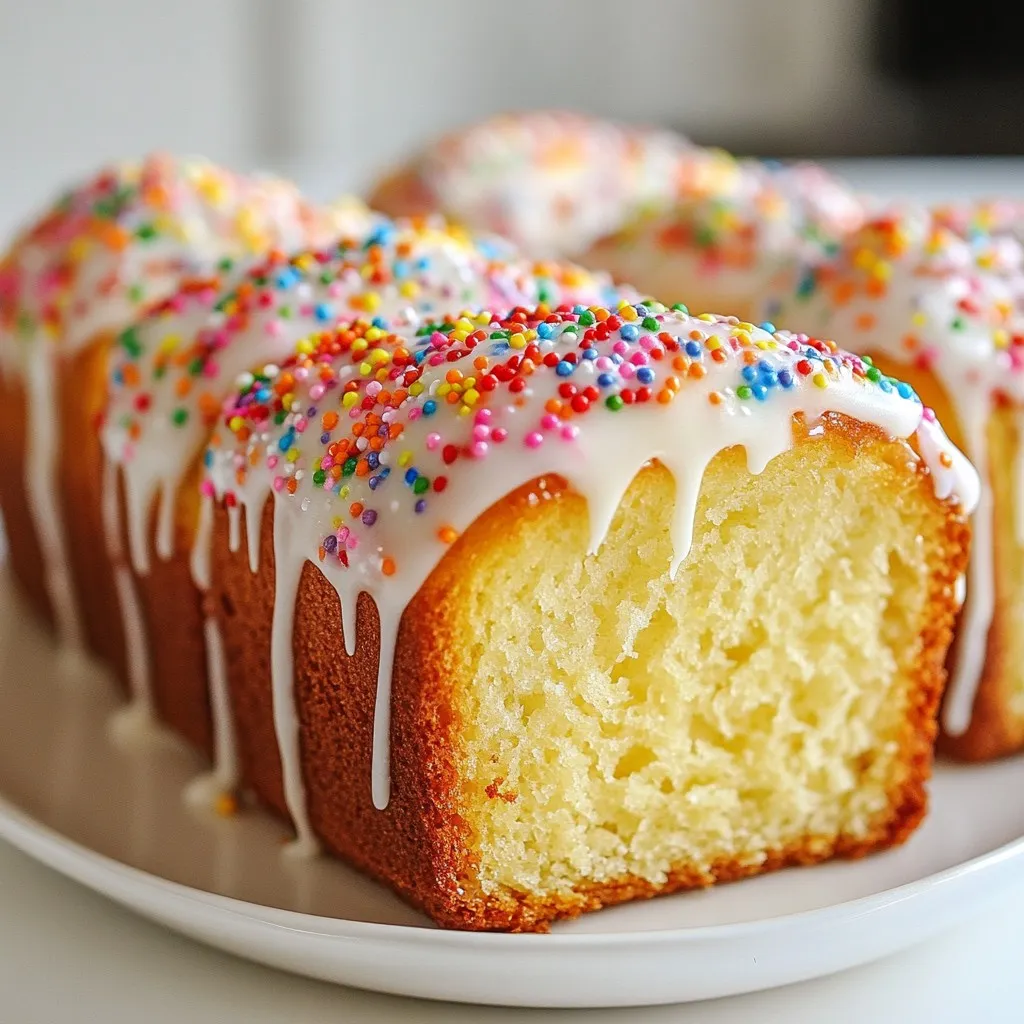
Get ready to add some cheer to your holiday baking! My Christmas Sprinkle Vanilla Bread is a must-try treat that is both festive and flavorful. With a delightful blend of rich vanilla and colorful sprinkles, it’s perfect for sharing—or enjoying on your own. Follow my easy step-by-step guide to create this warm, cozy bread that will fill your home with holiday spirit. Let’s get baking!
Why I Love This Recipe
- Festive Flavor: This bread is infused with warm vanilla and cinnamon, creating a cozy holiday aroma that fills your kitchen.
- Colorful Sprinkles: The addition of sprinkles not only makes the bread visually appealing but also adds a fun texture that kids love!
- Easy to Make: With straightforward steps, this recipe is perfect for bakers of all levels, making it an accessible holiday treat.
- Perfect for Gifting: Slice it up, wrap it nicely, and it’s a delightful homemade gift that friends and family will appreciate during the festive season.
Ingredients
Essential Ingredients for Christmas Sprinkle Vanilla Bread
To make Christmas Sprinkle Vanilla Bread, gather these key ingredients:
– 3 cups all-purpose flour
– 1 tablespoon baking powder
– ½ teaspoon salt
– 1 teaspoon ground cinnamon
– ½ cup unsalted butter, softened
– 1 cup granulated sugar
– 3 large eggs, at room temperature
– 1 tablespoon pure vanilla extract
– 1 cup whole milk, at room temperature
– ½ cup colorful sprinkles, plus more for decoration
– ½ cup powdered sugar (for icing)
– 1-2 tablespoons milk (for icing consistency)
These ingredients create a soft and tasty bread full of flavor and fun.
Substitutes and Alternative Ingredients
If you need substitutes, here are some options:
– Flour: Use whole wheat flour for a healthier version.
– Butter: Coconut oil works well as a dairy-free alternative.
– Sugar: Brown sugar can add a richer flavor.
– Eggs: Replace with flax eggs (1 tablespoon flaxseed meal + 2.5 tablespoons water).
– Milk: Almond or oat milk are good non-dairy choices.
– Sprinkles: Use chocolate chips or dried fruit for different flavors.
These swaps let you customize the bread to your taste and dietary needs.
Additional Toppings and Decorations
To make your bread extra festive, try these toppings:
– Drizzle more icing on top before serving.
– Add crushed nuts for a crunchy texture.
– Use seasonal fruits like cranberries or pomegranate seeds.
– Top with whipped cream for a delightful treat.
These additions make your Christmas Sprinkle Vanilla Bread even more special and eye-catching. Enjoy the process and have fun decorating!

Step-by-Step Instructions
Preparation and Mixing of Ingredients
1. Start by preheating your oven to 350°F (175°C). This step is key for even baking.
2. Grease a 9×5-inch loaf pan. You can also line it with parchment paper for easy removal.
3. In a medium bowl, combine and whisk these dry ingredients:
– 3 cups all-purpose flour
– 1 tablespoon baking powder
– ½ teaspoon salt
– 1 teaspoon ground cinnamon
Set this mixture aside for later.
4. In a large mixing bowl, cream together:
– ½ cup unsalted butter, softened
– 1 cup granulated sugar
Use a hand mixer or stand mixer on medium speed for 3-4 minutes. The mixture should be light and fluffy.
5. Add in three large eggs, one at a time. Mix well after each addition. Then, stir in 1 tablespoon of pure vanilla extract until combined.
6. Gradually add the dry mixture to the wet mixture. Alternate this with 1 cup of whole milk. Start and finish with the flour mixture. Mix just until combined to keep the bread light.
7. Gently fold in ½ cup of colorful sprinkles. This adds a festive touch to your batter.
Baking the Bread to Perfection
1. Carefully pour the batter into the prepared loaf pan. Use a spatula to smooth the top.
2. Place the loaf pan in the oven and bake for 50-60 minutes.
3. Check if it’s done by inserting a toothpick into the center. It should come out clean.
4. Once baked, take the pan out of the oven. Let the bread cool in the pan for about 10 minutes.
5. Gently transfer the bread to a wire rack to cool completely.
Making the Icing
1. In a small bowl, whisk together:
– ½ cup powdered sugar
– 1-2 tablespoons milk
Mix until smooth and drizzle-able. Adjust the consistency by adding more milk if needed.
2. Once the bread is fully cooled, drizzle the icing over the top.
3. For a final festive touch, sprinkle additional colorful sprinkles on top.
This bread is now ready to be sliced, served, and enjoyed!
Tips & Tricks
How to Achieve the Perfect Bread Texture
To get the best texture for your Christmas Sprinkle Vanilla Bread, follow these steps:
– Use room temperature ingredients. This helps them mix well.
– Do not over-mix the batter. This can make the bread tough.
– Fold in the sprinkles gently. This keeps them from sinking.
When you bake, the oven temperature matters. Always preheat it to 350°F (175°C). This ensures even cooking. Check your bread with a toothpick. If it comes out clean, your bread is ready.
Common Mistakes to Avoid
Here are some mistakes to steer clear of:
– Skipping the weighing of flour. Too much flour can lead to dense bread.
– Not creaming the butter and sugar enough. This step adds air for a light texture.
– Forgetting to grease the pan. This can make the bread stick and break.
Make sure to set a timer. It helps keep track of baking time. If your bread is browning too fast, cover it with foil.
Recommended Tools and Equipment
Here are tools that make baking easier:
– A 9×5-inch loaf pan. This size works best for this recipe.
– A hand mixer or stand mixer. They save time and mix better.
– Measuring cups and spoons. Accurate measurements are key to great bread.
– A whisk for dry ingredients. It helps mix them evenly.
Having these tools ready will make your baking smoother. Happy baking!
Pro Tips
- Use Room Temperature Ingredients: Make sure your butter, eggs, and milk are at room temperature. This helps create a smoother batter and ensures better incorporation of ingredients, leading to a light and fluffy bread.
- Don’t Overmix: When combining the dry and wet ingredients, mix just until combined. Overmixing can develop gluten and result in a dense texture instead of a light loaf.
- Customize Your Sprinkles: Feel free to use holiday-themed sprinkles or even chocolate chips for a different flavor twist. This can add a personal touch to your festive bread.
- Check for Doneness: Insert a toothpick into the center of the bread to check for doneness. If it comes out clean or with a few crumbs attached, your bread is ready. Avoid opening the oven too early to prevent collapsing.
Variations
Flavor Enhancements and Add-ins
You can elevate the flavor of your Christmas Sprinkle Vanilla Bread easily. Here are some ideas:
– Citrus Zest: Add zest from lemon or orange for a bright taste.
– Nuts: Chopped walnuts or pecans add a nice crunch.
– Dried Fruit: Diced cranberries or raisins give a sweet chew.
Mix these in with the sprinkles for a tasty twist. Each option brings a unique flair, making your bread special.
Gluten-Free and Dairy-Free Options
You can still enjoy this bread if you need gluten-free or dairy-free options. Here’s how:
– Flour: Use a gluten-free all-purpose blend. Check that it includes xanthan gum.
– Butter: Substitute with coconut oil or a dairy-free spread.
– Milk: Use almond milk or oat milk for a great taste.
These changes keep the spirit of the dish while fitting your needs.
Creative Serving Suggestions
Serving your Christmas Sprinkle Vanilla Bread can be fun and festive. Here are some ideas:
– Toast It: Serve warm slices with butter or jam.
– French Toast: Dip slices in egg and fry for a sweet breakfast treat.
– Dessert Board: Place the bread on a platter with fruit, cheese, and chocolate.
These ideas make each bite special and add joy to your holiday table.
Storage Info
Best Ways to Store Leftover Bread
To keep your Christmas Sprinkle Vanilla Bread fresh, store it in an airtight container. This helps trap moisture and keeps the bread soft. You can also wrap it tightly in plastic wrap or aluminum foil. Place it in a cool, dry place away from direct sunlight. The bread stays tasty for up to three days at room temperature.
How to Freeze for Future Enjoyment
Freezing is a great option if you want to save your bread for later. First, let the bread cool completely. Then, slice it into pieces for easy access. Wrap each slice tightly in plastic wrap or aluminum foil. Place the wrapped slices in a freezer-safe bag. Label the bag with the date. The bread can stay fresh for up to three months in the freezer. When you’re ready to enjoy, simply thaw at room temperature.
Reheating Tips for Optimal Freshness
To bring your bread back to life, reheating is key. Preheat your oven to 350°F (175°C). Place the bread on a baking sheet and cover it with aluminum foil. This keeps it from drying out. Heat for about 10-15 minutes or until warmed through. If you prefer, you can also use a microwave. Heat individual slices for about 15-20 seconds. This method works well and keeps the bread soft. Enjoy your festive treat warm!
FAQs
Can I make this bread ahead of time?
Yes, you can make this bread ahead of time. Bake it a day or two in advance. Once cooled, wrap it tightly in plastic wrap. This will keep it fresh. Store it at room temperature or in the fridge. Just remember to let it warm up before serving.
How can I make this recipe vegan-friendly?
To make this bread vegan, swap the eggs for flax eggs. Mix 1 tablespoon of ground flaxseed with 2.5 tablespoons of water. Let it sit for 5 minutes to thicken. Use plant-based butter instead of regular butter. Choose a non-dairy milk like almond or oat milk. These simple swaps work well and keep the bread tasty.
What if I don’t have colorful sprinkles?
If you lack colorful sprinkles, don’t worry! You can use chocolate chips or nuts instead. Chopped dried fruit can add color too. Even plain bread tastes great. Just remember, the sprinkles add fun and color. So, if you find some, use them next time!
This blog covered how to make Christmas Sprinkle Vanilla Bread. We explored essential ingredients, helpful substitutes, and tasty toppings. I shared step-by-step instructions and useful tips to perfect your baking. Variations include gluten-free options and fun ways to serve. We also discussed storage techniques and answered common questions.
Enjoy making this bread. It will add joy to your celebrations. Baking is fun and brings everyone together. Celebrate the season with this tasty trea


