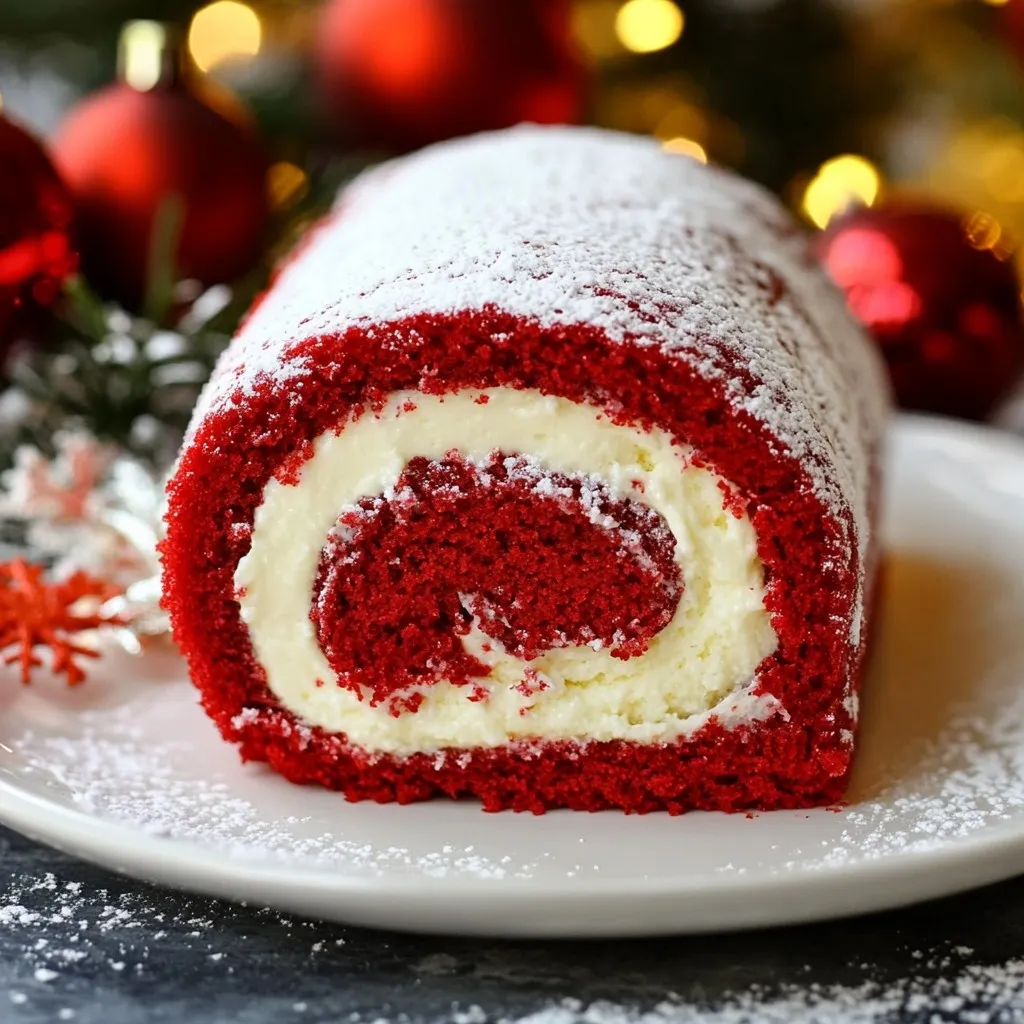
Looking for a delightful holiday treat that will impress your family and friends? My Christmas Red Velvet Cake Roll is a perfect blend of festive flavor and beautiful presentation. This cake is not only easy to make, but it’s also a show-stopper on your dessert table. Join me as I guide you through each step of creating this delicious cake roll, from the rich red velvet exterior to the creamy filling. Let’s make your holiday baking memorable!
Why I Love This Recipe
- Festive Appeal: This cake roll is not only delicious but also visually stunning, making it a perfect centerpiece for holiday gatherings.
- Easy to Make: The recipe is straightforward, making it accessible for bakers of all skill levels to create a show-stopping dessert.
- Delicious Cream Cheese Filling: The rich and creamy filling complements the light cake perfectly, creating a delightful flavor combination.
- Customizable: You can easily adapt the filling or decorations to suit your tastes or holiday themes, making it versatile for any occasion.
Ingredients
Main Ingredients for the Cake
– 3 large eggs
– 1 cup granulated sugar
– 1 cup all-purpose flour
– 1 teaspoon baking powder
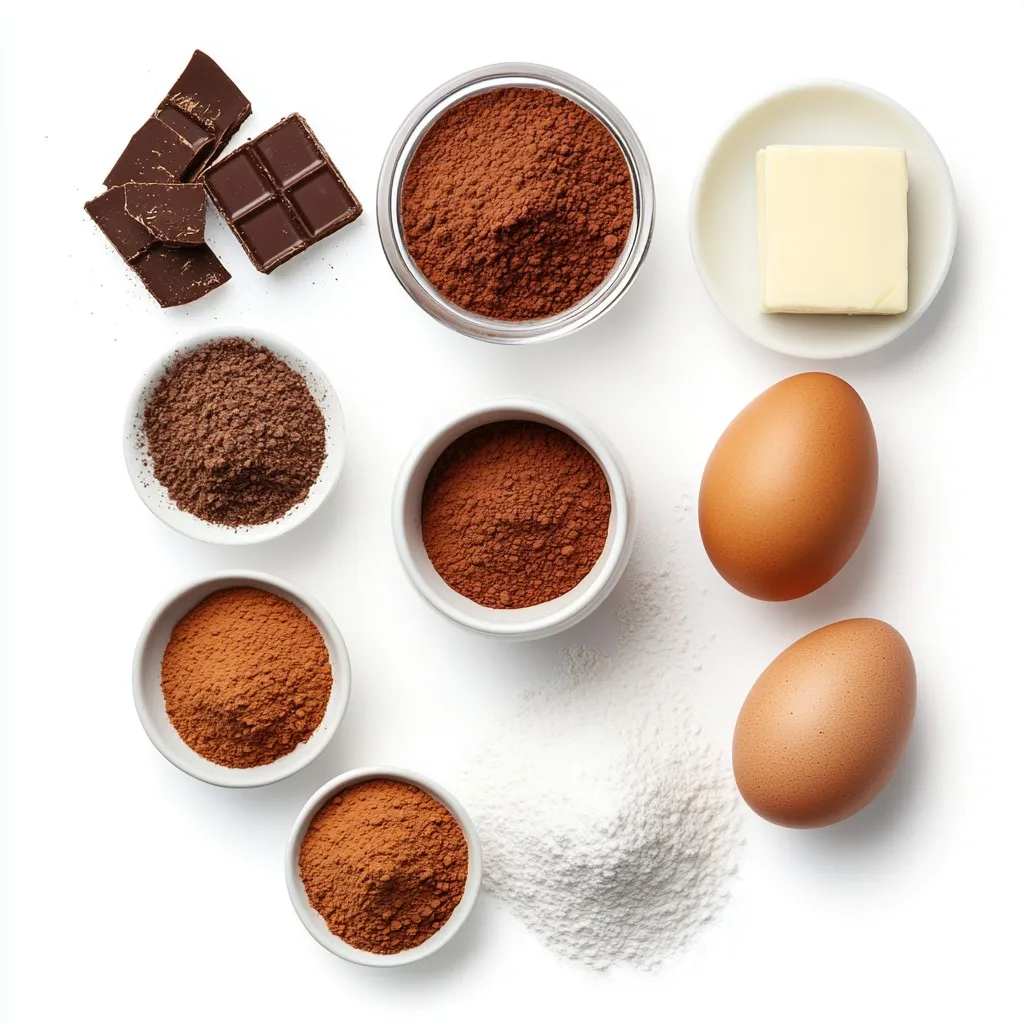
– 1 teaspoon unsweetened cocoa powder
– 1/2 teaspoon salt
– 1/2 cup vegetable oil
– 1 teaspoon vanilla extract
– 1 tablespoon red food coloring
The main ingredients create the base of our cake roll. The eggs add moisture and lift. The sugar gives sweetness and helps the cake rise. Flour provides structure while baking powder helps it rise. Cocoa powder adds a hint of chocolate flavor. Salt enhances all the flavors. The oil keeps the cake moist, and vanilla adds a warm aroma. Finally, red food coloring gives that festive red hue.
Ingredients for the Cream Cheese Filling
– 8 oz cream cheese, softened to room temperature
– 1/2 cup unsalted butter, softened to room temperature
– 2 cups powdered sugar
– 1 teaspoon vanilla extract
This filling is rich and creamy. Cream cheese gives a tangy taste that balances sweetness. Butter adds smoothness, while powdered sugar makes it sweet and fluffy. The vanilla extract enhances the flavor, making every bite delightful.
Optional Ingredients for Decoration
– Powdered sugar for dusting
– Fresh berries or mint for garnish
These optional ingredients add a festive touch. A dusting of powdered sugar makes the cake look elegant. Fresh berries or mint add color and freshness. They also provide a pop of flavor that pairs well with the cake.
Step-by-Step Instructions
Prepping the Oven and Pan
– Preheat the oven to 350°F (175°C).
– Prepare the jelly roll pan with parchment paper.
Making the Cake Batter
– Beat eggs and sugar until fluffy.
– Sift and combine dry ingredients.
– Mix wet ingredients with the dry ingredients.
Baking and Cooling the Cake
– Pour batter into the pan and bake for 12-15 minutes.
– Prepare a towel with powdered sugar.
– Invert and roll the cake while warm.
Preparing the Cream Cheese Filling
– Beat cream cheese and butter until smooth.
– Gradually add powdered sugar and vanilla extract.
Assembling the Cake Roll
– Unroll the cooled cake and spread filling.
– Re-roll cake and wrap in plastic wrap.
– Refrigerate to set.
Final Touches
– Dust with powdered sugar before serving.
– Slice and garnish as desired.
Tips & Tricks
Achieving the Perfect Cake Roll
To make a great cake roll, avoid overmixing the batter. Mix until just combined. This keeps your cake light and fluffy. Also, use room temperature ingredients for the filling. Softened cream cheese and butter mix better. This helps the filling stay smooth and creamy.
Decorating Ideas
Get creative with your decorations! Use festive garnishes like fresh berries or mint leaves. They add color and a fresh taste. You can also dust the top with cocoa powder or colored sugar. This gives your cake roll a fun and festive look.
Common Mistakes to Avoid
One common mistake is not preheating the oven properly. Always make sure your oven is at the right temperature before baking. Another mistake is overbaking the cake roll. Check it at 12 minutes. If a toothpick comes out clean, it’s ready!
Pro Tips
- Use Room Temperature Ingredients: Ensure your eggs, cream cheese, and butter are at room temperature for a smoother batter and filling, which helps achieve a light and airy texture.
- Don’t Overmix the Batter: Mix the batter just until combined to prevent a tough cake. Overmixing can lead to gluten development, resulting in a denser texture.
- Chill Before Slicing: Allow the rolled cake to chill in the fridge for at least an hour. This helps the filling set and makes it easier to slice without falling apart.
- Garnish for Presentation: Enhance the festive look by garnishing with fresh berries or mint leaves, adding a pop of color and a fresh flavor contrast to the rich cake.
Variations
Flavor Variations
You can try fun twists on the classic cake roll. For a Chocolate Red Velvet, simply add extra cocoa powder. This gives the cake a richer flavor. If you prefer a lighter taste, use vanilla bean paste. This adds a lovely aroma and depth to the cake.
Dietary Adjustments
If you need a gluten-free option, swap out regular flour for gluten-free all-purpose flour. Make sure it works well in baking. For those watching their sugar, try a lower sugar option. Look for a sugar substitute that is good for baking. This way, everyone can enjoy the treat!
Creative Fillings
Want to make your cake roll special? Try a whipped cream and fruit filling. Fresh berries work great here! If you’re feeling extra indulgent, use chocolate ganache. This rich filling adds a lovely surprise inside the roll. You can mix and match fillings for a unique taste.
Storage Info
Storing Leftovers
To store your leftover cake roll, wrap it tightly in plastic wrap. This keeps the cake moist and fresh. You can also place it in an airtight container. Store it in the fridge for up to five days. If you want to keep it longer, consider freezing it.
Freezing the Cake Roll
To freeze your cake roll, first wrap it in plastic wrap, then in aluminum foil. This double layer prevents freezer burn. You can freeze it for up to three months. When you’re ready to enjoy it, take it out and let it thaw in the fridge overnight. Once it’s thawed, you can slice and serve it as before.
Shelf Life
In the fridge, your Christmas Red Velvet Cake Roll lasts about five days. If stored properly in the freezer, it can last up to three months. Just keep an eye on the quality, as flavors may fade over time.
FAQs
How do I prevent my cake roll from cracking?
To avoid cracks, cool the cake gently. After baking, roll it in the towel while it’s warm. This helps it keep its shape. Let it cool completely in that roll. Unroll it gently when it’s time to fill.
Can I use a different type of food coloring?
Yes, you can! Natural dyes like beet juice or pomegranate juice work well. They may not give the exact red hue but add a nice touch. If you want a deeper red, you might need to use more coloring.
What is the best way to serve this cake roll?
Serve slices on pretty plates. Garnish with fresh berries or a mint sprig for color. You can also dust it with powdered sugar for a festive look. Consider pairing it with a scoop of vanilla ice cream for an extra treat.
How long does it take to make a Christmas Red Velvet Cake Roll?
It takes about 30 minutes to prep, 12-15 minutes to bake, and about 1 hour to chill. Total time is around 2 hours. This includes cooling and setting the filling.
Can I make the cake in advance?
Yes, you can! Make the cake roll a day ahead. Just wrap it well and store it in the fridge. This gives the flavors time to blend. You can also freeze it for later. Just remember to thaw it before serving.
This blog post covered the key ingredients, steps for making, and tips for your cake roll. You learned how to bake a delicious dessert that’s perfect for sharing. Remember to check your oven temperature and avoid overbaking. With thoughtful decoration ideas and tasty variations, your cake roll can impress friends and family. Enjoy creating this festive treat, and don’t forget to savor every slice! Happy bakin


