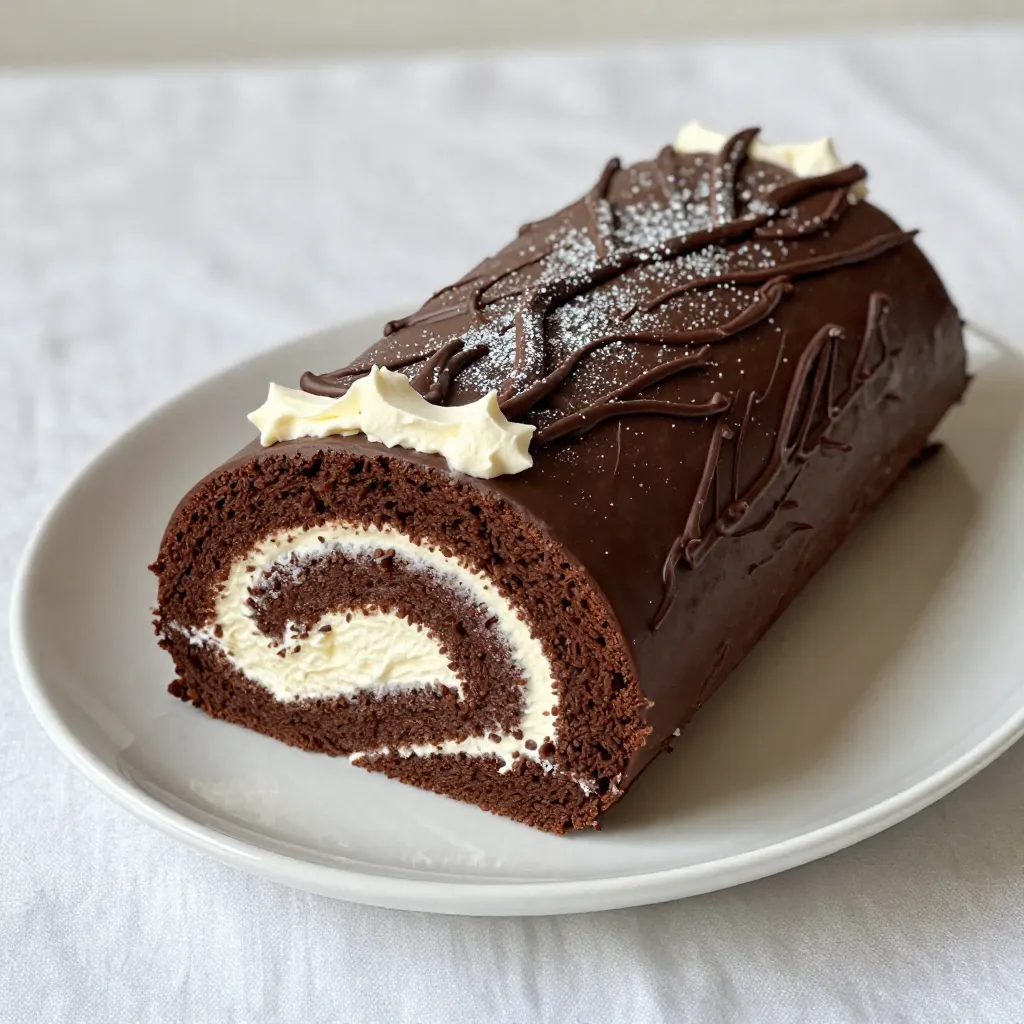
Are you ready to impress your friends and family with a festive Chocolate Yule Log? This delightful dessert is not only a showstopper but also simple to make. In this guide, I’ll walk you through each step, from gathering ingredients to creating a stunning log effect. Plus, I’ll share tips and variations to make this treat your own. Let’s dive into the sweet world of Yule Logs together!
Why I Love This Recipe
- Festive Delight: This Chocolate Yule Log is perfect for holiday gatherings, bringing a touch of winter magic to your dessert table.
- Decadent Chocolate: Every bite is rich and indulgent, thanks to the dark chocolate that adds depth to the flavor.
- Easy to Make: Despite its impressive appearance, this recipe is straightforward, making it accessible for bakers of all levels.
- Customizable Presentation: You can decorate it however you like, adding your unique touch with edible glitter or fresh berries.
Ingredients
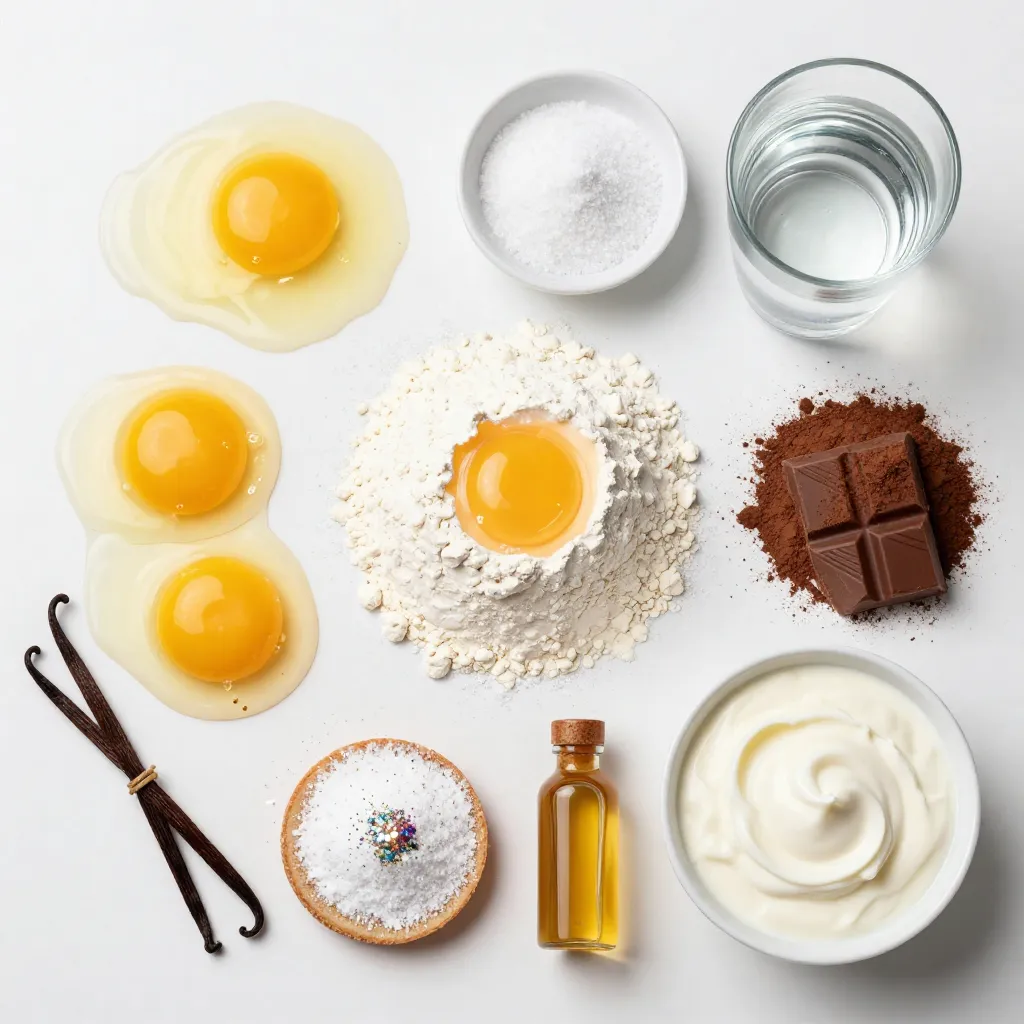
To make a delightful Chocolate Yule Log, you will need the following ingredients:
– Eggs: 4 large eggs give the cake its rich texture.
– Sugar: 100g granulated sugar adds sweetness and helps with the cake’s rise.
– Flour: 100g all-purpose flour forms the cake’s base.
– Cocoa Powder: 30g unsweetened cocoa powder intensifies the chocolate flavor.
– Baking Powder: 1 teaspoon baking powder helps the cake rise.
– Salt: 1/4 teaspoon salt balances the sweetness.
– Water: 50ml water keeps the batter moist.
– Melted Dark Chocolate: 100g melted dark chocolate adds depth to the flavor.
– Heavy Cream: 200ml heavy cream is whipped for the filling.
– Icing Sugar: 50g icing sugar sweetens the whipped cream.
– Vanilla Extract: 1 teaspoon vanilla extract enhances the flavor.
– Optional Decorations: Edible glitter can add a festive touch.
These ingredients work together to create a moist, flavorful cake that will impress your guests. Each component plays a vital role, making sure your Yule Log is a holiday hit. When you gather these items, remember fresh ingredients lead to the best results. Enjoy the process of creating this festive dessert!
Step-by-Step Instructions
Preheat the Oven
Set your oven to 180°C (350°F). This is the perfect heat for baking. Line a baking sheet, about 25×38 cm, with parchment paper. Let the edges hang over the sides. This helps with easy removal later.
Preparing the Batter
In a large bowl, take 4 large eggs and 100g of sugar. Whisk them together for about 5 minutes. You want the mix to look light and creamy. Next, sift 100g of flour, 30g of cocoa powder, 1 teaspoon of baking powder, and 1/4 teaspoon of salt into the egg mixture. Gently fold the dry ingredients in with a spatula until just combined.
Baking and Cooling the Cake
Pour the batter onto your prepared baking sheet. Spread the batter evenly. Bake for 12-15 minutes. The cake is done when it springs back lightly when touched. Remove it from the oven and let it cool in the pan for about 5 minutes. Carefully lift the cake using the parchment paper and transfer it to a cooling rack to cool completely.
Whipping the Filling
While your cake cools, prepare the filling. In a bowl, add 200ml of heavy cream. Use a hand mixer to whip it until you see soft peaks. Add 50g of icing sugar and 1 teaspoon of vanilla extract. Continue whipping until you get stiff peaks. This will be your delicious filling!
Assembling the Yule Log
Take the cooled cake and place it on a large piece of parchment paper. Spread a layer of whipped cream evenly over the cake, leaving a small edge on all sides. Start rolling the cake from one of the short ends. Use the parchment paper to help with the rolling. Be gentle but firm to avoid cracks.
Final Frosting and Decoration
Once rolled, wrap the log in the parchment paper and chill it in the fridge for at least 30 minutes. If you want more frosting, whip some extra cream. Unwrap the log and cover the outside with whipped cream. To create a log effect, use a fork to make ridges in the frosting. If you like, sprinkle some edible glitter on top for a festive touch.
Tips & Tricks
Achieving the Perfect Roll
To roll your cake without cracks, follow these steps:
– Cool the cake slightly: Let it cool for about five minutes. This helps it stay soft.
– Use parchment paper: Roll the cake in the paper it baked on. This makes it easier.
– Start at the short end: Begin rolling from one of the short sides. This keeps the log tight.
– Roll gently but firmly: Apply even pressure as you roll. This helps prevent breaks.
– Wrap it up: After rolling, wrap the log in the parchment paper. Chill it to set the shape.
Best Practices for Whipping Cream
To whip cream that holds its shape, try these tips:
– Use cold tools: Chill your bowl and beaters before whipping. Cold helps the cream whip better.
– Start slow: Begin whipping on low speed, then increase to medium. This gives a stable texture.
– Watch for peaks: Whip until soft peaks form, then add icing sugar and vanilla. Keep whipping to stiff peaks.
– Don’t overwhip: Stop when it’s thick and fluffy. Overwhipping makes it grainy.
Decorating Ideas
Dress up your Yule Log with these fun ideas:
– Bark effect: Use a fork to create lines in the frosting. This mimics tree bark.
– Edible glitter: Sprinkle edible glitter for a festive touch. It adds sparkle to your log.
– Fresh fruits: Add berries or mint leaves on the side for color and flavor.
– Cocoa dusting: Dust cocoa powder on top for a rustic look. It adds depth to the design.
Pro Tips
- Use Room Temperature Eggs: For better volume and texture, ensure your eggs are at room temperature before whipping them with sugar.
- Don’t Overmix the Batter: Gently fold the dry ingredients into the wet ingredients to maintain the light and airy texture of the cake.
- Chill the Yule Log: After rolling, chilling the log helps it maintain its shape and makes it easier to cut when serving.
- Create a Rustic Look: Use a fork to create bark-like textures on the frosting for a more authentic Yule log appearance.
Variations
Flavor Variations
You can change the filling for your Yule Log to mix things up. Instead of just whipped cream, try adding fresh fruit. Sliced strawberries or raspberries offer a bright, juicy contrast. You could also use flavored creams, like coffee or vanilla. Simply add a few drops of your favorite flavoring to the whipped cream. This keeps your dessert exciting and unique.
Gluten-Free Options
If you need a gluten-free Yule Log, some easy swaps exist. Use gluten-free flour instead of regular flour. Make sure it has a similar texture to all-purpose flour. You can also add an extra egg for more structure. This helps the cake stay moist and fluffy. Always check your baking powder to ensure it’s gluten-free, too.
Non-Dairy Alternatives
For a non-dairy Yule Log, swap out the heavy cream with coconut cream. Chill it first so it whips well. You can also use almond milk or oat milk in the cake batter. This keeps the cake moist while making it dairy-free. Look for dairy-free chocolate for the melted chocolate part. This way, everyone can enjoy this festive treat!
Storage Info
How to Store Leftovers
To keep your Chocolate Yule Log fresh, wrap it tightly in plastic wrap. This helps to lock in moisture and flavor. Place it in an airtight container if you have one. Store it in the fridge. This way, it stays cool and tasty for your next dessert craving.
Freezing Instructions
You can freeze your Yule Log if you want to save some for later. First, wrap it well in plastic wrap. Then, place it in a freezer bag or an airtight container. When you want to enjoy it, take it out and let it thaw in the fridge overnight. This keeps it from getting soggy.
Shelf Life
Your Yule Log will last about 3 to 5 days in the fridge. After that, it may lose some of its great taste and texture. If you freeze it, it can last up to 2 months. Just remember to check for freshness before serving!
FAQs
What is a Chocolate Yule Log?
A Chocolate Yule Log is a festive dessert that looks like a tree log. It is made from a light sponge cake rolled with rich cream. This cake is often enjoyed during the holiday season, symbolizing warmth and joy. The Yule Log has roots in ancient traditions where people used to burn a log in the fireplace. Today, we celebrate with a sweet twist!
Can I make a Yule Log ahead of time?
Yes, you can make a Yule Log ahead of time. You can bake the cake and store it in the fridge for up to three days. If you want it to last longer, wrap it well and freeze it. Just thaw it in the fridge before you serve. This way, you will save time on busy days.
What are some common mistakes to avoid?
One common mistake is overmixing the batter. This can make the cake dense and tough. Another mistake is not cooling the cake enough before rolling. If it’s too warm, it may crack. Also, be careful when rolling the cake; start at one end and roll gently to avoid breaks. Following these tips will help you create a perfect Yule Log!
In this blog post, we covered the ingredients and steps to create a Chocolate Yule Log. We explored tips for success, tasty variations, and how to store leftovers efficiently. This dessert may seem complex, but with patience and practice, you can master it. Remember to enjoy the process and get creative with decorations. Baking can be fun and rewarding, so don’t hesitate to try new ideas. With these guidelines, I believe you’ll impress your family and friends with your Yule Log this season. Happy bakin


