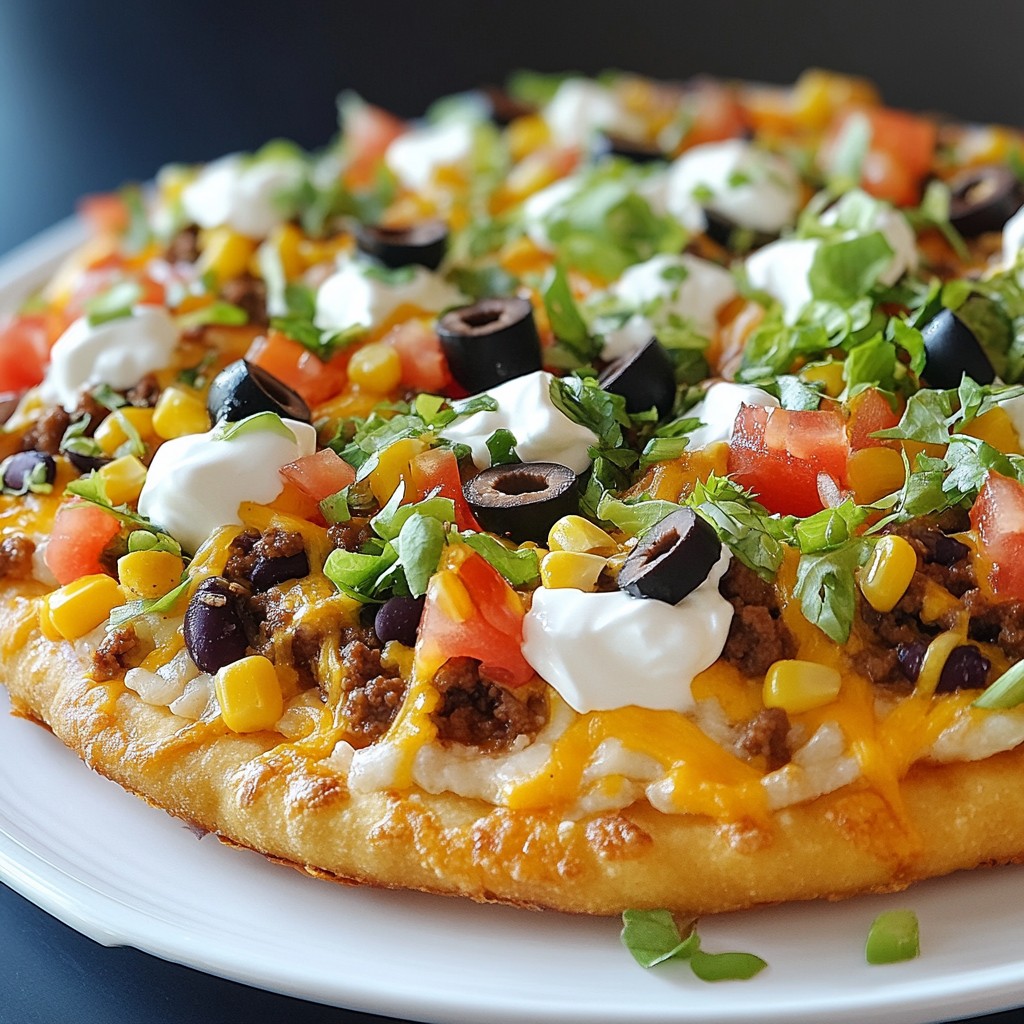
Are you ready for a snack that’s both cheesy and fun? My Cheesy Taco Sticks are a tasty twist that you can whip up in no time! With simple ingredients and easy steps, these sticks are sure to impress your family or friends. Whether you want a quick bite before dinner or a snack for movie night, I’ve got you covered. Let's dive into this easy recipe that’ll make your taste buds dance!
Why I Love This Recipe
- Easy to Make: This recipe comes together quickly with simple ingredients, making it perfect for a weeknight dinner or a fun snack.
- Customizable: You can easily swap out ingredients based on your preferences, like using different meats or adding more veggies.
- Crispy and Delicious: The frying process gives these taco sticks a satisfying crunch that pairs perfectly with the cheesy filling.
- Great for Sharing: These cheesy taco sticks are perfect for parties or gatherings, allowing everyone to enjoy a tasty finger food.
Ingredients
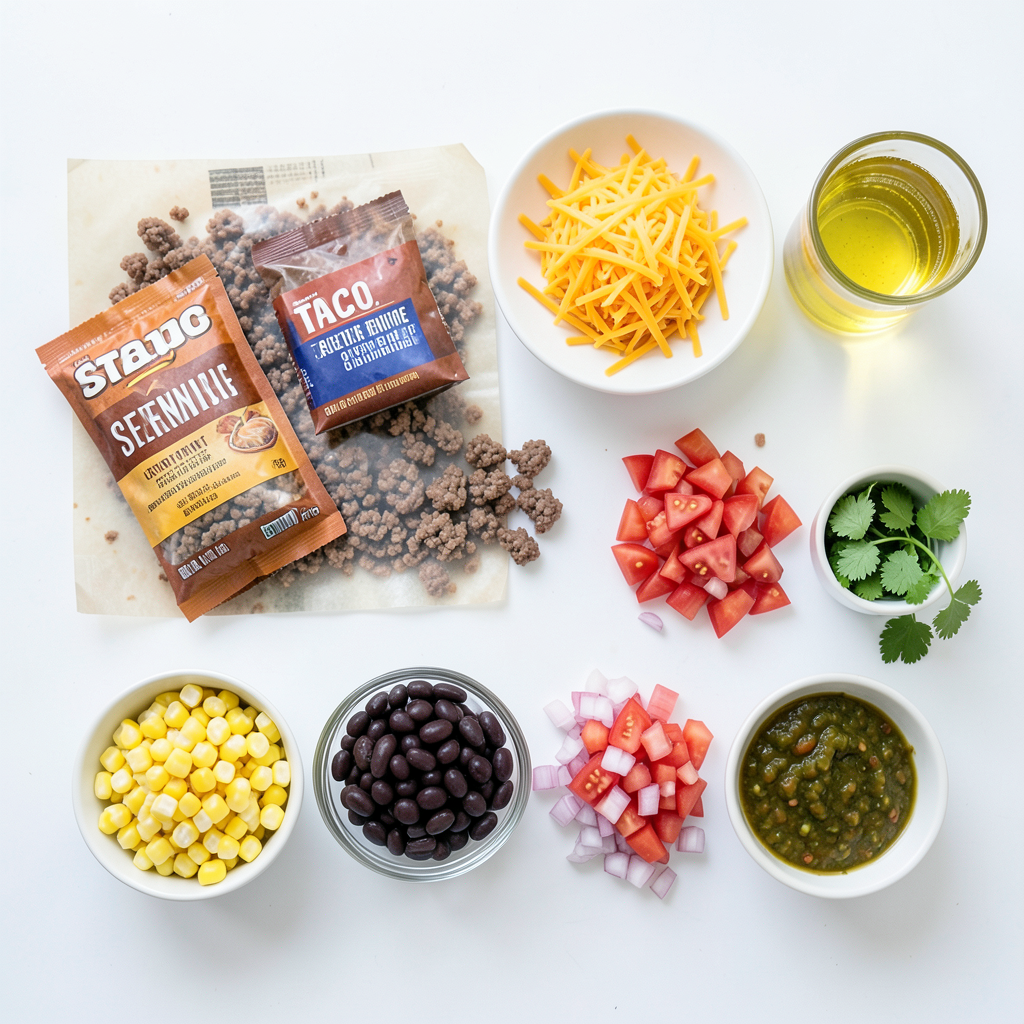
List of Ingredients
- 1 package of egg roll wrappers
- 1 cup cooked ground beef or turkey
- 1 packet taco seasoning
- 1 cup shredded cheddar cheese
- 1/2 cup black beans, rinsed and drained
- 1/2 cup corn (canned or frozen)
- 1/4 cup diced tomatoes (fresh or canned)
- 1/4 cup diced red onion
- Cooking oil for frying
- Fresh cilantro for garnish (optional)
- Salsa for dipping
Ingredient Substitutions
If you want to switch things up, use ground chicken or even meatless crumbles. You can swap cheddar cheese for pepper jack for a spicy kick. Instead of black beans, try pinto beans or refried beans. You can also mix in chopped bell peppers or jalapeños for extra flavor. If you don't have egg roll wrappers, use spring roll wrappers or even tortillas.
Nutritional Information
Each serving has about 300 calories. The taco sticks are high in protein thanks to the meat and cheese. They also provide fiber from black beans and corn. You get a good dose of vitamins from the diced tomatoes and red onion. This snack is perfect for sharing, but be aware of the oil used for frying, which adds extra calories.
Step-by-Step Instructions
Preparing the Filling
Start by heating a skillet on medium heat. Add one cup of cooked ground beef or turkey. Sprinkle in the taco seasoning and cook for about five minutes. Stir the mixture often until it's hot. After that, remove the skillet from heat and let it cool a bit.
Mixing the Ingredients
Grab a large mixing bowl. Combine the seasoned meat with one cup of shredded cheddar cheese, half a cup of black beans, half a cup of corn, a quarter cup of diced tomatoes, and a quarter cup of diced red onion. Mix everything together well. Make sure all the ingredients are coated evenly.
Assembling the Taco Sticks
Find a clean, flat surface. Place an egg roll wrapper with one corner facing you. Put about two tablespoons of the filling in the center. Fold the corner closest to you over the filling. Then, fold in the sides. Roll the wrapper tightly away from you. Use a bit of water to seal the edges to keep them closed during frying.
Frying the Taco Sticks
In a deep skillet or pot, heat about one inch of cooking oil on medium heat. To check the oil, drop in a small piece of wrapper. It should sizzle. Carefully add a few taco sticks at a time; don’t overcrowd the pan. Fry them for two to three minutes on each side or until golden brown and crispy. Use a slotted spoon to transfer them to a plate lined with paper towels.
Serving Suggestions
Arrange the hot, crispy taco sticks on a serving platter. If you like, sprinkle fresh cilantro on top for color. Serve them warm with a bowl of salsa for dipping. Enjoy your tasty snack!
Tips & Tricks
Tips for Perfectly Crispy Taco Sticks
- Choose fresh egg roll wrappers for the best results.
- Keep oil at medium heat. Too hot burns the wraps.
- Fry a few sticks at a time to avoid sogginess.
- Use a slotted spoon to check for golden brown color.
- Drain on paper towels to remove excess oil.
Common Mistakes to Avoid
- Overfilling the wrappers can cause them to break.
- Skipping the water seal may lead to open ends.
- Not heating the oil enough will make them greasy.
- Frying too many at once creates steam instead of crisp.
- Forgetting to mix ingredients well can lead to uneven flavors.
Serving Suggestions & Pairings
- Serve with fresh salsa for a zesty dip.
- Add guacamole for a creamy contrast.
- Pair with a side salad for extra crunch.
- Offer sour cream for a cool touch.
- Garnish with cilantro for added flavor and color.
Pro Tips
- Choose the Right Wrapper: Use fresh egg roll wrappers for the best texture and flavor. If they are too dry, they may crack during rolling.
- Customize Your Filling: Feel free to add your favorite veggies or substitute the meat with chicken or beans for a vegetarian option.
- Check Oil Temperature: Ensure the oil is at the right temperature before frying to prevent greasy sticks. A small piece of wrapper should sizzle immediately upon contact.
- Garnish for Presentation: Adding fresh cilantro not only enhances the flavor but also adds a pop of color to your serving platter.
Variations
Vegetarian Cheesy Taco Sticks
You can make these taco sticks vegetarian. Swap the ground beef or turkey for cooked lentils or mushrooms. This change keeps the flavor while making it plant-based. Use the same taco seasoning to keep that delicious taste. Add more veggies like bell peppers or spinach for extra nutrition.
Spicy Taco Stick Adaptations
Want a kick? Add diced jalapeños or a dash of hot sauce to the filling. If you love heat, try spicy cheese, like pepper jack. This will give your taco sticks a fiery twist. Adjust the amount of spice to suit your taste. You can make these as hot as you like!
Alternative Fillings
Feel free to get creative with fillings. Try using shredded chicken or shredded pork instead of beef. You can also add different beans, like pinto or refried beans. For a cheesy twist, mix in cream cheese or queso. These changes can turn your taco sticks into something new and fun!
Storage Info
Storing Leftovers
After you enjoy your cheesy taco sticks, store any leftovers in an airtight container. Place them in the fridge. They will stay fresh for up to three days. Make sure they cool to room temperature before you seal them. This helps keep them crispy.
Reheating Instructions
To reheat, use an oven or an air fryer for best results. Preheat your oven to 350°F (175°C). Place the taco sticks on a baking sheet. Heat them for about 10 minutes. This restores their crunch. If using an air fryer, set it to 350°F (175°C) and cook for 5-7 minutes.
Freezing Cheesy Taco Sticks
You can freeze cheesy taco sticks for later. Wrap each stick in plastic wrap. Place them in a freezer-safe bag or container. They can last for up to three months in the freezer. When ready to eat, thaw them in the fridge overnight. Then, reheat as described above. This way, you can enjoy a tasty snack anytime!
FAQs
Can I bake instead of fry the taco sticks?
Yes, you can bake the taco sticks. Preheat your oven to 400°F (200°C). Place the sticks on a baking sheet lined with parchment paper. Brush them lightly with oil. Bake for about 15-20 minutes, flipping halfway. They may not be as crispy as fried ones, but they will still taste great!
How long can I store cheesy taco sticks?
You can store leftover cheesy taco sticks in the fridge for up to 3 days. Make sure to keep them in an airtight container. This helps keep them fresh and tasty.
What can I serve with cheesy taco sticks?
Cheesy taco sticks pair well with salsa for dipping. You can also serve them with guacamole or sour cream. A fresh salad on the side adds a nice crunch too.
Can I make these in advance?
Yes, you can make these taco sticks in advance. Assemble them and keep them in the fridge for a few hours before frying. You can also freeze them. Just fry them straight from the freezer when you’re ready to eat!
You learned how to make cheesy taco sticks from start to finish. We explored the steps, ingredient fixes, and tips for the best results. Remember, practice makes perfect, so don’t shy away from trying out variations. You can enjoy these sticks fresh or stored for later. Whether you bake or fry, these taco sticks will surely please your taste buds. Embrace your creativity in the kitchen and enjoy every bite!