Brown Sugar Apple Pecan Granola Clusters Delight

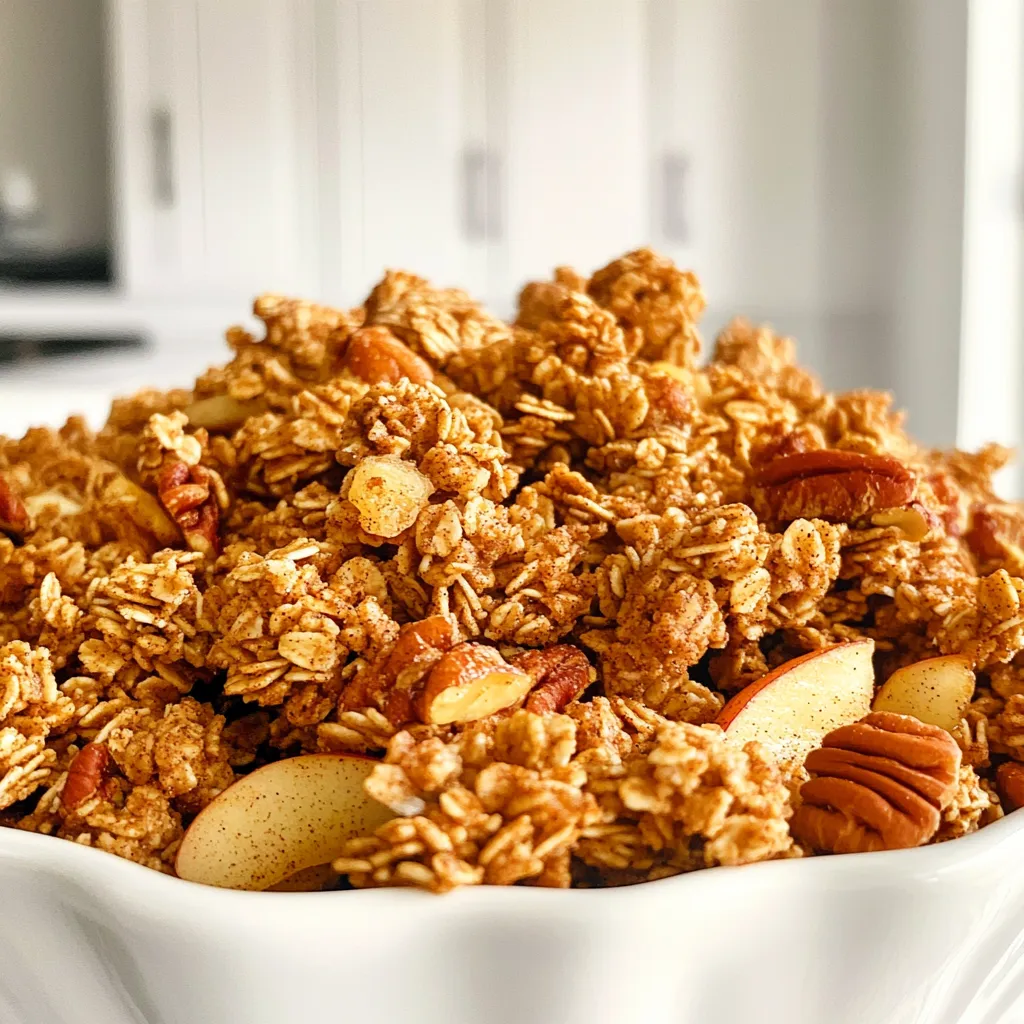
Get ready to enjoy a tasty treat with my Brown Sugar Apple Pecan Granola Clusters! This recipe packs a punch of flavor and is easy to make. You can enjoy it for breakfast or as a snack. With the perfect blend of brown sugar, crispy pecans, and sweet apples, you will want to make this again and again. Let’s dive into the delicious ingredients and steps you’ll need!
Ingredients
Key Ingredients for Brown Sugar Apple Pecan Granola Clusters
To make these delightful clusters, you need a few key ingredients:
– 2 cups rolled oats
– 1 cup pecans, coarsely chopped
– 1 cup dried apples, diced
– 1/2 cup packed brown sugar
– 1/4 cup honey
– 1/4 cup coconut oil, melted
– 1 teaspoon pure vanilla extract
– 1/2 teaspoon ground cinnamon
– 1/4 teaspoon sea salt
Each ingredient plays a vital role. The rolled oats provide a hearty base. Pecans add crunch and healthy fats. Dried apples bring sweetness and chewy texture. Brown sugar gives a rich flavor, while honey and coconut oil help bind everything together.
Optional Ingredients for Added Nutrition and Flavor
You can also add chia seeds for extra nutrition. These tiny seeds pack fiber and omega-3s. They blend well and give a nice crunch. Feel free to get creative. You might try adding other nuts or seeds too!
Nutritional Information per Serving
Each serving of these granola clusters has around:
– Calories: 220
– Protein: 4g
– Fat: 10g
– Carbohydrates: 32g
– Fiber: 3g
– Sugar: 7g
These clusters are a tasty snack. They provide energy without too much sugar. Enjoy them as a healthy treat or a breakfast boost!
Step-by-Step Instructions
Preparation Steps Before Baking
Start by preheating your oven to 350°F (175°C). This step ensures your granola bakes evenly. Next, line a large baking sheet with parchment paper. This prevents sticking and makes cleanup easy.
Combining Dry Ingredients
In a large mixing bowl, add the rolled oats, chopped pecans, and diced dried apples. Then, sprinkle in the ground cinnamon and sea salt. If you choose to use chia seeds, add them here too. Stir everything together well. This step mixes the flavors and textures, ensuring each bite is delicious.
Preparing the Sticky Brown Sugar Mixture
In a small saucepan, combine the packed brown sugar, honey, and melted coconut oil. Heat over low and stir constantly. This keeps the sugar from burning. Once the sugar dissolves and the mixture is smooth, remove it from heat. Add the pure vanilla extract and mix well. This sweet mixture is the secret to your clusters sticking together.
Baking and Cooling Instructions
Pour the warm brown sugar mixture over your dry ingredients. Stir gently until everything is well-coated. Then, spread the mixture onto your prepared baking sheet. Press down firmly with a spatula for good clusters. Bake in your preheated oven for 25 to 30 minutes. Look for a golden brown edge. Halfway through, stir the granola gently to cook evenly. After baking, let it cool completely on the sheet. As it cools, it will harden and become crunchy. Once cooled, break the granola into clusters. Store these tasty treats in an airtight container for up to two weeks. Enjoy them as a snack or with yogurt!
Tips & Tricks
How to Achieve Perfectly Clustering Granola
To get those perfect clusters, press the granola mixture down firmly on the baking sheet. This helps it bind together as it bakes. Make sure all the ingredients mix well. The brown sugar mixture should coat everything evenly. Stir halfway through baking to keep it from burning, but don’t break it up too much. Once it cools, it will hold its shape better.
Storage Tips for Freshness
Store your granola clusters in an airtight container. This keeps them crunchy and fresh for up to two weeks. If you live in a humid area, consider adding a silica gel packet to absorb moisture. Always let the granola cool completely before sealing the container. This prevents condensation that can make your clusters soggy.
Serving Suggestions and Pairings
These granola clusters shine as a snack on their own. You can also top yogurt or smoothie bowls for added crunch. Try them with milk or almond milk for a quick breakfast. For a fun twist, mix them with fresh fruits like berries or bananas. A sprinkle of extra cinnamon on top adds a nice touch.

Variations
Substitutions for Different Nuts and Fruits
You can change up the nuts and fruits in this recipe. Use almonds or walnuts instead of pecans. For dried fruits, try cranberries or raisins. Each nut adds its own flavor and crunch. Likewise, different fruits bring unique tastes. Experiment to find your favorite mix!
Vegan and Gluten-Free Options
Want a vegan option? You can swap honey for maple syrup or agave nectar. This keeps the sweetness while staying plant-based. For gluten-free granola, make sure to use certified gluten-free oats. This ensures every bite is safe and delicious for all eaters.
Flavor Variations to Explore
Try adding spices like nutmeg or ginger for a new twist. You can also mix in cocoa powder for a chocolatey touch. If you’re feeling adventurous, a dash of orange zest can brighten the flavor. These small changes can create a whole new granola experience!
Storage Info
Best Practices for Storing Granola Clusters
To keep your Brown Sugar Apple Pecan Granola Clusters fresh, use an airtight container. Glass jars work great, as do plastic containers with tight lids. Store them in a cool, dry place. Avoid sunlight, as it can make them go stale quickly. If you want to keep them extra fresh, add a piece of bread or a small bag of silica gel. This will help absorb moisture.
Freezing Instructions for Long-Term Storage
If you want to save some granola for later, freezing is a smart choice. Place the clusters in a freezer-safe bag. Squeeze out as much air as you can before sealing. They can last up to three months in the freezer. When you’re ready to eat them, just take out what you need. Let them thaw at room temperature. You can also pop them in the oven for a few minutes to crisp them up.
Shelf Life of Granola Clusters
Granola clusters are best enjoyed fresh, but they can last up to two weeks when stored properly. After that, they may start to lose their crunch. If you notice any off smells or changes in texture, it’s time to toss them. For the best taste and texture, eat them within the first week. This way, you can enjoy their sweet, crunchy goodness to the fullest!
FAQs
Can I use fresh apples instead of dried?
Yes, you can use fresh apples. However, they will change the texture. Fresh apples have more water. This can make your clusters softer. If you use fresh, chop them small and add them near the end of baking. This way, they stay soft and tasty.
How can I make my granola clusters less sweet?
To reduce sweetness, cut back on brown sugar. You can also swap honey for a less sweet syrup. Try adding more oats or nuts to balance flavors. Use unsweetened coconut oil to avoid added sugar. Taste as you mix to find your perfect level of sweetness.
What is the best way to reheat granola clusters?
Reheating granola clusters is easy! Preheat your oven to 300°F (150°C). Spread the clusters on a baking sheet. Bake for about 5 to 10 minutes. This will make them warm and crunchy again. You can also use a microwave, but it may soften them. Enjoy your tasty treat!
To sum up, making Brown Sugar Apple Pecan Granola Clusters is simple and fun. We covered key and optional ingredients for added nutrition. The step-by-step instructions make the process clear. Tips and tricks help you achieve perfect clusters and keep them fresh. You can even try various nuts and fruits for fun flavors. Store your granola properly to enjoy it longer. Remember, this treat is easy to customize and delicious. Enjoy your homemade granola!


![To make a tasty Blueberry Peach Crostata, you’ll need a few simple ingredients. Here’s what to gather: - 1 cup fresh blueberries - 2 ripe peaches, diced (about 2 cups) - 1/4 cup granulated sugar - 1 tablespoon freshly squeezed lemon juice - 1 tablespoon cornstarch - 1 teaspoon pure vanilla extract - 1 pre-made pie crust (or homemade for an artisanal touch) - 1 egg, beaten (for gloss and color) - 1 tablespoon unsalted butter, cut into small pieces - A pinch of fine sea salt - Optional: powdered sugar for a final dusting Each ingredient plays a key role in the taste and texture of the crostata. The fresh blueberries and peaches bring sweetness and juiciness. The sugar enhances their natural flavors, while lemon juice adds a bright zing. Cornstarch helps thicken the filling, keeping it from getting too runny. Using vanilla extract adds depth to the fruit, and a pinch of sea salt balances the sweetness. For the crust, you can choose a pre-made option for ease or whip up your own for that homemade touch. The beaten egg gives the edges a lovely golden color, while unsalted butter adds richness. Don’t forget the powdered sugar for a sweet finish on top! Ready to gather these ingredients? You can find the full details in the [Full Recipe]. 1. Preheat the Oven: Start by heating your oven to 375°F (190°C). This step ensures the crostata cooks evenly. 2. Prepare the Baking Sheet: Line a baking sheet with parchment paper. This helps with easy cleanup later. 3. Prepare the Fruit Filling: In a bowl, mix fresh blueberries and diced peaches. Add granulated sugar, lemon juice, cornstarch, vanilla extract, and a pinch of sea salt. Toss gently. Let this mixture rest for about 10 minutes. This helps the flavors blend. 4. Roll Out the Pie Crust: Roll out your pie crust on a floured surface. Aim for a circle about 12 inches wide. If you use a store-bought crust, make sure it is cold for easy handling. 1. Shape the Crostata: Place the rolled crust on your baking sheet. Spoon the fruit mixture into the center, leaving a 2-inch border. 2. Fold the Edges: Carefully fold the crust edges over the filling. Create pleats to give it a rustic look. Make sure some fruit shows at the center. 3. Apply the Egg Wash: Use a pastry brush to coat the crust edges with the beaten egg. This gives it a nice golden color when baked. 4. Dot with Butter: Scatter small pieces of butter over the fruit filling. This adds extra richness during baking. 1. Bake: Place your crostata in the preheated oven. Bake for 30-35 minutes. Look for a golden-brown crust and bubbling filling. 2. Cool Before Serving: Once baked, let the crostata cool on the sheet for 10 minutes. This makes it easier to slice. Dust with powdered sugar if you like, then serve warm or at room temperature. You can find the Full Recipe for more detailed steps and tips. Enjoy your delicious Blueberry Peach Crostata! To create the best crust, start with cold ingredients. This helps the crust stay flaky. Use your fingers to mix the butter into the flour until it looks like coarse crumbs. Do not overwork the dough; handle it gently. Balancing sweetness and acidity is key. Blueberries are sweet, while peaches add a nice tang. Use lemon juice to brighten the flavors. Taste your filling before baking. If it seems too sweet, add a tiny bit of salt. This will balance the flavors better. For a beautiful display, serve slices on a rustic wooden board. Garnish with fresh mint leaves for color. You can also dust the top with powdered sugar for a nice finish. Pair your crostata with a scoop of vanilla ice cream or a dollop of whipped cream. The cold creaminess goes perfectly with the warm fruit filling. You can also try it with a drizzle of honey for an extra touch. If your crust is too soggy, it may need more time in the oven. Check the bottom of the crust to see if it is golden brown. You can also try baking it a few minutes longer. To avoid over-baking, keep an eye on the crostata as it cooks. The crust should be golden and the filling should bubble. If you notice it browning too quickly, cover it lightly with foil. This will help protect it while it finishes baking. For the full recipe, visit the link. {{image_4}} You can switch up the fruits in your crostata. For a fun twist, try using apricots or cherries. Both fruits bring a unique taste. They also pair well with blueberries and peaches. If you need a gluten-free option, use almond flour or a gluten-free pie crust. This keeps your dessert delicious and safe for gluten-sensitive friends. Want to add some extra flavor? Sprinkle in some cinnamon or nutmeg. These spices add warmth and depth to the filling. You can also try fresh herbs like basil or mint. They give a fresh twist that brightens the fruit flavors. When it comes to serving, think outside the box. A drizzle of homemade caramel sauce or a scoop of creamy vanilla ice cream works wonders. For special occasions, serve slices on a beautiful platter. Add fresh mint leaves for color and aroma. Your guests will love the visual and tasty touch! For the complete recipe, check out the Full Recipe section. To keep your blueberry peach crostata fresh, store it in the fridge. First, let it cool completely. Then, cover it with plastic wrap or place it in an airtight container. This helps keep the crust crispy and the filling juicy. You can enjoy it for up to three days. If you want to save it for longer, freezing is a great option. Wrap the crostata tightly in plastic wrap, then in aluminum foil. This method helps prevent freezer burn. You can freeze it for up to three months. When you're ready to eat it, just thaw it in the fridge overnight. To reheat the crostata, the oven is your best friend. Preheat it to 350°F (175°C). Place the crostata on a baking sheet and warm it for about 10-15 minutes. This method keeps the crust nice and flaky. If you want to refresh the flavors, brush a little melted butter on top before reheating. This adds richness and helps the fruit flavors shine. Enjoy your crostata warm for the best taste! Can I make the crostata ahead of time? Yes, you can make the crostata ahead. Prepare the filling and crust separately. Store them in the fridge for a day. When ready, assemble and bake. This keeps the crust fresh. How do I know when the crostata is done baking? Look for a golden brown crust and bubbling filling. A toothpick should slide easily through the crust. If it’s too soft, bake a few more minutes. What’s the difference between a crostata and a galette? A crostata is a rustic pie, often filled with fruit. A galette is similar but usually has a more free-form shape. Both have a flaky crust. They are delicious and easy to make. Can I use frozen fruit in the recipe? Yes, frozen fruit works well. Just thaw and drain excess liquid. This keeps the filling from being too watery. How do I keep the crust from getting soggy? To prevent a soggy crust, sprinkle cornstarch on the bottom before adding fruit. This absorbs extra juices. Bake until the crust is golden for best results. Making the crostata vegan To make a vegan crostata, replace the egg wash with a plant-based milk. Use a vegan pie crust. The filling stays the same, ensuring a tasty dessert. Tips for reducing sugar in the recipe You can cut the sugar by half. Use ripe fruits for natural sweetness. Add a touch of honey or maple syrup if needed. This keeps the flavor balanced and fresh. For the Full Recipe, check the main section. In this post, we covered how to make a delicious fruit crostata with fresh ingredients. You learned about the necessary ingredients, step-by-step instructions, and useful tips for perfecting your dessert. We also explored variations and storage options to extend its life. Now, you’re equipped to create your own stunning crostata. Experiment with flavors and enjoy the praise from family and friends! Your new dessert will impress at any gathering.](https://fastmealmate.com/wp-content/uploads/2025/06/584381ba-fe5e-4dcd-ab97-e37815fc2576-768x768.webp)

