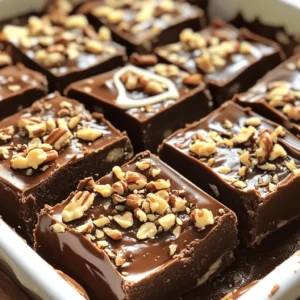
Hershey’s Chocolate Fudge
Indulge in the rich goodness of Decadent Hershey’s Chocolate Fudge with this easy recipe! Made with just a few simple ingredients, you’ll create a silky, melt-in-your-mouth treat that’s perfect for sharing or enjoying solo. Discover the step-by-step instructions and tips for a perfect finish that impresses. Click through to explore the recipe and elevate your dessert game with this delightful chocolate fudge!