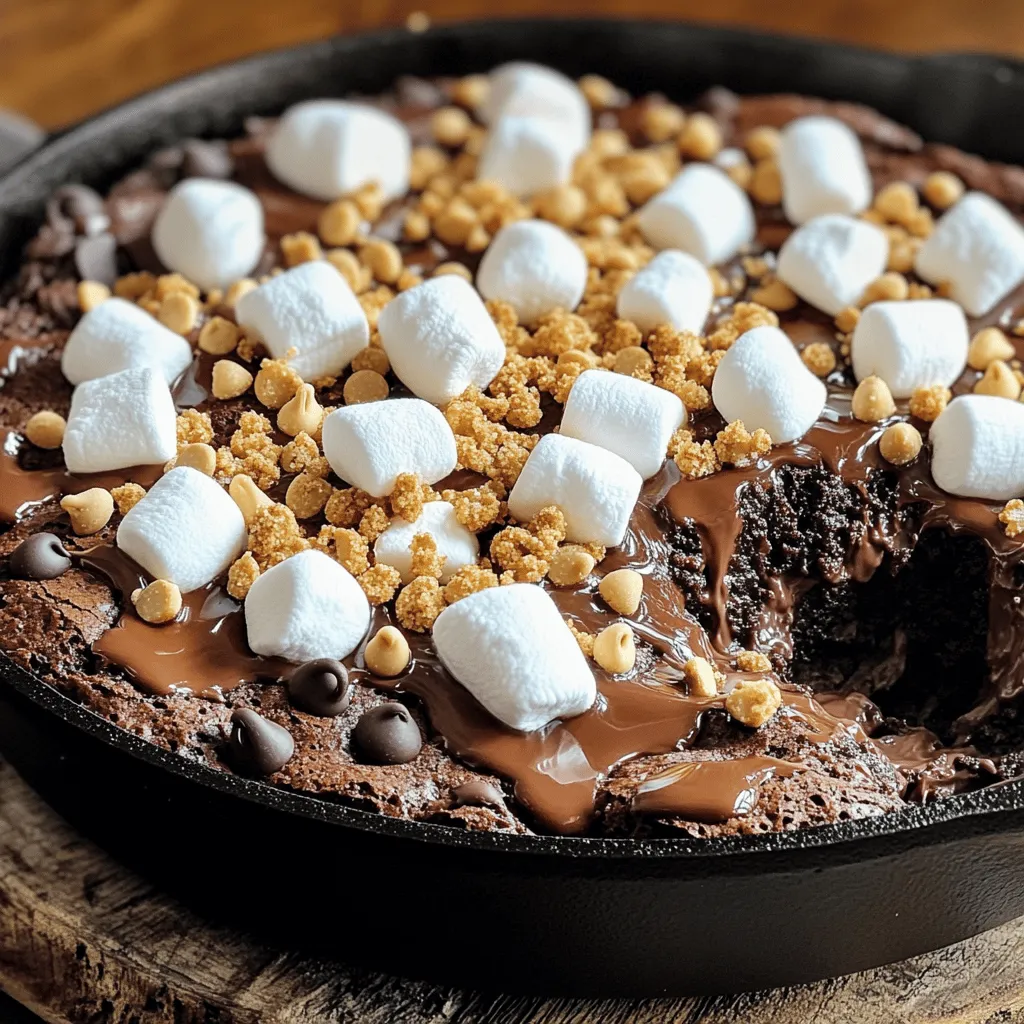
Craving a treat that combines gooey brownies with classic s’mores? Look no further! My S’mores Brownie Skillet Dip is the ultimate dessert delight. It’s easy to make and perfect for sharing (or not!). In this blog post, I’ll walk you through the simple ingredients, step-by-step baking instructions, and clever tips to get the perfect texture. Let’s dive into the sweet world of s’mores fun!
Ingredients
List of Ingredients
To make the perfect S’mores Brownie Skillet Dip, you need the following items:
– 1 cup all-purpose flour
– 1 cup granulated sugar
– 1/2 cup unsweetened cocoa powder
– 1/2 teaspoon baking powder
– 1/4 teaspoon salt
– 1/2 cup unsalted butter, melted
– 2 large eggs
– 1 teaspoon vanilla extract
– 1/2 cup semi-sweet or dark chocolate chips
– 1 cup mini marshmallows
– 1/2 cup graham cracker crumbs (plus extra for garnish)
– Additional chocolate chips for topping
Ingredient Substitutions
You can swap some ingredients based on your needs:
– Use almond flour for a gluten-free option.
– Coconut sugar can replace granulated sugar for a healthier choice.
– Swap unsweetened cocoa powder with Dutch-processed cocoa for a richer taste.
– For a dairy-free version, try coconut oil instead of butter and use flax eggs.
– You can use regular-sized marshmallows if mini ones are not available.
Tips for Choosing Quality Ingredients
Quality ingredients make a big difference in taste. Here are some tips:
– Flour: Choose unbleached all-purpose flour for a better texture.
– Cocoa Powder: Go for high-quality cocoa powder for a deep chocolate flavor.
– Butter: Use unsalted butter for better control of salt in your dish.
– Chocolate Chips: Select semi-sweet or dark chocolate chips for rich taste.
– Marshmallows: Opt for fresh mini marshmallows for that gooey texture.
Following these tips helps you create the best S’mores Brownie Skillet Dip.
Step-by-Step Instructions
Preparation Overview
To make S’mores Brownie Skillet Dip, start by gathering your ingredients. You will need flour, sugar, cocoa powder, baking powder, salt, butter, eggs, vanilla, chocolate chips, mini marshmallows, and graham cracker crumbs. The prep time is about 15 minutes, and the baking time is around 20-25 minutes.
Detailed Baking Process
1. Preheat your oven to 350°F (175°C). This step warms the oven for even baking.
2. In a large bowl, combine the flour, sugar, cocoa powder, baking powder, and salt. Mix until there are no lumps.
3. Add the melted butter, eggs, and vanilla extract to the dry mix. Stir gently with a spatula. It’s okay if the batter has some lumps.
4. Fold in the chocolate chips carefully. You want them spread out in the batter without over-stirring.
5. Grease a cast iron skillet or an oven-safe dish. Pour the brownie batter into the skillet and smooth it out.
6. Sprinkle mini marshmallows and graham cracker crumbs on top. You can also add extra chocolate chips if you like.
7. Bake in the preheated oven for 20-25 minutes. The edges should be set, but the center should still be gooey.
8. Remove the skillet from the oven and let it cool for a few minutes. This waiting time helps the dip reach the perfect consistency.
Final Touches Before Serving
Serve the S’mores Brownie Skillet Dip directly from the skillet. This rustic style adds charm. Pair it with graham crackers or fruit slices for dipping. For a finishing touch, sprinkle extra graham cracker crumbs and chocolate chips on top. Dive in and enjoy this sweet, gooey treat!
Tips & Tricks
How to Achieve the Perfect Gooey Texture
To get that perfect gooey texture, bake your dip just enough. You want the edges firm but the center soft. Keep an eye on it during the last few minutes. If the top looks set but the center jiggles slightly, it’s done. This helps create a rich, gooey experience in every bite.
Common Mistakes to Avoid
Many folks over-mix the batter. This can lead to a dry dip. Mix gently, allowing some lumps to stay. Also, don’t skip the mini marshmallows on top. They add a key element of creaminess and sweetness. Lastly, avoid baking too long. Check often to prevent overcooking.
Recommended Serving Suggestions
Serve your S’mores Brownie Skillet Dip warm straight from the skillet. Use fresh graham crackers for dipping. Slices of bananas or strawberries work well too. For a fun twist, add pretzels for a salty crunch. Feel free to drizzle melted chocolate on top for extra indulgence.

Variations
Alternative Flavor Additions
You can add your favorite flavors to this dip. Consider peanut butter or mint for a twist. Swapping in butterscotch chips adds a sweet touch. Try adding crushed candy bars for extra crunch. You might enjoy experimenting with flavored marshmallows, too. Each addition makes the dip unique and fun.
Dietary Modifications (Gluten-Free, Vegan Options)
Making this dip gluten-free is easy. Use almond flour or gluten-free flour instead of all-purpose flour. For a vegan option, replace eggs with flax eggs. Mix one tablespoon of ground flaxseed with three tablespoons of water. Let it sit for a few minutes until it gets thick. Use coconut oil in place of butter for a dairy-free dip.
Seasonal or Themed Twists
You can switch up flavors based on the season. In fall, add pumpkin spice for a cozy vibe. For winter, a hint of peppermint brings holiday cheer. In summer, mix in fresh berries for a fruity kick. For themed parties, use colored marshmallows or sprinkles to match the occasion. These twists make the dip festive and exciting.
Storage Info
How to Store Leftovers
To keep your S’mores Brownie Skillet Dip fresh, let it cool down first. Then, cover it tightly with plastic wrap or aluminum foil. You can also use an airtight container. Store it in the fridge for up to three days. This way, you keep the gooey texture and rich flavor intact.
Reheating Tips for Best Taste
When you’re ready to enjoy your leftovers, preheat your oven to 350°F (175°C). Place the skillet in the oven for about 10-15 minutes. This warms it up evenly and revives that lovely gooeyness. You can also use a microwave if you’re in a hurry. Heat it in short bursts of 15 seconds, stirring in between, until it’s warm.
Freezing Instructions
If you want to save some for later, you can freeze the dip. Pour the cooled dip into a freezer-safe container. Seal it tightly and label it with the date. It can last up to three months in the freezer. When you’re ready to eat, thaw it in the fridge overnight. Then reheat as described above for a tasty treat.
FAQs
What can I dip in S’mores Brownie Skillet Dip?
You can dip many tasty treats in S’mores Brownie Skillet Dip. Here are some ideas:
– Graham crackers
– Sliced strawberries
– Apple slices
– Pretzels
– Marshmallows
– Cookies
Each option adds a fun twist to your dip experience. Try mixing and matching to find your favorite!
How long does S’mores Brownie Skillet Dip last?
S’mores Brownie Skillet Dip tastes best fresh and warm. However, you can store leftovers in the fridge. Seal it tightly in an airtight container. It will last about 3-4 days. Just remember, the gooey texture might change a bit once it cools.
Can I make this recipe ahead of time?
Yes, you can prepare this recipe ahead of time. Mix the batter and pour it into the skillet. Cover it with plastic wrap and place it in the fridge. When you’re ready to bake, just remove the wrap and pop it in the oven. It’s a great way to save time on busy days!
In this post, we explored the essentials for making a great S’mores Brownie Skillet Dip. We discussed key ingredients, substitutions, and tips to select the best quality items. I detailed the baking process and shared how to get that perfect gooey texture while avoiding common mistakes. Plus, I offered variations for different diets and flavors. Finally, I included advice on storage and answers to frequent questions. Enjoy making this treat and don’t hesitate to experiment with your own twists!


