Zesty Orange Tart Refreshing Dessert Recipe Guide


Looking for a dessert that packs a punch of flavor? The Zesty Orange Tart is your answer! This refreshing treat combines vibrant orange zest and creamy filling for a perfect finish to any meal. In this guide, I’ll walk you through simple steps and share tips to ensure your tart turns out beautifully every time. Get ready to impress your family and friends with this delightful dessert!
Why I Love This Recipe
- Bright Flavor Profile: This tart captures the essence of fresh oranges, offering a vibrant citrus flavor that is both refreshing and delightful.
- Perfect Dessert for Any Occasion: Whether it’s a family gathering or a dinner party, this zesty tart adds a touch of elegance to your dessert table.
- Easy to Make: Despite its impressive appearance, the tart is simple to prepare, making it accessible for both novice and experienced bakers.
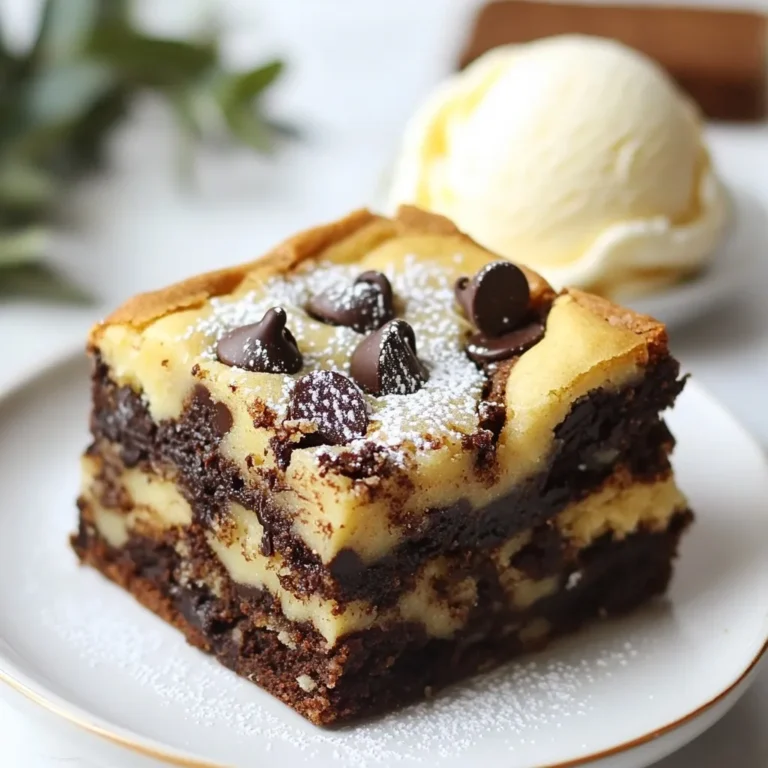
- Versatile Serving Options: Serve it chilled for a refreshing dessert or warm with a scoop of vanilla ice cream for a comforting treat.
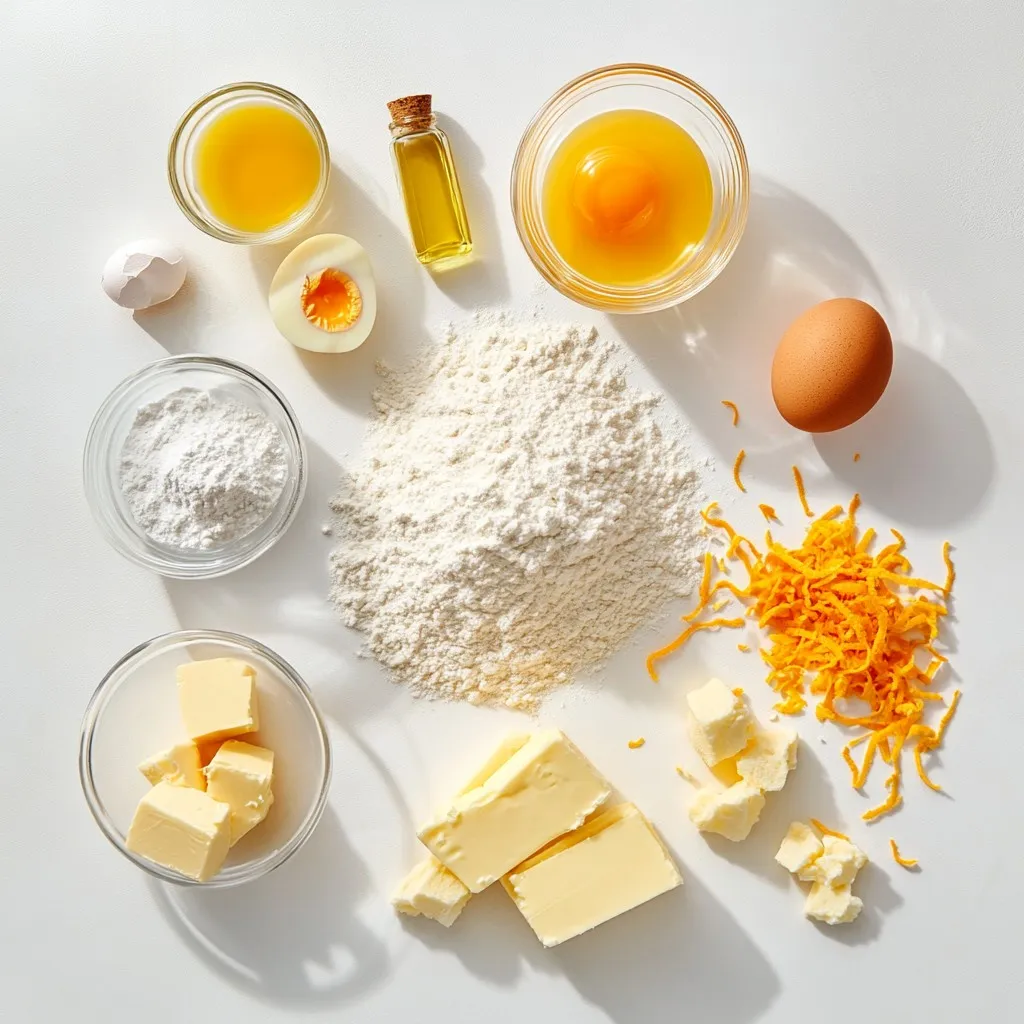
Ingredients
To make a zesty orange tart, gather these ingredients:
– 1 ½ cups all-purpose flour
– ½ cup powdered sugar
– ½ cup unsalted butter, chilled and cubed
– 1 large egg yolk
– 2 tablespoons cold water
– 1 cup cream cheese, softened at room temperature
– ¾ cup granulated sugar
– Zest of 2 large oranges
– ½ cup freshly squeezed orange juice
– 2 tablespoons cornstarch
– 1 teaspoon vanilla extract
– 3 large eggs
Each ingredient plays a key role. The all-purpose flour and powdered sugar create the tart shell. Unsalted butter gives it a rich taste. The egg yolk helps bind the dough. Cold water adds moisture without making the dough too sticky.
For the filling, cream cheese forms the base. Granulated sugar sweetens it. Orange zest and juice add the zesty flavor. Cornstarch thickens the mixture, while vanilla brings warmth. Finally, eggs help set the filling as it bakes.
Make sure to use fresh ingredients for the best taste. Fresh orange juice and zest are crucial. They bring a vibrant flavor that brightens the tart.
Step-by-Step Instructions
Make the Tart Shell
– Combine 1 ½ cups of all-purpose flour and ½ cup of powdered sugar in a bowl.
– Add ½ cup of chilled, cubed unsalted butter to the mixture.
– Use your fingers to mix until it looks like coarse crumbs.
– Stir in 1 large egg yolk and 2 tablespoons of cold water.
– Mix gently until the dough comes together; add more cold water if needed.
Shape and Pre-bake the Tart Shell
– Press the dough into a tart pan evenly across the base and sides.
– Use a fork to prick the bottom for even baking.
– Chill the shell in the fridge for 30 minutes to firm it up.
– Preheat your oven to 375°F (190°C) while the shell chills.
– Bake the tart shell for 15 minutes until lightly golden.
Prepare the Filling
– In a clean bowl, beat 1 cup of softened cream cheese and ¾ cup of granulated sugar until smooth.
– Add the zest of 2 large oranges, ½ cup of orange juice, 2 tablespoons of cornstarch, 1 teaspoon of vanilla extract, and 3 large eggs.
– Mix on low speed until everything is well combined and smooth.
Bake and Cool
– Pour the orange filling into the cooled tart shell.
– Bake for 25 to 30 minutes until the filling is slightly jiggly in the center.
– Allow the tart to cool completely at room temperature.
– Refrigerate the tart for at least 2 hours before serving.
Tips & Tricks
Perfecting the Tart
To get the best dough, mix flour and powdered sugar well. When adding butter, use your fingers or a pastry cutter. Aim for a coarse crumb texture. If your dough is too dry, add a little cold water. This helps bring it together.
Baking time is key for your tart. Bake the shell for 15 minutes until it’s lightly golden. For the filling, bake for 25–30 minutes. The center should still jiggle slightly when done. This means it is set but not overcooked.
Look for signs of doneness in your filling. The edges should be firm and the center jiggly. If the top has a slight sheen, it is perfect. Let it cool completely before chilling.
Presentation Tips
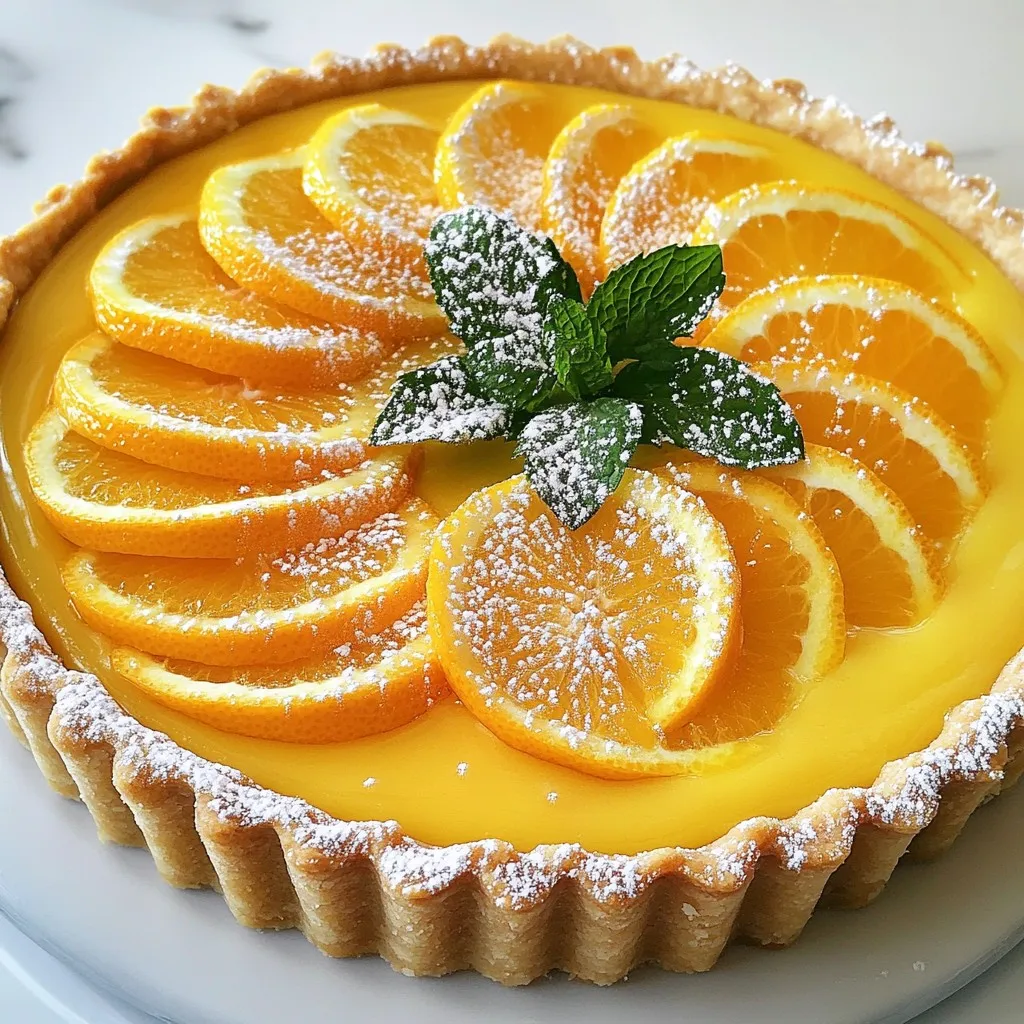
To make your tart shine, dust the top with powdered sugar. This adds a sweet touch and looks lovely. Use a fine mesh sieve to sprinkle it lightly over the surface.
Garnishing with fresh orange slices brightens the dish. Cut the slices thin for a nice look. Arrange them in a circular pattern on top.
For an extra pop of color, add mint leaves. Place a few sprigs around the tart. This not only looks great but adds a fresh scent too. Enjoy your beautiful Zesty Orange Tart!
Pro Tips
- Chill Your Ingredients: Ensure your butter and cream cheese are at the right temperature for optimal mixing. Chilled butter helps create a flakier tart shell.
- Fresh Juice Matters: Use freshly squeezed orange juice for the best flavor. Bottled juice often has preservatives that can alter the taste of your tart.
- Watch the Baking Time: Keep an eye on the tart while it bakes. The perfect filling should be set around the edges but still slightly jiggly in the center for a creamy texture.
- Garnish for Presentation: Enhance your tart’s appearance by garnishing with fresh orange slices and mint leaves just before serving to add color and freshness.
Variations
Alternative Zest and Juice Options
You can use different fruits for zest and juice. Try lemon, lime, or grapefruit. Each adds a unique twist to the tart. Combining flavors can also create a new taste. For example, mix lemon and orange for a bright flavor.
Gluten-Free Option
If you need a gluten-free tart, use gluten-free flour. Look for blends made for baking. You may need to adjust the liquid in the dough. This keeps the crumb soft and tasty. The texture may differ slightly, so test it out!
Vegan Adaptation
To make this tart vegan, use dairy-free cream cheese. Brands like Tofutti or Kite Hill work well. For the eggs, substitute each with 1/4 cup of unsweetened applesauce. This keeps the filling creamy and smooth. You can also use flax eggs for a similar effect.
Storage Info
Refrigeration Guidelines
To store leftovers, place the tart in an airtight container. You can also cover it with plastic wrap. This keeps the tart fresh and tasty. The recommended storage duration is up to five days in the fridge. After that, the flavor may fade.
Freezing the Tart
If you want to save the tart for later, you can freeze it. First, let the tart cool completely. Then, wrap it tightly in plastic wrap. For extra protection, place it in a freezer bag. This way, it can last for up to three months.
When you’re ready to enjoy it, thaw the tart in the fridge overnight. This method helps maintain the best texture. Do not rush the thawing process, as this keeps it creamy and delightful.
FAQs
How long does it take to prepare a Zesty Orange Tart?
It takes about 30 minutes to prep the tart. The total time is around 1 hour and 30 minutes. This includes baking and cooling time. You will have a tasty dessert ready to enjoy!
Can I make the tart ahead of time?
Yes, you can make the tart ahead of time! You can bake the tart and keep it in the fridge. This helps the flavors mix well. You can also freeze the tart. Just wrap it well to keep it fresh. When you want to serve, thaw it in the fridge overnight.
What are some common mistakes to avoid when making a tart?
Some common mistakes include overworking the dough. This can make the crust tough. Make sure to mix gently until just combined. Another issue is overbaking the filling. Keep an eye on your tart while it bakes. It should be set but still jiggly in the center.
If your tart cracks, it may be overbaked or cooled too fast. Let it cool slowly at room temperature. If the crust shrinks, try chilling the dough longer before baking. These tips will help you create a perfect Zesty Orange Tart!
This blog post covered the tasty Zesty Orange Tart from its key ingredients to step-by-step instructions. We explored tips to perfect the tart and variations to try. Remember, making this dessert can be fun and rewarding. With some practice, you will impress everyone with your baking skills. Don’t forget to store your leftovers well or freeze them for later. Enjoy each bite of your creation, knowing you made it yourself. Happy bakin

Zesty Orange Tart
Ingredients
- 1.5 cups all-purpose flour
- 0.5 cups powdered sugar
- 0.5 cups unsalted butter, chilled and cubed
- 1 large egg yolk
- 2 tablespoons cold water
- 1 cups cream cheese, softened at room temperature
- 0.75 cups granulated sugar
- 2 large zest of oranges
- 0.5 cups freshly squeezed orange juice
- 2 tablespoons cornstarch
- 1 teaspoon vanilla extract
- 3 large eggs
Instructions
- In a large mixing bowl, combine the all-purpose flour and powdered sugar until evenly mixed. Add the chilled, cubed butter to the bowl. Using your fingers or a pastry cutter, mix until the mixture resembles coarse crumbs.
- Stir in the egg yolk and cold water. Mix gently until the dough starts to come together. If needed, add an extra teaspoon of cold water to achieve the right consistency.
- Press the dough into a tart pan with a removable bottom, ensuring an even layer across the base and up the sides. Use a fork to prick the bottom gently for even baking. Chill the tart shell in the refrigerator for about 30 minutes to firm up.
- Preheat your oven to 375°F (190°C). Once preheated, bake the tart shell for 15 minutes, or until it's lightly golden on the edges. Remove from the oven and set aside to cool.
- In a clean mixing bowl, use an electric mixer to beat the softened cream cheese and granulated sugar together until the mixture is smooth and creamy, with no lumps remaining.
- Add the orange zest, freshly squeezed orange juice, cornstarch, vanilla extract, and eggs into the cream cheese mixture. Mix on low speed until everything is well combined and smooth.
- Carefully pour the orange filling into the cooled tart shell. Use a spatula to spread the filling evenly across the surface.
- Place the filled tart back into the preheated oven. Bake for 25–30 minutes, or until the filling sets but is still slightly jiggly in the center. Keep an eye on it to prevent overbaking.
- Allow the tart to cool completely at room temperature. Once cooled, refrigerate the tart for at least 2 hours before serving to enhance the flavors and set the filling.
![Caramel apple cookies blend sweet apples and rich caramel in a soft cookie. This recipe makes about 24 cookies. You will love the warm flavors of fall in every bite. - 1 cup unsalted butter, softened to room temperature - 1 cup packed brown sugar - 1/2 cup granulated sugar - 2 large eggs - 1 teaspoon pure vanilla extract - 2 1/4 cups all-purpose flour - 1 teaspoon baking soda - 1/2 teaspoon fine sea salt - 1 teaspoon ground cinnamon - 1 cup fresh apples, diced (peeled and cored) - 1/2 cup caramel sauce (plus extra for drizzling) - 1/2 cup chopped walnuts or pecans (optional) - A pinch of sea salt for garnish You can customize your cookies! Try adding chocolate chips for extra sweetness. Use almond flour for a gluten-free option. If you want a nut-free treat, skip the walnuts or pecans. You can even swap the apples for pears for a unique twist. Enjoy experimenting! Start by preheating your oven to 350°F (175°C). This helps the cookies bake evenly. Next, line a baking sheet with parchment paper. This step prevents the cookies from sticking. In a large bowl, cream together one cup of softened butter, one cup of packed brown sugar, and half a cup of granulated sugar. Use an electric mixer on medium speed until the mix is light and fluffy. Next, add two large eggs. Beat them in one at a time. After that, stir in one teaspoon of pure vanilla extract until it blends in well. In another bowl, whisk together two and a quarter cups of all-purpose flour, one teaspoon of baking soda, half a teaspoon of fine sea salt, and one teaspoon of ground cinnamon. Gradually sift the dry mix into the wet mix. Stir gently until just combined. Be careful not to overmix; this keeps the cookies soft. Now, fold in one cup of diced apples and half a cup of caramel sauce. If you like, add half a cup of chopped walnuts or pecans too. Using a tablespoon or a cookie scoop, drop rounded portions of dough onto the prepared baking sheet. Leave about two inches between each cookie to allow for spreading. Place the baking sheet in the preheated oven. Bake the cookies for 10 to 12 minutes. Keep an eye on them. The edges should turn lightly golden, while the centers may look slightly underbaked. They will set as they cool. Once baked, remove the cookies from the oven. Let them cool on the baking sheet for about five minutes. After that, transfer the cookies to a wire rack to cool completely. For a delightful finish, drizzle extra caramel sauce over the cookies. Sprinkle a tiny pinch of sea salt on top of each one to enhance the flavor. This recipe makes about 24 cookies. Enjoy every bite of your caramel apple cookies! For a full recipe, check out the [Full Recipe]. To get the best texture in your caramel apple cookies, use softened butter. This helps create a nice, soft dough. Mix well but don’t overdo it. Overmixing can lead to tough cookies. When you add the apples, make sure they are diced small, so they blend into the dough. Avoid adding too much caramel sauce; it can make the dough too wet. For making these cookies, you need a few simple tools: - Mixing bowls - Electric mixer - Baking sheets - Parchment paper - Cookie scoop or tablespoon - Wire rack for cooling Using the right tools will make the process easier and more fun. One common mistake is not measuring ingredients correctly. Use proper measuring cups and spoons. Another mistake is baking cookies at the wrong temperature. Always preheat your oven before baking. Watch the cookies closely in the oven. If you take them out too soon, they may fall apart. If you leave them too long, they can get hard. Follow the Full Recipe carefully for the best results. {{image_4}} You can switch up the flavors in your caramel apple cookies. Try adding: - 1/2 cup of chocolate chips for a sweet touch. - 1 teaspoon of nutmeg for a warm spice flavor. - A splash of maple syrup for a unique twist. Experimenting helps you discover new favorites! Want to make these cookies fit your needs? Here are simple swaps: - For gluten-free cookies, use a 1:1 gluten-free flour blend. - To make them vegan, replace the butter with coconut oil and the eggs with flax eggs. - Substitute the caramel sauce with homemade date caramel for a healthy option. These swaps keep the taste delicious while catering to different diets. Make your cookies shine each fall! Add these seasonal spices: - A teaspoon of pumpkin spice for a cozy flavor. - A hint of ginger for a warm, zesty kick. - Chopped pecans or walnuts for a crunch that complements the apples. These twists make your caramel apple cookies perfect for any autumn gathering. For the full recipe, check out the earlier section! To keep your caramel apple cookies fresh, store them properly. Use an airtight container to keep out air and moisture. Place parchment paper between layers to prevent sticking. Store them at room temperature for up to one week. If you want to enjoy them longer, consider freezing them. Freezing your cookies is simple. Wait until they cool completely. Then, wrap them tightly in plastic wrap or foil. Place them in a freezer-safe bag. You can freeze them for up to three months. When you're ready to eat, just thaw them at room temperature. To regain that fresh-baked taste, reheat your cookies. Preheat your oven to 350°F (175°C). Place the cookies on a baking sheet. Heat for about 5 to 7 minutes. Check to avoid overbaking. The cookies should feel warm and soft again. Enjoy them warm with a drizzle of caramel sauce for a delightful touch! To make your caramel apple cookies chewy, focus on a few key steps. First, use brown sugar in your dough. Brown sugar has molasses, which adds moisture. Second, do not overmix the dough. Overmixing can make cookies tough. Third, underbake them slightly. When you take them out, they should look set but soft in the middle. They will continue to cook as they cool. This will give you that perfect chewy texture that you crave. Yes, you can make the dough ahead of time! Just prepare the dough as you normally would. After mixing, cover it tightly with plastic wrap or place it in an airtight container. You can store it in the fridge for up to 2 days. When ready to bake, let it sit at room temperature for about 10-15 minutes before scooping and baking. This makes it easy to enjoy fresh cookies whenever you want. Caramel apple cookies pair well with several treats. A scoop of vanilla ice cream adds creaminess and balances the sweet flavors. You can also serve them with warm caramel sauce for dipping. For a cozy touch, try them with a cup of hot apple cider. This drink brings out the fall flavors and makes for a delightful combination. You can get the full recipe for these tasty cookies to impress your friends and family. This post covered how to make delicious caramel apple cookies. We went through essential ingredients, preparation, and baking. I shared tips to avoid common mistakes and variations for your tastes. You learned how to store and reheat these cookies for the best flavor. With simple steps, you can bake a treat that impresses everyone. Enjoy experimenting with different flavors and adjustments. Happy baking!](https://fastmealmate.com/wp-content/uploads/2025/07/9c1a808e-f093-4e89-97b6-472e42d8d3a6-768x768.webp)