Skip to content
About
Contact
Cookie Policy
Copyright Policy
Disclaimer
Search
Home
Dinner
Appetizer
Desserts
Drinks
About
Contact
Privacy Policy
Toggle Menu
Home
/
NO-ING-IMG
- Page 9
NO-ING-IMG
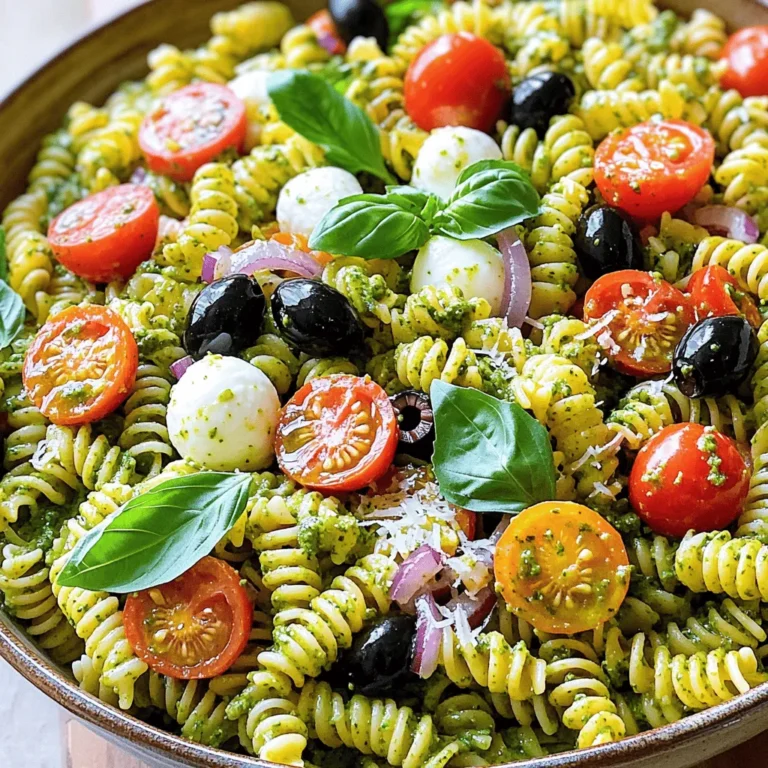
Pesto Pasta Salad Fresh and Flavorful Side Dish
Garlic Butter Steak Bites & Potatoes Simple Delight
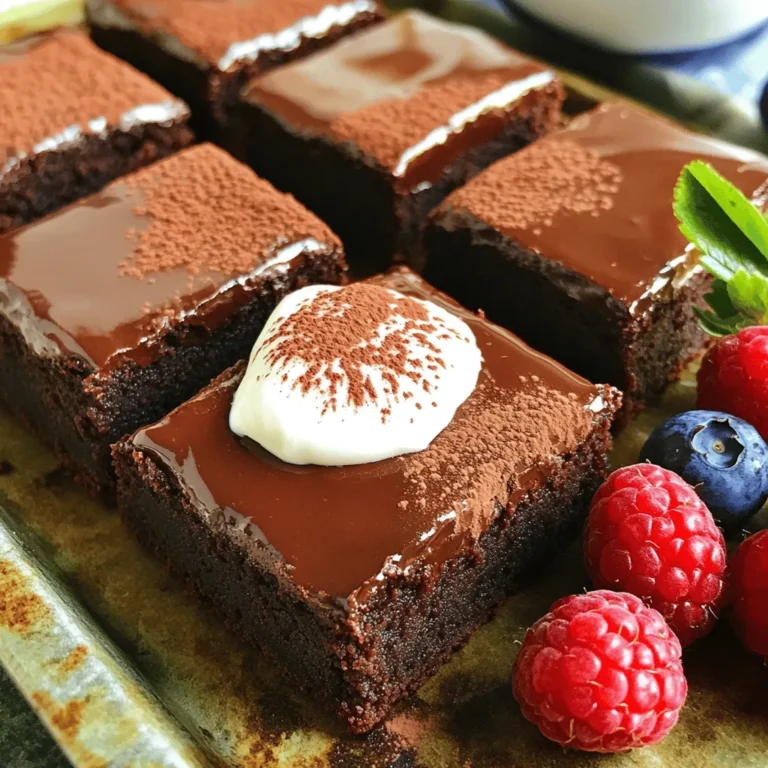
Fudgy Greek Yogurt Brownies Rich and Indulgent Treat
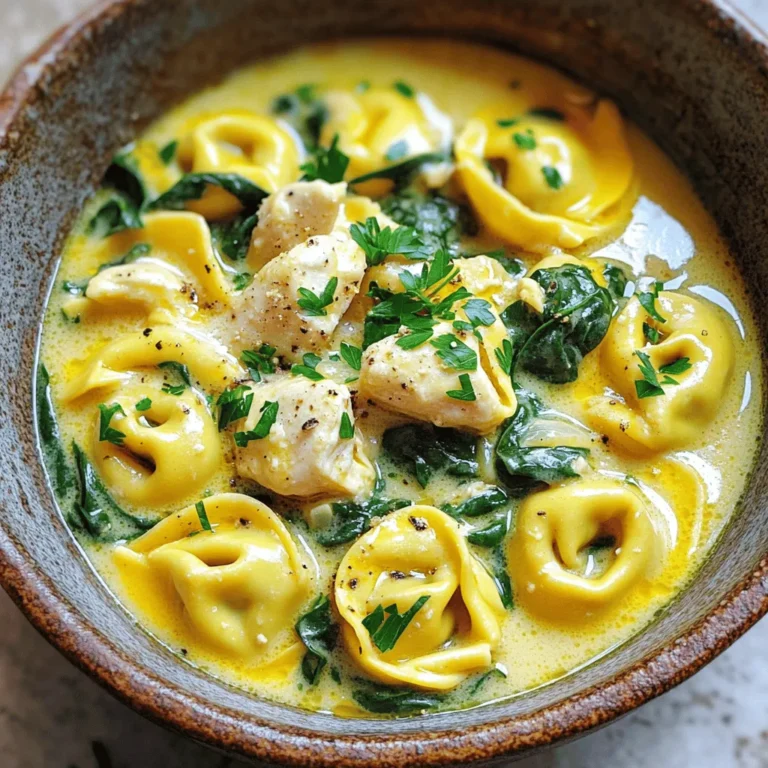
Creamy Garlic Parmesan Chicken Tortellini Delight
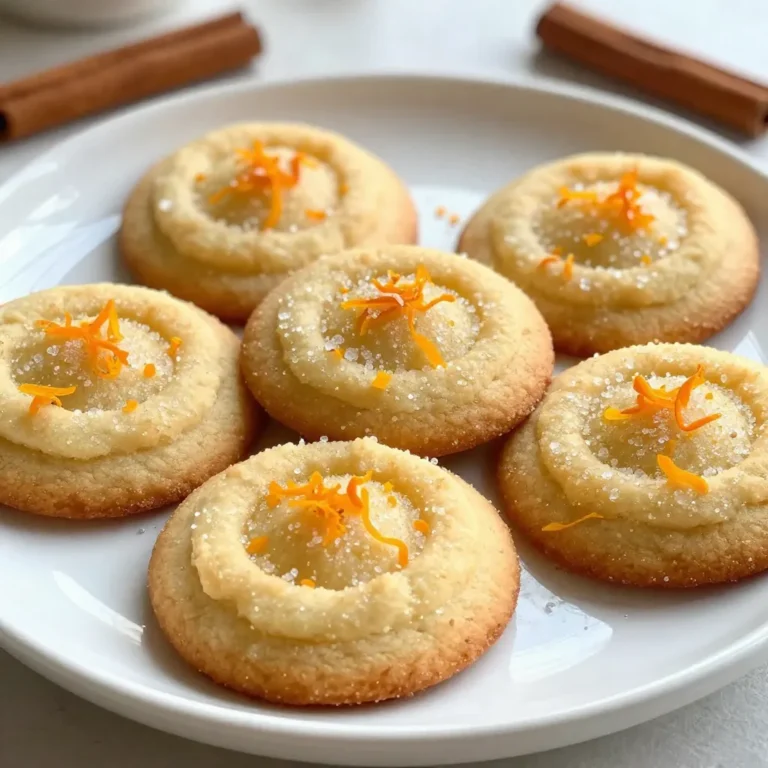
Orange Clove Sugar Cookies Sweet and Simple Treat
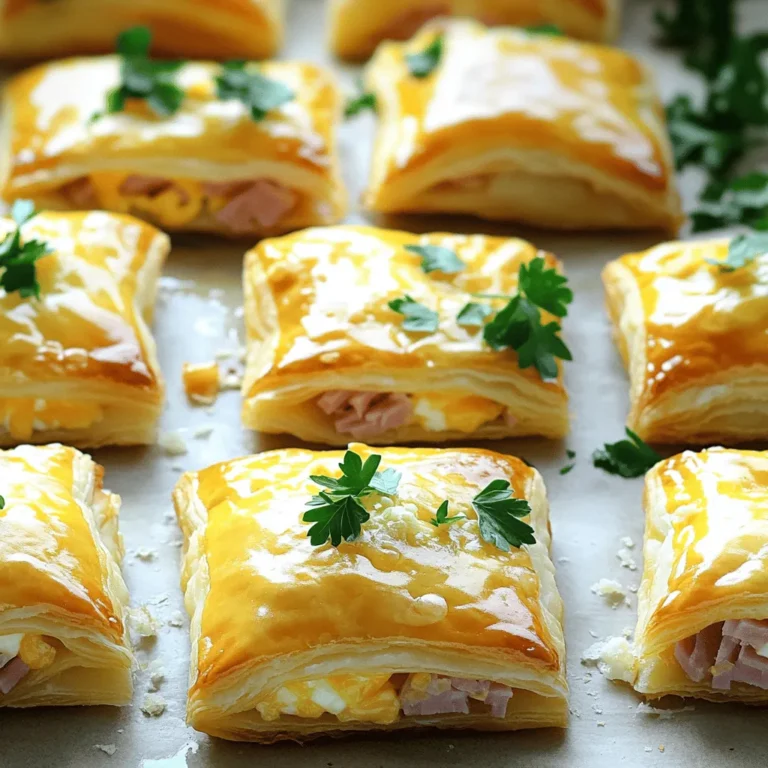
Ham & Cheese Puff Pastry Squares Tasty and Simple Snack
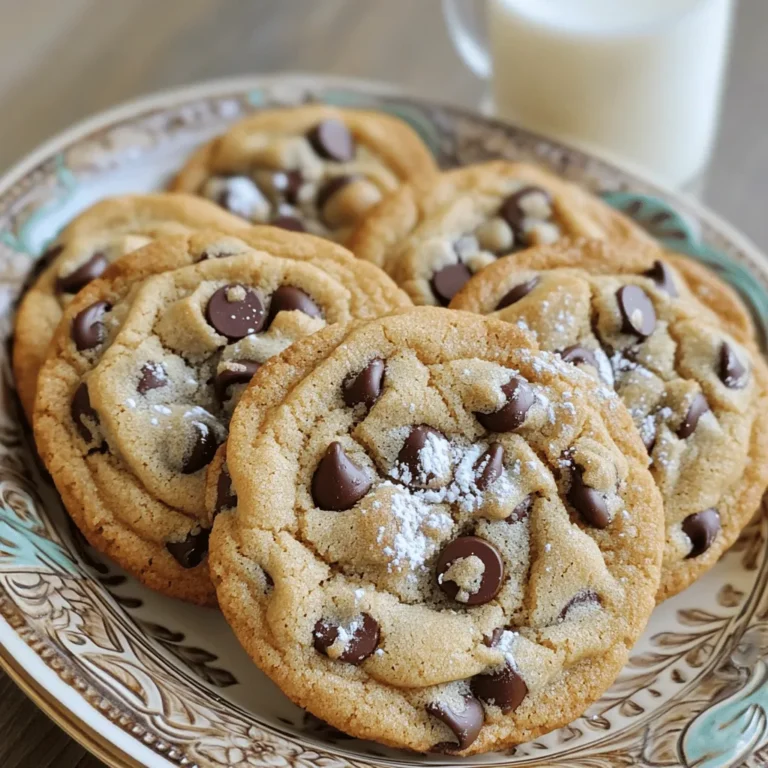
Crispy Chewy Chocolate Chip Cookies Irresistible Recipe
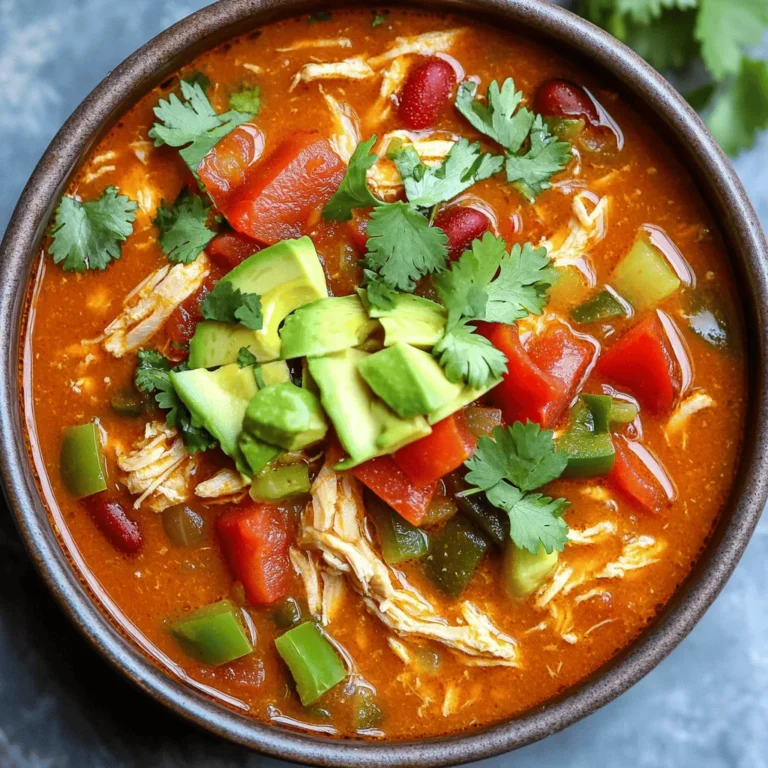
Whole30 Slow Cooker Chicken Chili Flavorful Delight
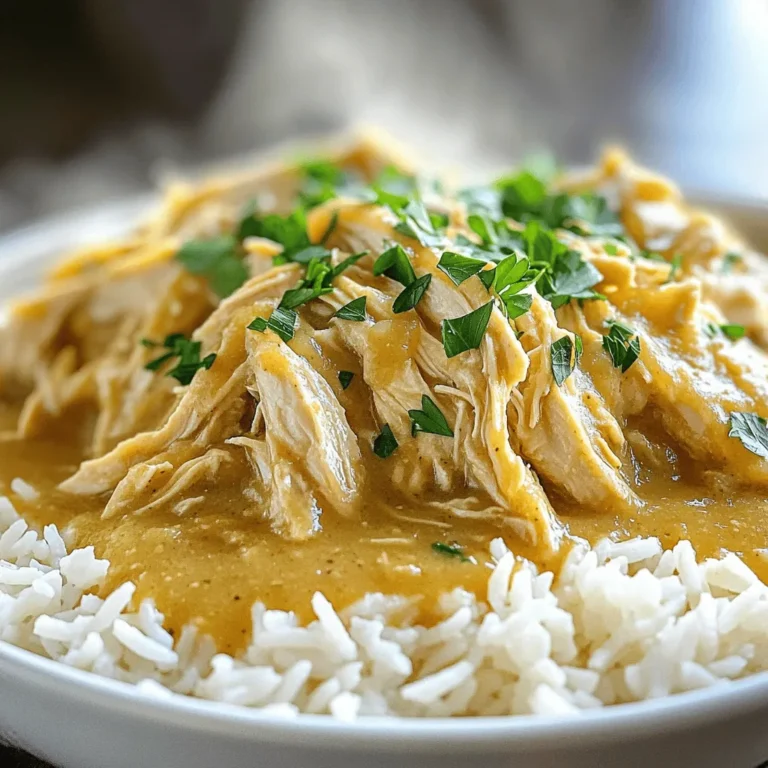
Best Crockpot Chicken and Gravy Flavorful Comfort Dish
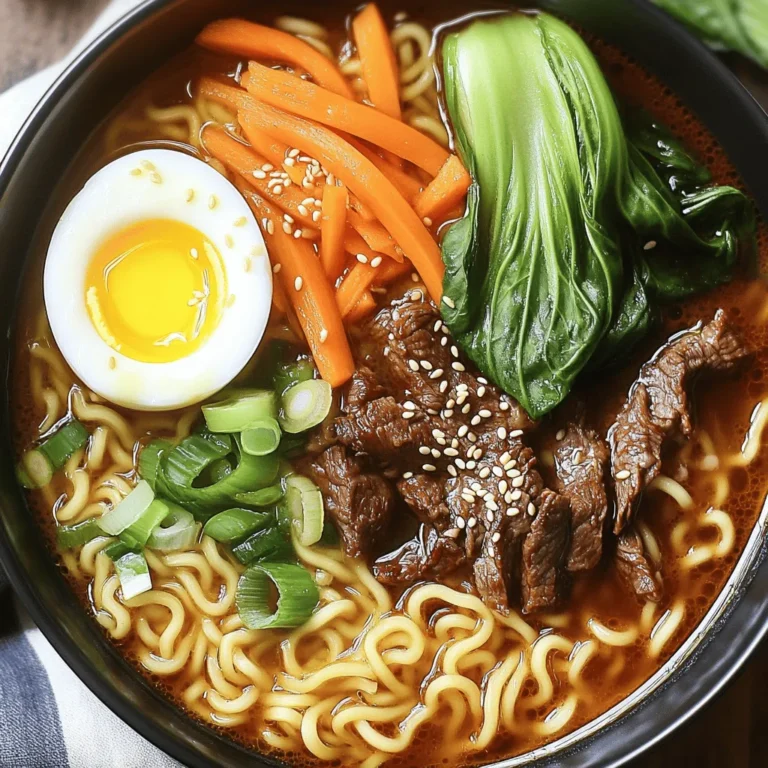
Spicy Korean Beef Ramen Flavorful and Satisfying Meal
Page navigation
Previous Page
Previous
1
…
7
8
9
10
11
…
62
Next Page
Next
Home
Dinner
Appetizer
Desserts
Drinks
About
Contact
Privacy Policy
Toggle Menu Close
Search for:
Search