Skip to content
About
Contact
Cookie Policy
Copyright Policy
Disclaimer
Search
Home
Dinner
Appetizer
Desserts
Drinks
About
Contact
Privacy Policy
Toggle Menu
Home
/
NO-ING-IMG
- Page 8
NO-ING-IMG
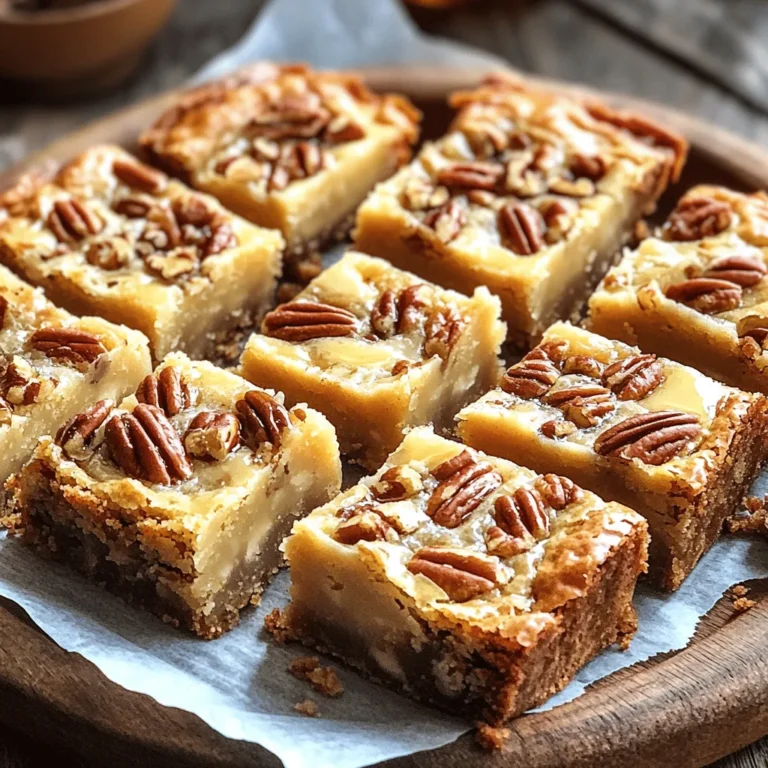
Brown Butter Maple Pecan Blondies Soft and Chewy Treat
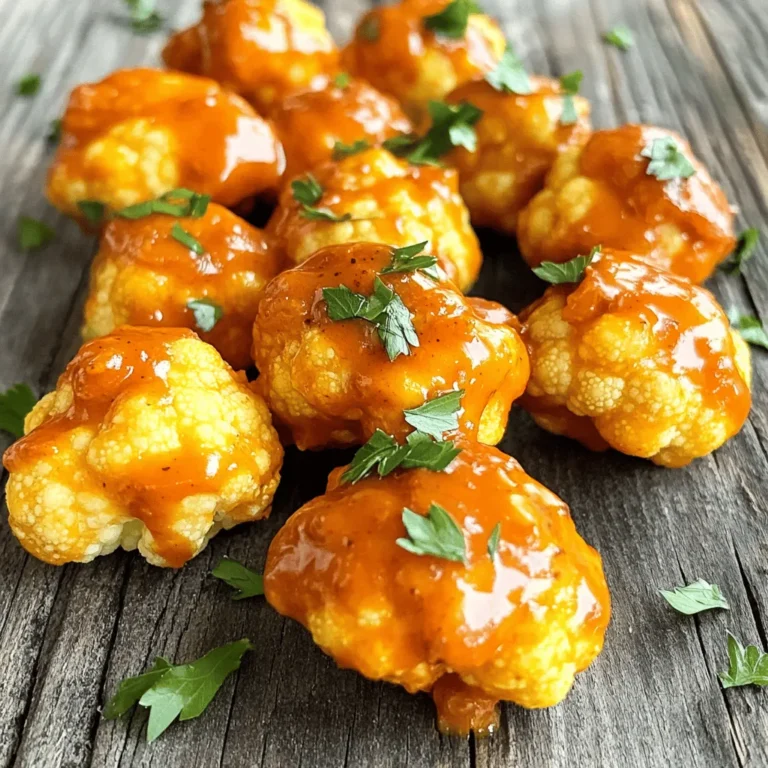
Air Fryer Crispy Buffalo Cauliflower Bites Delight
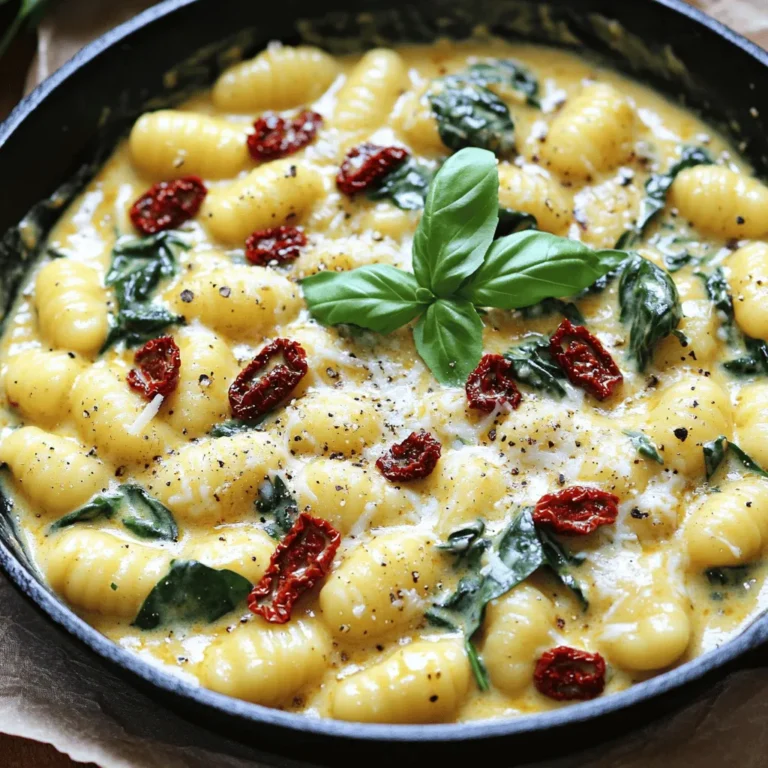
Creamy Sun-Dried Tomato Gnocchi Skillet Delight
Air Fryer Lemon Pepper Chicken Thighs Flavor Bliss
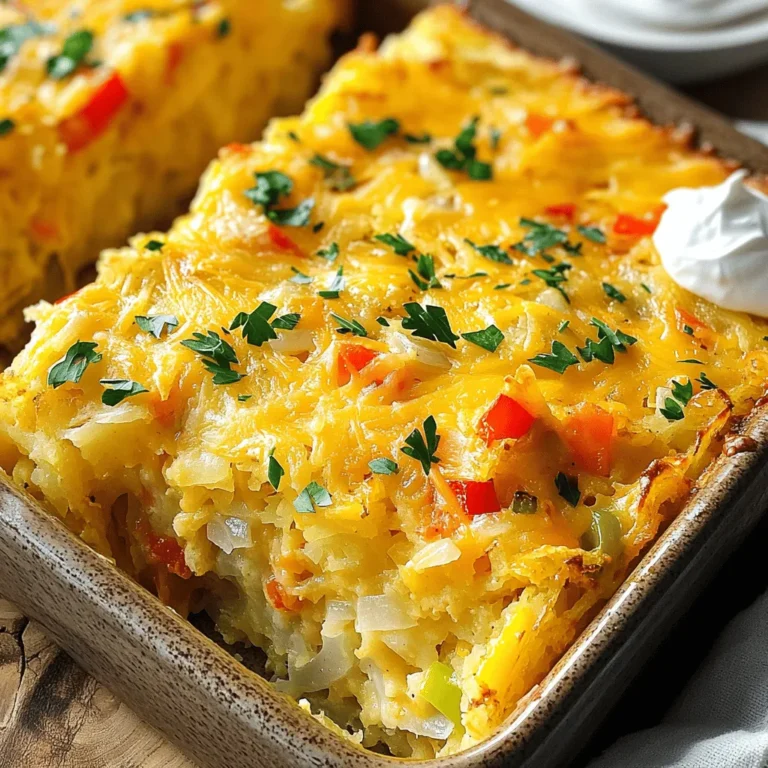
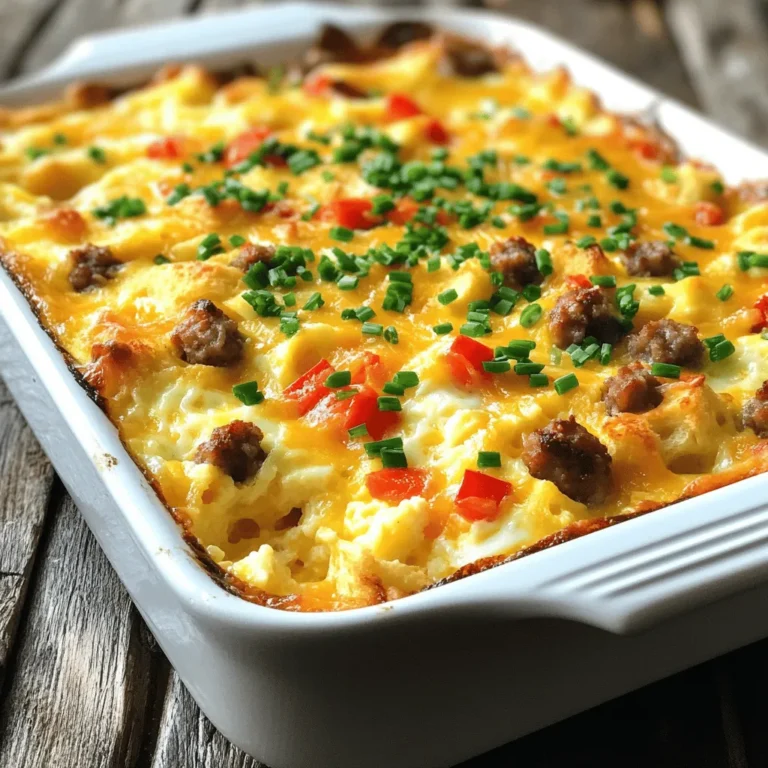
Hash Brown Breakfast Casserole Tasty Morning Meal
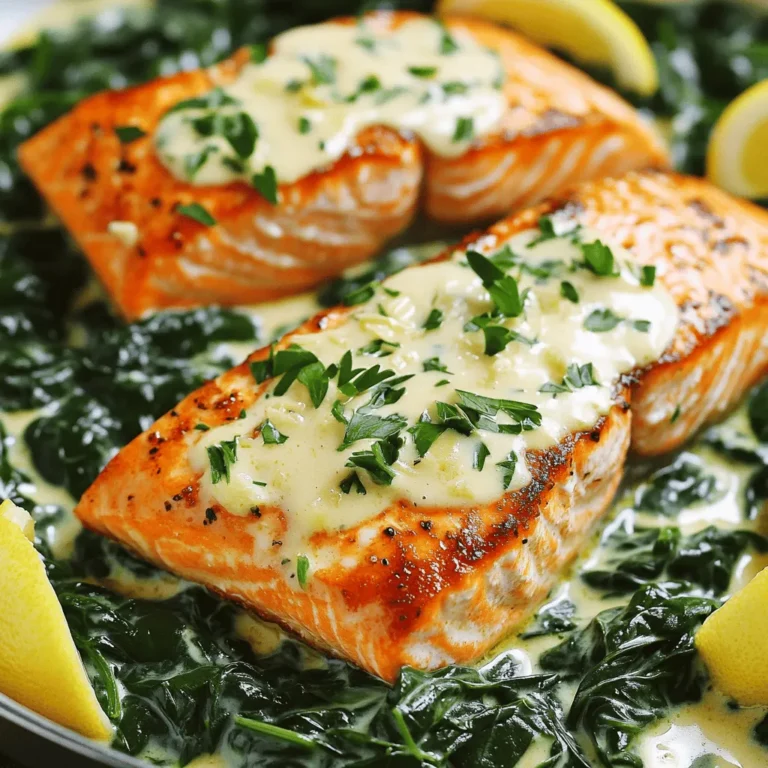
Easy Creamy Salmon Florentine Irresistible Weeknight Meal
Ultimate Breakfast Casserole Easy and Tasty Recipe
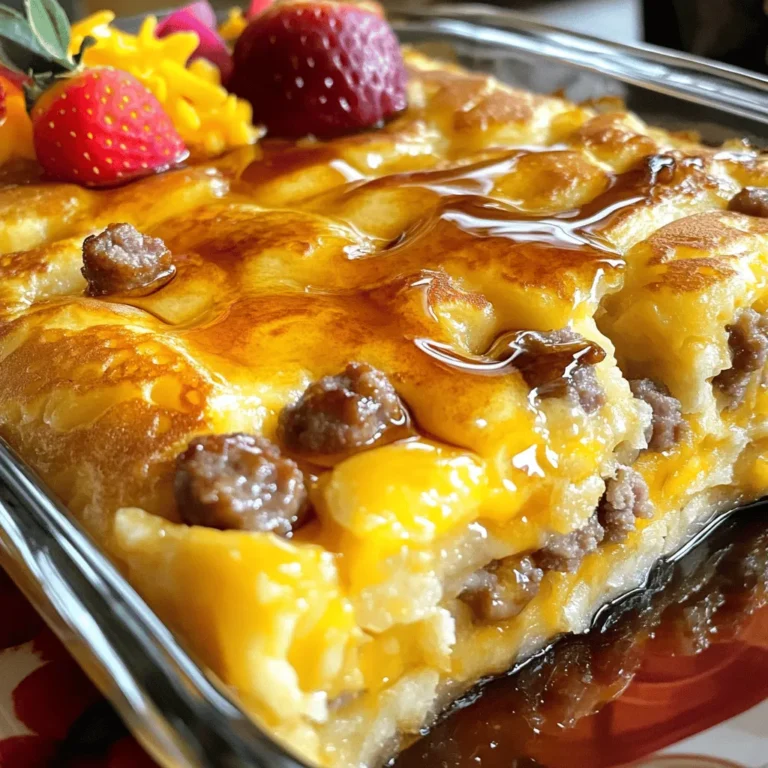
Sausage Pancake Breakfast Casserole Easy Family Meal
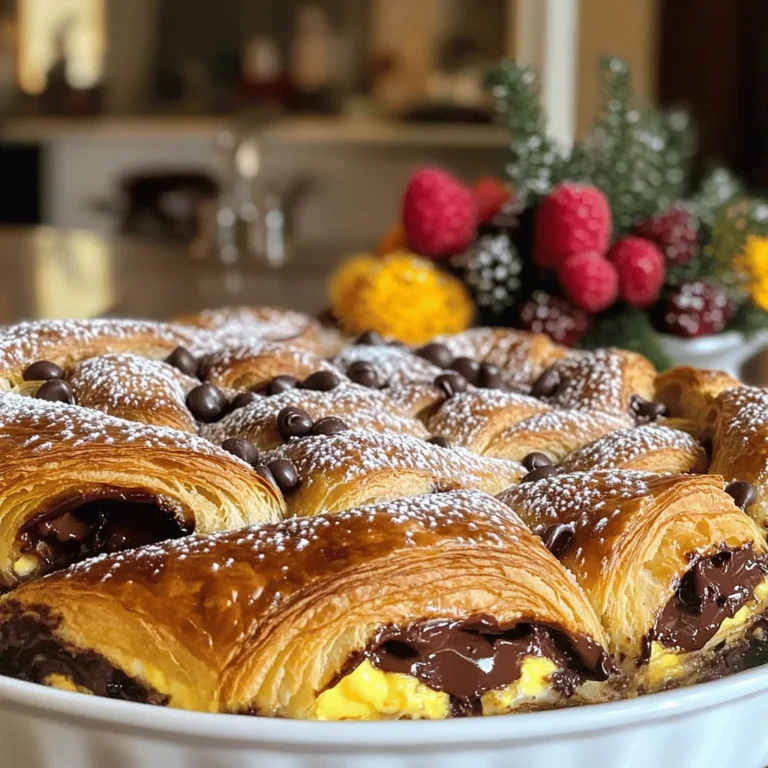
Chocolate Croissant Breakfast Bake Delightful Recipe
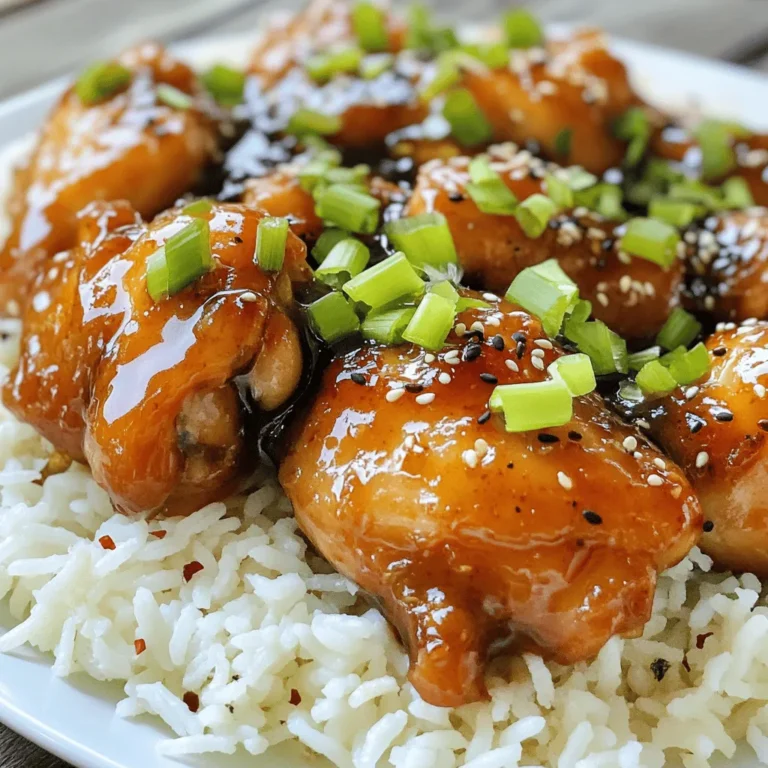
Bourbon Chicken Copycat Easy and Flavorful Recipe
Page navigation
Previous Page
Previous
1
…
6
7
8
9
10
…
62
Next Page
Next
Home
Dinner
Appetizer
Desserts
Drinks
About
Contact
Privacy Policy
Toggle Menu Close
Search for:
Search