Skip to content
About
Contact
Cookie Policy
Copyright Policy
Disclaimer
Search
Home
Dinner
Appetizer
Desserts
Drinks
About
Contact
Privacy Policy
Toggle Menu
Home
/
NO-ING-IMG
- Page 62
NO-ING-IMG
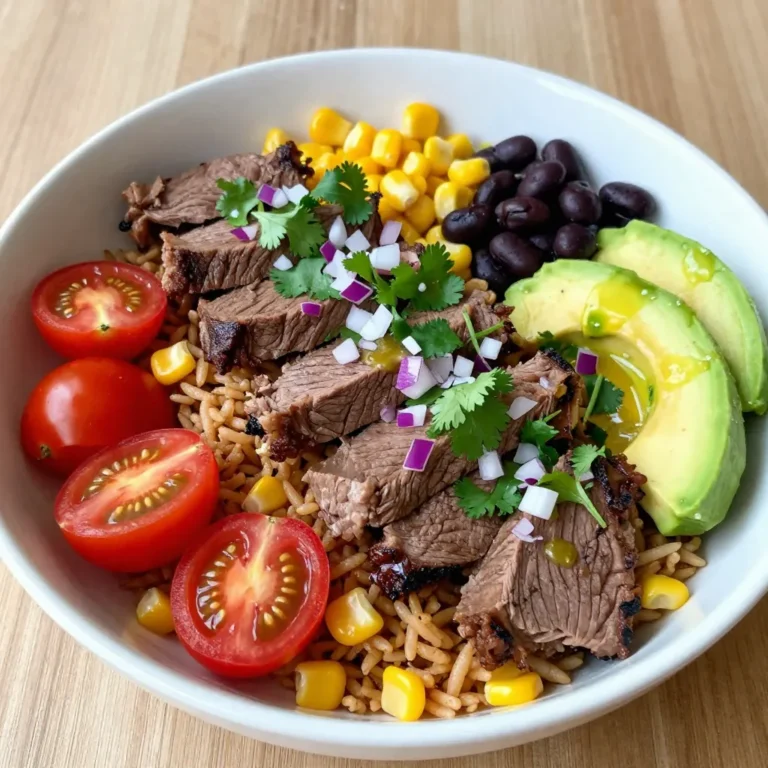
Cilantro Lime Steak Bowls Flavorful and Easy Recipe
Korean Pot Roast Hearty and Flavorful Family Dinner
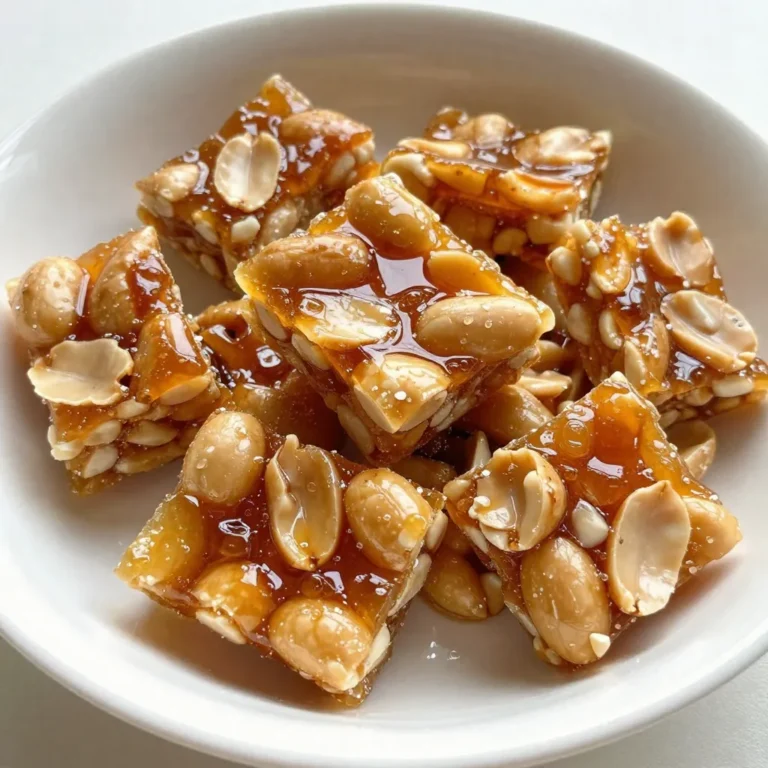
Old-Fashioned Peanut Brittle Crunchy and Tasty Treat
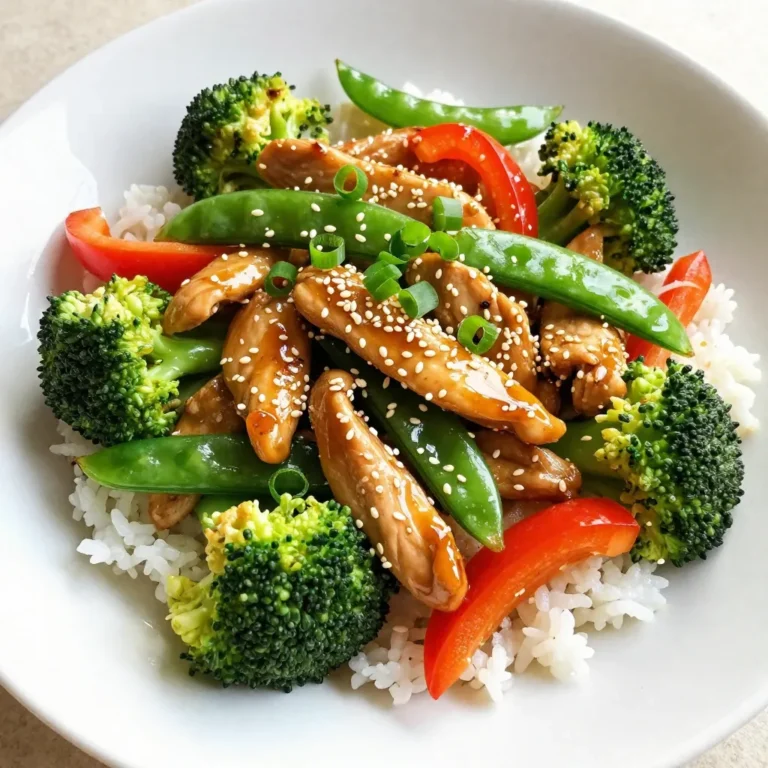
Honey Sesame Chicken Stir Fry Flavorful Family Meal
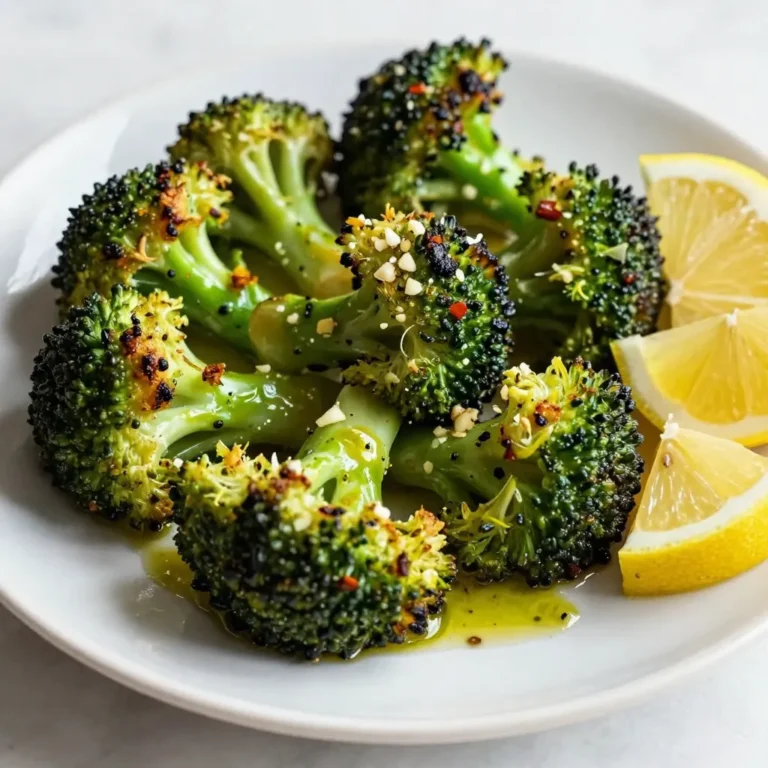
Easy Oven Roasted Broccoli Simple and Healthy Delight
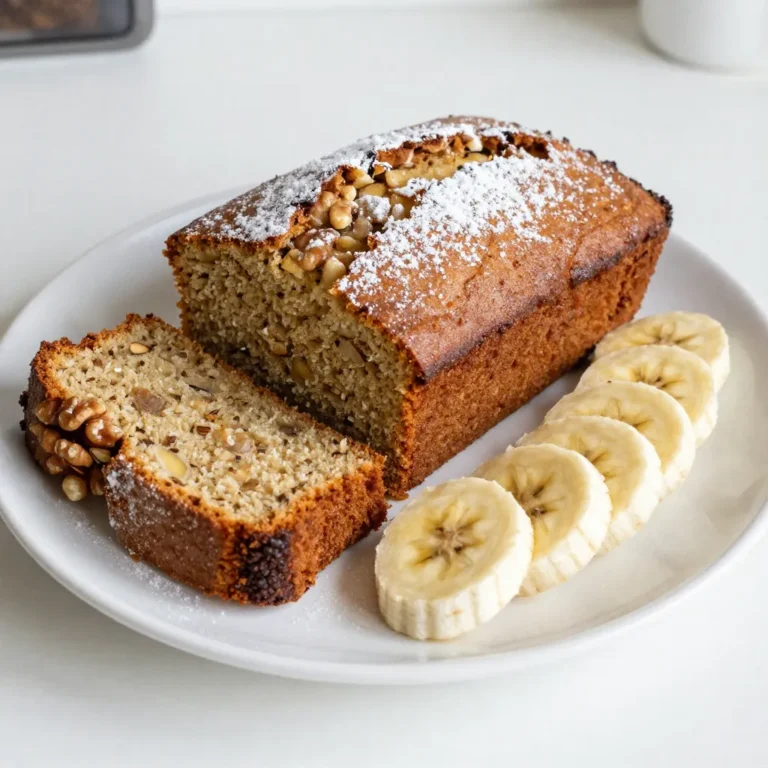
Starbucks Copycat Banana Bread Simple and Tasty Recipe
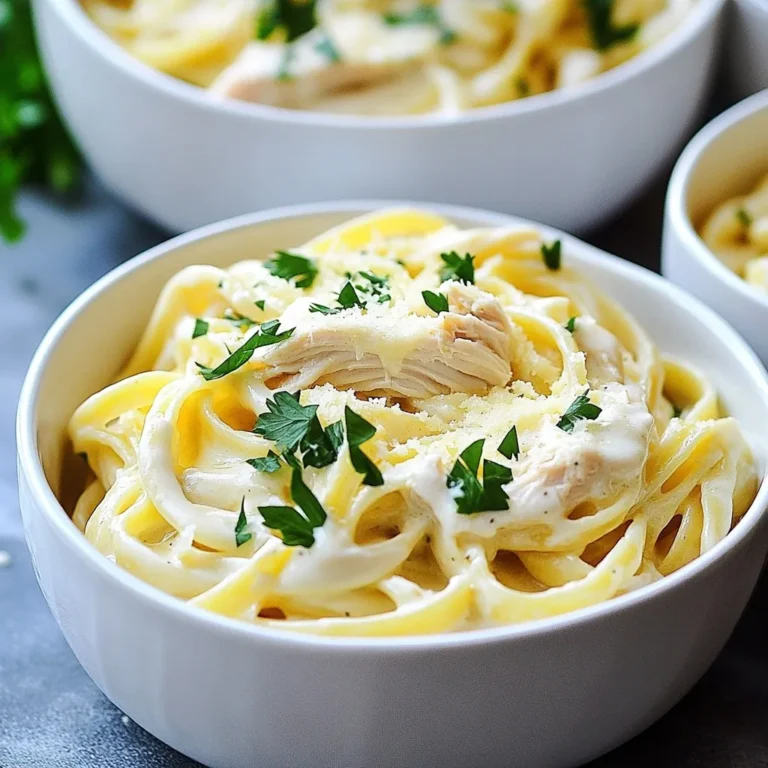
Dump-and-Go Crockpot Chicken Alfredo Simple Recipe
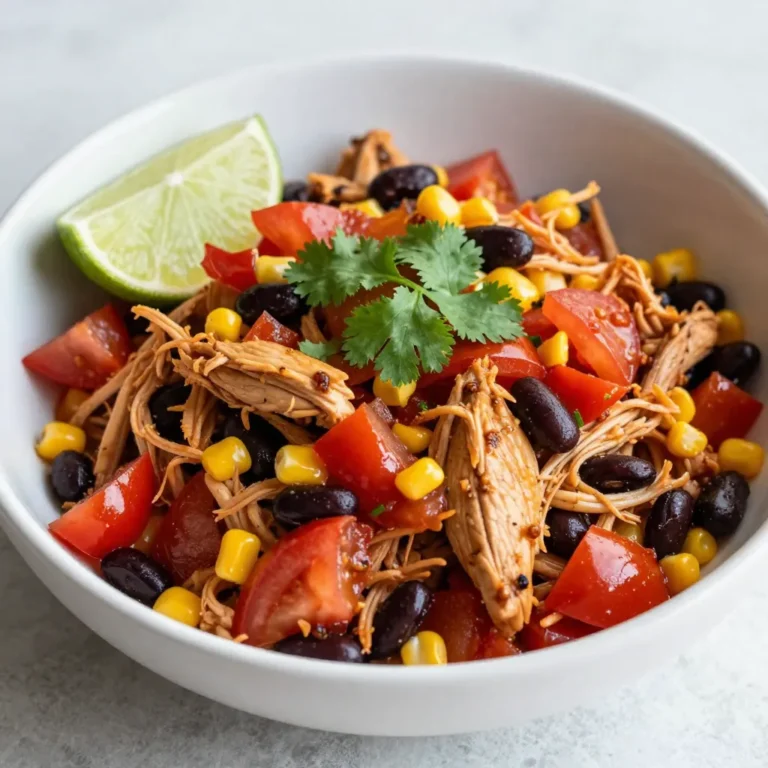
Dump-and-Go Chicken Crockpot Dinner Recipe Delight
Iced Pumpkin Spice Latte Simple and Tasty Recipe
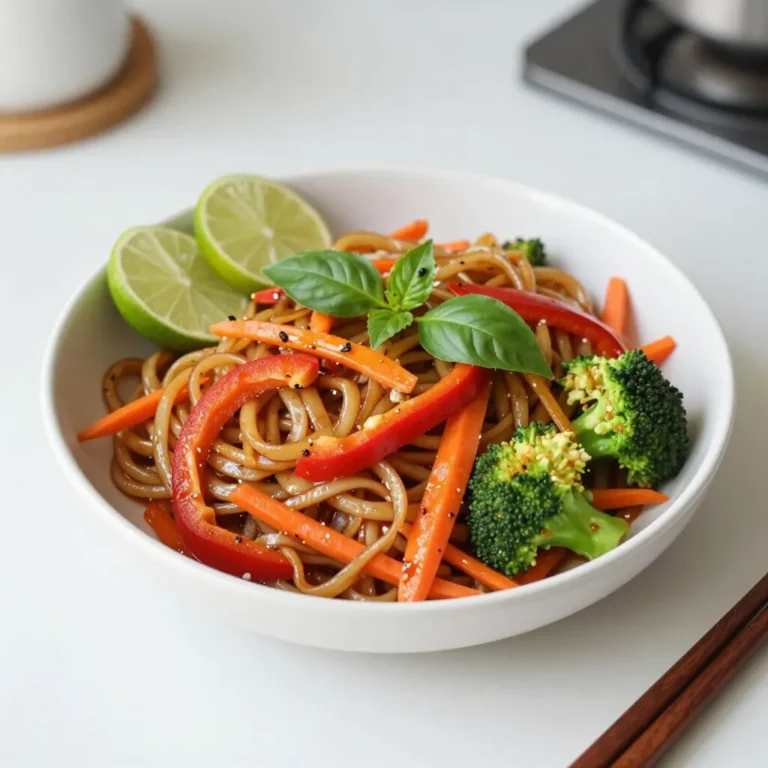
Thai Drunken Noodles Flavorful and Quick Recipe Guide
Page navigation
Previous Page
Previous
1
…
60
61
62
Home
Dinner
Appetizer
Desserts
Drinks
About
Contact
Privacy Policy
Toggle Menu Close
Search for:
Search