Skip to content
About
Contact
Cookie Policy
Copyright Policy
Disclaimer
Search
Home
Dinner
Appetizer
Desserts
Drinks
About
Contact
Privacy Policy
Toggle Menu
Home
/
NO-ING-IMG
- Page 61
NO-ING-IMG
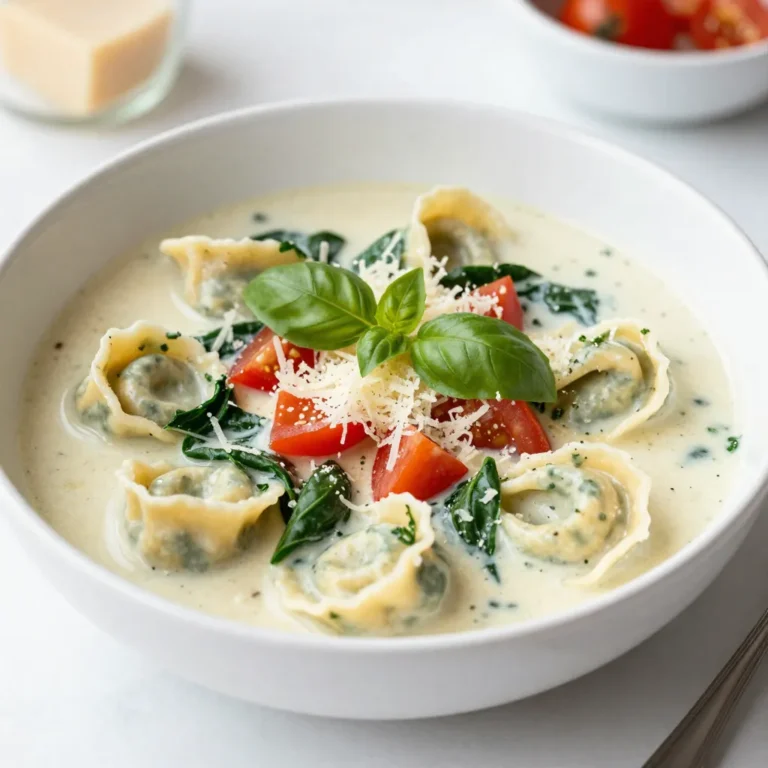
Creamy Tortellini Soup Rich and Hearty Meal Option
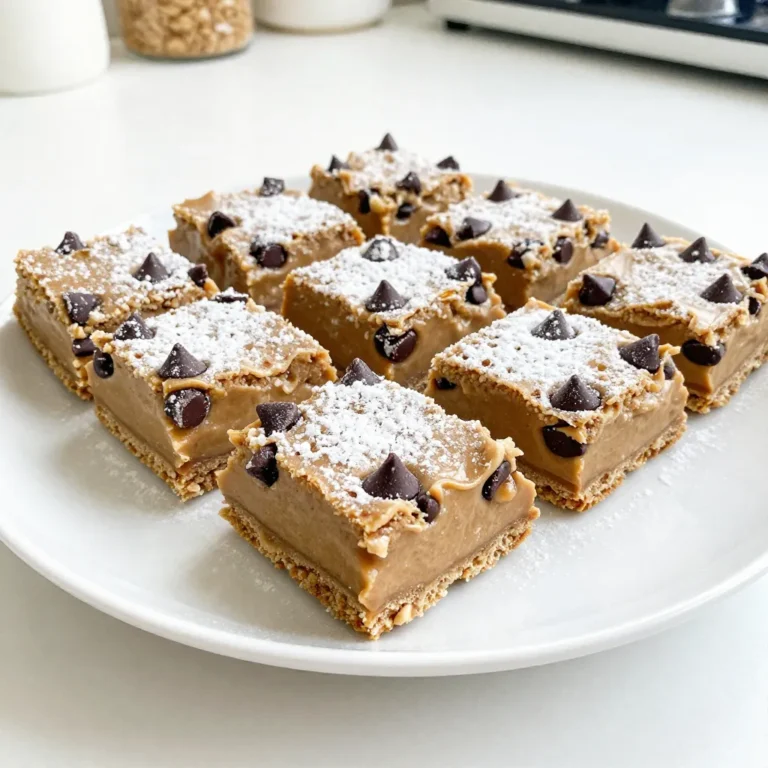
No-Bake Peanut Butter Bars Simple and Tasty Treat
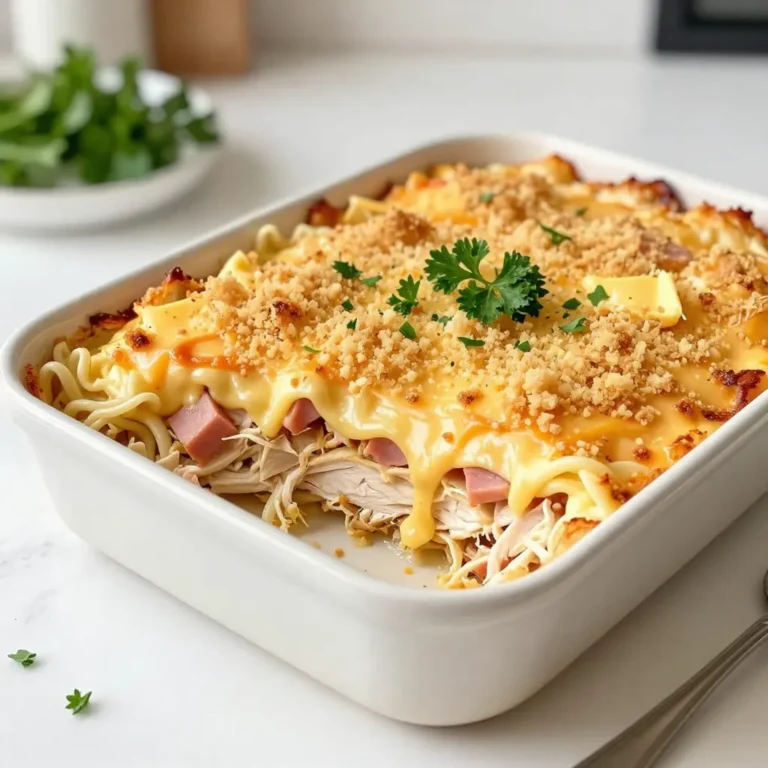
Chicken Cordon Bleu Casserole Hearty and Simple Dish
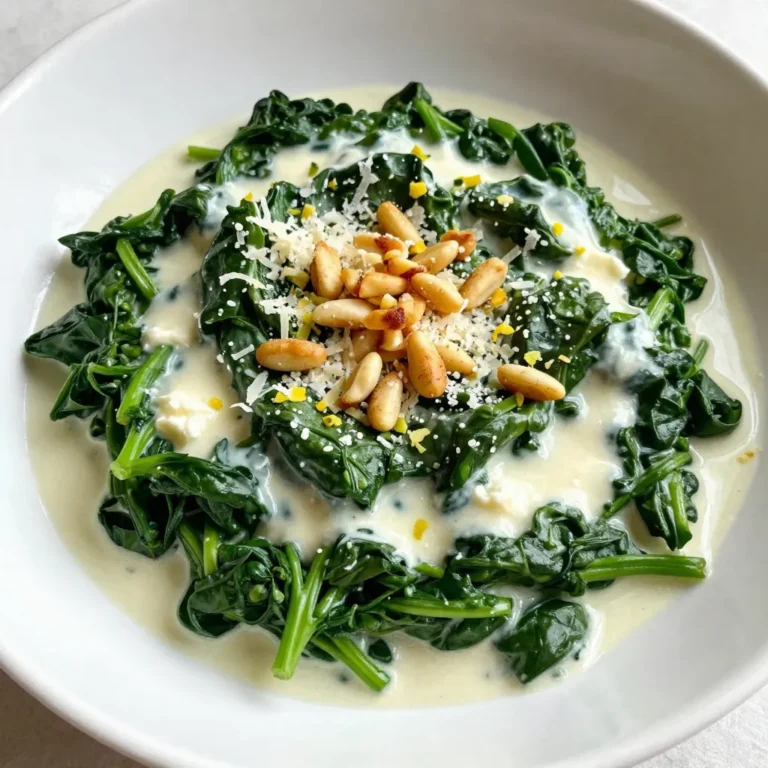
Creamed Spinach Supreme Tasty and Simple Recipe
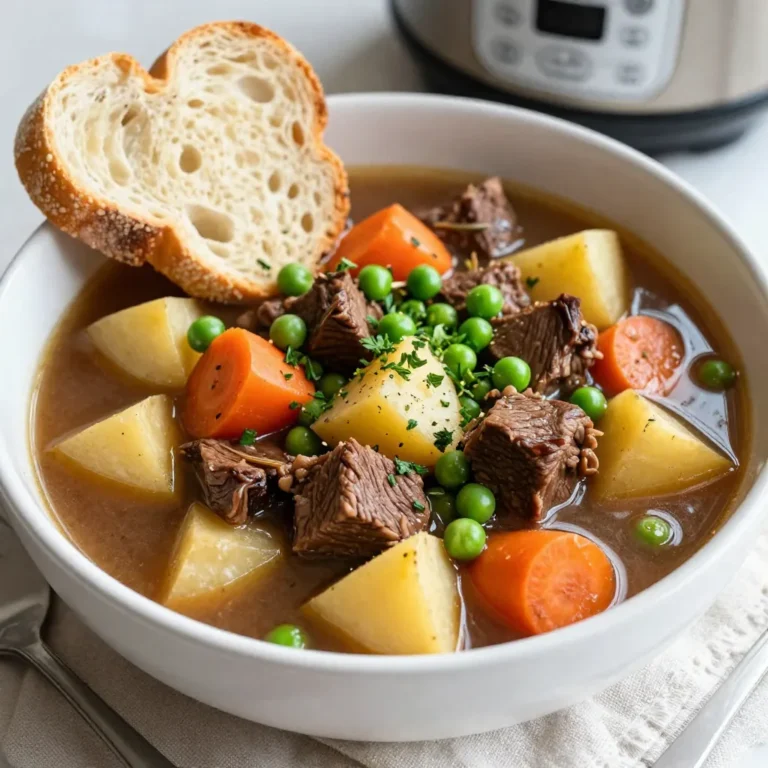
Instant Pot Beef Stew Hearty and Comforting Recipe
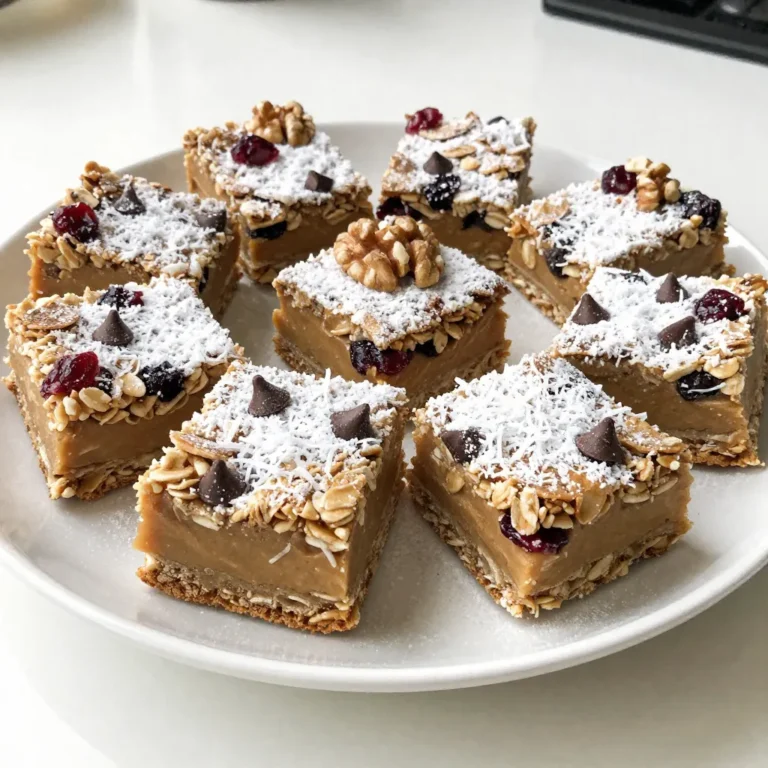
No-Bake Christmas Cookie Medley Festive Holiday Treat
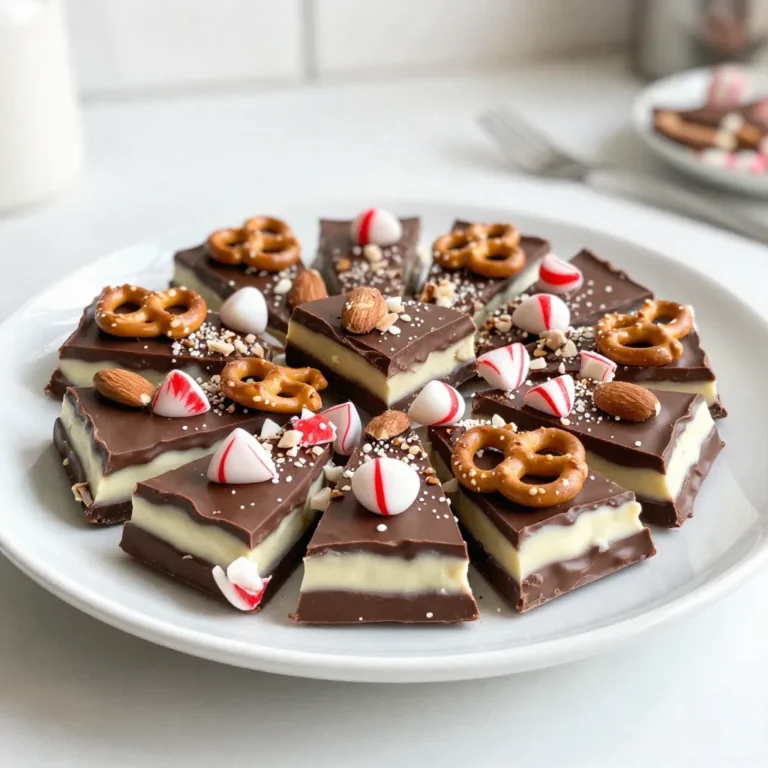
Festive Peppermint Bark Crunch Irresistible Delight
Festive Christmas Salad Vibrant and Flavorful Meal
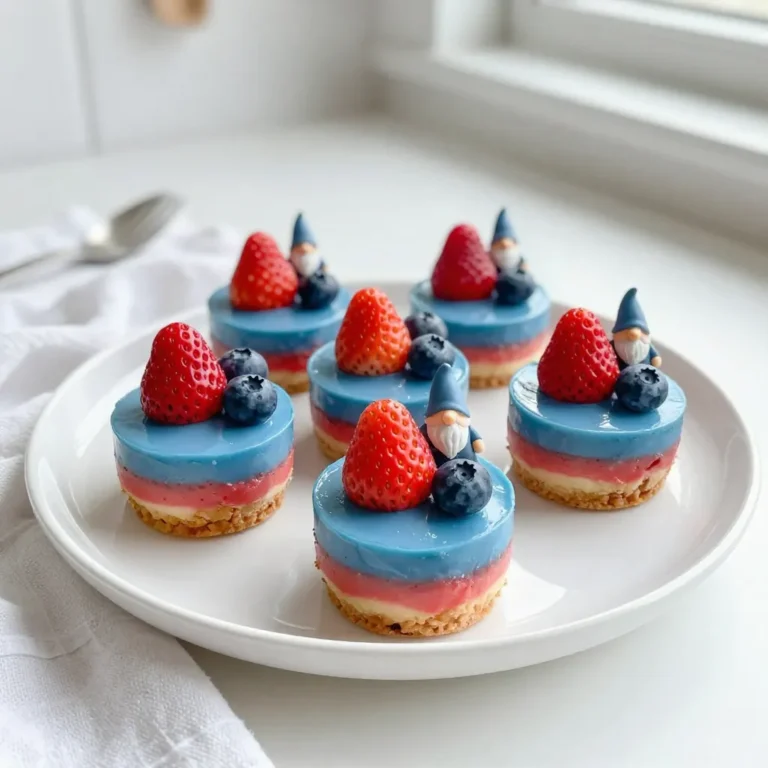
No-Bake Gnome Mini Cheesecakes Delightful Treat
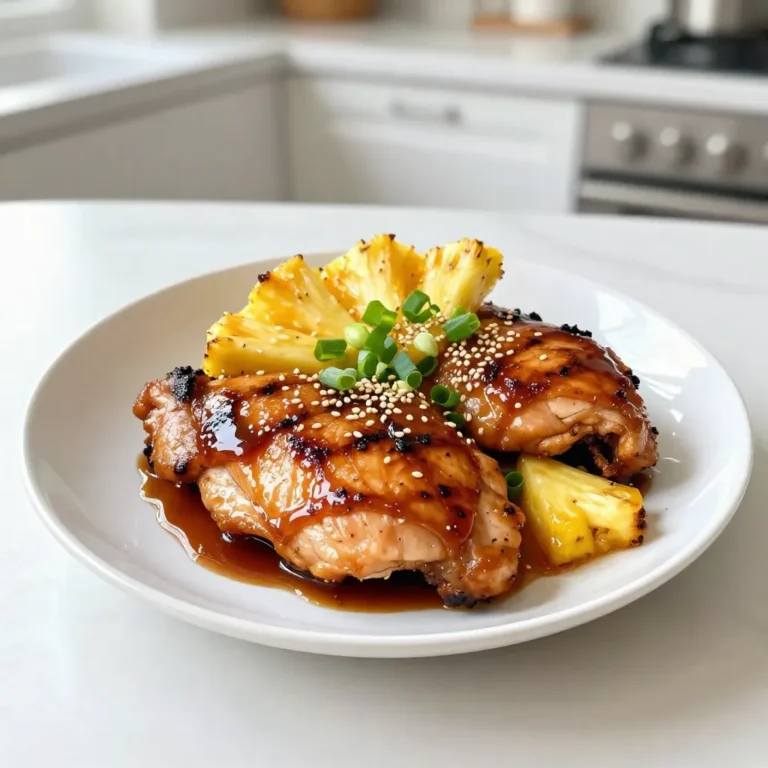
Brown Sugar Pineapple Chicken Easy Grilling Recipe
Page navigation
Previous Page
Previous
1
…
59
60
61
62
Next Page
Next
Home
Dinner
Appetizer
Desserts
Drinks
About
Contact
Privacy Policy
Toggle Menu Close
Search for:
Search