Skip to content
About
Contact
Cookie Policy
Copyright Policy
Disclaimer
Search
Home
Dinner
Appetizer
Desserts
Drinks
About
Contact
Privacy Policy
Toggle Menu
Home
/
NO-ING-IMG
- Page 60
NO-ING-IMG
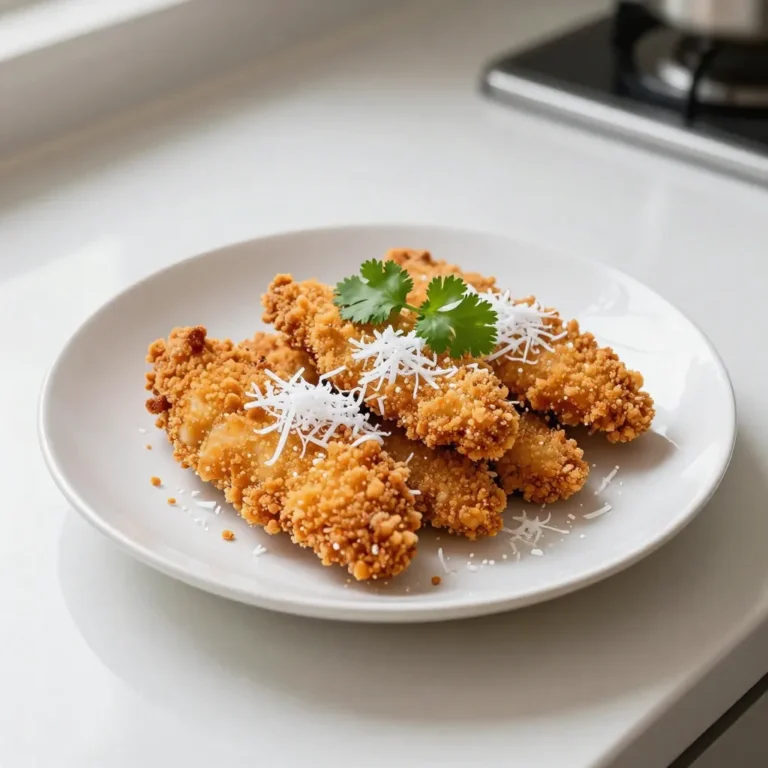
Coconut Crunch Chicken Crispy Delightful Dish
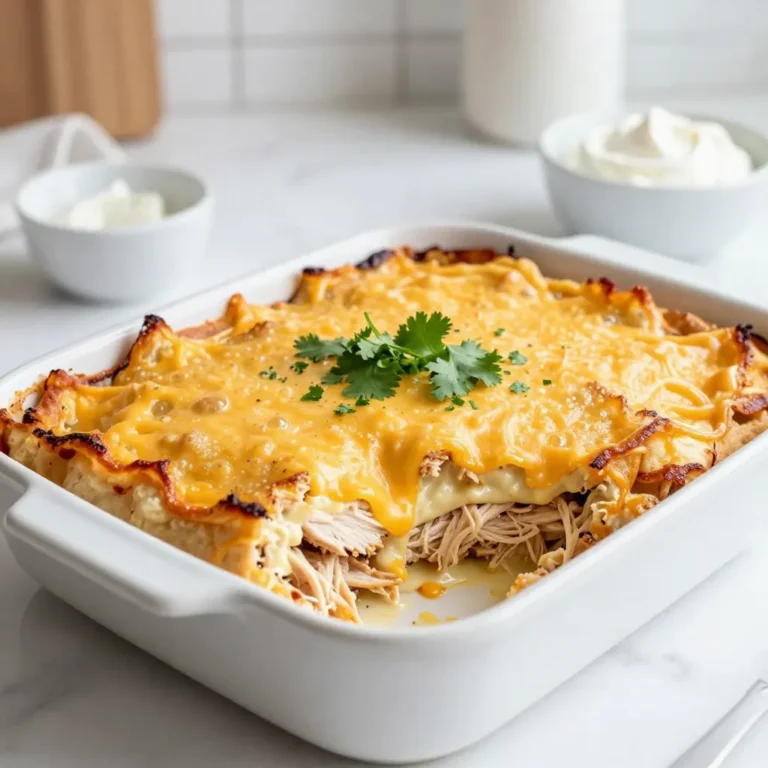
King Ranch Chicken Casserole Flavorful Comfort Meal
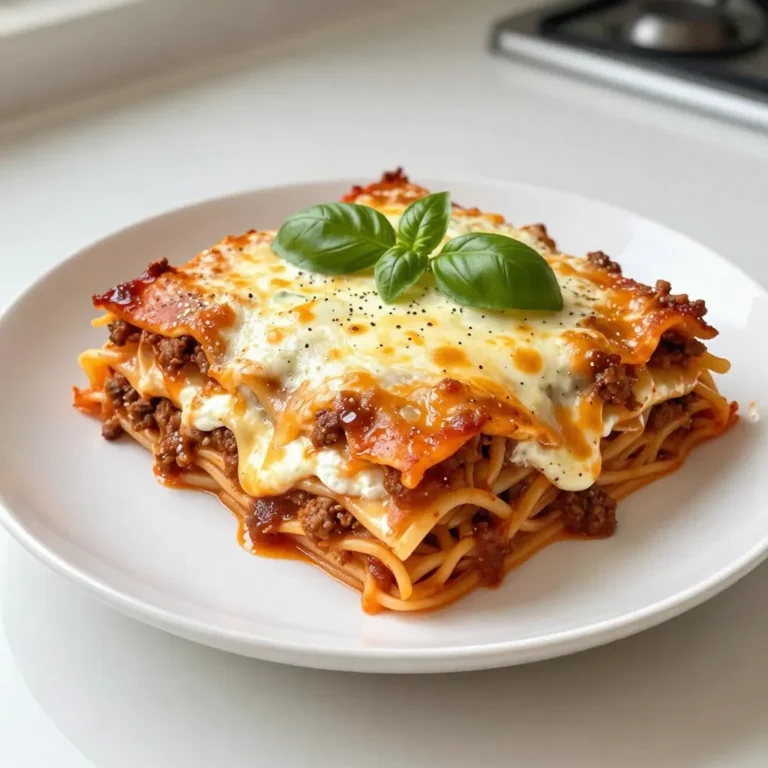
Cheesy Weeknight Lasagna Simple and Quick Recipe
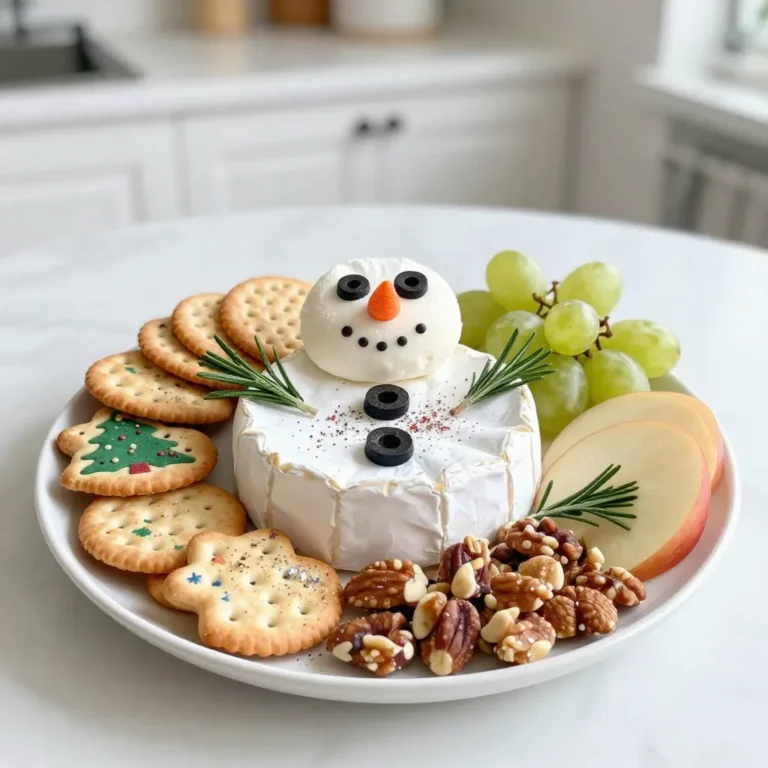
Snowman Christmas Cheese Board Festive Delight Recipe
Thanksgiving Cranberry Goat Cheese Crostini Delight
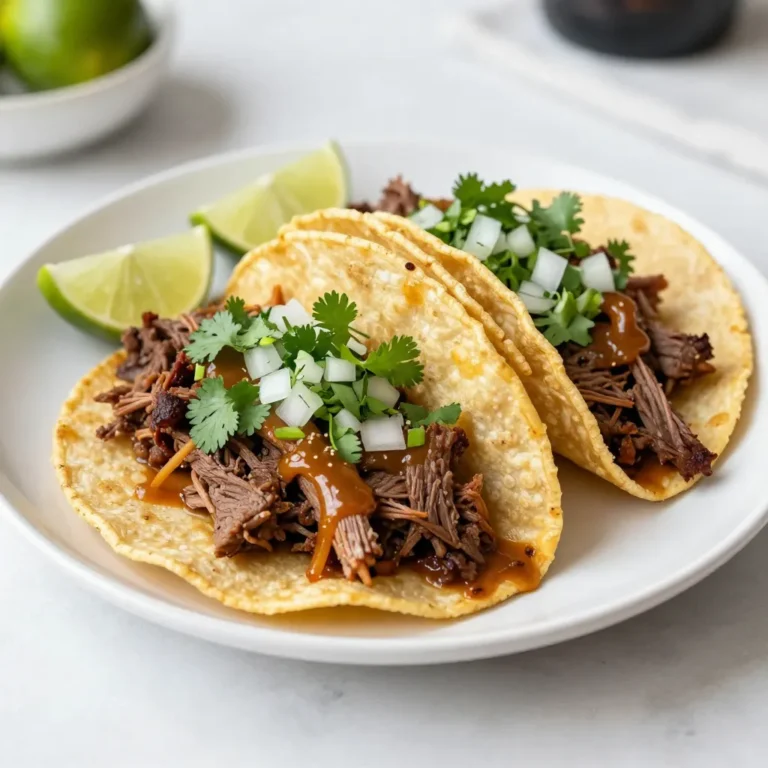
Slow Cooker Birria Tacos Flavorful and Easy Recipe
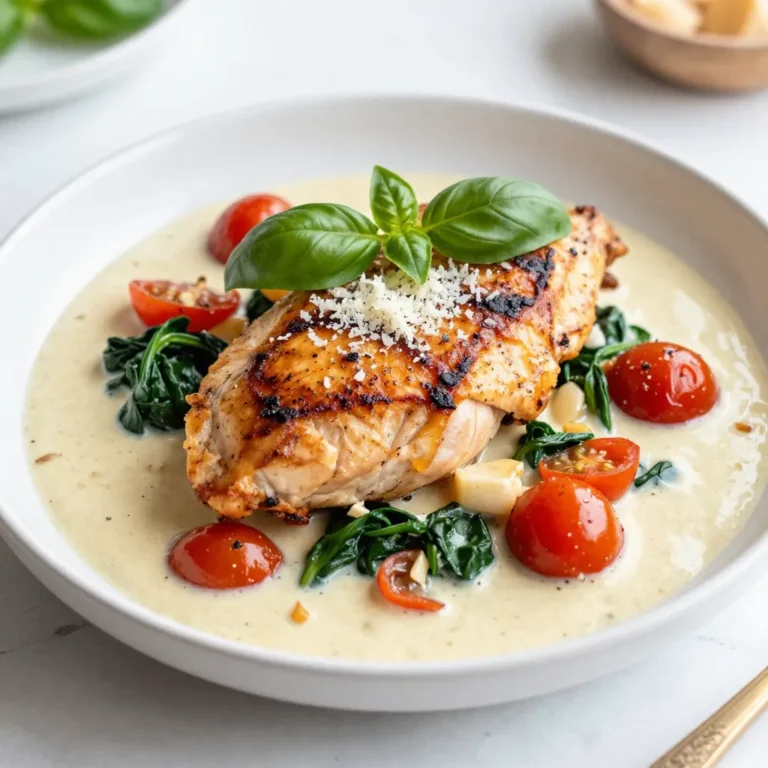
Creamy Garlic Tuscan Chicken Flavorful Dinner Delight
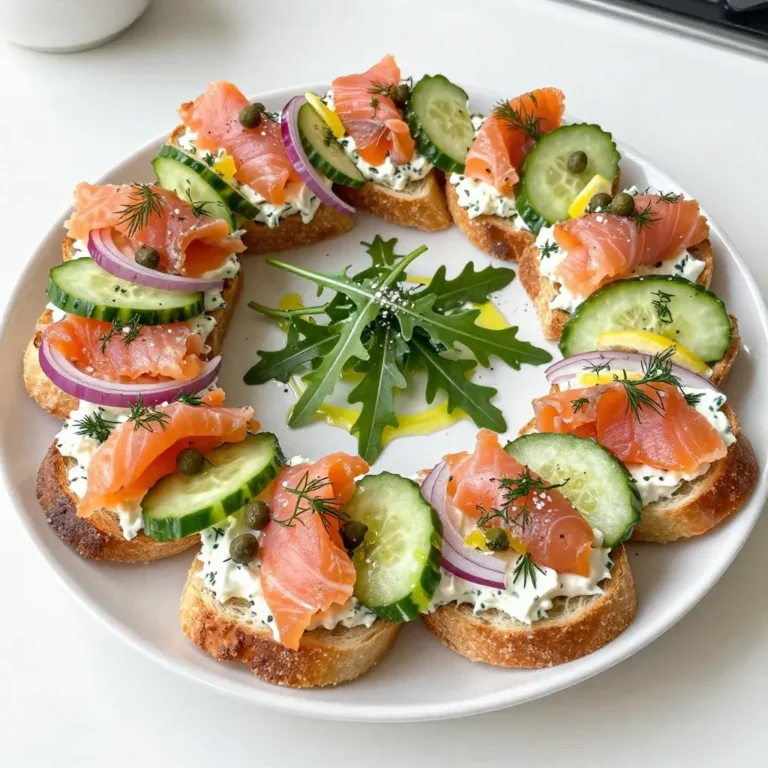
Smoked Salmon Bruschetta Wreath Festive and Flavorful
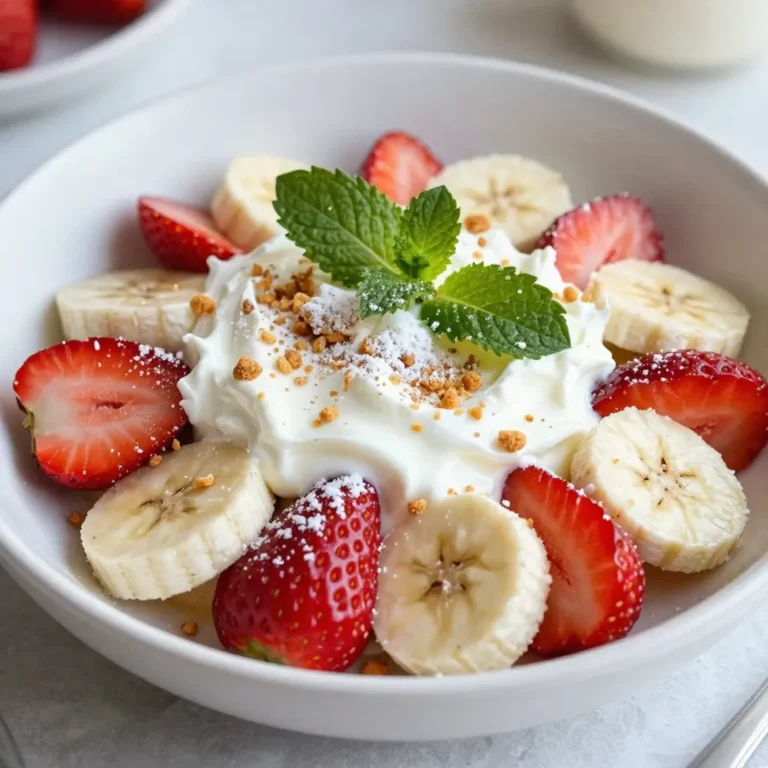
Strawberry Banana Cheesecake Salad Creamy Delight
Snickerdoodle Cheesecake Rich and Creamy Delight
Page navigation
Previous Page
Previous
1
…
58
59
60
61
62
Next Page
Next
Home
Dinner
Appetizer
Desserts
Drinks
About
Contact
Privacy Policy
Toggle Menu Close
Search for:
Search