Skip to content
About
Contact
Cookie Policy
Copyright Policy
Disclaimer
Search
Home
Dinner
Appetizer
Desserts
Drinks
About
Contact
Privacy Policy
Toggle Menu
Home
/
NO-ING-IMG
- Page 59
NO-ING-IMG
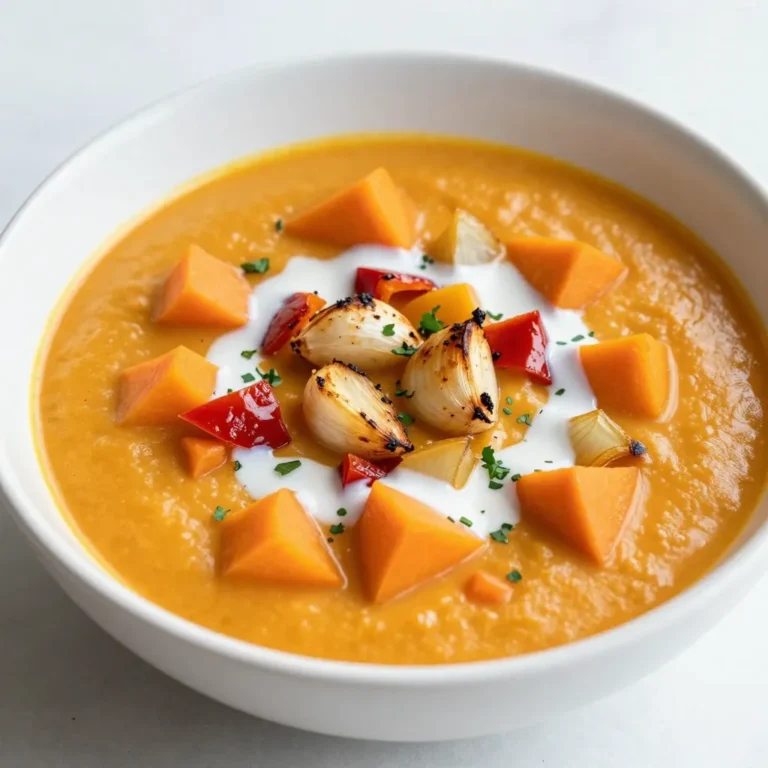
Creamy Roasted Vegetable Soup Rich and Flavorful Recipe
Slow Cooker Olive Garden Chicken Alfredo Pasta Delight
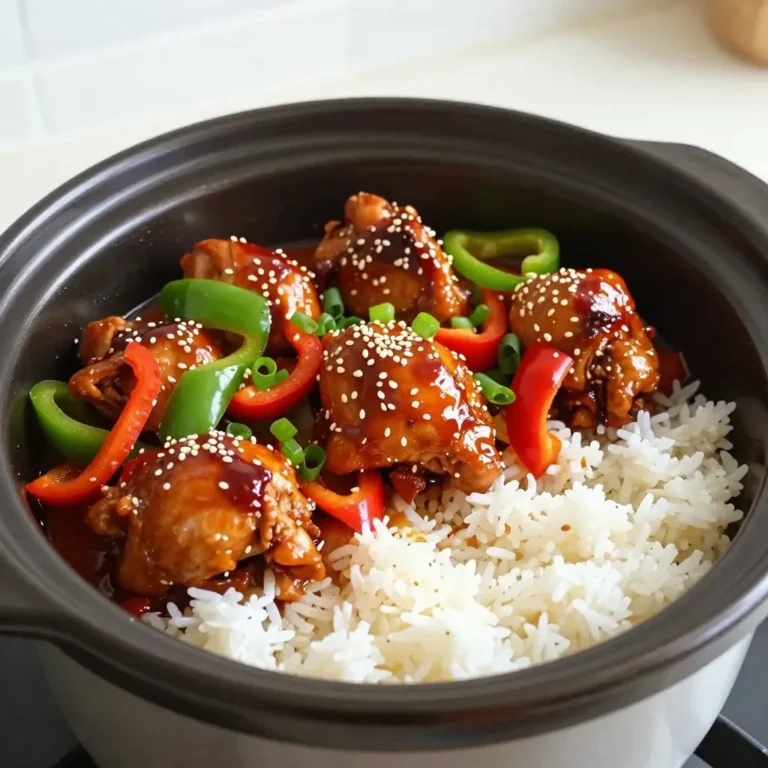
Slow Cooker Sweet Chili Chicken Flavorful Dinner Idea
Cranberry Glazed Meatballs Simple and Tasty Recipe
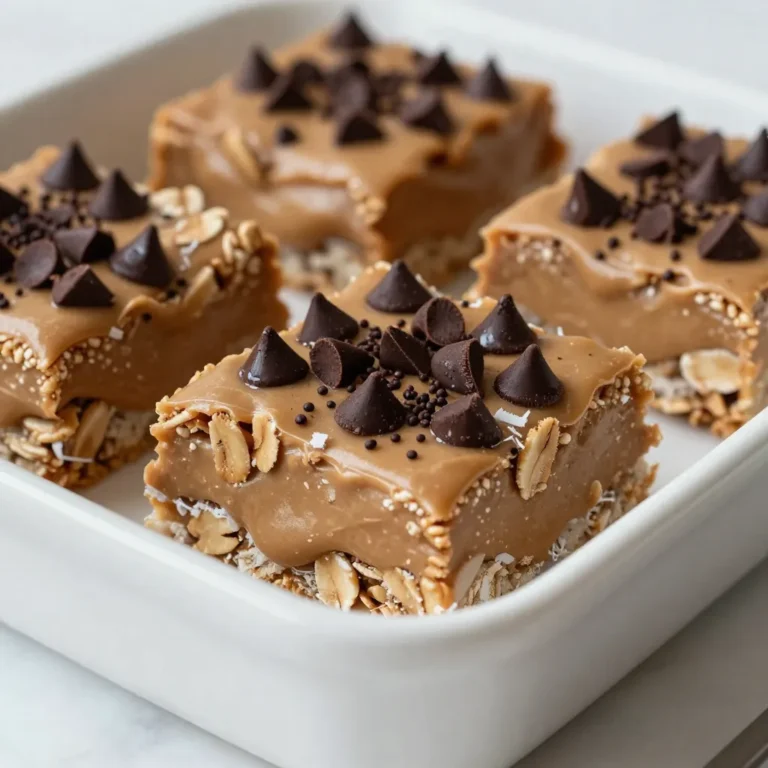
No-Bake Peanut Butter Bars Easy and Delicious Treat
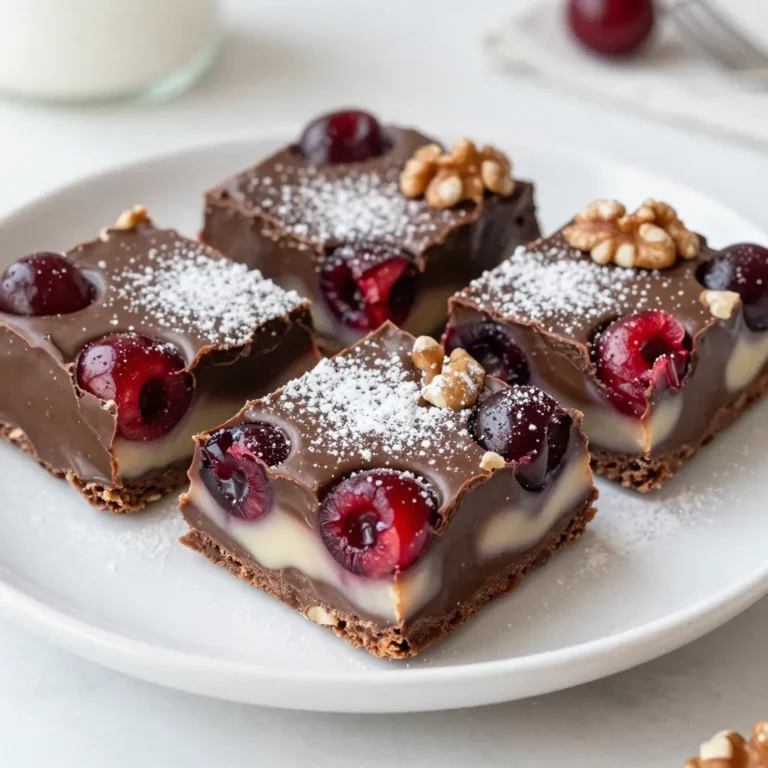
Cherry Garcia Fudge Squares Easy and Delicious Treat
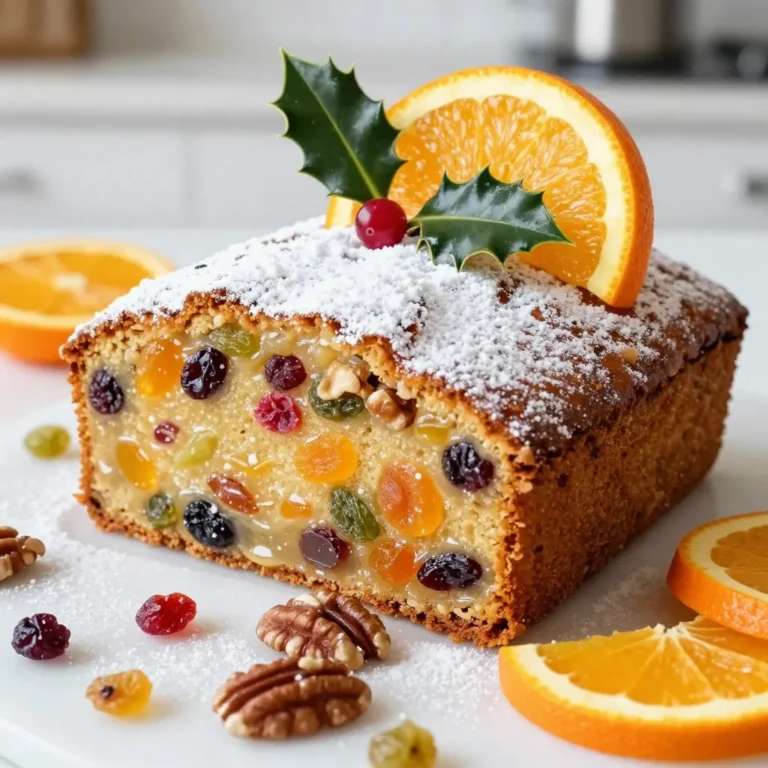
Classic Christmas Fruitcake Festive and Flavorful Treat
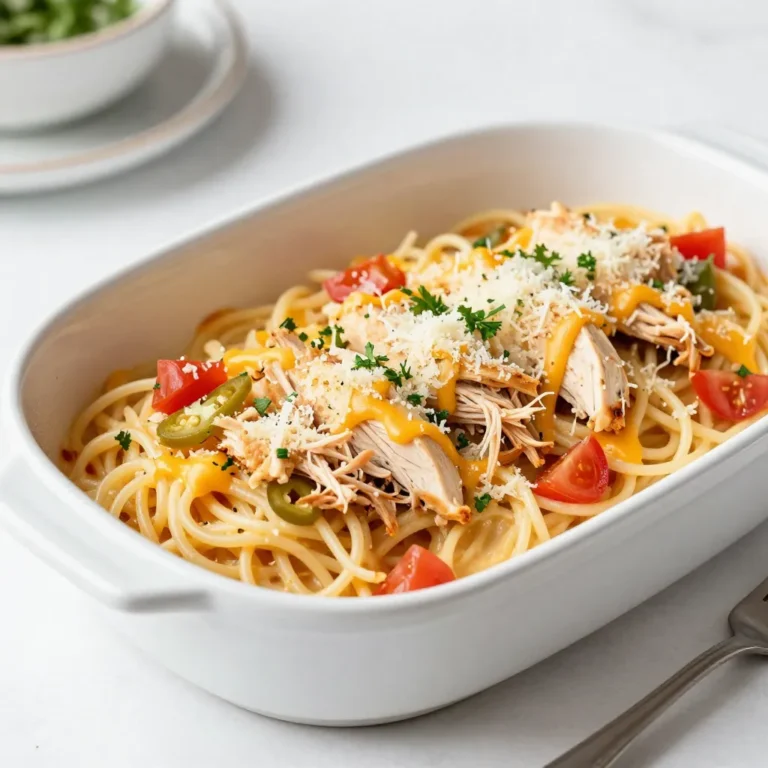
Million Dollar Chicken Spaghetti Comfort Food Delight
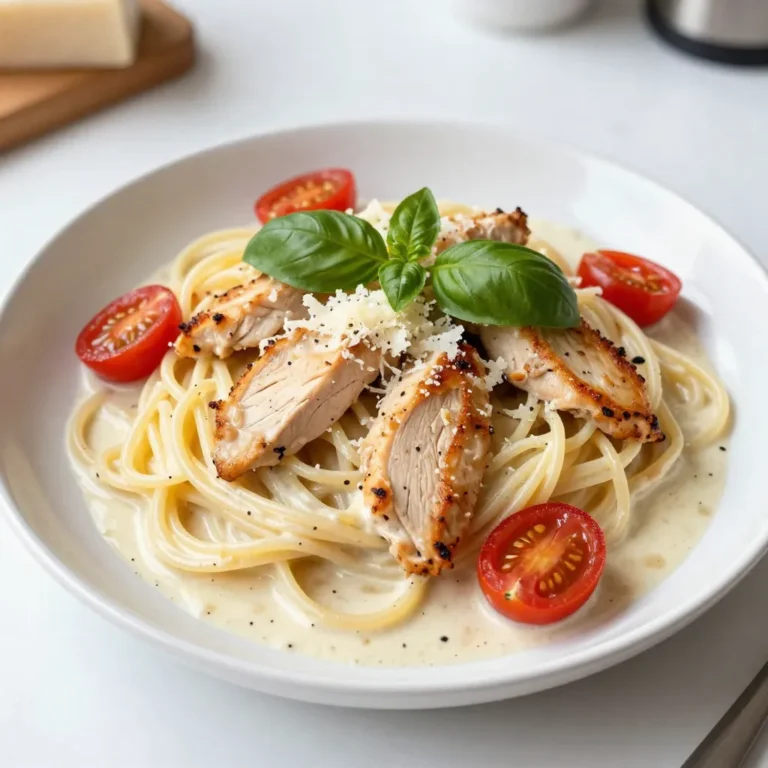
Easy Chicken Spaghetti Quick and Creamy Meal Guide
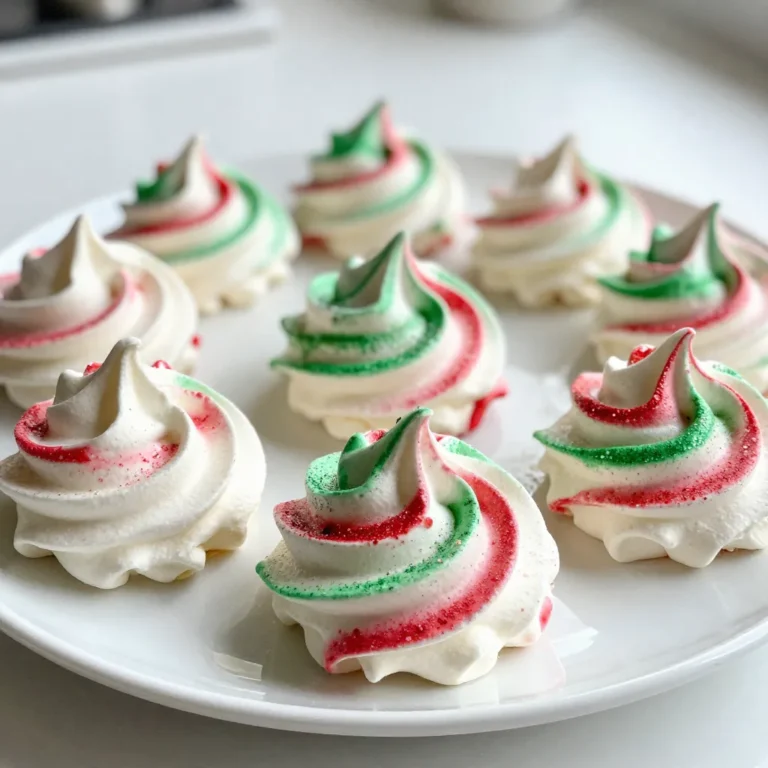
Christmas Meringue Kisses Delightful and Festive Treat
Page navigation
Previous Page
Previous
1
…
57
58
59
60
61
62
Next Page
Next
Home
Dinner
Appetizer
Desserts
Drinks
About
Contact
Privacy Policy
Toggle Menu Close
Search for:
Search