Skip to content
About
Contact
Cookie Policy
Copyright Policy
Disclaimer
Search
Home
Dinner
Appetizer
Desserts
Drinks
About
Contact
Privacy Policy
Toggle Menu
Home
/
NO-ING-IMG
- Page 56
NO-ING-IMG
Lazy Chicken Parmesan Grilled Cheese Delightful Twist
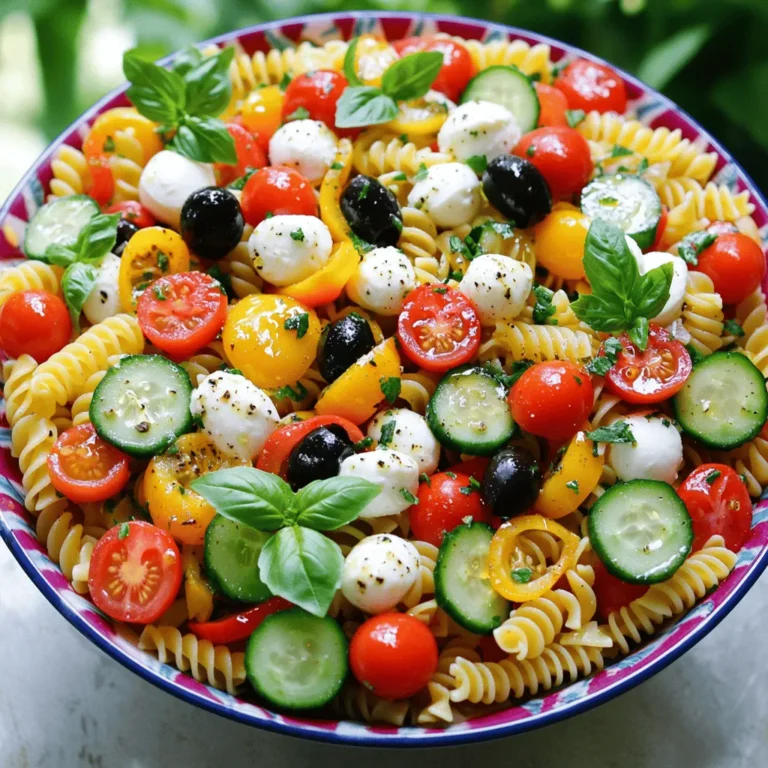
Italian Pasta Salad Flavorful and Fresh Recipe Guide
Creamy Mango Cheesecake Delightful Dessert Recipe
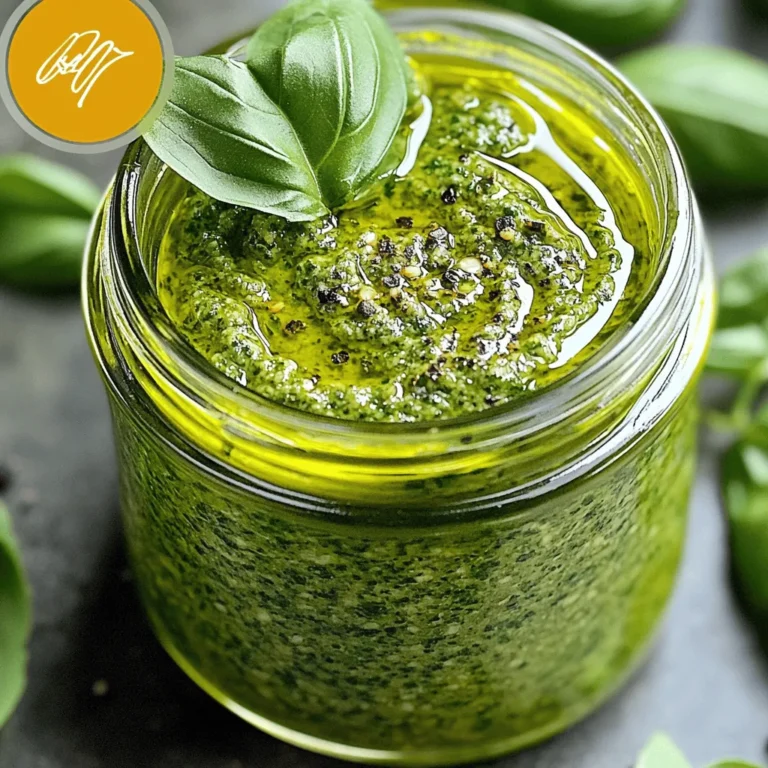
Pesto Recipe without Nuts Easy and Flavorful Dish
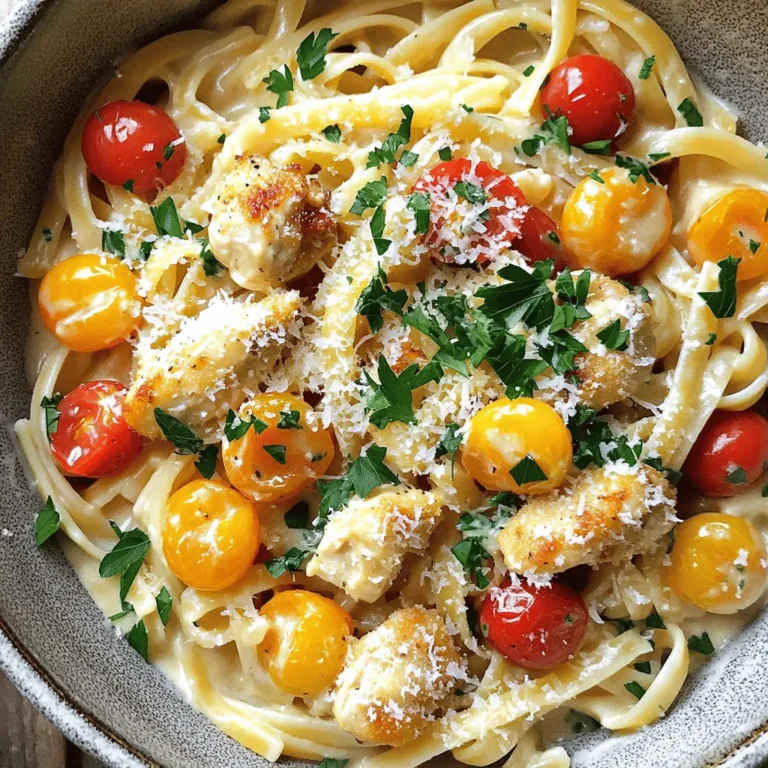
Cowboy Butter Chicken Linguine Flavorful Cream Dish
Mini Pineapple Upside-Down Cheesecakes Flavor Burst
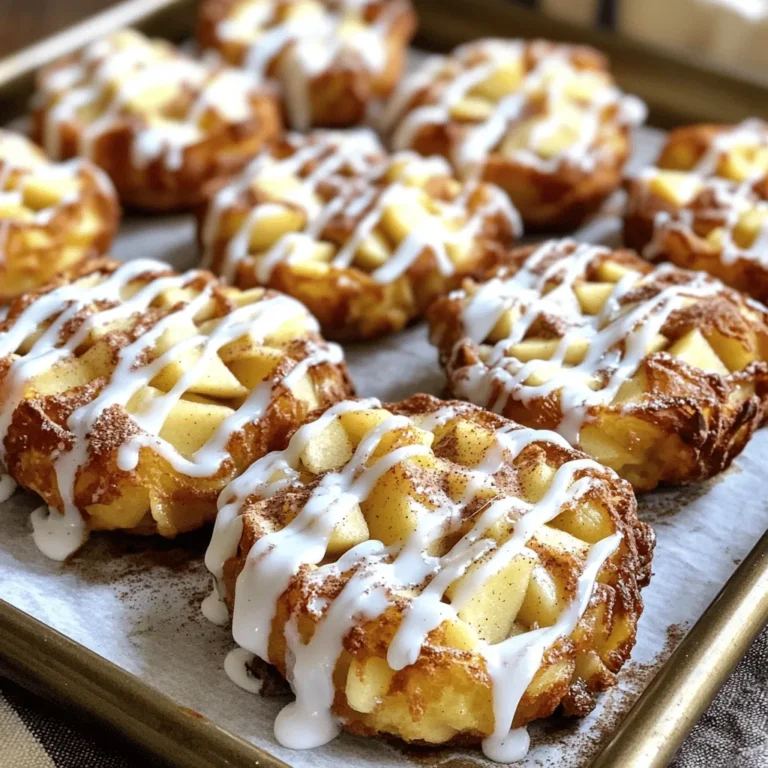
Homemade Baked Apple Fritters Sweet and Simple Treat
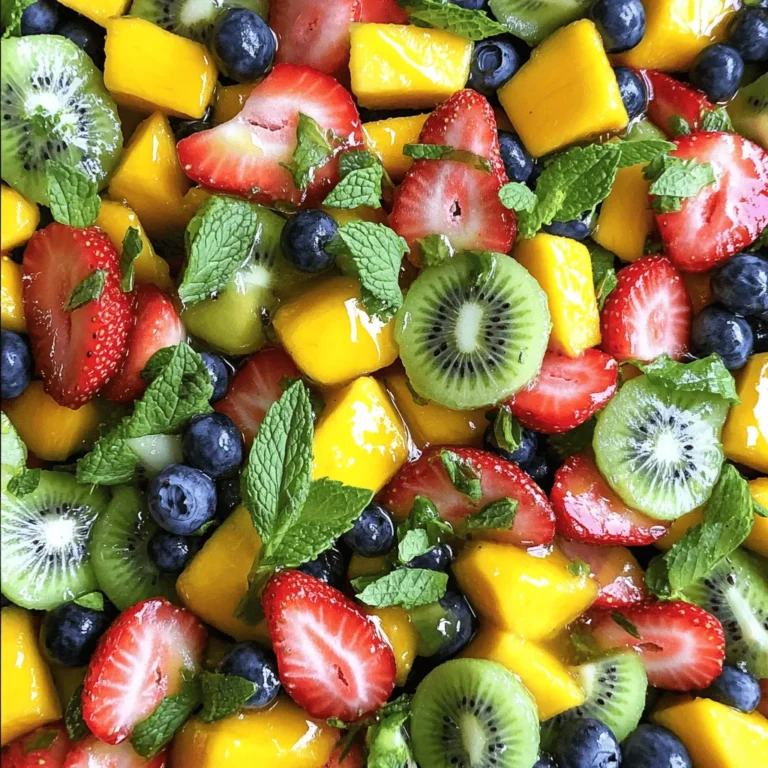
Secret Ingredient Fruit Salad Delightful and Fresh Mix
Texas-Style Rattlesnake Bites Flavorful and Simple Treat
Creamy Marry Me Chicken Pasta Irresistible and Simple
Page navigation
Previous Page
Previous
1
…
54
55
56
57
58
…
62
Next Page
Next
Home
Dinner
Appetizer
Desserts
Drinks
About
Contact
Privacy Policy
Toggle Menu Close
Search for:
Search

![- 2 slices of rustic sourdough bread - 1 cup cooked chicken, shredded - 1 cup marinara sauce - 1 cup shredded mozzarella cheese - ¼ cup freshly grated Parmesan cheese - 1 tablespoon extra virgin olive oil - 1 teaspoon garlic powder - 1 teaspoon dried Italian seasoning - Salt and pepper, to taste Gathering the right ingredients is key to making a great Lazy Chicken Parmesan Grilled Cheese. Start with rustic sourdough bread. This bread gives your sandwich a hearty base. Next, grab cooked chicken. Shredded rotisserie chicken is a fantastic choice. It adds flavor and saves time. For the sauce, you can use homemade or store-bought marinara. Either way, it brings rich taste. Now, mozzarella cheese is a must for that gooey, stretchy texture. The Parmesan cheese adds a nice sharp bite too. You will also need some simple seasonings. Extra virgin olive oil helps achieve that golden crust. Garlic powder brings out depth in flavor. Italian seasoning adds a nice herbal note. Finally, don’t forget salt and pepper to taste. With these ingredients, you'll create a delightful twist on a classic dish. For the full recipe, check out the [Full Recipe]. First, preheat your skillet over medium heat. This gets the skillet hot and ready. Next, add a tablespoon of olive oil. This will coat the bottom of the skillet. The oil helps keep the bread from sticking and adds flavor. In a mixing bowl, combine your shredded chicken and marinara sauce. You can use any chicken you like, but rotisserie chicken is fast and tasty. Then, add garlic powder, Italian seasoning, and a pinch of salt and pepper. Mix everything well. You want all the chicken to be coated in sauce and spices. Take one slice of the sourdough bread and place it in the hot skillet. Layer half of the shredded mozzarella cheese on top. Spoon the chicken mixture onto the cheese, spreading it evenly. Add the rest of the mozzarella cheese on top of the chicken. Finish with a sprinkle of grated Parmesan cheese. Place the second slice of sourdough on top to make a sandwich. Grill it for about 3-4 minutes. You want the bottom to be golden brown and the cheese to begin melting. Carefully flip the sandwich using a spatula. Grill the other side for another 3-4 minutes. You want both sides crispy and the cheese fully melted. Once done, take it out and slice it in half. Let it cool for a minute before serving. This helps the cheese set a bit. Enjoy your Lazy Chicken Parmesan Grilled Cheese! For more details, check out the Full Recipe. Using rotisserie chicken makes this recipe quick and easy. You can find it at most grocery stores. It saves time, as it is already cooked and seasoned. To shred chicken quickly, use two forks to pull it apart. This method works well and takes just minutes. You can also use your hands if the chicken is cool enough. For the best grilled cheese, choose rustic sourdough bread. It has a great texture and flavor. You can also try a hearty Italian bread or whole grain. To achieve a crispy crust, heat your skillet over medium heat. Make sure to coat the pan with olive oil evenly. This will help the bread brown nicely and not stick. To ensure the cheese melts perfectly, use a mix of mozzarella and Parmesan. The mozzarella adds stretch, while Parmesan adds a sharp flavor. Place a lid on the skillet to trap heat and help the cheese melt faster. This prevents the sandwich from getting soggy. Grill the sandwich until the bread is golden brown and the cheese is gooey. {{image_4}} You can easily boost the health of your Lazy Chicken Parmesan Grilled Cheese by adding veggies. Spinach is a great choice. It adds color and nutrients. Just toss in a handful of fresh spinach when you layer the chicken. Bell peppers work well too. Slice them thin, and add them with the chicken. They give a nice crunch and a pop of flavor. Other ingredients can add texture and taste. Try sun-dried tomatoes for a tangy bite. You can also add mushrooms for an earthy note. Each veggie brings its own special twist. Experiment with what you like best! If you love heat, spice up your sandwich! One easy way is to use spicy marinara sauce. It adds warmth and flavor. You can also add jalapeños for an extra kick. Slice them thin and layer them on top of the chicken. Using pepper jack cheese is another fun option. This cheese melts beautifully and has a nice heat. Mix it with mozzarella to keep things gooey and flavorful. Your taste buds will thank you! For those who need a gluten-free choice, there are great alternatives. Instead of sourdough, try gluten-free bread. Look for brands that are soft and hearty. They will hold up well when grilling. You can adjust the recipe easily. Ensure your marinara sauce is gluten-free too. Many brands offer this option. Always check the labels when shopping. This way, everyone can enjoy this delicious meal! For the full recipe, be sure to check the complete guide. To keep your Lazy Chicken Parmesan Grilled Cheese fresh, wrap it tightly in foil or plastic wrap. Place it in an airtight container. This method helps keep the flavors and moisture inside. You can store it in the fridge for up to three days. If you want to keep it longer, consider freezing it. It can last in the freezer for about one month. Just remember to let it cool completely before storing. Reheating your grilled cheese needs care. I recommend using a skillet or toaster oven for the best results. Heat the skillet over low to medium heat. Add a small amount of butter or oil to keep it crispy. Place the sandwich in the skillet and cover it with a lid. This helps the cheese melt without burning the bread. Heat for about 3-4 minutes on each side. If using a toaster oven, set it to 350°F (175°C). Bake for around 10-15 minutes until warm and crispy. Enjoy that delicious, gooey goodness just like the first time! Yes, you can prepare this dish in advance. Here are some tips for prepping. - Cook the chicken: Shred and mix it with marinara sauce. Store it in the fridge. - Slice the bread: Cut the sourdough and keep it in a sealed bag. - Grate cheese: Pre-grate the mozzarella and Parmesan. Store these in airtight containers. - Assemble before cooking: You can layer the sandwich without grilling. Wrap it tightly in plastic wrap. Making these steps ahead helps save time. Just grill when you are ready to eat! Yes, you can freeze Lazy Chicken Parmesan Grilled Cheese. Here are the best practices. - Assemble without grilling: Build the sandwich fully, but do not cook it. - Wrap tightly: Use plastic wrap or aluminum foil to cover each sandwich. - Store in a freezer bag: Label with the date, then place in the freezer. When you want to eat it, thaw in the fridge overnight. Reheat in a skillet to keep it crispy. Pairing sides can enhance your meal. Here are some tasty suggestions. - Salad: A fresh mixed greens salad adds crunch. - Soup: Tomato or basil soup complements the sandwich well. - Fries: Crispy fries or sweet potato fries are a fun choice. - Veggies: Roasted or steamed veggies give a healthy balance. These sides will make your meal even more delightful. Enjoy your Lazy Chicken Parmesan Grilled Cheese! You learned how to make Lazy Chicken Parmesan Grilled Cheese. This dish is tasty and easy. We covered main ingredients, cooking steps, and useful tips. I shared fun variations to fit your taste. Now, you can store leftovers and reheat them without losing flavor. Enjoy your cooking and make this sandwich again. It’s a great meal for busy days or fun gatherings. Happy grilling!](https://fastmealmate.com/wp-content/uploads/2025/06/c9cbfd60-7ee3-4aef-9602-f6c93f96b3d1-768x768.webp)
![To make this delicious creamy mango cheesecake, gather the following ingredients: - 1 ½ cups graham cracker crumbs - ½ cup unsalted butter, melted - 2 tablespoons granulated sugar - 16 oz cream cheese, softened to room temperature - 1 cup sour cream - ¾ cup granulated sugar - 2 teaspoons pure vanilla extract - 1 cup ripe mango puree (fresh or canned) - 2 large eggs, at room temperature - 2 tablespoons cornstarch - Fresh mango slices and mint leaves, for garnish If you need to make some swaps, here are some ideas: - Use digestive biscuits instead of graham crackers for the crust. - If you’re dairy-free, try cream cheese made from nuts. - You can replace sour cream with Greek yogurt for a tangy taste. - For a sweeter cheesecake, add more sugar to the mango puree. Choosing the right mango is key to great flavor. Here’s how to pick the best ones: - Look for mangoes that feel slightly soft when gently squeezed. - The skin should have a bright color, often yellow or red with green. - Check for a sweet, fruity aroma near the stem. - Avoid any mangoes with dark spots or blemishes. - If they are not ripe, place them in a paper bag to speed up ripening. This recipe brings together fresh mango flavor with creamy cheesecake for a delightful treat. Enjoy making it with your favorite ingredients! For the complete recipe, check the Full Recipe link. To start, gather your ingredients. You will need graham cracker crumbs, melted butter, and sugar. First, preheat your oven to 325°F (160°C). In a bowl, mix the crumbs, melted butter, and sugar. Stir until it looks like wet sand. Next, take a 9-inch springform pan. Press the crumb mixture into the bottom evenly. Bake for 10 minutes. After baking, let it cool completely. Now, it’s time to make the filling. Get your cream cheese and place it in a large bowl. Beat it with an electric mixer until it's smooth. Add in the sour cream, sugar, and vanilla extract. Mix until everything is well combined. Next, fold in the mango puree gently with a spatula. Add the eggs one at a time, mixing slowly. Be careful not to overmix. Lastly, sift the cornstarch and fold it in until the batter is smooth. Pour the mango cheesecake batter over the cooled crust. Smooth the top with a spatula. Bake in your oven for 55 to 60 minutes. The edges should be set, while the center has a slight jiggle. Turn off the oven and leave the cheesecake inside for one hour. This helps prevent cracks. After cooling, transfer the cheesecake to the refrigerator. Chill for at least 4 hours or overnight. When ready to enjoy, slice and garnish with fresh mango and mint. To get a smooth and creamy texture, start with room-temperature ingredients. This helps the cream cheese blend well. Use an electric mixer to beat the cream cheese until it is lump-free. Mix slowly when adding eggs, one at a time. This keeps air out of the batter. Too much air can make the cheesecake puffy and less smooth. Cracking is a common issue with cheesecakes. To avoid this, let your cheesecake cool slowly in the oven. After baking, turn off the heat and leave it inside for an hour. This gradual cooling helps the cheesecake set without sudden temperature changes. Also, avoid overmixing, especially after adding the eggs. Overmixing can cause air bubbles, which lead to cracks. Having the right tools makes cheesecake easier to make. Here are some must-have items: - Springform pan: This allows for easy removal of the cheesecake. - Electric mixer: A hand mixer or stand mixer helps achieve a smooth batter. - Spatula: Use it for folding and smoothing the batter. - Sifter: For sifting cornstarch and avoiding lumps. - Oven thermometer: This ensures your oven is at the right temperature. These tools will help you create a perfect creamy mango cheesecake. For more detailed steps, check the Full Recipe. {{image_4}} You can easily add new flavors to your creamy mango cheesecake. For a tropical twist, use passion fruit puree instead of mango. This will give your cheesecake a bright, tangy taste. Simply swap the mango puree for the same amount of passion fruit. You can also add shredded coconut for a chewy texture. Mix in ½ cup of coconut with the cream cheese for a rich flavor. If you want a no-bake version, it is simple. Just skip the baking steps. After mixing your filling, pour it over the crust. Chill it in the fridge for at least 6 hours or overnight. This will help it set without baking. The result is a lighter dessert that is just as creamy and delicious. You can make this cheesecake gluten-free by using gluten-free graham crackers or almond flour for the crust. For a vegan version, replace the cream cheese with a plant-based alternative. You can also use coconut cream in place of sour cream. Substitute eggs with flax eggs or applesauce for binding. These swaps will help you enjoy a creamy mango cheesecake that fits your dietary needs. For the full recipe, check out the [Full Recipe]. Storing leftover cheesecake is simple. First, cover the cheesecake with plastic wrap or aluminum foil. This keeps it fresh and moist. If you used a springform pan, you can leave it in the pan. Just wrap the top well. Place it in the fridge for up to five days. I recommend enjoying it within this time for the best taste. If you want to save your cheesecake for later, freezing is the way to go. First, let it cool completely. Then, slice it into pieces. Wrap each slice tightly in plastic wrap. After that, place the wrapped slices in a freezer-safe bag. You can freeze them for up to three months. When you are ready to eat, just thaw the slices in the fridge overnight. You don’t need to reheat cheesecake, but you can refresh it. If it has been frozen, let it thaw in the fridge. This keeps its smooth texture. Before serving, you can add fresh mango slices or a drizzle of fruit sauce. This gives it a fresh taste and a pretty look. For the full recipe, check the section above. It takes about 20 minutes to prep. Baking takes 55 to 60 minutes. You also need to chill it for at least 4 hours. So, the total time is around 6 hours, including chilling. Yes, you can use frozen mango. Just thaw it and blend it into a puree. This works well if fresh mango is not available. The flavor will still be great! To slice cheesecake neatly, use a hot knife. Dip it in hot water, then dry it off. Cut through the cheesecake slowly. Clean the knife after each cut. This keeps the slices pretty and clean. For more tips, check the Full Recipe for extra ideas! In this article, I covered how to create a creamy mango cheesecake. You learned about the key ingredients, step-by-step instructions, and essential tips for the best results. I shared delicious variations and how to store leftover cheesecake. Remember to pick fresh mangoes for the best flavor. With practice, your cheesecake will impress everyone. Enjoy your baking journey and savor each bite of your homemade treat!](https://fastmealmate.com/wp-content/uploads/2025/06/211bec39-7289-42a9-bfa6-8d15044691af-768x768.webp)


![- 2 boneless, skinless chicken breasts - 8 oz penne pasta - 1 cup heavy cream For this dish, chicken breasts serve as the star. They cook up juicy and tender, making every bite satisfying. I choose penne pasta because its shape holds the creamy sauce well. Heavy cream adds richness, turning the dish into a creamy delight. - 1 teaspoon Italian seasoning - 1 teaspoon smoked paprika - 3 cloves garlic, minced Italian seasoning gives the dish a warm depth. Smoked paprika brings a hint of smokiness that pairs perfectly with chicken. Fresh garlic adds a punch of flavor that fills your kitchen with a lovely aroma. - 1 cup sun-dried tomatoes, chopped - 2 cups fresh spinach - 1/2 cup freshly grated Parmesan cheese Sun-dried tomatoes add a sweet and tangy note, brightening the pasta. Fresh spinach wilts down, adding color and nutrition. Finally, Parmesan cheese gives the sauce a savory kick, making it irresistible. For the complete cooking process, check the Full Recipe. - Bring a large pot of salted water to a boil. - Add 8 oz penne pasta and cook until al dente, about 8-10 minutes. - Drain the pasta in a colander and set it aside. - Season 2 boneless, skinless chicken breasts with salt, pepper, Italian seasoning, and smoked paprika. - Heat 2 tablespoons of olive oil in a large skillet over medium heat. - Add the seasoned chicken to the skillet. Cook for 5-7 minutes per side until golden brown and fully cooked. - Remove the chicken from the skillet and let it rest for a few minutes. Slice it into thin strips. - In the same skillet, sauté 3 cloves of minced garlic for about 30 seconds until fragrant. - Stir in 1 cup of heavy cream and bring it to a gentle simmer. Scrape any tasty bits off the bottom of the pan. - Add 1 cup of chopped sun-dried tomatoes and 1/2 cup of freshly grated Parmesan cheese. Mix well until the cheese melts and the sauce is rich. - Toss in 2 cups of fresh spinach and cook for 2-3 minutes until it wilts. - Add the cooked penne pasta to the sauce, mixing gently to coat it evenly. - Serve the creamy pasta topped with sliced chicken and fresh basil leaves for garnish. For the full recipe, check out the [Full Recipe]. - Always check that the chicken is fully cooked. It should reach 165°F. - When adding spinach, avoid overcooking. Cook it just until it wilts. - Taste the sauce as you cook. Adjust seasoning to your liking. Cooking is all about your personal touch. If you prefer more garlic or a bolder flavor, feel free to adjust. It’s your meal, after all! - Serve the pasta in deep, wide bowls. This makes it look inviting. - For garnish, sprinkle extra grated Parmesan on top. Fresh basil leaves add color. - A dash of chili flakes can enhance the look and flavor. These small touches can make a big difference. A beautifully presented dish is always more appealing. Enjoy the process of making your meal look as good as it tastes! {{image_4}} You can easily make Creamy Marry Me Chicken Pasta your own. Here are some simple swaps: - Alternative proteins: You can use turkey, shrimp, or tofu instead of chicken. Each option brings a unique taste. - Gluten-free pasta options: Try gluten-free penne or spiralized zucchini for a lighter touch. Both work well with the creamy sauce. - Vegan adaptations: Use plant-based cream and cheese. You can also swap chicken for mushrooms or chickpeas to keep it hearty. Enhancing the sauce can add extra flavor and texture. Here are some ideas: - Adding different vegetables: Toss in bell peppers, mushrooms, or broccoli. These add color and nutrients and blend well with the sauce. - Spice variations: Add red pepper flakes for heat or a dash of lemon zest for brightness. Experiment to find what you love. - Cheese alternatives: If you want a lighter option, use nutritional yeast instead of Parmesan. It provides a cheesy flavor without dairy. For full details on this delicious recipe, check out the Full Recipe. To store leftovers, let the pasta cool first. Place it in an airtight container. This keeps the pasta fresh and tasty. You can store it in the fridge for up to three days. After that, it may lose flavor and texture. For the best reheating, use the stove. Place the pasta in a skillet over low heat. Add a splash of water or cream to keep it moist. Stir often to heat it evenly. You can also use the microwave. Place the pasta in a microwave-safe dish. Cover it with a damp paper towel to keep moisture in. Heat in short bursts, stirring in between. Avoiding sogginess is key. If you notice the pasta is getting too wet, don't add too much liquid. A little goes a long way. For more tips, try checking out the Full Recipe. How can I make Creamy Marry Me Chicken Pasta ahead of time? You can prepare this dish a day in advance. Cook the pasta and chicken, then store them separately. Make the sauce and mix it just before serving. This keeps everything fresh and tasty. Can I freeze this dish? Yes, you can freeze Creamy Marry Me Chicken Pasta. Store it in an airtight container. It lasts up to three months in the freezer. Thaw it in the fridge overnight before reheating. What can I serve with Creamy Marry Me Chicken Pasta? Pair this dish with a simple salad or garlic bread. A light side helps balance the rich flavors of the pasta. You can also add a glass of white wine for a special touch. Can I use a different type of pasta? Absolutely! You can use any pasta you like. Fettuccine, rigatoni, or even gluten-free options work well. Just adjust the cooking time as needed. How do I ensure the sauce stays creamy? To keep the sauce creamy, avoid boiling it too hard. Stir gently and keep the heat low once you add the cream. This helps maintain that smooth texture. What if I don't have sun-dried tomatoes? If you lack sun-dried tomatoes, you can use fresh tomatoes instead. Just chop them and sauté them with the garlic. You can also add a bit of tomato paste for extra flavor. You now have a clear guide to make Creamy Marry Me Chicken Pasta. We covered key ingredients, from chicken breasts to fresh spinach. Preparing this dish involves cooking pasta, sautéing chicken, and making a rich cream sauce. My final thoughts? This recipe is flexible. You can swap ingredients and adjust flavors easily. With the tips I shared, you’ll impress anyone you serve. Enjoy cooking and have fun with your food!](https://fastmealmate.com/wp-content/uploads/2025/06/1a3e0cf0-432f-4f1f-8432-b7eabdbc76b2-768x768.webp)