Skip to content
About
Contact
Cookie Policy
Copyright Policy
Disclaimer
Search
Home
Dinner
Appetizer
Desserts
Drinks
About
Contact
Privacy Policy
Toggle Menu
Home
/
NO-ING-IMG
- Page 5
NO-ING-IMG
Air Fryer Sweet Chili Shrimp Tacos Fresh and Tasty
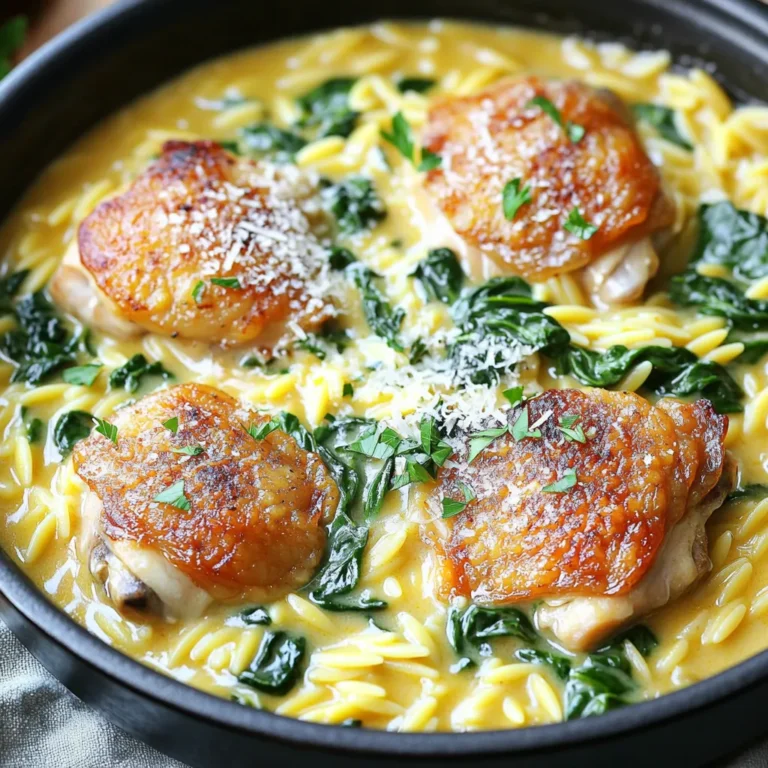
One-Pot Creamy Garlic Butter Chicken Orzo Delight
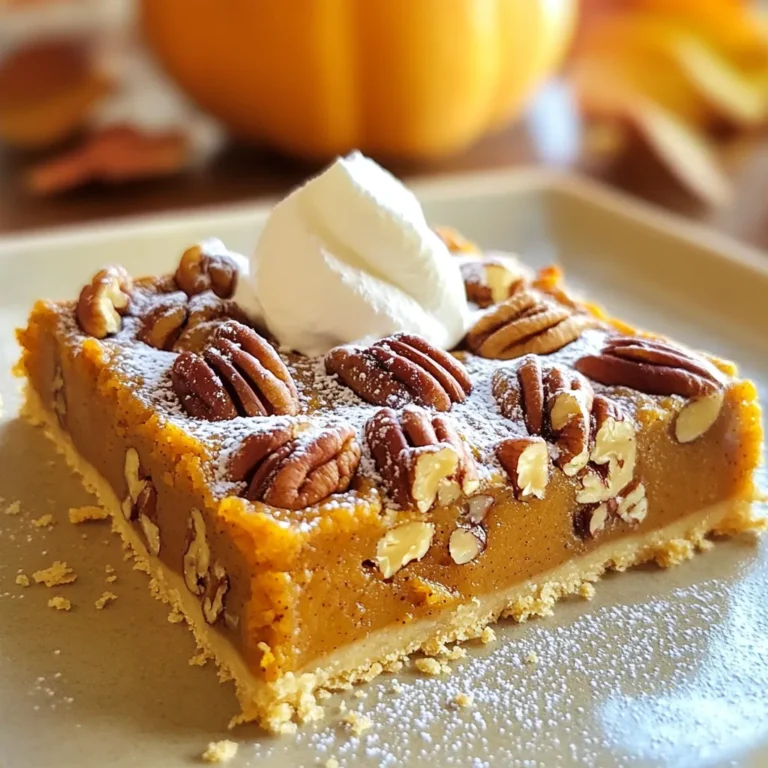
Pumpkin Pecan Pie Bars Flavorful and Simple Delight
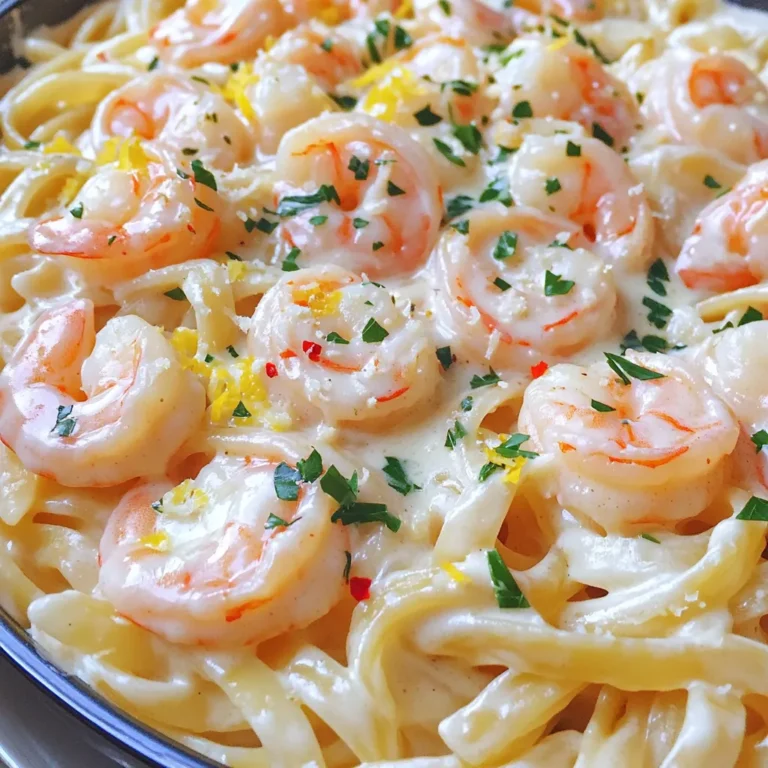
Creamy Garlic Butter Shrimp Linguine Delicious Dinner
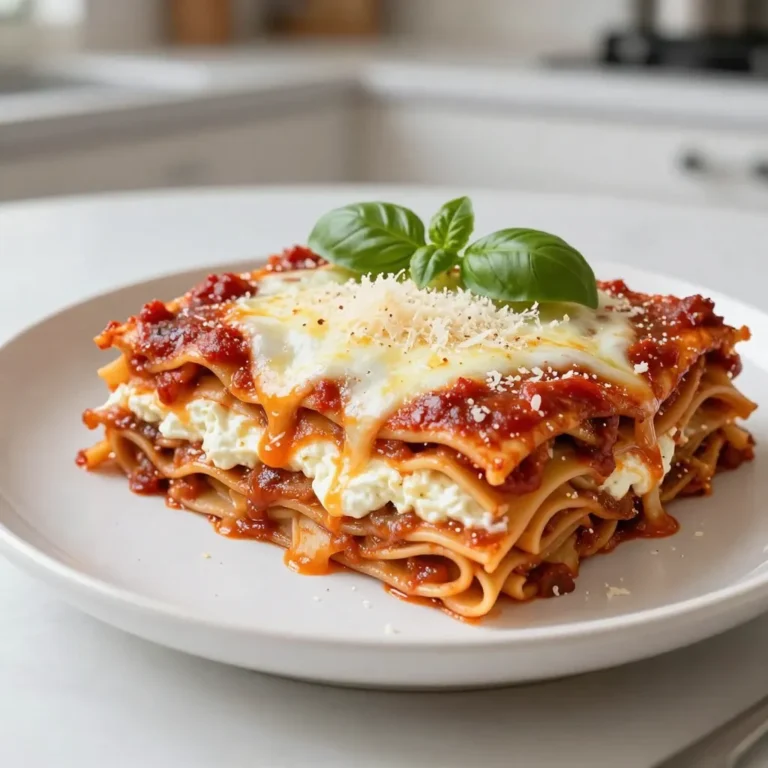
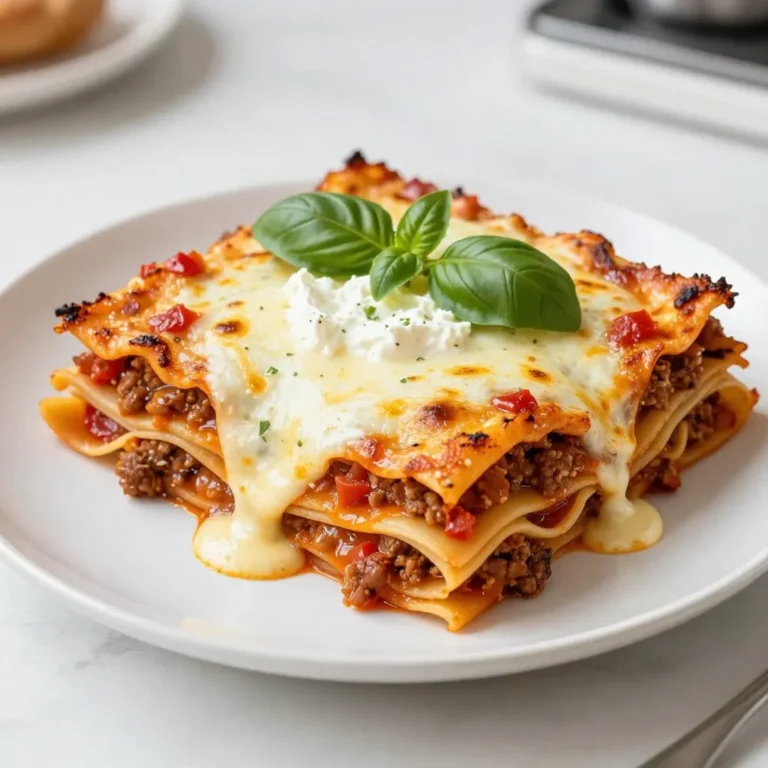
Easy Comfort Lasagna Simple Guide to Deliciousness
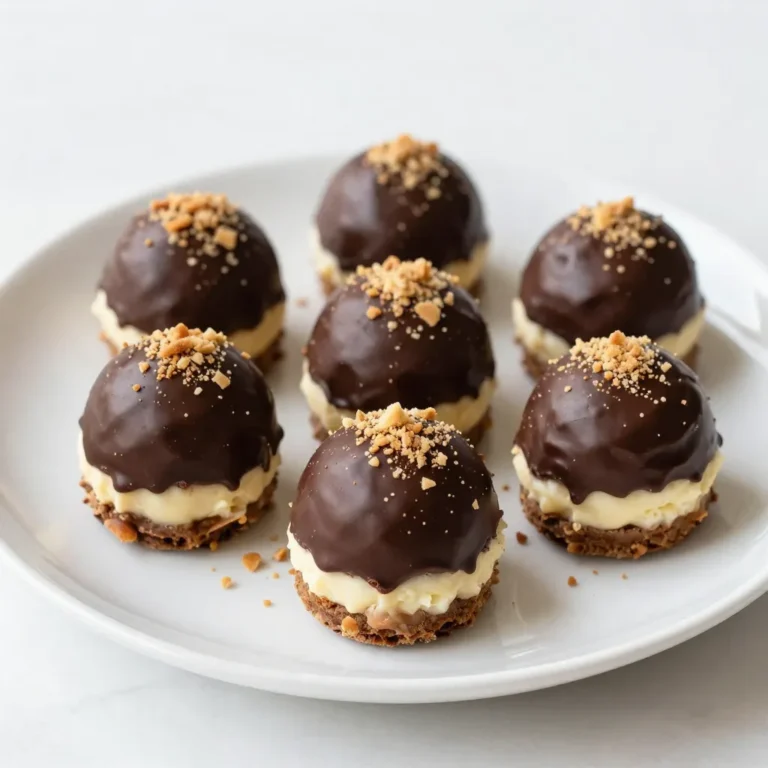
Baileys Cheesecake Truffles Delightful No-Bake Treat
Cheesy Baked Lasagna Delightful and Easy Recipe
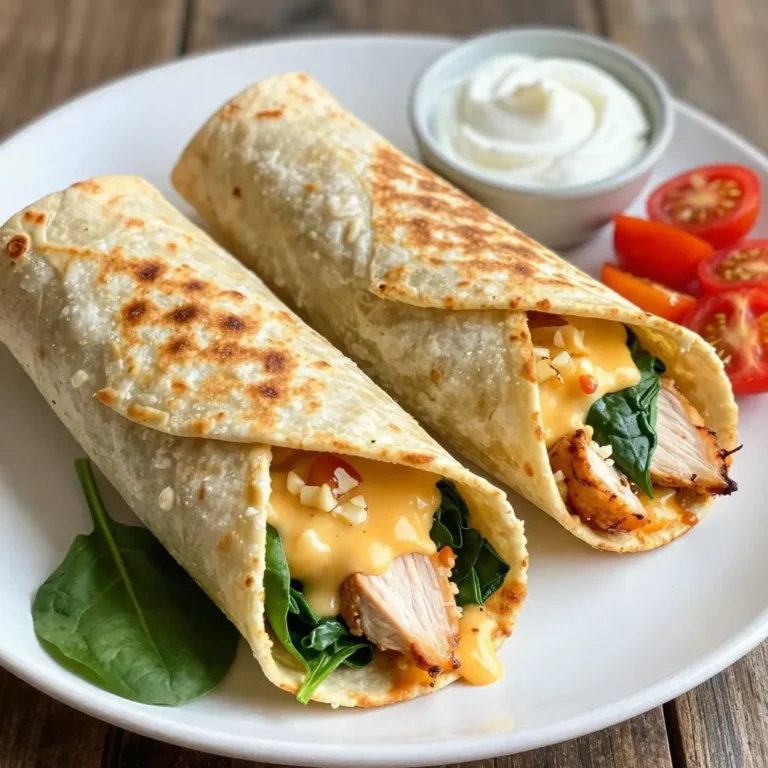
Cheesy Garlic Chicken Wraps Flavorful and Easy Meal
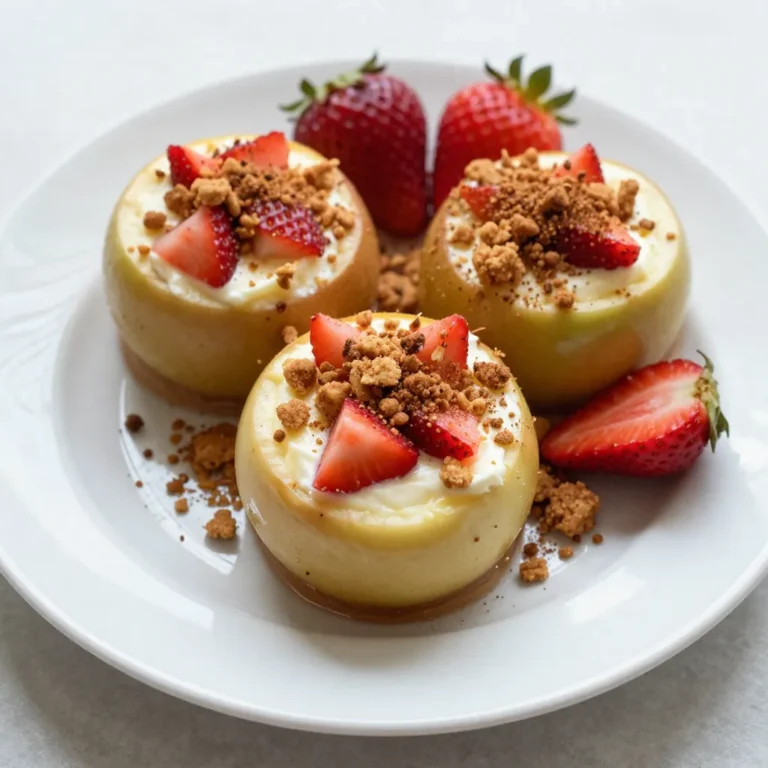
Strawberry Crunch Cheesecake Apples Tasty Dessert Dish
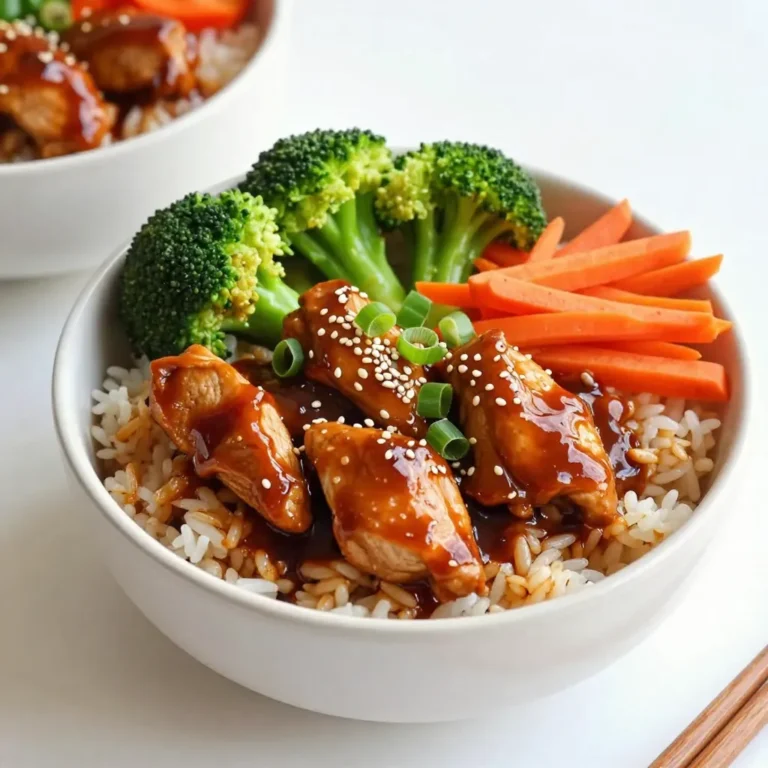
Healthy Teriyaki Chicken Rice Bowls Quick and Easy Meal
Page navigation
Previous Page
Previous
1
…
3
4
5
6
7
…
62
Next Page
Next
Home
Dinner
Appetizer
Desserts
Drinks
About
Contact
Privacy Policy
Toggle Menu Close
Search for:
Search