Skip to content
About
Contact
Cookie Policy
Copyright Policy
Disclaimer
Search
Home
Dinner
Appetizer
Desserts
Drinks
About
Contact
Privacy Policy
Toggle Menu
Home
/
NO-ING-IMG
- Page 2
NO-ING-IMG
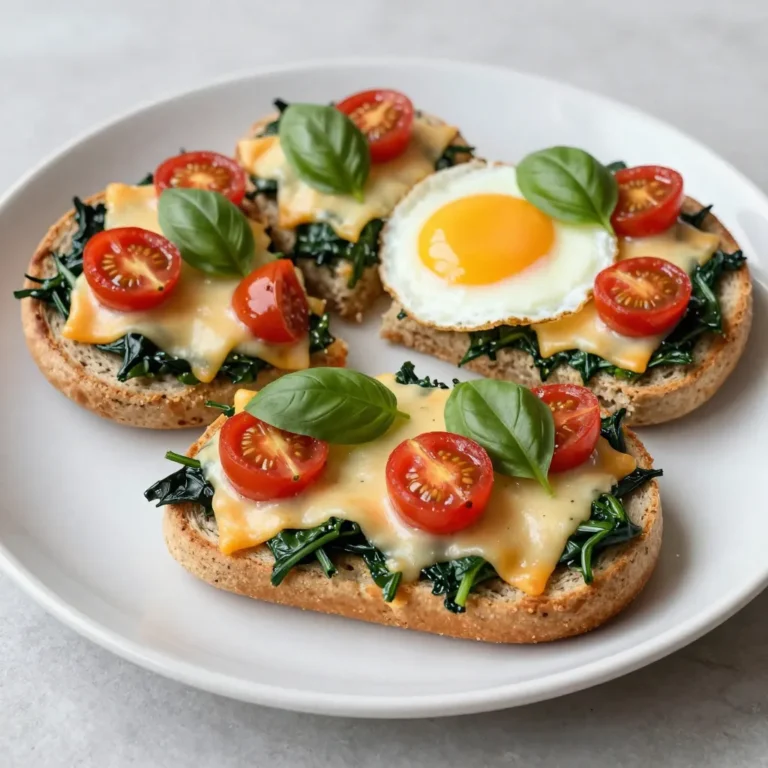
English Muffin Breakfast Pizzas Tasty Morning Treat
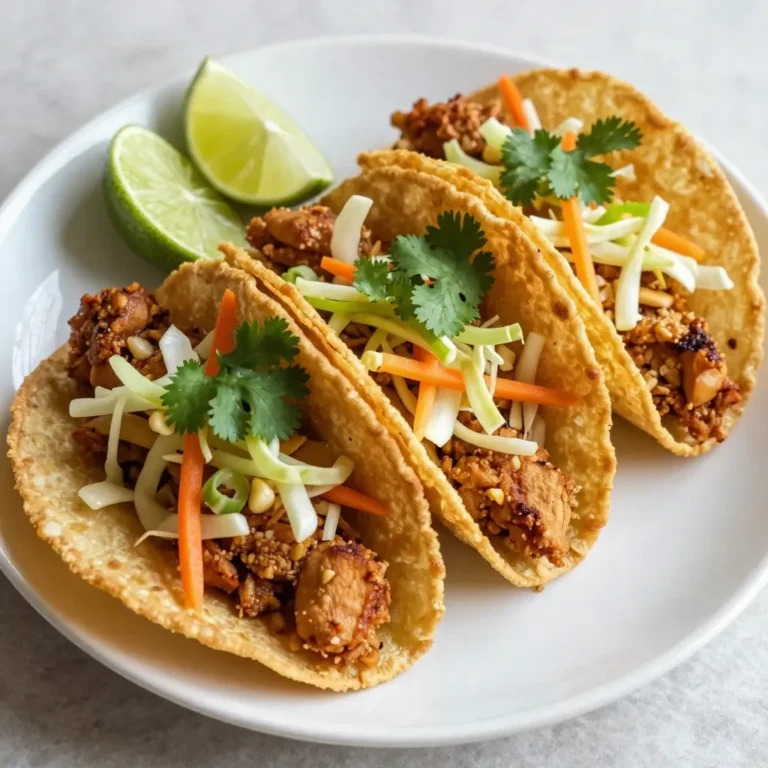
Crispy Chicken Wonton Tacos Flavorful and Easy Meal
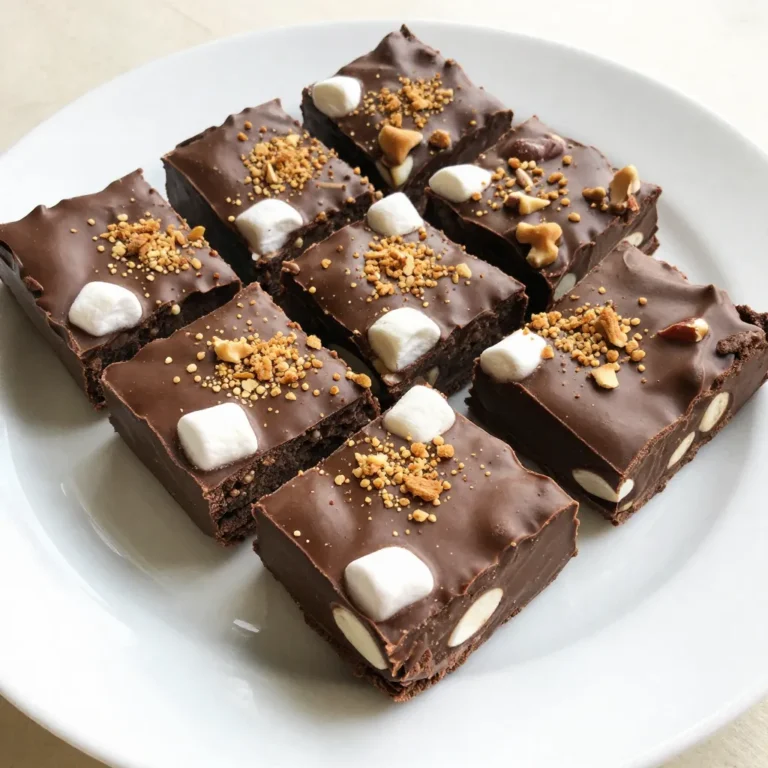
Rocky Road Chocolate Fudge Delightful Easy Recipe
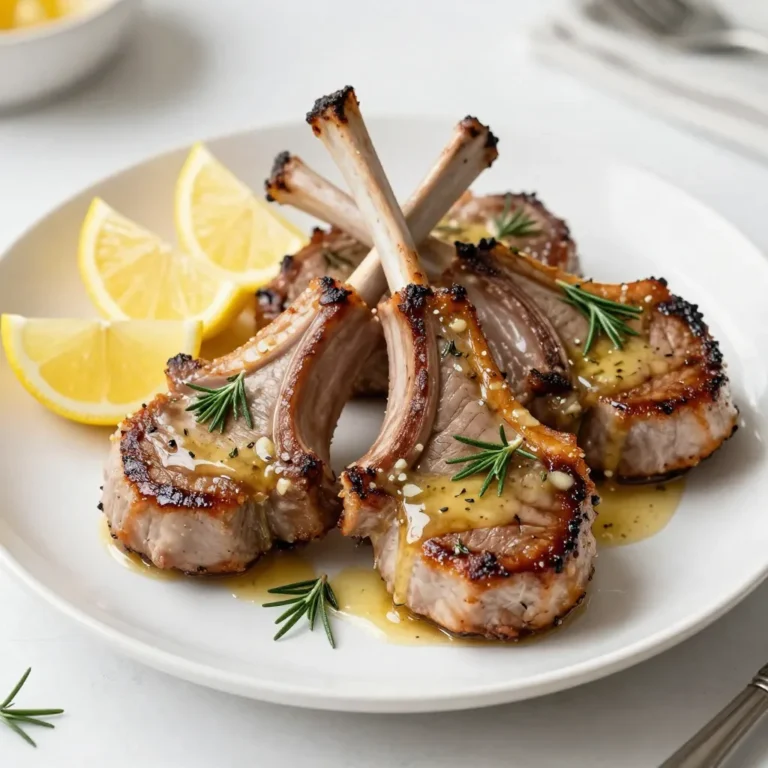
Garlic Butter Lamb Chops Rich and Flavorful Delight
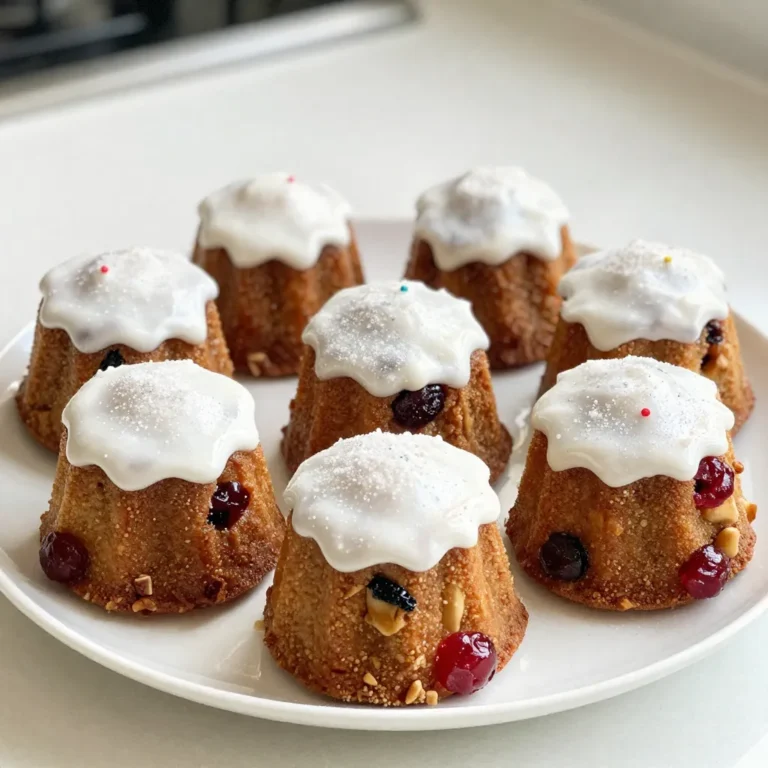
Mary Berry Mini Christmas Cakes Festive Flavor Burst
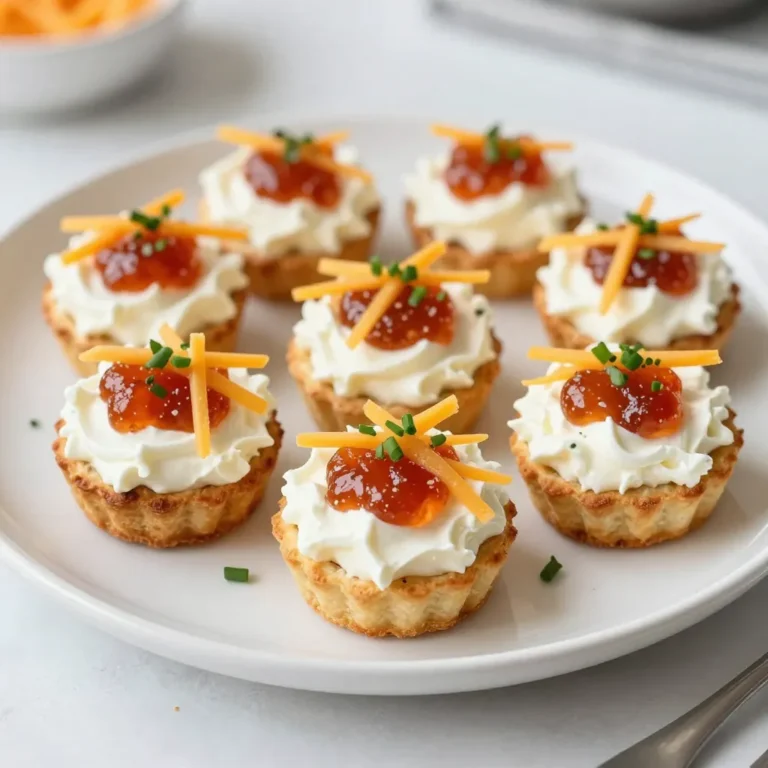
Pepper Jelly Cream Cheese Dip Bites Tasty Finger Food
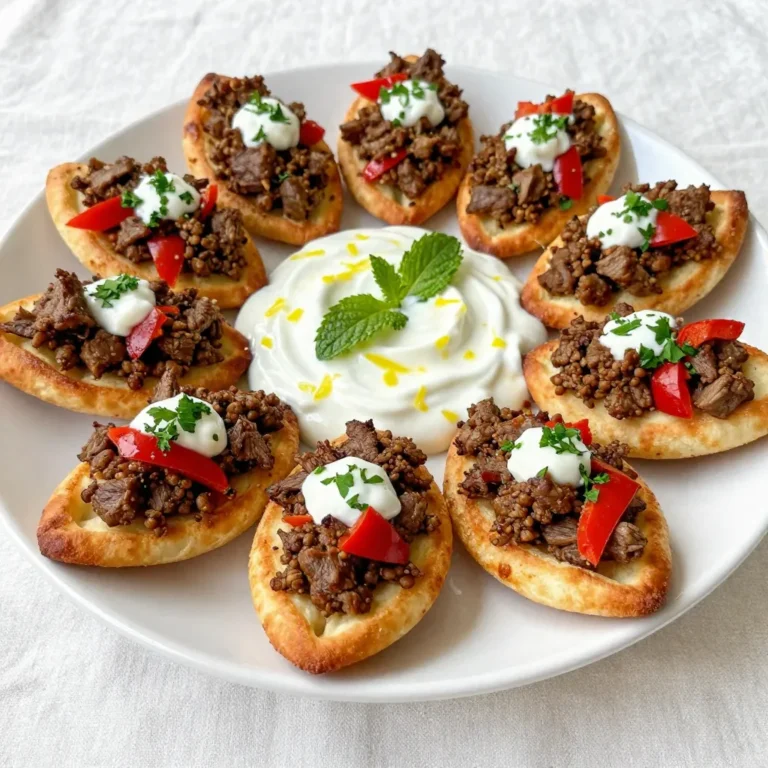
Mini Mediterranean Lahmacun Bites with Tangy Yogurt
Pepperoni Mozzarella Croissant Rolls Tasty Snack Idea
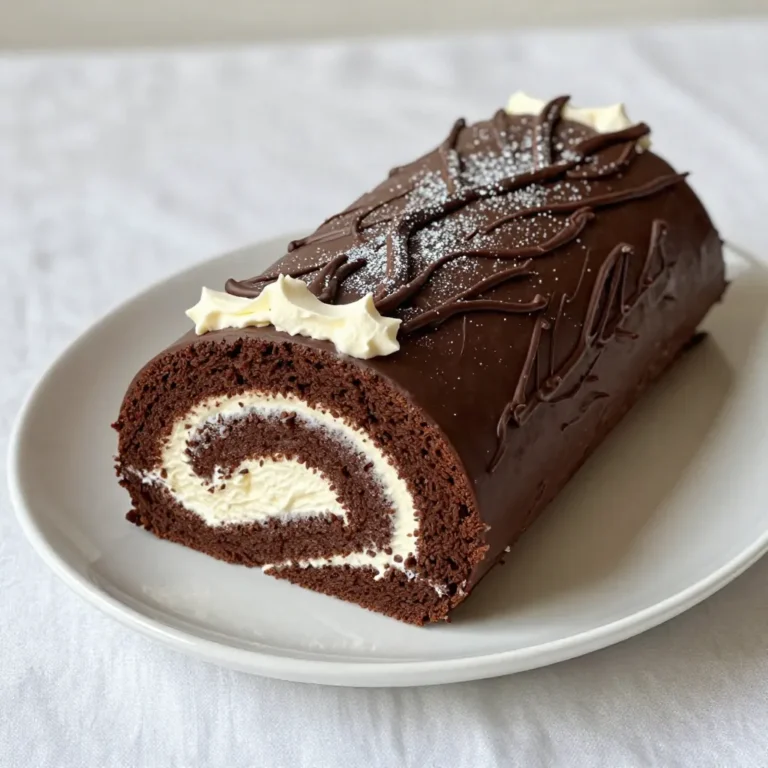
Chocolate Yule Log Simple Festive Dessert Guide
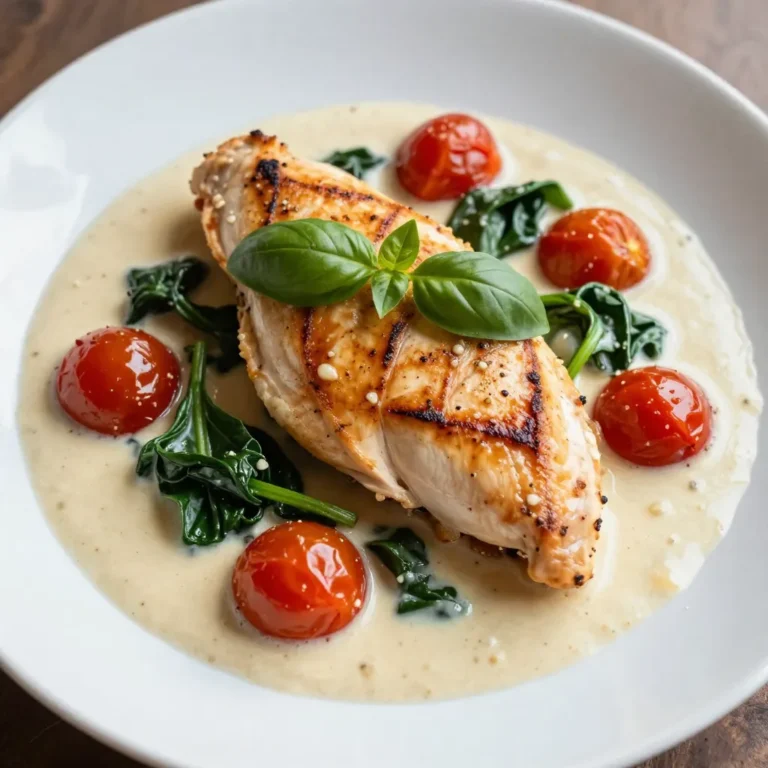
Creamy Garlic Tuscan Chicken Flavorful Dinner Recipe
Page navigation
Previous Page
Previous
1
2
3
4
…
62
Next Page
Next
Home
Dinner
Appetizer
Desserts
Drinks
About
Contact
Privacy Policy
Toggle Menu Close
Search for:
Search