Skip to content
About
Contact
Cookie Policy
Copyright Policy
Disclaimer
Search
Home
Dinner
Appetizer
Desserts
Drinks
About
Contact
Privacy Policy
Toggle Menu
Home
/
NO-ING-IMG
- Page 17
NO-ING-IMG
Chewy Pumpkin Spice Cookies Irresistibly Soft Treats
White Chocolate Pumpkin Cookies Irresistible Treat
Pumpkin Spice Snickerdoodles Tasty Fall Treats
Garlic Parmesan Cheeseburger Bombs Savory Snack Delight
White Chocolate Maple Christmas Cookies Delightful Treat
Better Than Starbucks Pumpkin Spice Latte Recipe
Homemade Pumpkin Spice Syrup Tasty Fall Flavor Boost
Vegan Pumpkin Spice Coffee Syrup Tasty Homemade Delight
Five Minute Reese’s Snack Mix Quick and Tasty Treat
Pumpkin Spice Latte Sauce Flavorful Fall Treat
Page navigation
Previous Page
Previous
1
…
15
16
17
18
19
…
62
Next Page
Next
Home
Dinner
Appetizer
Desserts
Drinks
About
Contact
Privacy Policy
Toggle Menu Close
Search for:
Search

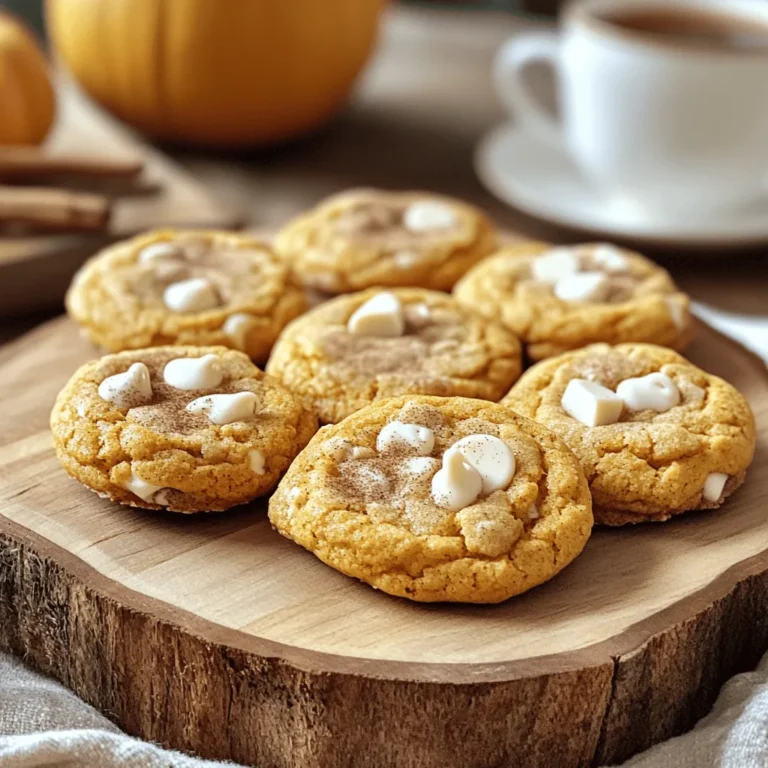
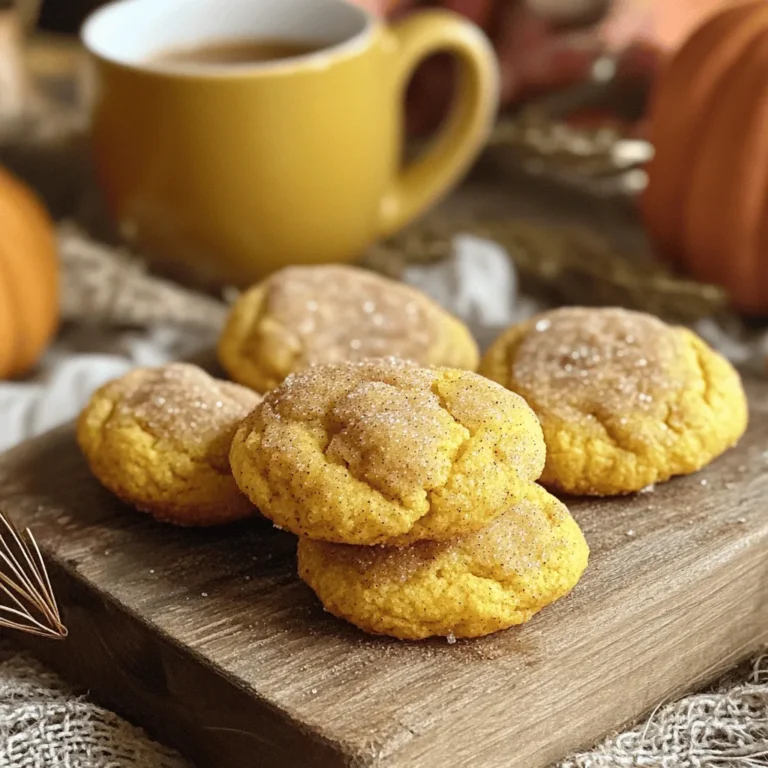
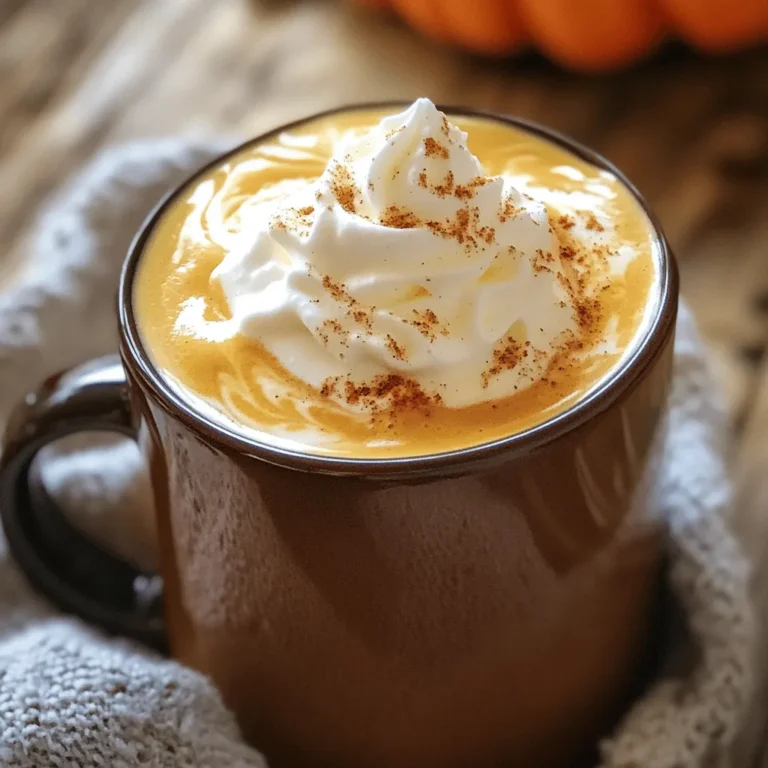
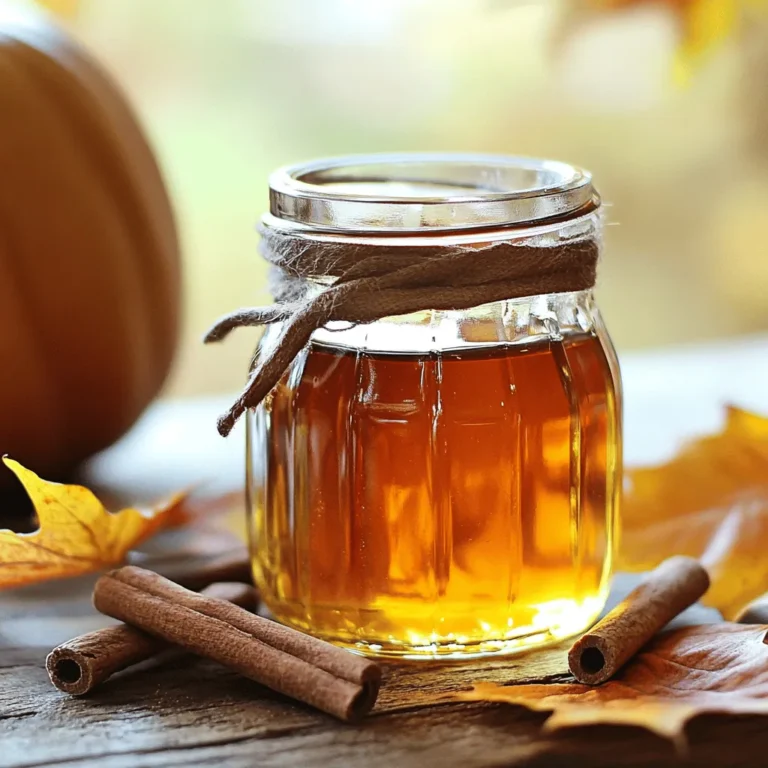
![- 1 cup pumpkin puree - 1/2 cup unsalted butter, softened - 1 cup brown sugar and 1/2 cup granulated sugar These ingredients form the base of your chewy pumpkin spice cookies. Pumpkin puree provides moisture and flavor. Softened butter helps create that melt-in-your-mouth texture. Mixing brown and granulated sugar gives sweetness and a lovely depth. - 1/2 cup chocolate chips - 1/2 cup chopped pecans or walnuts If you want to elevate your cookies, consider adding chocolate chips. They bring a rich sweetness that pairs well with pumpkin spice. Chopped pecans or walnuts add a nice crunch and nutty flavor. Feel free to mix and match based on your taste. - 2 cups all-purpose flour - 1 teaspoon baking soda, baking powder, pumpkin spice, and sea salt All-purpose flour is your main structure builder. Baking soda and baking powder help the cookies rise and stay soft. Pumpkin spice adds warmth and that classic fall flavor. Sea salt enhances the sweetness and balances the spices. For the full recipe, check out the details above. Each ingredient plays a key role in creating these irresistibly soft treats! - Preheat your oven to 350°F (175°C). This step ensures even baking. - Line a baking sheet with parchment paper. This helps the cookies not stick. - In a large bowl, cream together softened butter and both sugars. - Use an electric mixer for the best results. Mix until light and fluffy. - Next, add the pumpkin puree, egg, and vanilla extract. - Beat well until everything is smooth and combined. - In a separate bowl, whisk together the flour, baking soda, baking powder, pumpkin spice, and salt. - Gradually add this dry mix to the wet ingredients. Stir gently and avoid overmixing. - Use a tablespoon or cookie scoop to portion the dough onto the lined baking sheet. - Leave enough space between each cookie to allow for spreading. - Bake in the preheated oven for 10-12 minutes. The edges should be golden brown. - The centers might look a bit soft but will set as they cool. For the full recipe, refer to the earlier sections. Enjoy the process! To make your cookies chewy, do not overmix the dough. Mix just until the flour disappears. Overmixing makes cookies tough. The right baking time and temperature are key. Bake at 350°F (175°C) for 10-12 minutes. Watch for golden edges and soft centers. They will harden as they cool. You can use homemade pumpkin puree or canned. Homemade puree adds a fresh taste. Canned options are quick and easy. Also, try different spices. While pumpkin spice is great, adding a pinch of cardamom or allspice can elevate the flavor. Experiment until you find your favorite blend. For a stunning display, stack your cookies on a rustic platter. This adds charm to your table. To make them look even nicer, dust with powdered sugar. Add some cinnamon sticks beside the cookies for a cozy touch. These small details impress guests and enhance enjoyment. For the full recipe, check the complete instructions above. {{image_4}} You can make fun swaps for your chewy pumpkin spice cookies. One easy change is to use coconut oil instead of butter. This makes the cookies dairy-free and adds a light coconut flavor. If you want a vegan option, replace the egg with flax eggs. To make a flax egg, mix one tablespoon of ground flaxseed with three tablespoons of water. Let it sit for five minutes to thicken. This keeps your cookies soft and chewy, just like the original recipe. Want to add more flavor? Try adding dried fruits like cranberries or raisins. They bring a sweet chewiness that pairs well with pumpkin spice. For a fresh twist, you can also add a hint of citrus zest. A little orange or lemon zest brightens the cookies and gives them a fun taste. These small changes can make your cookies stand out during the fall season. Frosting can take your cookies to another level. Cream cheese frosting pairs perfectly with the warm spices in these cookies. To make it, mix cream cheese with powdered sugar and a splash of vanilla. If you want something lighter, consider a simple glaze. Just mix powdered sugar with a bit of milk until smooth. Drizzle it over the cookies for added sweetness. These frosting options make each bite even more delightful. To keep your chewy pumpkin spice cookies fresh, use an airtight container. This helps lock in moisture. Store them at room temperature, away from sunlight. A cool, dry place works best. To maintain their soft and chewy texture, place a slice of bread in the container. The cookies absorb moisture from the bread, keeping them soft. You can also wrap each cookie in plastic wrap for extra protection. Freezing cookies is easy and a great way to save them for later. First, let the cookies cool completely. Then, arrange them in a single layer on a baking sheet. Freeze them for about one hour. This step prevents them from sticking together. After freezing, transfer the cookies to a freezer-safe bag. Remove as much air as possible before sealing. They can last for up to three months in the freezer. When you're ready to eat them, thaw cookies at room temperature. For a warm treat, pop them in the microwave for about 10-15 seconds. Chewy pumpkin spice cookies last about a week at room temperature. Store them in an airtight container to keep them fresh. Look out for signs of spoilage. If they become hard or dry, they may be past their prime. Also, check for any off smells or mold. If you see or smell anything unusual, it’s best to throw them away. These tips will help you enjoy your chewy pumpkin spice cookies even longer! For the full recipe, check out the [Full Recipe]. You can use pumpkin pie filling, but it is not the same. Pumpkin puree is pure pumpkin with no added sugar or spices. Pumpkin pie filling has sugar and spices mixed in. If you use it, cut back on the sugar in your recipe. It may make your cookies sweeter than you want. To reduce sweetness, cut down on the sugar. You can use 3/4 cup of brown sugar instead of 1 cup. You can also skip the granulated sugar. Another option is to add more pumpkin puree. This can balance the sweetness while keeping the texture. To reheat your cookies, use the oven for the best results. Preheat your oven to 350°F (175°C). Place the cookies on a baking sheet. Heat them for about 5 minutes. This keeps them soft and chewy. You can also use the microwave. Heat them for 10-15 seconds. This works, but they may not be as chewy. Enjoy your chewy pumpkin spice cookies warm! These chewy pumpkin spice cookies are simple to make with the right ingredients. Start with pumpkin puree, butter, and sugars for the best taste. Follow the steps to create a delightful treat and use my tips for the perfect chewy texture. Experiment with flavors to make your cookies unique. Store them well to keep that freshness. Enjoy sharing these cookies, as they are sure to impress!](https://fastmealmate.com/wp-content/uploads/2025/07/8de16806-55b5-45ec-964c-13b68a3ec1a0-768x768.webp)