Skip to content
About
Contact
Cookie Policy
Copyright Policy
Disclaimer
Search
Home
Dinner
Appetizer
Desserts
Drinks
About
Contact
Privacy Policy
Toggle Menu
Home
/
NO-ING-IMG
- Page 14
NO-ING-IMG
Roasted Garlic Mashed Potatoes Creamy and Flavorful Dish
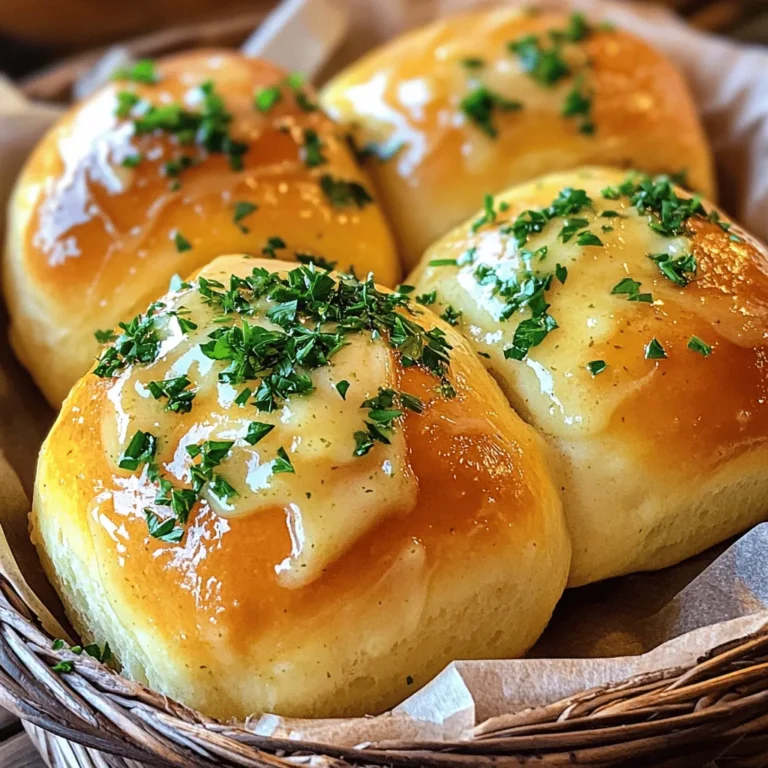
Garlic Butter Bread Rolls Simple and Flavorful Treat
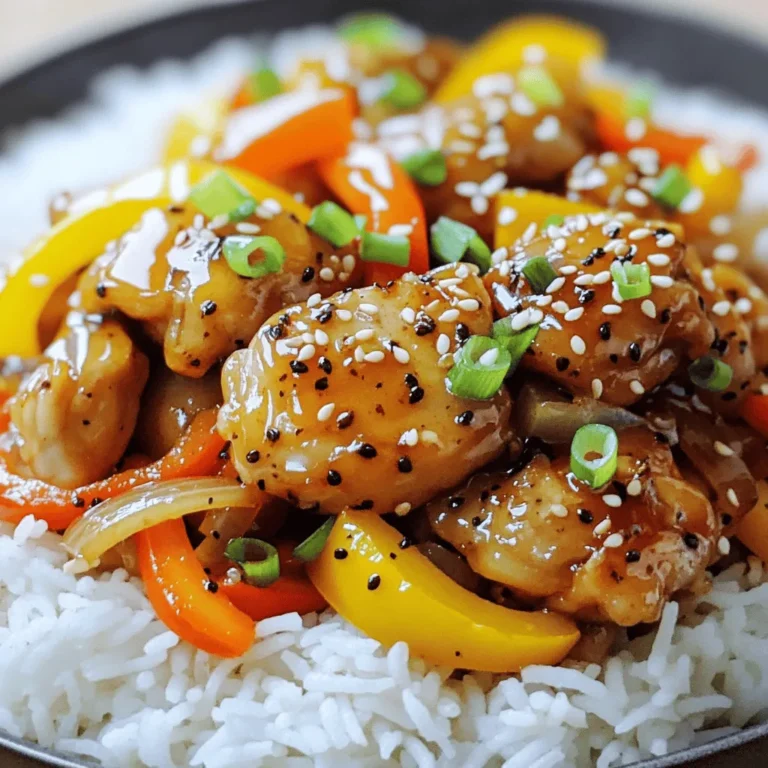
Black Pepper Chicken Flavorful Recipe You’ll Love
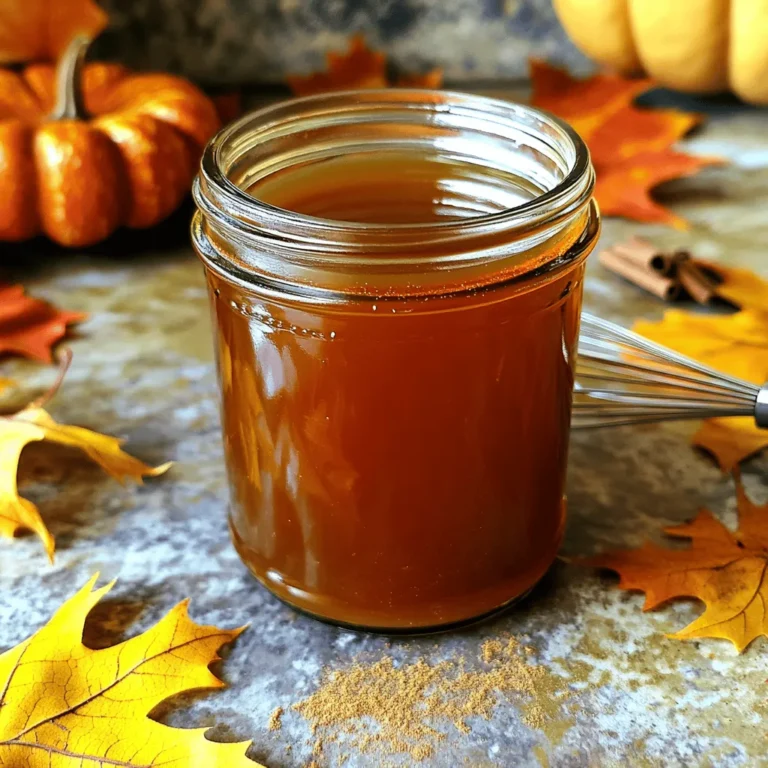
Pumpkin Spice Syrup Tasty Recipe for Fall Flavor
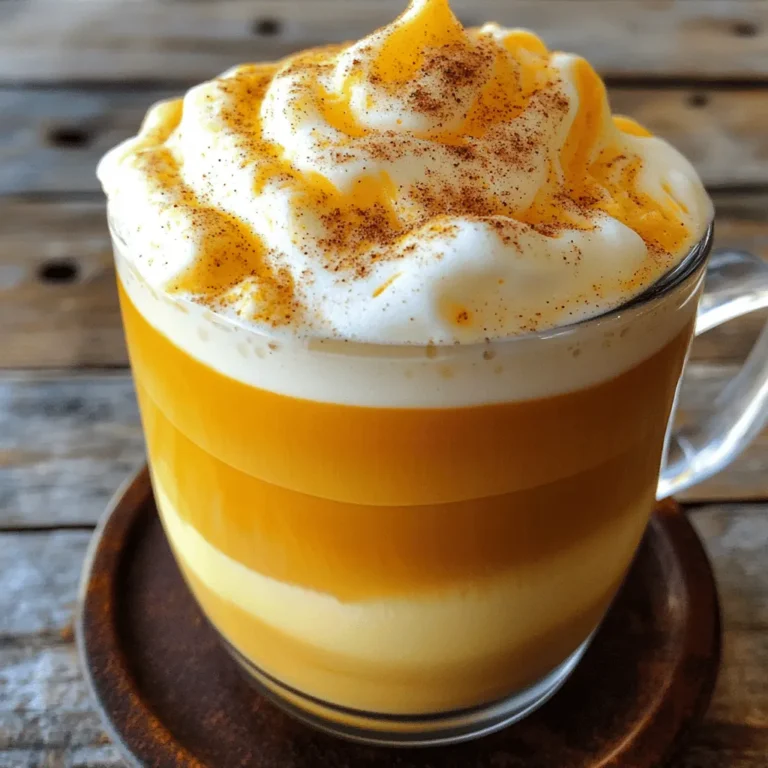
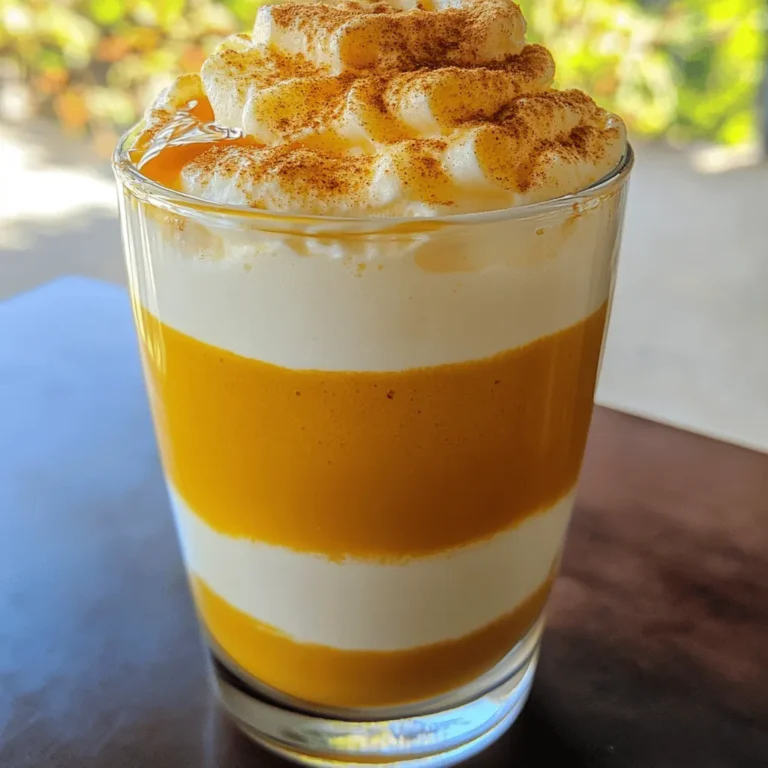
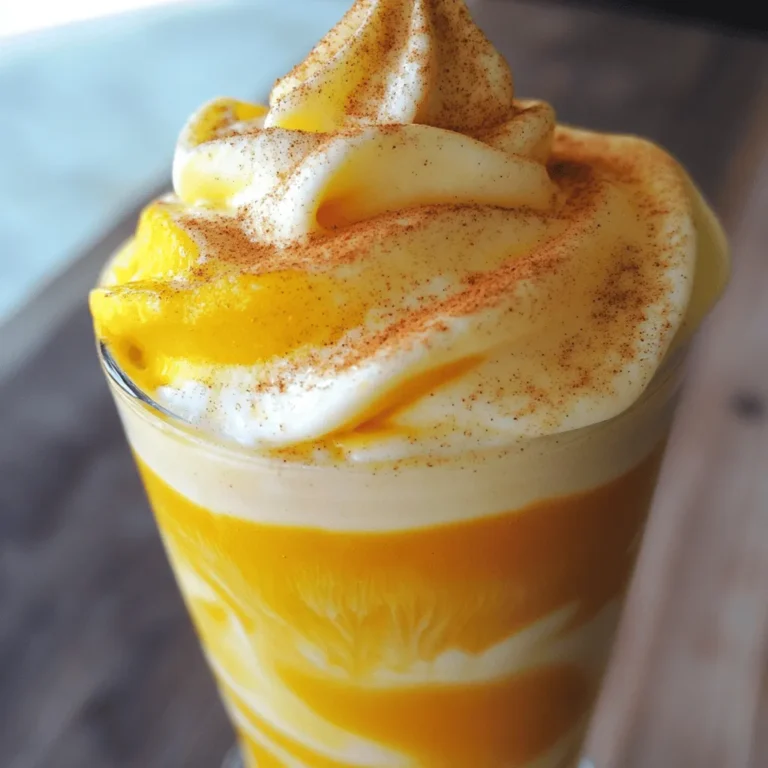
Easy Pumpkin Cold Foam Creamy Delight in Minutes
Ultimate Pumpkin Cold Foam Simple and Delicious Recipe
Pumpkin Cream Cold Foam Easy and Creamy Recipe
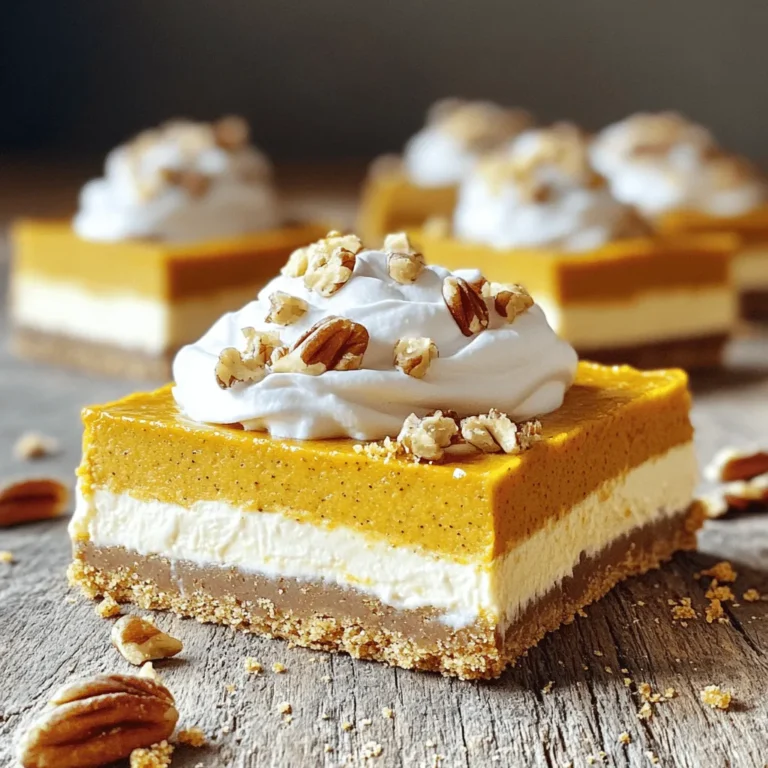
No Bake Pumpkin Cheesecake Bars Delightful Recipe
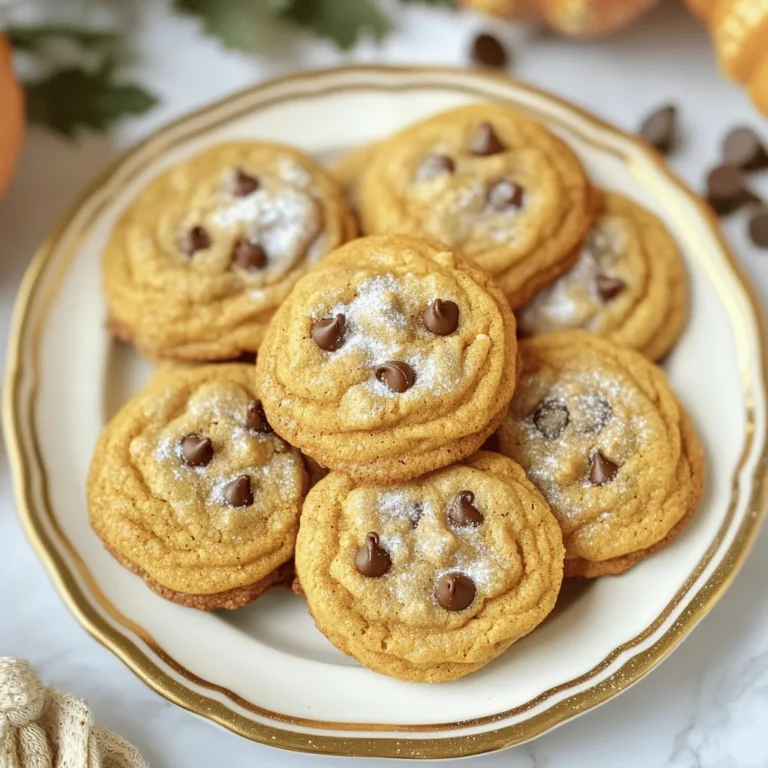
Chewy Pumpkin Spice Cookies Perfect for Fall Baking
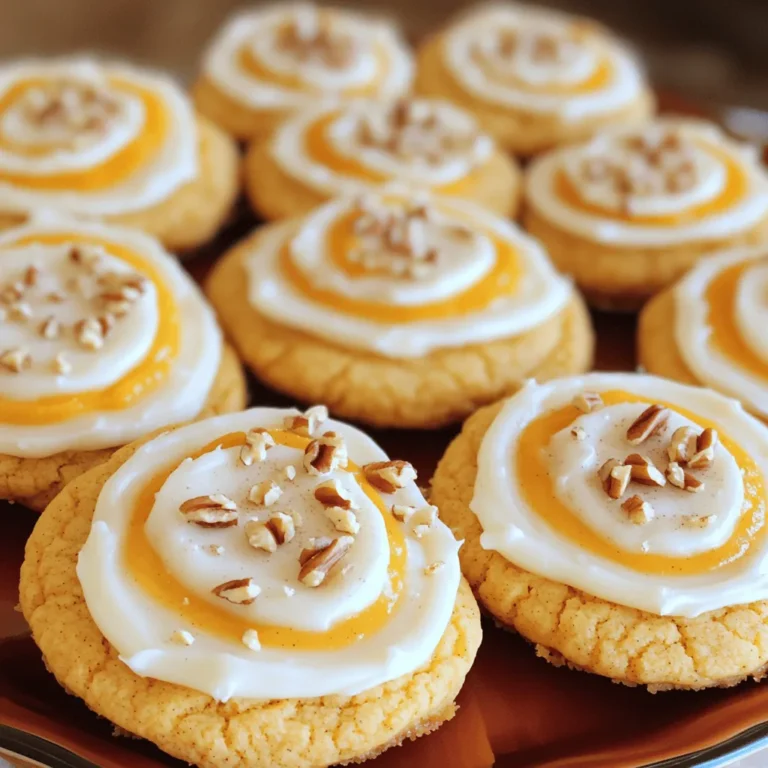
Pumpkin Sugar Cookies with Cream Cheese Icing Delight
Page navigation
Previous Page
Previous
1
…
12
13
14
15
16
…
62
Next Page
Next
Home
Dinner
Appetizer
Desserts
Drinks
About
Contact
Privacy Policy
Toggle Menu Close
Search for:
Search