Skip to content
About
Contact
Cookie Policy
Copyright Policy
Disclaimer
Search
Home
Dinner
Appetizer
Desserts
Drinks
About
Contact
Privacy Policy
Toggle Menu
Home
/
NO-ING-IMG
- Page 11
NO-ING-IMG
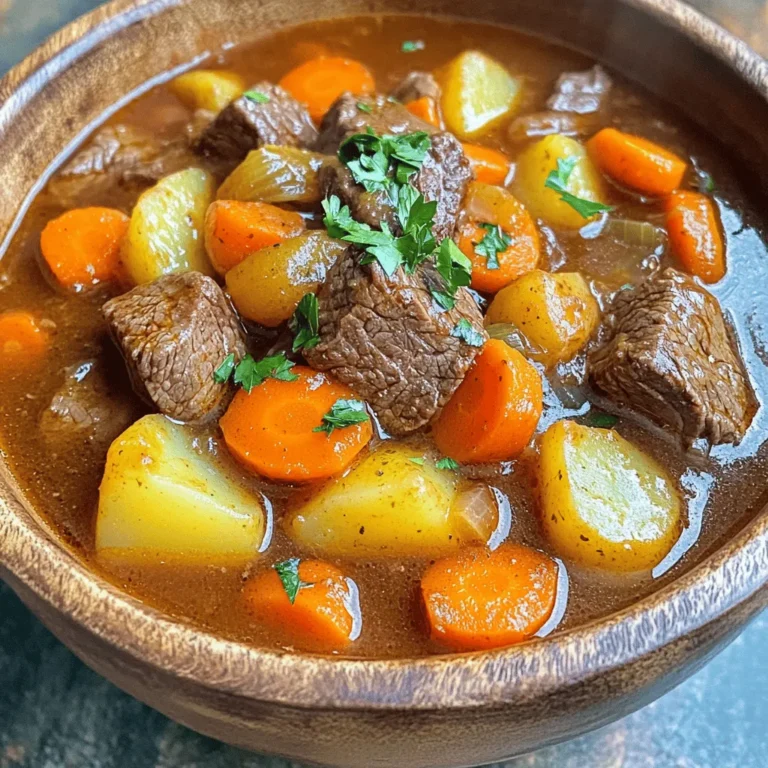
Instant Pot Beef Stew Flavorful and Easy Recipe
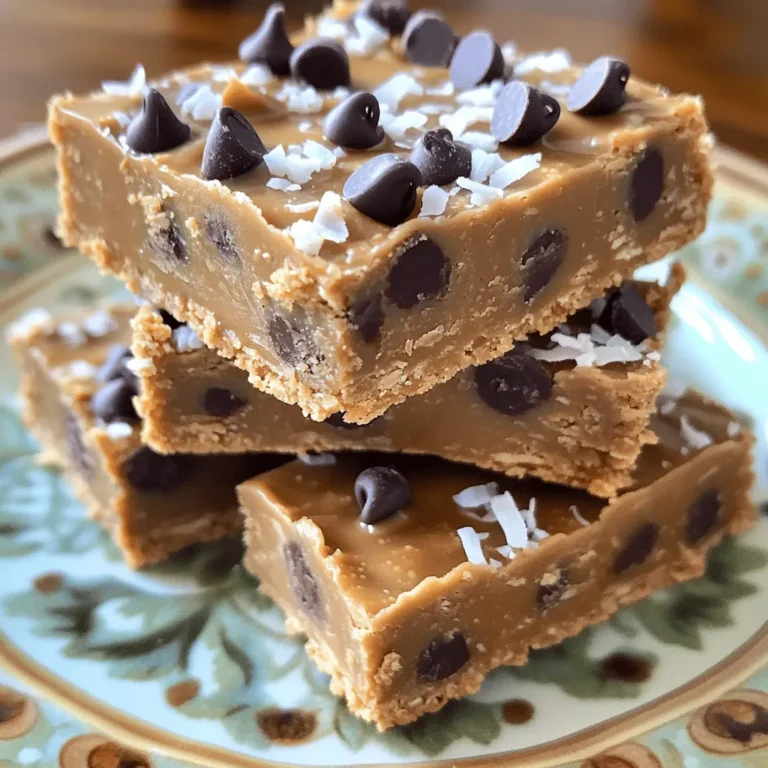
No-Bake Peanut Butter Bars Healthy and Simple Treat
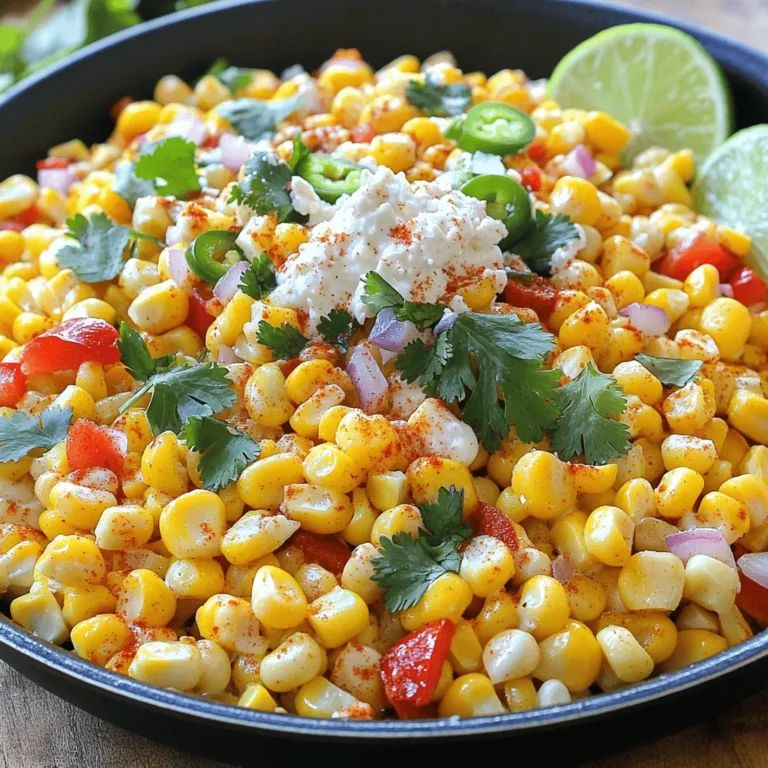
Savory One-Pan Mexican Street Corn Skillet Recipe
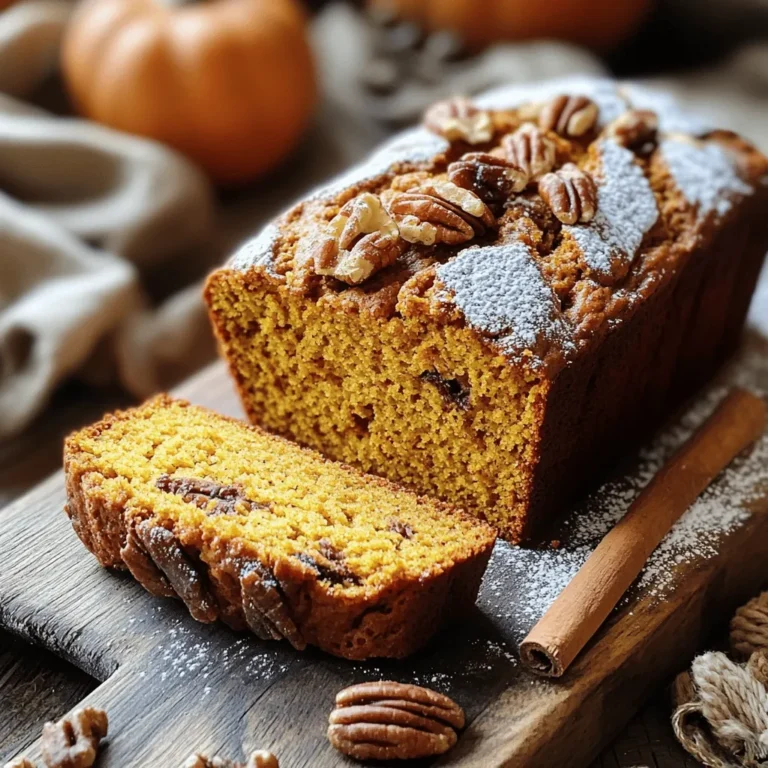
Super Moist Pumpkin Bread Easy and Delicious Recipe
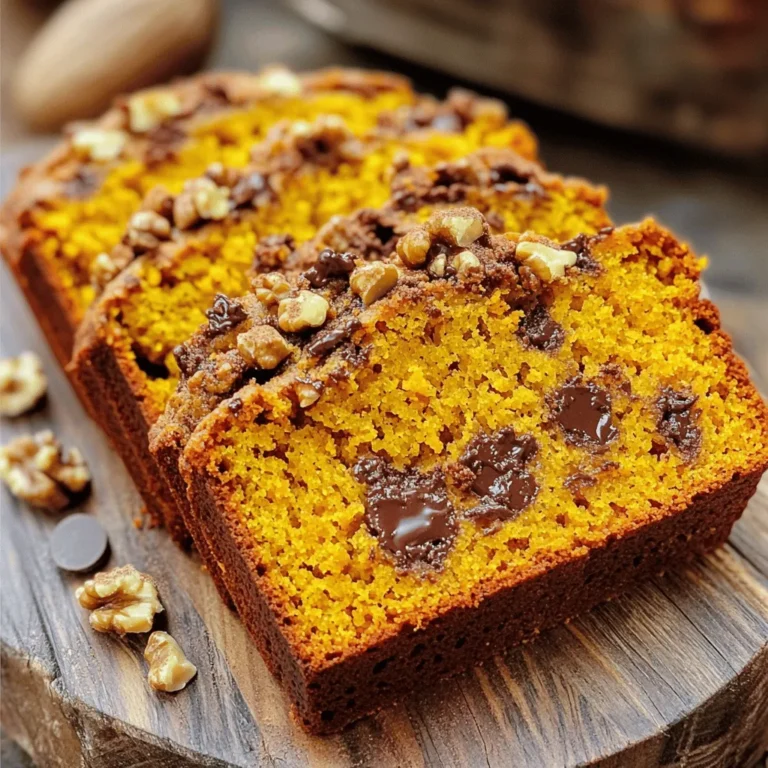
Easy Pumpkin Chocolate Chip Bread Delightful Recipe
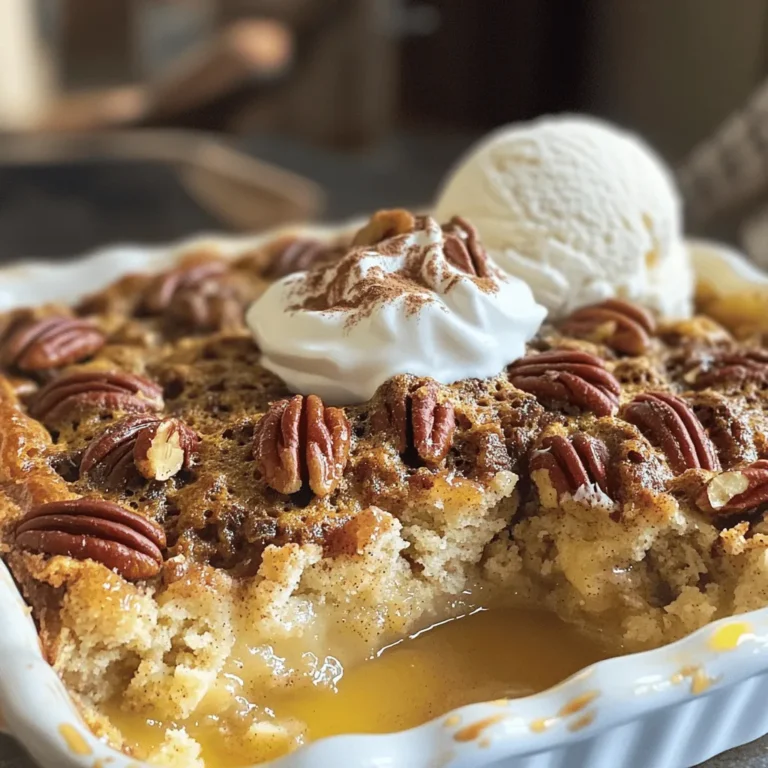
Pecan Pie Dump Cake Irresistible Dessert Delight
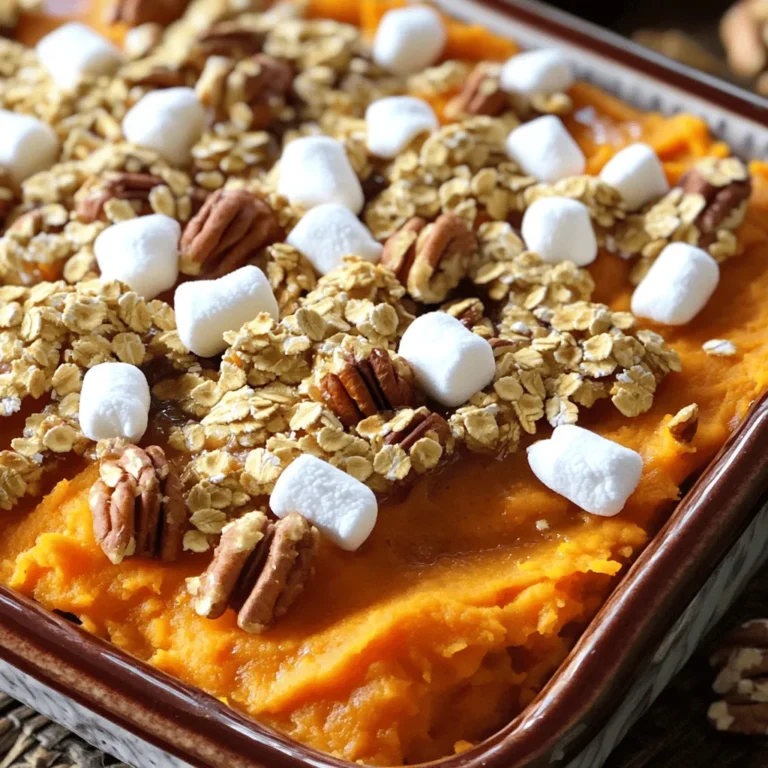
Southern Maple Sweet Potato Casserole Delight Recipe
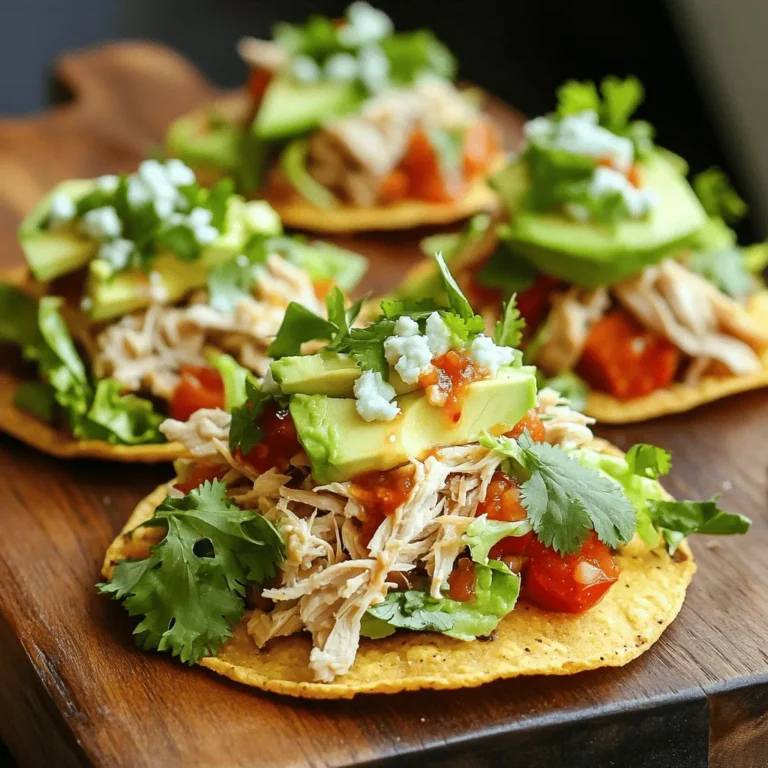
Rotisserie Chicken Tostadas Flavorful and Quick Meal
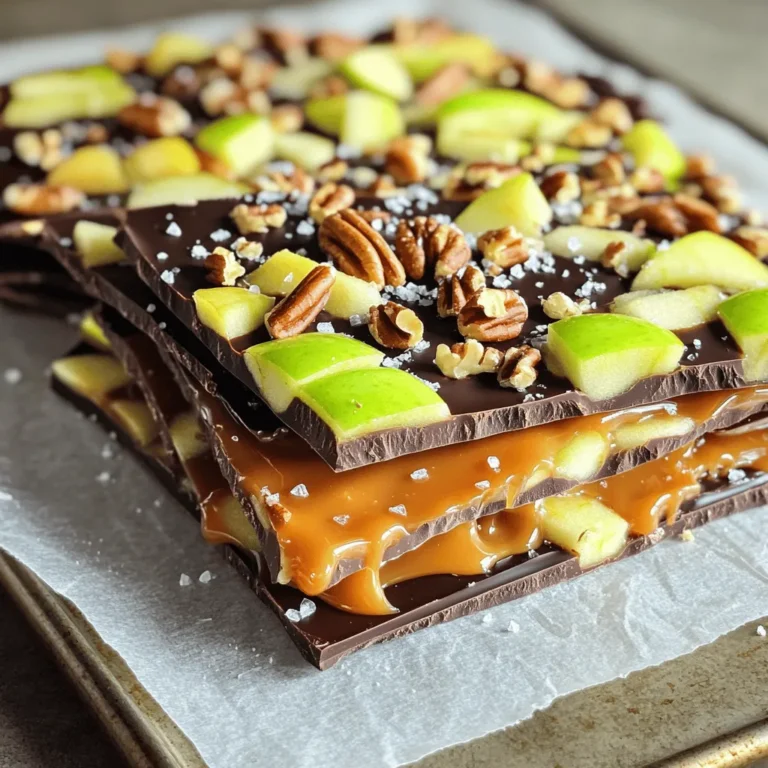
Easy Caramel Apple Bark Irresistible Fall Treat
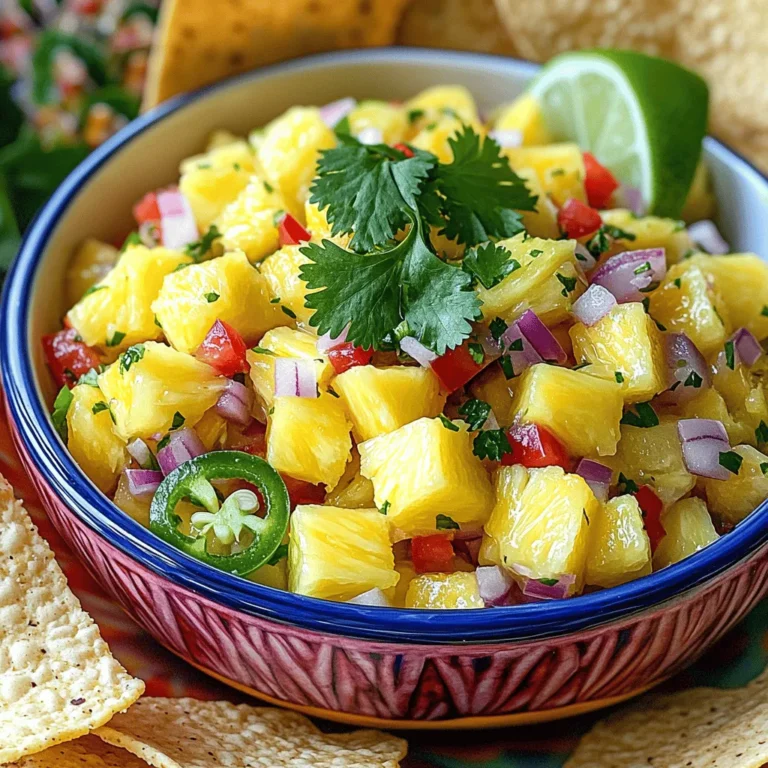
Fresh Pineapple Salsa Tasty and Simple Summer Dip
Page navigation
Previous Page
Previous
1
…
9
10
11
12
13
…
62
Next Page
Next
Home
Dinner
Appetizer
Desserts
Drinks
About
Contact
Privacy Policy
Toggle Menu Close
Search for:
Search